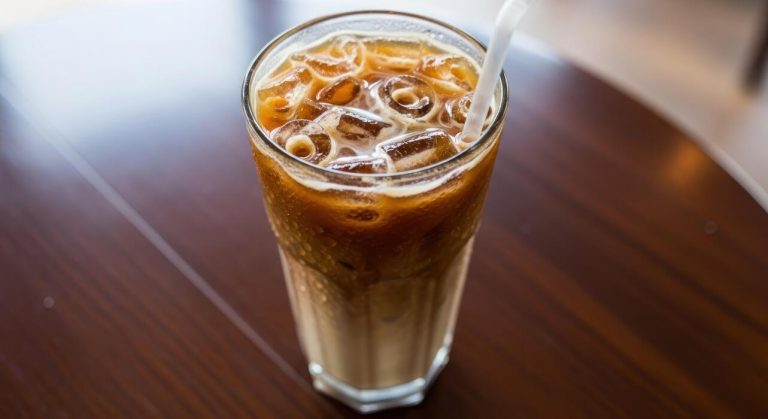
How To Make Starbucks Vanilla Cream Cold Brew
Craving that sweet, velvety Starbucks drink without the drive-thru line? how to make starbucks vanilla cream cold brew is about nailing two key elements: a smooth, never-bitter cold brew concentrate and a perfectly emulsified vanilla sweet cream that floats on top. You’ve come to the right place. We’ll break down the exact ratios and technique to replicate that signature rich flavor and silky texture at home—no fancy equipment needed.
What Is Starbucks Vanilla Cream Cold Brew?
Key ingredients in the drink
To replicate the Starbucks Vanilla Cream Cold Brew at home, focus on three core components: cold brew concentrate, vanilla syrup, and vanilla sweet cream. Start with a smooth, slow-steeped cold brew—use coarsely ground coffee steeped in cold water for 12–24 hours, then strain.
For the vanilla syrup, combine equal parts water and sugar (1 cup each) with 1 tablespoon vanilla extract, simmering until dissolved. The vanilla sweet cream is crucial: whisk together 1/2 cup heavy cream, 2 tablespoons vanilla syrup, and 2 tablespoons milk (2% or whole) until slightly thickened but pourable.
Assemble by filling a tall glass with ice, adding 1 cup cold brew, 2 tablespoons vanilla syrup, and topping with 2–3 tablespoons of the sweet cream. Stir gently to layer the cream atop the coffee.
This DIY version matches the rich, non-bitter profile of Starbucks’ original, using high-quality, freshly brewed cold brew for best results. Adjust sweetness by varying syrup amounts.
How it differs from regular iced coffee
The Starbucks Vanilla Cream Cold Brew stands apart from standard iced coffee due to brewing method and texture. Regular iced coffee is typically hot-brewed (using hot water) then chilled, which can extract more bitter and acidic compounds, often requiring added milk or sugar to mask harshness.
In contrast, cold brew is steeped in cold water for 12–24 hours, resulting in a smoother, naturally sweeter concentrate with up to 67% less acidity.
This base is then enhanced with vanilla syrup and a house-made vanilla sweet cream—a thick, velvety topping that floats on the coffee rather than mixing in. Iced coffee often uses standard milk or creamer, which dilutes quickly.
The Vanilla Cream Cold Brew’s cream layer stays distinct, offering a creamy, dessert-like sip without overwhelming bitterness. Additionally, cold brew has a higher caffeine concentration, so you get a stronger energy boost in a smaller volume.
This makes it a premium choice for those seeking a less acidic, more indulgent iced coffee experience.
Why it’s so popular at Starbucks
The Vanilla Cream Cold Brew’s popularity at Starbucks stems from its perfect balance of flavor and texture that appeals to a wide audience. First, the smooth, low-acid cold brew base satisfies coffee purists who dislike bitterness, while the sweet vanilla cream adds a dessert-like indulgence without being cloying.
This combination creates a versatile drink that works year-round—refreshing in summer and cozy in fall. Second, it’s customizable: customers can adjust sweetness, swap for non-dairy milks (like oat or almond), or add extra pumps of syrup, making it inclusive for dietary preferences.
Third, its Instagram-worthy presentation—with the cream cascading down the glass—boosts its appeal on social media, driving word-of-mouth. Finally, Starbucks’ brand trust ensures consistent quality, so customers know they’ll get a reliable, premium drink every time.
For home baristas, recreating this drink offers a cost-effective alternative that captures that same satisfying, café-quality experience, which explains why it remains a top-seller and a favorite DIY recipe online.
Ingredients You Need for a Copycat Recipe
Best coffee beans for cold brew
For a Starbucks-style cold brew, choose a medium or dark roast coffee bean with tasting notes of chocolate, nuts, or caramel. A coarse grind is essential to prevent over-extraction during the 12-24 hour steep.
Use 1 cup of coarsely ground coffee per 4 cups of cold, filtered water for a balanced concentrate. Avoid light roasts, as they can taste too acidic. Pre-ground coffee from a specialty roaster works, but grinding whole beans fresh yields the richest flavor.
Starbucks uses a blend of African and Latin American beans, so look for an ‘iced coffee’ or ‘cold brew’ blend at your grocery store.
Vanilla syrup options: store-bought vs. homemade
For the signature sweetness, store-bought vanilla syrup like Torani or Monin offers convenience and a consistent flavor. Use 2 tablespoons per 8-ounce serving to match Starbucks’ taste. For a DIY version, simmer 1 cup water with 1 cup white sugar and 1 tablespoon vanilla extract until dissolved.
Homemade syrup lets you control sweetness and avoid preservatives, but it lasts only 2 weeks in the fridge. To replicate Starbucks’ exact profile, use real vanilla extract, not imitation. If you prefer a richer flavor, add a split vanilla bean while simmering.
Both options work—choose based on your time and budget.
Heavy cream and milk choices for the vanilla cream
The vanilla cream top is key to this drink. Use heavy cream or heavy whipping cream (at least 36% milk fat) for a thick, pourable layer. Combine 1/4 cup heavy cream with 1-2 tablespoons vanilla syrup and 2 tablespoons 2% milk for a Starbucks-style balance.
For a richer version, use half-and-half or whole milk instead of 2%. Avoid skim or non-dairy milks as they won’t create the same velvety texture. If you need a dairy-free option, full-fat canned coconut cream mixed with vanilla syrup works, but the mouthfeel will differ.
The cream should be slightly sweet and just thick enough to slowly sink into the cold brew.
Sweetener alternatives for a lighter version
To reduce sugar without sacrificing flavor, use sugar-free vanilla syrup (sweetened with stevia or erythritol) for the cold brew base. For the cream, swap white sugar with monk fruit sweetener or a few drops of liquid stevia, adjusting to taste.
Agave nectar or honey work in the syrup, but add calories. For a keto-friendly option, use allulose syrup in the cream and a sugar-free syrup in the coffee. Avoid artificial sweeteners like aspartame as they can leave a bitter aftertaste.
Start with half the sweetener amount and adjust, as the cold brew’s bitterness can mask sweetness. This keeps the drink light but still satisfying.
How to Make Cold Brew Coffee at Home
Step-by-step cold brew brewing process
Start by grinding 1 cup of coarse coffee beans (like Starbucks’ medium roast) to a texture similar to breadcrumbs. Combine the grounds with 4 cups of cold, filtered water in a large jar or pitcher, stirring gently to ensure all grounds are saturated.
Cover the container with a lid or plastic wrap, then let it sit at room temperature for 12–24 hours. For a smoother brew, avoid stirring after the initial mix. After steeping, pour the mixture through a fine-mesh sieve lined with a coffee filter or cheesecloth into a clean container.
This yields a concentrated base that you can customize with vanilla cream. For a stronger taste, let it steep longer, but keep an eye on bitterness.
Ratio of coffee to water for strong results
For a bold, Starbucks-style concentrate, use a 1:4 ratio—1 cup of coarse coffee grounds to 4 cups of water. This creates a robust base that holds up well to milk and vanilla syrup without becoming watery.
If you prefer a milder brew, adjust to 1:5 or 1:6, but the stronger ratio mimics the intense flavor of commercial cold brew.
To replicate the creamy vanilla sweetness, mix 2 tablespoons of vanilla syrup (or homemade with sugar and vanilla extract) into each 8-ounce serving of concentrate, then add ice and milk. Always use fresh, cold water to avoid off-flavors, and avoid over-extracting by sticking to the recommended steeping time.
Steeping time and temperature tips
Steep your cold brew at room temperature (around 68–72°F) for 12–18 hours to achieve a smooth, non-bitter taste. Refrigerating during steeping slows extraction, leading to weaker coffee, so avoid the fridge for best results.
For a stronger, bolder profile, go closer to 18 hours; for a lighter touch, aim for 12. If you want to match Starbucks’ balanced flavor, target 14–16 hours. Use a timer to prevent over-steeping, which can make the brew bitter.
After steeping, strain immediately and refrigerate the concentrate—it keeps for up to 2 weeks. For the vanilla cream twist, add vanilla syrup and half-and-half to your finished glass.
Straining and storing your cold brew
After steeping, strain the mixture through a coffee filter or a nut milk bag placed over a fine-mesh sieve into a clean pitcher. Press gently to extract all liquid, but avoid squeezing the grounds to prevent bitterness. For a super-smooth texture, strain twice.
Store the concentrate in an airtight container in the refrigerator for up to 2 weeks. To serve, fill a glass with ice, pour 1 part concentrate to 1 part milk or water, and add 2 tablespoons of vanilla syrup and a splash of cream for that Starbucks vanilla cream flavor.
Shake or stir well before each use, as sediment may settle.
How to Make the Vanilla Cream Topping
Simple vanilla cream recipe with heavy cream
Start with 1 cup of cold heavy cream for a rich, velvety topping. In a large mixing bowl, combine the heavy cream with 2 tablespoons of vanilla syrup (store-bought or homemade).
The key is using cold cream straight from the fridge, as it whips up faster and holds its shape better. For a sweeter touch, add 1 tablespoon of powdered sugar, but this is optional since vanilla syrup already adds sweetness.
Use a hand mixer or stand mixer on medium speed to blend the ingredients until the cream begins to thicken slightly. This base recipe yields about 2 cups of topping, enough for 4-6 cold brews.
Remember, heavy cream is non-negotiable for that luxurious, Starbucks-style texture—half-and-half or milk won’t achieve the same silky consistency.
Whipping the cream to the right consistency
The secret to a perfect vanilla cream topping is whipping to soft peaks, not stiff peaks. Using a mixer on medium-high speed, whip the cream until it forms gentle, droopy peaks that hold their shape but still flow slightly when spooned.
This typically takes 2-3 minutes—stop every 30 seconds to check. Over-whipping leads to butter, while under-whipping results in a runny topping that sinks into your cold brew.
For a pourable consistency that layers beautifully over ice, aim for the cream to be thick enough to coat a spoon but still fluid. A pro tip: chill your mixing bowl and beaters for 10 minutes beforehand to speed up the process and ensure stable results.
This soft-peak texture mimics Starbucks’ signature cloud-like float.
Adding vanilla syrup for flavor
Flavor is key, so use high-quality vanilla syrup to replicate Starbucks’ sweet, aromatic taste. You can buy vanilla syrup at most grocery stores or make your own by simmering 1 cup water, 1 cup sugar, and 1 tablespoon vanilla extract until dissolved.
Add 2 tablespoons of syrup to your heavy cream before whipping for even distribution. For a deeper flavor, try vanilla bean paste (1 teaspoon) mixed with simple syrup. Adjust sweetness to your preference—Starbucks uses a generous amount, so don’t be shy.
Stir the syrup into the cream gently before whipping to avoid clumps. This step ensures every sip of your cold brew has that iconic vanilla sweetness without being overpowering. Store leftover syrup in the fridge for up to 2 weeks.
Dairy-free vanilla cream alternatives
For a dairy-free version that still tastes indulgent, use coconut cream or full-fat oat milk as a base. Chill a can of coconut cream overnight, then scoop out the solid top layer (reserve the liquid for smoothies).
Whip with 2 tablespoons of vanilla syrup and a pinch of salt until soft peaks form. Alternatively, barista-style oat milk (like Oatly) can be frothed or whipped with a hand blender, but it’s thinner—use 1/2 cup plus 1 tablespoon of coconut oil for stability.
For a nutty twist, try cashew cream (soaked cashews blended with water). These alternatives mimic the creamy texture without dairy. Always chill your ingredients for best results. Note that dairy-free versions may separate faster, so use immediately for that Starbucks-style cold brew experience.
How to Assemble Your Vanilla Cream Cold Brew
Pouring cold brew over ice
Start with a tall glass and fill it to the brim with large ice cubes for slow dilution. Pour your freshly brewed cold brew (store-bought or homemade) over the ice, filling the glass about three-quarters full. For an authentic Starbucks feel, use a clear cup to showcase the layers.
If you prefer a stronger coffee flavor, use less ice or add an extra shot of cold brew concentrate. The key is to leave enough room at the top for the creamy layer without overflowing—about 1 to 1.5 inches of space works perfectly.
This base sets the stage for the signature vanilla cream topping.
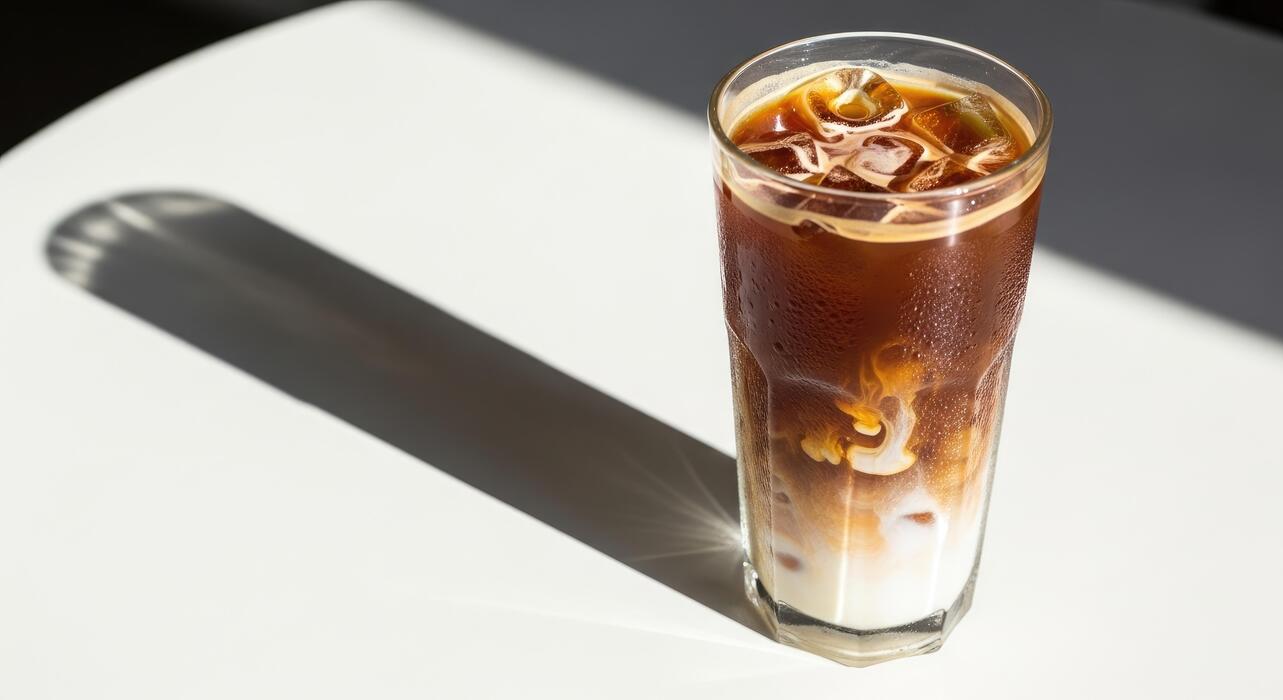
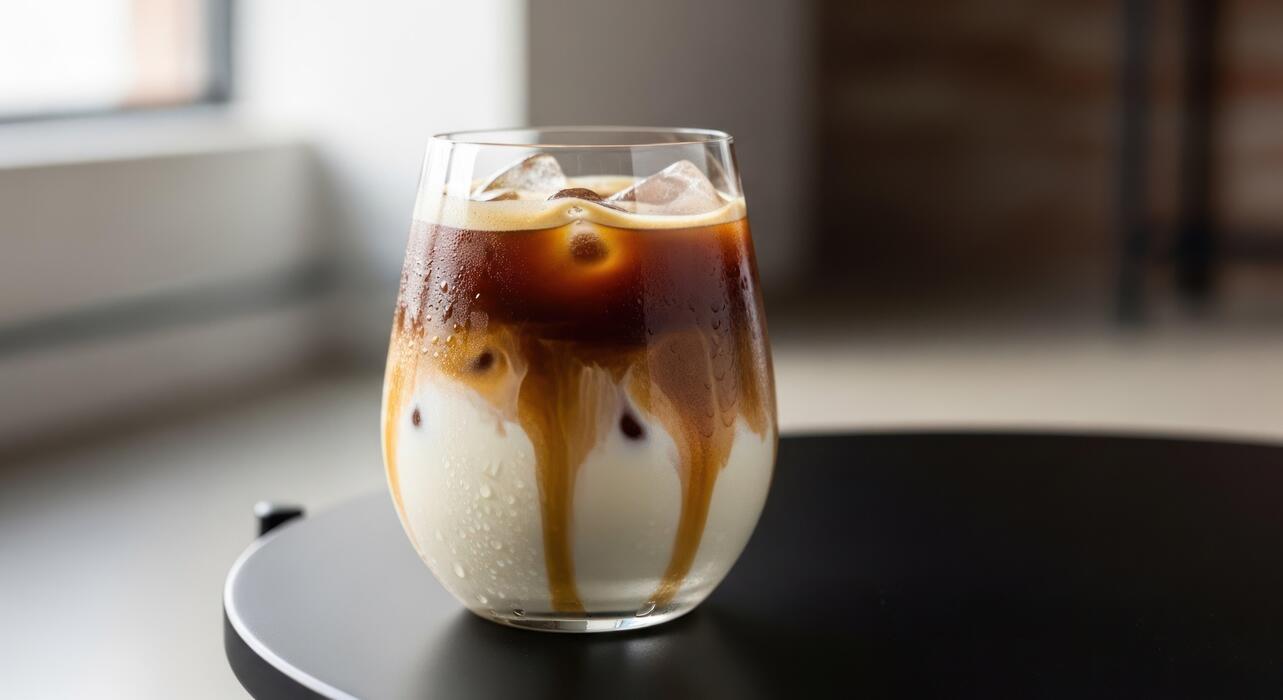
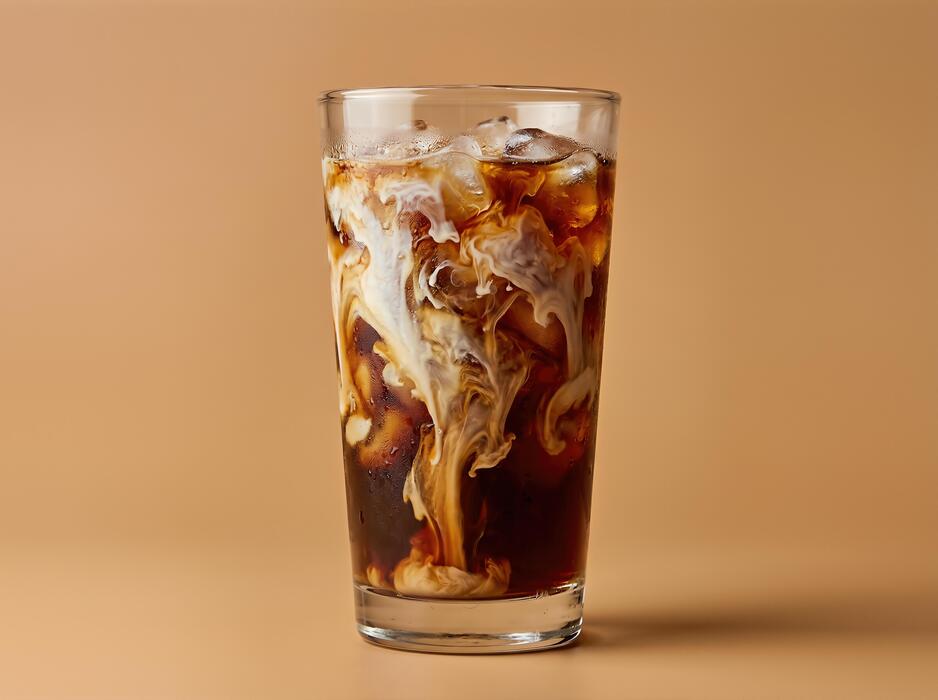
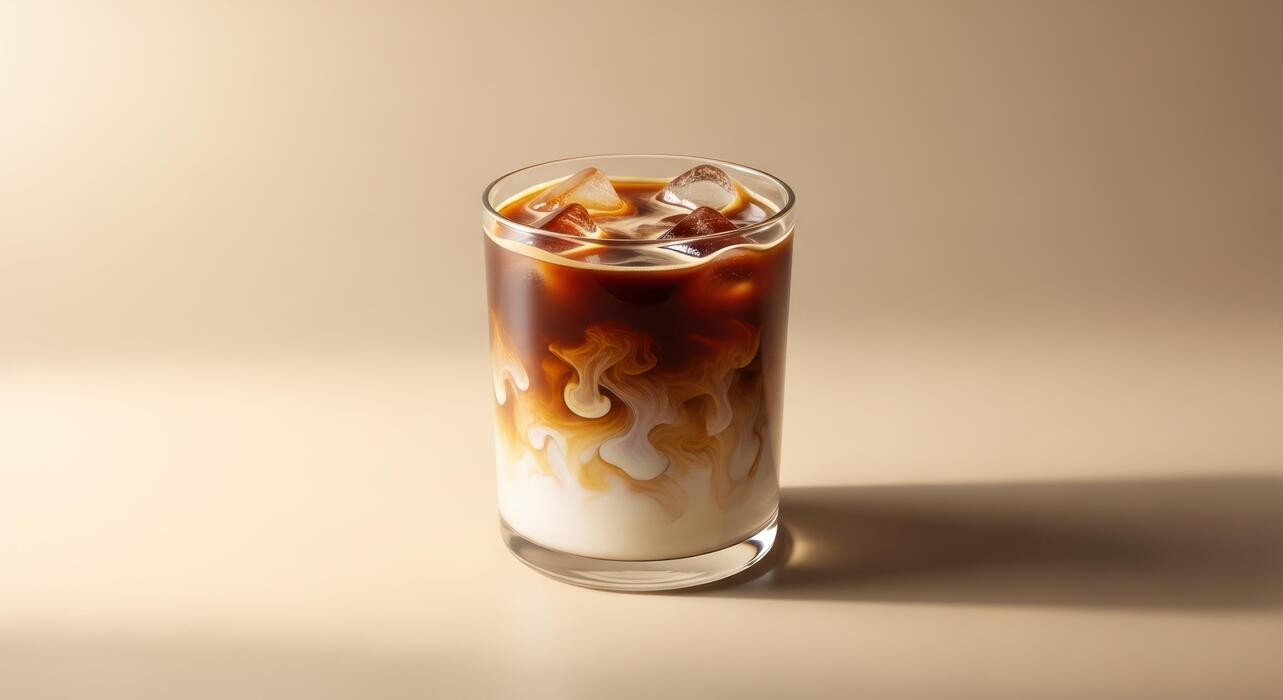
Layering the vanilla cream on top
Gently pour your prepared vanilla sweet cream over the back of a spoon held just above the cold brew’s surface. This technique slows the pour, allowing the cream to float gracefully on top rather than mixing in. Aim for a thick, white layer that contrasts beautifully with the dark coffee.
For best results, use a cold cream (refrigerated for at least 30 minutes) and pour slowly in a circular motion. If you want a more dramatic separation, tilt the glass slightly while pouring. The cream will settle into a distinct ribbon, creating that iconic Starbucks look.
Garnishing for a Starbucks look
Finish your creation with simple garnishes that elevate the visual appeal. A light dusting of cinnamon or cocoa powder on top of the cream adds a professional touch and hints of warmth. For extra flair, add a single vanilla bean pod or a cinnamon stick as a stirrer.
If you’re feeling indulgent, top with a drizzle of caramel sauce for a sweet contrast. These details mimic Starbucks’ signature presentation and make your drink Instagram-worthy. Remember, the garnish is the final flourish—keep it minimal to let the layered beauty shine.
Adjusting sweetness to taste
Taste your vanilla cream cold brew before serving and customize the sweetness to your preference. If it’s too sweet, dilute with a splash of milk or a bit more cold brew.
For extra sweetness, stir in 1-2 pumps of vanilla syrup or a teaspoon of simple syrup directly into the coffee layer. You can also adjust the cream itself by adding more or less vanilla extract or sweetened condensed milk when preparing it.
The beauty of homemade is control—so don’t hesitate to tweak ratios until it’s just right. A balanced drink should have a smooth coffee flavor with a sweet, creamy finish.
Tips for the Best Homemade Version
Use filtered water for cleaner flavor
The foundation of a great cold brew is the water itself. Tap water often contains minerals and chlorine that can create off-flavors, muting the delicate vanilla and coffee notes. Using filtered or bottled spring water ensures a cleaner, purer extraction, allowing the coffee’s natural sweetness to shine.
For best results, use a ratio of 1 cup coarsely ground coffee to 4 cups water and steep for 18-24 hours at room temperature. This slow extraction highlights subtle flavors without bitterness, so the vanilla addition feels balanced and smooth.
Chill your glass before serving
Temperature is key to replicating Starbucks’ refreshing experience. Pre-chill your serving glass in the freezer for 10-15 minutes before assembling your cold brew. This prevents the ice from diluting your drink too quickly and keeps the cream layer distinct.
The cold glass also helps the vanilla cream settle beautifully on top, creating that iconic layered look. For an extra touch, use a tall, narrow glass to showcase the gradient, and serve with a straw to enjoy the creamy finish with every sip.
Experiment with vanilla bean or extract
While Starbucks uses vanilla syrup, homemade versions can be elevated with real vanilla bean. Split a bean and scrape the seeds into your cream (heavy cream or half-and-half) for a rich, aromatic flavor that extract can’t match.
If using vanilla extract, opt for pure extract over imitation—just 1/2 teaspoon per cup of cream is plenty. For a dairy-free twist, try coconut cream with vanilla bean paste.
Adjust sweetness with simple syrup or maple syrup to taste, and let the mixture sit for 10 minutes before pouring over ice.
Make ahead for quick mornings
Batch-prepping your cold brew is a game-changer for busy routines. Brew a large batch using a 1:4 coffee-to-water ratio and store it in a sealed pitcher in the fridge for up to 2 weeks.
For the vanilla cream, whisk together 1 cup heavy cream, 2 tablespoons vanilla syrup, and a pinch of salt—this keeps well for 5 days. Each morning, simply fill a glass with ice, pour cold brew to 2/3 full, top with 2-3 tablespoons of vanilla cream, and stir.
No blending or heating required, just a quick, café-quality drink in seconds.
Frequently Asked Questions About This Drink
Can I use instant coffee instead of cold brew?
Yes, you can use instant coffee as a quick substitute, though the flavor will differ from traditional cold brew. To mimic cold brew’s smoothness, dissolve 2 tablespoons of instant coffee granules in 1 cup of cold water, stirring until fully dissolved.
Let it sit for 5 minutes to intensify the flavor. For a stronger brew, use 3 tablespoons. While instant coffee lacks the low acidity and rich body of steeped cold brew, it works well in a pinch.
Pair it with the vanilla cream mixture—2 tablespoons vanilla syrup and ¼ cup heavy cream—to mask any bitterness. Shake the coffee with ice before adding the cream for a frothier texture.
How long does homemade cold brew last?
Homemade cold brew concentrate stays fresh for up to 7-10 days when stored in an airtight container in the refrigerator. The key is to keep it sealed to prevent absorbing fridge odors. For best flavor, use within the first week.
If you dilute the concentrate with water or milk (as for the vanilla cream cold brew), it will last only 2-3 days because the added ingredients accelerate spoilage. To maximize shelf life, store the concentrate separately and mix individual servings fresh.
Always check for off smells or mold before using—cold brew can develop a sour taste if left too long. Label your container with the brew date for easy tracking.
What if I don’t have a French press or cold brew maker?
No special equipment? No problem. Use a large mason jar or any glass container with a tight lid. Combine 1 cup coarse-ground coffee with 4 cups cold water, stir, and seal. Let it steep at room temperature for 12-24 hours.
After steeping, strain the mixture through a fine-mesh sieve lined with a coffee filter or a clean kitchen towel. For a quicker method, use a nut milk bag—place the grounds inside, tie it off, and submerge in water. Squeeze the bag after steeping to extract all liquid.
This DIY method yields smooth cold brew concentrate, ready to mix with vanilla syrup and cream.
Is the vanilla cream cold brew gluten-free?
Yes, the vanilla cream cold brew is typically gluten-free. The core ingredients—cold brew coffee, vanilla syrup, and heavy cream—contain no gluten. However, always verify the vanilla syrup brand, as some may use additives or thickeners derived from wheat.
Starbucks’ own vanilla syrup is gluten-free, but homemade versions using pure vanilla extract and sugar are safe. For the cream, ensure it’s plain heavy cream without stabilizers that could contain gluten. If you have celiac disease or severe sensitivity, check labels for cross-contamination warnings.
Overall, this drink is a safe choice for most gluten-free diets, but customizing with certified gluten-free products adds peace of mind.
Frequently Asked Questions
What is a Starbucks Vanilla Sweet Cream Cold Brew?
It’s a Starbucks cold brew coffee topped with a house-made vanilla sweet cream, which is a mixture of vanilla syrup, heavy cream, and 2% milk. The result is a smooth, slightly sweet coffee drink with a creamy finish.
What ingredients do I need to make a copycat version at home?
You’ll need coarsely ground coffee beans (for cold brew), cold water, vanilla syrup (store-bought or homemade), heavy cream, and 2% milk. For the sweet cream, mix 1 part vanilla syrup with 2 parts heavy cream and 2 parts 2% milk.
How do I make the cold brew coffee base?
Combine 1 cup coarsely ground coffee with 4 cups cold water in a large jar or pitcher. Stir, cover, and steep in the refrigerator for 12-24 hours. Then strain through a fine-mesh sieve or coffee filter to remove grounds.
How do I make the vanilla sweet cream for the cold brew?
In a small bowl, whisk together 1/4 cup vanilla syrup, 1/4 cup heavy cream, and 1/4 cup 2% milk until smooth. For a thicker texture, use only heavy cream and milk, omitting the syrup, and add syrup to taste.
What’s the best ratio of cold brew to vanilla sweet cream?
For a standard 16-ounce serving, fill a glass with ice, pour about 1 cup (8 ounces) of cold brew, then top with 2-3 tablespoons of the vanilla sweet cream. Adjust the cream amount to your preferred sweetness level.
Can I make this dairy-free or vegan?
Yes, substitute the heavy cream and 2% milk with full-fat oat milk or coconut cream for a creamy texture. Use a dairy-free vanilla syrup to keep it vegan. The flavor will differ slightly but still be delicious.
How long does the cold brew concentrate last in the fridge?
The cold brew concentrate can be stored in an airtight container in the refrigerator for up to 2 weeks. The vanilla sweet cream is best used within 5-7 days, as the dairy can spoil.
Conclusion
Making Starbucks Vanilla Cream Cold Brew at home is simple: brew cold coffee, whip up a creamy vanilla sweet cream using heavy cream, vanilla syrup, and a touch of milk, then pour it over ice. The key is patience—let the cold brew steep for 20 hours for smooth richness. You’ll save money and customize sweetness. Experiment with oat milk or extra vanilla. Enjoy your café-quality treat any time, and impress your friends with your barista skills.