How To Make Cold Brew Coffee With Keurig
If you are wondering how to make cold brew coffee with Keurig, you might be surprised to learn that a traditional slow-steeped method is easier than you think. While Keurig machines typically use heat, you can still achieve that smooth, low-acid flavor at home with a few simple tweaks. In this guide, we will show you exactly how to use your brewer and reusable pods to create a refreshing glass of cold brew coffee in no time at all.
Can You Actually Make Cold Brew with a Keurig?
The Difference Between Iced Coffee and Cold Brew
To understand if you can make cold brew with a Keurig, you must first distinguish between two popular chilled methods. Authentic cold brew is a slow-steeping process that involves soaking coarse coffee grounds in room temperature or cold water for 12 to 24 hours.
This long duration results in a concentrate that is naturally low in acidity and incredibly smooth. In contrast, iced coffee is simply hot coffee that has been cooled down or poured over ice cubes.
Because a Keurig relies on rapid heat extraction and pressure to force water through a plastic pod in under a minute, it technically cannot produce a true cold brew. The machine is designed for thermal extraction, which releases oils and acids that only high temperatures can unlock.
While the final result may be cold if poured over ice, the chemical profile remains that of traditional hot coffee rather than the mellow, chocolatey notes associated with a genuine long-term cold soak.
How Keurig’s ‘Brew Over Ice’ Feature Works
Many modern Keurig models feature a dedicated ‘Brew Over Ice’ button designed to simulate a chilled experience without the wait. When you select this setting, the machine begins by brewing a highly concentrated hot shot of coffee.
It automatically adjusts the temperature to start hot for flavor extraction and then tapers off to prevent excessive ice melting. The goal is to deliver a smaller, more intense volume of liquid that accounts for the dilution factor of the ice in your tumbler.
To get the best results, you should fill a plastic cup with ice and select a dark roast or a ‘Cold Brew’ labeled K-Cup, which often contains more grounds to maintain strength. While this method provides an instant chilled beverage, it is fundamentally different from cold brewing.
It uses heat to extract flavor quickly, then utilizes the ice to drop the temperature rapidly, providing a convenient alternative for those who need their caffeine fix immediately without the overnight wait.
Limitations of Using a Pod Machine for Cold Extraction
The primary limitation of using a Keurig for cold brew is the fundamental design of the hardware. Cold brew requires extended contact time between water and coffee, whereas Keurig machines are engineered for speed and efficiency.
Attempting to run cold water through a K-Cup would result in a weak, sour, and under-extracted liquid because the compounds in coffee beans require either heat or significant time to dissolve.
Furthermore, the internal heating element of a Keurig cannot be bypassed to pump cold water; even the ‘iced’ settings utilize hot water for the initial extraction phase. If you are seeking the specific health benefits and low-acid profile of cold brew, a pod machine will always fall short.
To achieve a real cold brew while still using your Keurig supplies, you would need to manually open the pods, empty the grounds into a jar of cold water, and let them steep in your refrigerator for a full day before filtering the mixture.
What You Need to Get Started

Choosing the Right Keurig Model
To successfully make cold brew style coffee at home, selecting a compatible machine is the most important first step. While older Keurig models can technically brew over ice, newer specialized units like the Keurig K-Iced or K-Elite feature a dedicated ‘Over Ice’ button.
This specific setting is engineered to start the brewing process at a higher temperature to extract maximum flavor from the grounds, then quickly transition to a lower temperature to prevent the ice from melting too rapidly.
This prevents the common problem of watery, diluted coffee that often occurs with standard brewing cycles. If you are using a legacy machine without this feature, you should select the smallest ounce setting available, typically 6 ounces, to ensure the concentration is strong enough to withstand the addition of ice.
By prioritizing a model with advanced temperature control, you ensure that your cold beverage maintains its bold profile and refreshing chill from the very first sip to the last drop.
Best K-Cup Pods for Cold Coffee
The quality of your cold brew experience depends heavily on the intensity of the coffee pod you select. Because ice naturally dilutes the liquid as it melts, you should always opt for dark roast or extra-bold K-Cup varieties to maintain a robust flavor profile.
Look for pods specifically labeled as ‘Brew Over Ice’ by brands like Green Mountain or Starbucks, as these are formulated with a higher density of coffee grounds to compensate for the cooling process.
If you prefer a smoother, less acidic taste similar to traditional 12-hour cold brew, look for low-acid medium roasts with chocolatey or nutty notes. Avoid flavored pods with delicate profiles, as these often get lost when chilled.
Using a reusable K-Cup filter with freshly ground, coarse coffee beans is another excellent way to customize the strength and ensure your drink is never weak. Always check for the ‘Extra Strength’ label on packaging to guarantee that your morning caffeine kick remains potent even after the ice is added.
Essential Accessories for the Best Results
To elevate your Keurig cold brew from basic to professional quality, investing in a few key accessories is essential. First, swap standard ice cubes for coffee ice cubes made by freezing leftover coffee in trays; this ensures that as they melt, they add more flavor rather than water.
A high-quality insulated tumbler is also vital for maintaining the cold temperature and preventing condensation on your desk or table. For those who enjoy a creamy texture, a handheld milk frother allows you to create cold foam using milk or non-dairy alternatives, mimicking the expensive drinks found at luxury cafes.
Additionally, using filtered water in your Keurig reservoir is a critical but often overlooked step that significantly improves the clarity and purity of the coffee’s taste. Finally, consider adding liquid sweeteners or simple syrups instead of granulated sugar, as liquids dissolve instantly in cold beverages, ensuring a consistent sweetness throughout.
These small additions turn a simple machine-brewed drink into a gourmet cold coffee experience that rivals any local coffee shop.
Step-by-Step Guide to Making Keurig Cold Brew
Preparing Your Glass and Ice
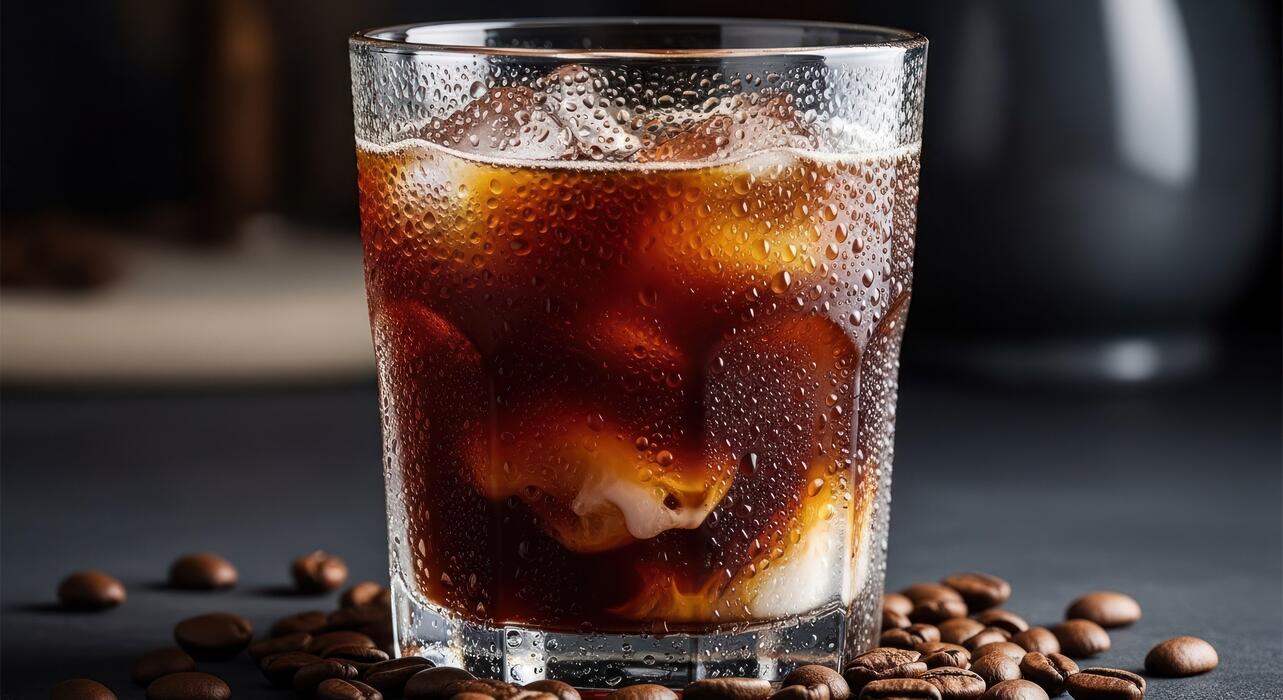
Before you begin the brewing process, it is essential to prepare your vessel to handle the sudden temperature shift. Start by selecting a large, heat-resistant glass or a durable plastic tumbler that can accommodate at least sixteen ounces of liquid.
Fill the container to the very top with large, solid ice cubes rather than crushed ice, as larger cubes melt more slowly and prevent your cold brew from becoming instantly watered down.
If you want to elevate the experience, consider using coffee ice cubes made from leftover brew to maintain a bold flavor profile as they melt. Ensure there is enough space at the top of the glass for the Keurig needle to clear the rim comfortably.
Placing the ice in the glass first is a critical step because it allows the hot liquid to begin the instant chilling process the moment it hits the vessel, locking in the brightness of the coffee while mitigating the bitterness often found in standard hot preparations.
Selecting the Optimal Brew Settings
To achieve a coffeehouse-quality result, you must navigate your Keurig settings with precision. If your machine features a dedicated ‘Over Ice’ button, select this option immediately.
This specialized setting is designed to start the brew hot to extract the full flavor profile from the grounds and then automatically adjust the temperature and flow to prevent excessive ice melting.
If your model lacks this specific feature, your best strategy is to select the strongest brew setting combined with the smallest ounce size, typically 6 or 8 ounces. Using a dark roast K-Cup is highly recommended here, as the intense flavor holds up better against the dilution of melting ice.
By choosing a smaller, more concentrated extraction, you ensure that the final beverage remains rich and full-bodied rather than weak. Always double-check that your water reservoir is filled with fresh, filtered water to ensure the cleanest possible taste for your refreshing homemade cold brew alternative.
The Slow-Cooling Method for Better Flavor
While the Keurig provides an instant solution, the secret to a smoother taste lies in how you handle the coffee immediately after the cycle finishes. Once the machine has completed its pass, resist the urge to stir the drink vigorously right away.
Allow the hot coffee to settle and naturally circulate through the ice for approximately sixty seconds. This brief waiting period allows the temperature to stabilize, which results in a velvety mouthfeel and reduces the acidic bite associated with rapid cooling.
After the minute has passed, give it a gentle stir and add your preferred sweeteners or creamers. Because cold liquids do not dissolve granulated sugar well, using a simple syrup or liquid stevia is the most effective way to ensure an even distribution of sweetness.
This methodical approach to cooling transforms a standard pod into a sophisticated chilled beverage that rivals expensive cafe options, providing a crisp and refreshing finish that highlights the unique notes of your chosen coffee blend without any unwanted bitterness.
How to Use Reusable Pods for a Real Cold Brew Taste
Selecting the Best Coffee Grind Size
To achieve a authentic cold brew taste using your Keurig, you must prioritize the texture of your coffee grounds. Unlike the fine grind used for standard hot brewing, cold brew requires a coarse, sandy consistency similar to sea salt.
If the grind is too fine, the water will struggle to pass through the reusable pod, leading to over-extraction and a bitter, muddy flavor profile. Using a burr grinder is highly recommended to ensure uniformity, which prevents sediment from slipping through the mesh filter of your reusable pod.
By selecting a dark roast bean, you can enhance the chocolatey and nutty notes that are characteristic of traditional cold brew. Fill your reusable pod about three-quarters full to allow the grounds space to expand as they saturate.
This careful preparation ensures that your Keurig setup mimics the slow-steeping environment of a professional coffee shop, providing a robust base that stands up well to ice and milk without tasting watered down or overly acidic.
The Overnight Soaking Technique
While a Keurig is designed for instant results, the secret to a real cold brew taste lies in a hybrid overnight soaking method. Place your filled reusable pod inside a small mason jar or airtight container and submerge it in filtered room-temperature water.
Allow the pod to steep for 12 to 18 hours in the refrigerator or on your counter. This slow extraction process pulls the natural oils and sugars from the beans without the harshness caused by hot water.
Once the steeping period is complete, insert the pre-saturated pod directly into your Keurig machine. Use the lowest ounce setting (usually 6oz) and select the ‘strong’ or ‘iced’ button if your model has one.
Because the coffee has already undergone a long soak, the quick pulse of water from the machine serves to wash the concentrated flavors directly into your cup.
This technique bridges the gap between convenience and quality, delivering a velvety, low-acid beverage that far surpasses the flavor of a standard chilled hot coffee.
Filtering Your Brew for a Smooth Finish
The final step to mastering the cold brew experience with a reusable pod involves ensuring a clean, sediment-free texture. Reusable pods often have stainless steel mesh that may allow fine particles to pass into your mug.
To fix this, consider using a small paper filter insert inside your reusable pod before adding the grounds. This extra layer of filtration captures the fines and oils that can make cold brew taste dusty or overly heavy.
Once the Keurig finishes its cycle, if you still notice sediment at the bottom of your glass, you can perform a secondary filtration by pouring the coffee through a standard pour-over dripper or a fine-mesh sieve lined with cheesecloth.
Serving your brew over large ice cubes is essential, as they melt slower and prevent dilution of the concentrated flavor. For a professional touch, add a splash of cold foam or cream, which complements the naturally sweet profile you have created.
This meticulous approach guarantees a smooth finish that rivals any specialized cold brew system while utilizing your versatile Keurig.
Tips for Better Tasting Keurig Cold Coffee
Using Coffee Ice Cubes to Prevent Dilution
One of the most common complaints when learning how to make cold brew coffee with Keurig machines is that the final drink tastes watered down once the ice begins to melt.
To solve this problem and maintain a robust profile, you should begin using coffee ice cubes to prevent dilution throughout the drinking experience.
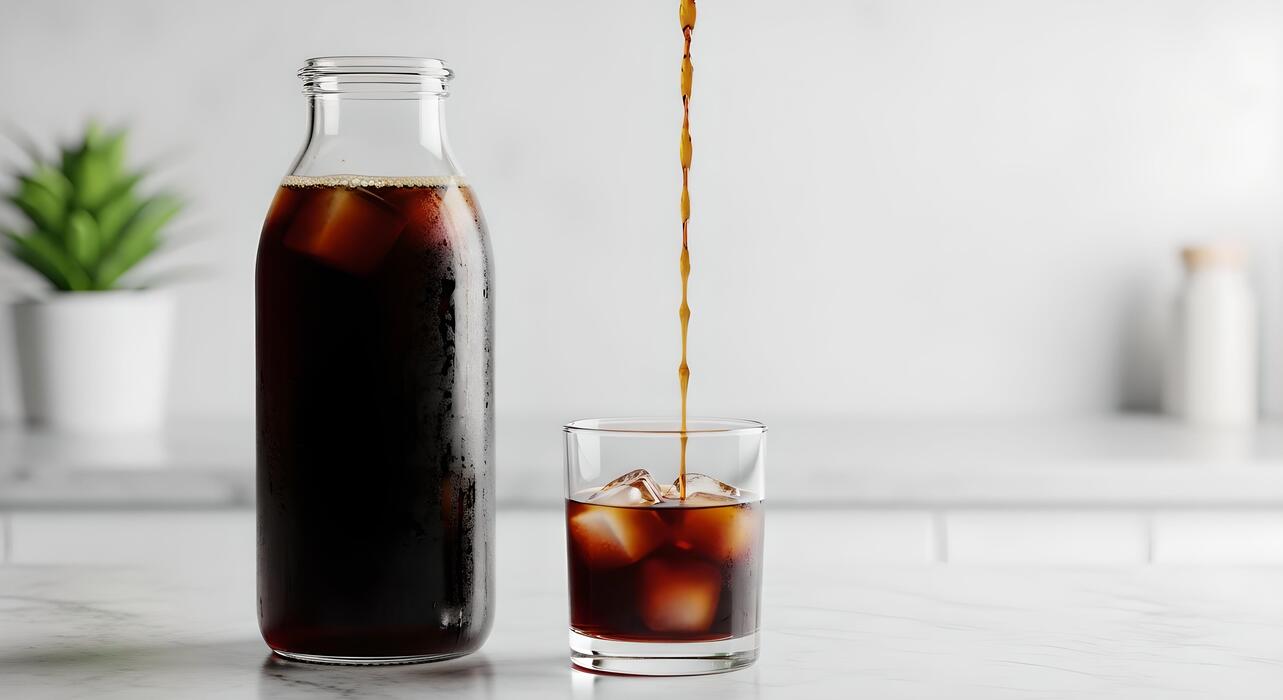
To prepare these, simply brew a standard cup of your favorite K-Cup blend, let it cool to room temperature, and pour it into a standard silicone ice tray for freezing.
When you are ready to enjoy your chilled beverage, place these frozen coffee cubes into your glass before brewing your Keurig pod directly over them.
As the cubes slowly melt, they release additional concentrated coffee flavor rather than plain water, ensuring your beverage remains bold and flavorful until the very last sip.
This simple proactive step significantly upgrades the quality of your homemade iced coffee and preserves the intended strength of the roast without any extra expense.
The Importance of Filtered Water
Since a cup of coffee is approximately ninety-eight percent water, the quality of your source liquid is the primary factor in determining the final taste profile of your Keurig cold brew.
To achieve a clean and crisp finish, you must prioritize the importance of filtered water over standard tap water, which often contains minerals and chlorine that can create a harsh or metallic aftertaste.
Using a dedicated water filtration pitcher or a built-in Keurig charcoal filter ensures that your brew remains free from impurities that mask the delicate notes of the coffee beans.
Furthermore, using purified water helps prevent scale buildup inside your machine’s heating element, which maintains consistent temperature control and pressure during the brewing process.
By starting with a neutral and clean water base, you allow the natural sweetness and acidity of the coffee grounds to shine through, resulting in a professional-quality cold beverage that rivals any premium cafe experience while extending the overall lifespan of your brewing equipment.
Adding Syrups and Creamers Properly
To achieve a perfectly balanced flavor profile, you must focus on the technique of adding syrups and creamers properly to your chilled beverage. Unlike hot coffee, where sugar dissolves instantly, cold liquids require a different approach to ensure even distribution.
For the best results, add your flavored syrups or liquid sweeteners to the bottom of the glass before you start the brewing cycle; the heat from the initial stream of coffee will help incorporate the sweeteners thoroughly without the need for excessive stirring.
When it comes to dairy or plant-based alternatives, always add your creamers last, after the coffee has had a moment to settle over the ice. This layering technique prevents the cream from curdling and allows you to control the exact richness of the drink.
Experimenting with high-quality concentrated syrups ensures that you get a punch of flavor without making the drink overly watery, providing a decadent and smooth texture that complements the rapid-chill method of a standard Keurig machine.
Common Mistakes to Avoid
Using the Wrong Cup Size
One of the most frequent errors when attempting a cold brew style beverage with a Keurig is selecting a cup size that is far too large for the concentrated extraction needed. To achieve that smooth, bold flavor profile characteristic of cold brew, you must prioritize a high coffee-to-water ratio.
Selecting a 10-ounce or 12-ounce setting will result in a watery, over-extracted mess that lacks the necessary body to stand up to melting ice. Instead, you should select the smallest cup size available, typically the 6-ounce or 8-ounce setting, to ensure the brew remains robust.
If your machine features a specialized ‘Over Ice’ button, utilize it immediately as it is designed to start with a hot burst and then optimize the flow for strength. By minimizing the water volume, you ensure that the resulting concentrate retains its richness once it hits the ice cubes.
Remember that cold brew is defined by its intensity; therefore, avoiding larger brew cycles is the most effective way to prevent a disappointing, diluted drink that tastes more like tinted water than premium coffee.
Brewing with Hot Water Directly onto Thin Glass
Safety and equipment longevity are often overlooked when users are eager to enjoy a chilled caffeine fix. A dangerous mistake is placing a standard, thin-walled glass tumbler directly under the Keurig dispenser to catch the hot liquid.
Because the Keurig still uses heat to extract flavor from the K-Cup, the sudden temperature shift—known as thermal shock—can cause non-tempered glass to shatter or crack instantly.
To avoid a hazardous cleanup and a ruined drink, you must use a heat-resistant vessel like a heavy ceramic mug, a stainless steel tumbler, or a glass specifically rated for high temperatures.
Once the concentrated hot coffee is brewed safely into the sturdy container, you can then transfer it to your ice-filled glass. Additionally, adding ice to the glass after brewing rather than before can help mitigate the risk of splashing hot liquid.
Taking this extra step ensures that you are prioritizing kitchen safety while maintaining the integrity of your glassware, allowing you to focus entirely on the quality of your homemade cold brew creation without any unexpected accidents.
Ignoring Machine Maintenance and Cleaning
The quality of your cold brew is heavily dependent on the cleanliness of your Keurig, yet many users neglect routine maintenance which leads to bitter or off-tasting results.
Over time, coffee oils and mineral scale build up inside the internal needles and tubes, which can significantly alter the flavor of your beverage. When you are aiming for the clean, crisp notes of a cold brew, any lingering residue from previous dark roasts or flavored pods will be magnified.
To prevent this, you should perform a freshwater rinse cycle before brewing your cold concentrate to clear out any old grounds.
Furthermore, it is essential to regularly descale your machine using a vinegar solution or a commercial descaling product to ensure the heating element and water pump are functioning at peak efficiency.
Do not forget to clean the exit needle with a paperclip to remove any stubborn clogs that might restrict flow.
By keeping the internal components pristine, you guarantee that the only thing you taste is the fresh, smooth profile of your coffee, effectively eliminating stale odors and sour undertones from your final glass.
Best Coffee Roasts for Cold Keurig Drinks
Why Dark Roasts Work Best for Ice
When you are learning how to make cold brew coffee with Keurig machines, selecting a dark roast is the most critical step for success. The primary challenge with brewing over ice is dilution; as the hot liquid hits the cubes, they melt rapidly and thin out the beverage.
Dark roasts are characterized by their robust body and low acidity, which allows the bold coffee flavor to remain prominent even after significant water displacement. These beans are roasted longer to develop deep, smokey notes that can stand up to heavy creamers and sweeteners often found in iced recipes.
By using a dark roast K-Cup, you ensure that the final result tastes like coffee rather than flavored water. Furthermore, the intense caramelization of sugars in dark beans provides a natural sweetness that complements the chilling process.
Always select the strongest brew setting on your Keurig to maximize the extraction of these dark oils, ensuring your cold drink maintains its structural integrity and richness from the very first sip to the last.
Top Rated K-Cup Brands for Cold Brewing
To achieve a professional-grade iced beverage at home, you should look for specific K-Cup brands that have mastered the art of high-intensity extraction. Green Mountain Coffee Roasters offers a dedicated ‘Brew Over Ice’ line specifically engineered to be brewed hot directly into a tumbler of ice without losing flavor.
Another excellent option is Peet’s Coffee Major Dickason’s Blend, which is world-renowned for its deeply toasted profile and full-bodied texture that survives the cooling process beautifully. If you prefer a smoother finish, Starbucks French Roast provides the smoky intensity required to punch through melted ice.
For those using a reusable filter, grinding fresh Death Wish Coffee beans for your Keurig provides an extra caffeine kick and a dark, cocoa-heavy base that is perfect for cold applications.
These brands are highly rated because their pods contain a slightly higher volume of coffee grounds, ensuring a concentrated extraction that prevents your cold brew from tasting weak or underdeveloped. Choosing these trusted names guarantees a consistent and satisfying result every single time you brew.
Flavor Profiles to Look For
Understanding flavor profiles is essential when choosing beans for cold Keurig drinks, as the cold temperature mutes some notes while highlighting others. When browsing for pods, prioritize descriptions that mention chocolate, toasted nuts, or caramel undertones.
These specific flavor notes are chemically stable and translate well to cold temperatures, providing a satisfyingly smooth mouthfeel. Avoid light roasts with high floral or citrus acidity; when these are brewed over ice, the acidity can become unpleasantly sharp or sour.
Instead, look for labels that promise a bold and smoky finish or a heavy-bodied texture. Notes of molasses or brown sugar are also ideal, as they provide a foundational sweetness that balances the bitterness of a flash-chilled brew.
If you enjoy adding milk or alternative creamers, a nutty flavor profile will create a harmonious blend that tastes like a high-end coffee shop creation. By focusing on these deep, earthy characteristics, you can craft a DIY cold brew that is sophisticated, refreshing, and perfectly balanced.
Always check the packaging for these key descriptive terms to ensure your iced coffee meets your expectations for quality and taste.
Frequently Asked Questions
Can a standard Keurig machine make authentic cold brew?
A standard Keurig cannot make traditional cold brew because cold brew requires steeping grounds in cold water for 12-24 hours. However, you can make ‘cold coffee’ or ‘iced coffee’ by brewing a concentrated hot pod directly over a large tumbler filled with ice.
How do I use the ‘Brew Over Ice’ button on my Keurig?
Fill a plastic tumbler with ice and place it under the dispenser, then select the ‘Over Ice’ button. The machine will start brewing hot to extract flavor and then automatically adjust the temperature and volume to minimize ice melting and prevent dilution.
What is the best K-Cup for making cold coffee?
Look for pods specifically labeled ‘Brew Over Ice’ or choose dark roast varieties. Darker roasts maintain a bolder flavor profile that won’t taste watered down once the ice begins to melt into the hot coffee.
Can I use a Keurig to make cold brew using the steeping method?
Yes, you can use a Keurig My K-Cup reusable filter filled with your own coarse grounds. Instead of brewing through the machine, place the filled filter into a jar of cold water and let it steep in the refrigerator for 12 to 24 hours.
How do I prevent my glass from breaking when brewing over ice?
Never brew hot coffee directly into a standard glass cup filled with ice, as the thermal shock can cause it to shatter. Always use a plastic, double-walled acrylic, or tempered glass tumbler designed for temperature shifts.
Is there a Keurig model that actually makes cold brew?
The Keurig K-Brew+Chill is a specialized model designed to flash-chill hot coffee to a cold temperature during the brewing process. While it is still technically a rapid extraction rather than a long-steeped cold brew, it produces a cold result without immediate ice dilution.
Conclusion
Making cold brew coffee with your Keurig is a simple, cost-effective way to enjoy a refreshing drink at home. By utilizing the “Over Ice” feature or brewing a concentrated shot over a full tumbler of ice, you can achieve a smooth, bold flavor in minutes. Now that you have mastered these quick techniques, feel free to experiment with different roasts and sweeteners. Start brewing today and enjoy your perfect homemade chilled coffee.