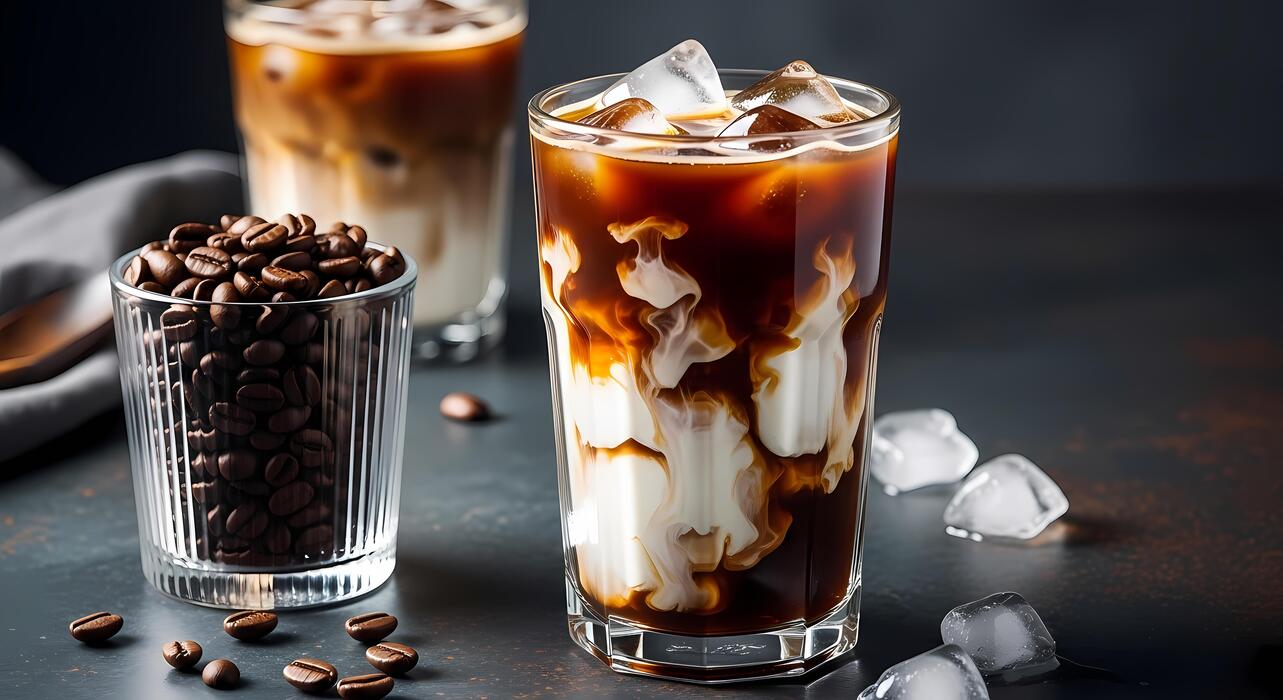
How To Make Homemade Iced Coffee At Home
how to make homemade iced coffee at home is simpler than you think—no fancy machines needed. The core problem is avoiding watery, bitter coffee that disappoints. You’re in the right place to learn the key trick: brewing double-strength coffee and cooling it fast without diluting flavor. Whether you prefer cold brew or hot-brewed and chilled, this guide delivers rich, café-quality results every time.
Why Make Homemade Iced Coffee Instead of Buying It
Cost savings compared to coffee shop prices
Making iced coffee at home can save you up to 75% compared to buying it daily from a café. A typical coffee shop iced coffee costs $3–$5, while a homemade version using quality beans and milk costs roughly $0.30–$0.50 per serving.
Over a month, that’s a savings of $80–$135 if you skip just one store-bought drink per day. To maximize savings, buy whole beans in bulk and use a reusable filter. Brew a large batch of cold brew concentrate weekly—it stays fresh for up to two weeks in the fridge.
Then simply dilute with water or milk and add ice. This method not only cuts costs but also reduces impulse purchases of pricey syrups or add-ons. For even greater savings, use leftover hot coffee from your morning brew: pour it over ice immediately or chill it for later.
Small daily changes add up fast, freeing your budget for other priorities without sacrificing your iced coffee fix.
Control over ingredients and sweetness
When you make iced coffee at home, you have total command over what goes into your cup. You can choose organic beans, plant-based milks, or natural sweeteners like honey, maple syrup, or stevia—avoiding the artificial additives and high-fructose corn syrup often found in coffee shop syrups.
Adjust sweetness to your exact preference, from unsweetened to lightly sweetened, without paying extra. You can also experiment with flavor infusions like vanilla extract, cinnamon, or a pinch of sea salt to enhance taste without added sugar.
For a healthier twist, use unsweetened almond milk or oat milk and skip the creamers. If you’re watching calories, homemade iced coffee lets you control portion sizes—use less milk or opt for ice cubes made from coffee to avoid dilution.
This customization ensures every sip matches your dietary needs and taste, making your morning ritual both delicious and guilt-free.
Fresher taste with less waste
Homemade iced coffee delivers superior freshness because you brew it just before serving or within a few days. Coffee shop batches often sit for hours, losing aromatic oils and developing a stale, bitter flavor.
By making your own, you can use freshly ground beans and filtered water for a crisp, vibrant taste. Additionally, you drastically reduce single-use waste: no disposable cups, plastic lids, or straws. Simply pour into a reusable glass or tumbler.
You can also repurpose leftover coffee grounds as compost or a natural deodorizer, cutting down your environmental footprint. Brewing at home lets you control batch size—make exactly what you need to avoid tossing old coffee.
For zero waste, freeze extra brew into ice cubes for future iced coffee, ensuring every drop is used. This approach not only tastes better but also aligns with eco-friendly habits, saving money and the planet simultaneously.
Best Coffee Beans and Grind for Iced Coffee
Choosing between light, medium, and dark roasts
For homemade iced coffee, medium roast is your most versatile choice because it balances bright acidity with rich body, cutting through ice without turning bitter. Light roasts can taste overly sharp when cold, while dark roasts may become harsh or ashy.
However, if you prefer a bold, chocolatey profile, try a dark roast with a shorter steep time (like 12 hours for cold brew) to mellow the bitterness.
For a fruity, tea-like iced coffee, opt for a light roast from Ethiopia or Kenya and brew it as a hot concentrate to preserve delicate notes. Always choose whole beans and grind them yourself for peak freshness—stale grounds ruin flavor.
When buying pre-ground, look for cold brew-specific blends (often labeled as such) or a medium roast with a coarse grind** to avoid over-extraction. Experiment with single-origin beans to discover your favorite cold profile, and store beans in an airtight container away from light.
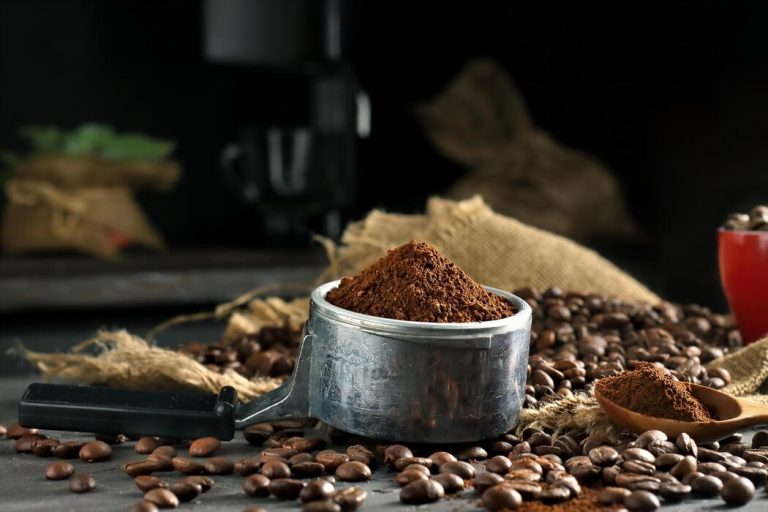
Why coarse grind works best for cold brew
Cold brew relies on time, not heat, to extract flavor, so a coarse grind is essential to prevent over-extraction and bitterness. Fine grounds (like espresso) dissolve too quickly, releasing harsh compounds that taste muddy or sour when steeped for 12–24 hours.
Aim for a grind size resembling coarse sea salt or breadcrumbs—this allows water to flow evenly through the grounds without clogging your filter. For hot-brewed iced coffee, use a medium-coarse grind (like for a drip machine) to balance extraction during the shorter brew time.
If you lack a grinder, buy pre-ground coffee labeled “cold brew coarse” or ask a café to grind beans for you. Pro tip: After steeping, strain through a fine-mesh sieve lined with a paper filter to remove silt, yielding a silky-smooth concentrate.
Never use a fine grind—it’s the #1 mistake that ruins homemade iced coffee.
Tips for using pre-ground coffee if needed
Pre-ground coffee can still make excellent iced coffee if you choose wisely and adjust your method. Look for whole bean bags ground at the store (fresher than pre-packaged) or high-quality brands labeled “cold brew blend” with a coarse grind. Avoid finely ground espresso or Turkish coffee—they’ll over-extract and taste bitter.
Use a ratio of 1:4 coffee to water (e.g., 1 cup grounds to 4 cups water) for cold brew, and steep for 14–18 hours (shorter than fresh grounds) to compensate for staleness.
For hot-brewed iced coffee, double the coffee-to-water ratio (e.g., 2 tablespoons per 6 oz water) and brew directly over ice to cool quickly. Store pre-ground coffee in an airtight bag in the freezer for up to a month, but use within 2 weeks for best flavor.
Pro hack: Add a pinch of salt to the grounds before brewing to reduce bitterness and enhance sweetness.
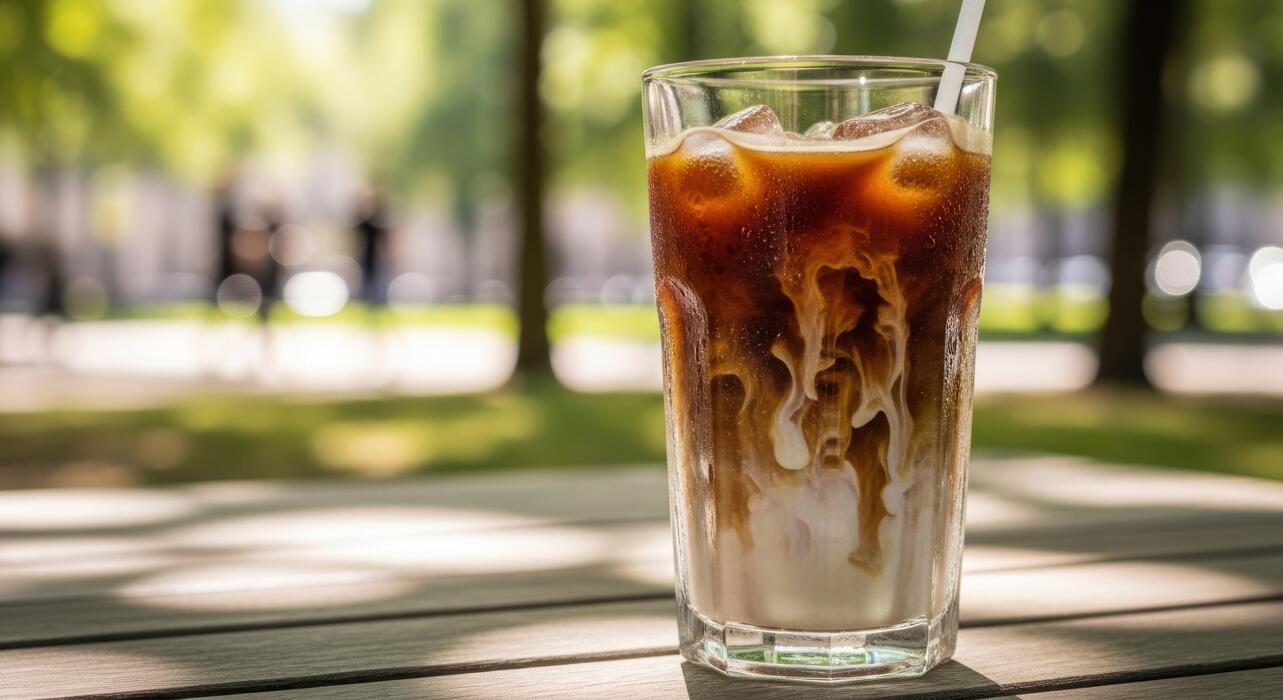
How to Make Cold Brew Iced Coffee at Home
Step-by-step cold brew method with a jar
Start by selecting a clean, large glass jar (like a 32-ounce mason jar) to serve as your brewing vessel. Add 1 cup of coarsely ground coffee—use a burr grinder set to a French press setting to avoid powdery fines that cause bitterness.
Pour in 4 cups of cold, filtered water, then stir gently with a long spoon until all grounds are saturated. Seal the jar with a lid and place it in the refrigerator for 12 to 24 hours; a 16-hour steep yields a balanced, smooth concentrate.
During this time, the cold extraction draws out subtle flavors while minimizing acidity. After steeping, prepare for straining by lining a fine-mesh sieve with a coffee filter or cheesecloth set over a large bowl.
Slowly pour the contents through the filter, letting gravity work—avoid pressing the grounds to keep the brew clear. Transfer the liquid to a clean jar or bottle. This concentrate is ready to be diluted with water or milk, and it stays fresh in the fridge for up to two weeks.
Enjoy a smooth, homemade iced coffee without the bitterness of hot brewing.
Ratio of coffee to water for smooth results
The ideal ratio for cold brew is 1 part coffee to 4 parts water by volume, which produces a concentrated base that remains smooth and non-bitter.
For a single batch, use 1 cup of coarse ground coffee with 4 cups of cold water—this yields about 3 cups of concentrate after straining. If you prefer a ready-to-drink strength, use a 1:8 ratio (1 cup coffee to 8 cups water), which requires no dilution later.
Always weigh your coffee for accuracy: 80 grams of coffee per 1 liter of water for a standard concentrate. The key to smoothness lies in the coarse grind; finer grounds can over-extract and create harsh flavors. Avoid hot water entirely—cold extraction naturally reduces acidic compounds.
For a balanced cup, mix the concentrate with equal parts water or milk over ice. Adjust ratios to your taste: a stronger brew for bold coffee lovers or a milder one for sipping. This precision ensures a consistently smooth, rich iced coffee every time.
Straining and storing cold brew concentrate
After steeping, strain the mixture through a fine-mesh sieve lined with a damp coffee filter or cheesecloth into a clean pitcher. Pour slowly to avoid clogging, and let it drip naturally—do not squeeze the grounds, as this releases bitter oils.
For ultra-smooth results, strain twice: first through a sieve, then through a fresh filter. Transfer the concentrate to a sealed glass bottle or jar and store it in the refrigerator. Cold brew concentrate stays fresh for up to 2 weeks, but its flavor peaks within the first 5-7 days.
Always label the container with the date to track freshness. To serve, fill a glass with ice, pour the concentrate halfway, and top with cold water, milk, or a dairy-free alternative. Adjust the strength to your preference—typical dilution is 1:1.
For a sweet touch, stir in simple syrup or vanilla syrup before adding ice. Never leave the concentrate at room temperature; refrigeration preserves its smooth, low-acid character. This method gives you a ready supply of café-quality iced coffee at home.
How to Make Hot Brew Iced Coffee Quickly
Brewing double-strength coffee to avoid dilution
To make hot brew iced coffee quickly without a watery taste, brew your coffee at double strength using a standard drip machine or pour-over. Use twice the amount of coffee grounds you normally would for the same volume of water—for example, 4 tablespoons of grounds per 6 ounces of water.
This concentrated brew ensures that when you pour it over ice, the melting cubes will dilute the coffee back to a balanced strength, not a weak one. For best results, choose a medium or dark roast for robust flavor that stands up to dilution.
Brew directly into a heatproof carafe or glass container, then immediately pour the hot coffee over a full glass of ice cubes. This method is faster than cold brew (which takes 12-24 hours) and yields a bright, aromatic iced coffee in minutes.
For an extra punch, add a pinch of salt to the grounds before brewing to reduce bitterness. Serve with milk or sweetener as desired, and enjoy your quick, café-style iced coffee at home.
Cooling methods: ice bath vs. refrigeration
To cool your hot brew iced coffee quickly without losing flavor, two primary methods work: the ice bath and refrigeration. For the fastest results, use an ice bath—fill a large bowl with ice and cold water, then place your coffee container in it, stirring occasionally.
This cools the coffee from hot to room temperature in about 5-10 minutes, preventing the coffee from becoming bitter from prolonged heat. For a more hands-off approach, refrigeration takes 30-60 minutes but preserves the coffee’s volatile aromatics better since it cools gradually.
If you’re in a hurry, combine both: brew double-strength coffee, pour it over a glass of ice immediately (this is the classic hot brew method), then refrigerate any leftover concentrate. Avoid letting hot coffee sit at room temperature for too long, as this can lead to oxidation and stale flavors.
For best quality, cool the coffee first before adding ice to control dilution. Both methods work well, but the ice bath is ideal for immediate serving while refrigeration suits batch preparation.
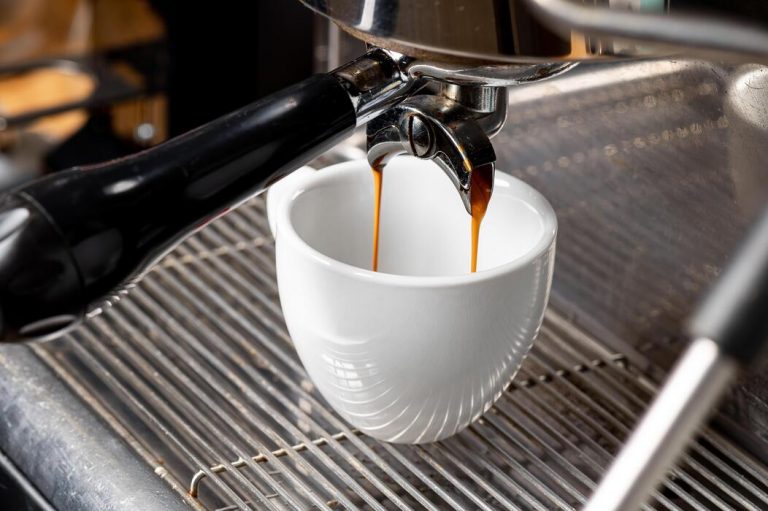
Using an espresso machine for rich iced coffee
For a quick, rich iced coffee that rivals café quality, use an espresso machine to pull a double or triple shot directly over a glass filled with ice. The concentrated espresso provides intense flavor and a creamy crema that stands up beautifully to ice dilution.
Start by filling a tall glass with ice cubes—use larger cubes to slow melting—then pull your espresso shots directly onto the ice. This method takes under a minute and yields a bold, smooth iced coffee.
For a larger drink, add cold water or milk to the glass after the espresso, adjusting to your preferred strength. If you don’t have an espresso machine, a stovetop moka pot or an AeroPress with a fine grind can mimic this effect.
The key is to use a dark roast and finely ground coffee for maximum extraction. Sweeten with simple syrup or vanilla syrup while the espresso is hot for better dissolution. Serve immediately for a frothy, intense iced coffee that’s perfect for a quick caffeine fix at home.
Tips for Avoiding Watery or Bitter Iced Coffee
Making coffee ice cubes to prevent dilution
One of the most effective ways to avoid watery iced coffee is to brew a double-strength batch of coffee and freeze some of it into coffee ice cubes. Simply pour cooled, freshly brewed coffee into an ice cube tray and freeze until solid.
When you pour your regular-strength coffee over these cubes, they will melt and add rich coffee flavor instead of diluting your drink with plain water. For even better results, use cold brew concentrate for the cubes, as it has a smoother, less acidic taste.
You can also experiment with adding a splash of milk or a pinch of cinnamon to the cubes before freezing for a subtle flavor boost. Remember to leave a small gap at the top of each cube compartment to allow for expansion.
This technique ensures your iced coffee stays robust and flavorful from the first sip to the last, without the dreaded watery finish. Always use filtered water when brewing the cubes to avoid any off-tastes.
Adjusting brew time and temperature
Bitterness in iced coffee often results from over-extraction during brewing, which happens when coffee grounds are exposed to hot water for too long or at too high a temperature. To prevent this, aim for a brew temperature between 195°F and 205°F (90-96°C) and limit contact time.
For hot brew methods, steep for 4-5 minutes, then immediately remove the grounds or pour over ice to stop extraction. For cold brew, steep at room temperature for 12-24 hours, but never exceed 24 hours to avoid bitterness.
Use a medium-coarse grind for hot coffee and a coarse grind for cold brew to slow extraction. If you’re using a drip machine, check that the water isn’t too hot by measuring with a thermometer. Adjusting these variables helps you achieve a balanced, smooth flavor profile.
Always taste-test your brew before chilling, and if it tastes bitter, reduce brewing time or lower the water temperature slightly next time.
Adding milk or cream after cooling
To preserve the intended flavor and texture of your iced coffee, always let your brewed coffee cool to room temperature before adding milk, cream, or any dairy alternative. Adding cold milk to hot coffee can cause rapid temperature changes that may lead to curdling or separation, especially with plant-based milks.
Once the coffee is cool, pour it over ice, then stir in your desired amount of milk or cream. This approach prevents the milk from diluting the coffee unevenly and keeps the drink smooth and creamy.
For best results, use full-fat milk or a barista-style oat milk, as these resist separation better. If you prefer a sweeter drink, dissolve sugar or syrup in the hot coffee before cooling, as cold liquids don’t dissolve sugar well.
Always stir thoroughly to integrate the milk fully, and consider using a frother for a lighter texture. This method ensures your iced coffee stays rich and balanced without any bitter or watery notes.
Easy Ways to Flavor Your Homemade Iced Coffee
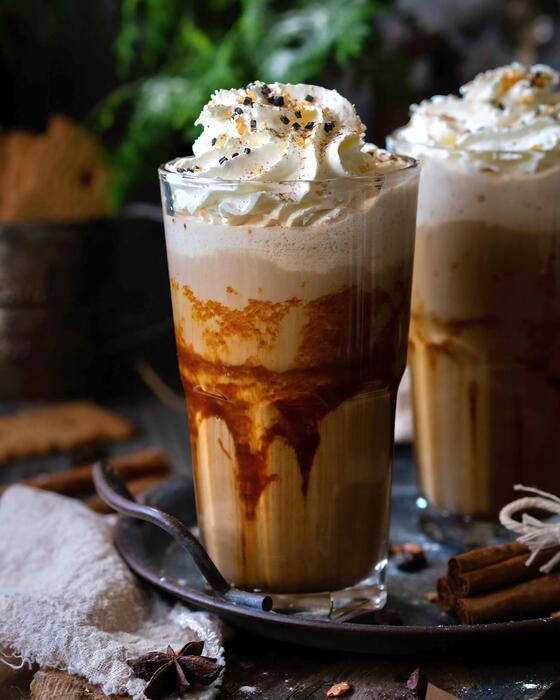
Simple syrups: vanilla, caramel, and cinnamon
Elevate your homemade iced coffee instantly by making simple syrups at home. To create a basic syrup, combine equal parts water and sugar in a saucepan, heat until dissolved, then cool. For vanilla, add a tablespoon of vanilla extract per cup of syrup.
For caramel, use brown sugar instead of white and simmer until slightly thickened. For cinnamon, drop in a few cinnamon sticks while heating. Store your syrup in a sealed jar in the fridge for up to two weeks.
When preparing your iced coffee, add one to two tablespoons of syrup per cup—adjust to taste. This method ensures consistent sweetness without gritty sugar granules. Experiment with other extracts like almond or hazelnut for variety.
Pro tip: Use hot syrup to dissolve into cold coffee more easily, or stir it into a small amount of warm coffee before adding ice. These syrups are also perfect for flavoring lattes or iced teas.
Using spices like nutmeg or cocoa powder
Add a subtle, aromatic twist to your iced coffee with ground spices directly stirred into the brew. Before brewing, mix a pinch of cinnamon, nutmeg, or cocoa powder into your coffee grounds. For a single serving, start with 1/8 teaspoon of spice per cup.
This infuses the flavor evenly without clumping. Alternatively, sprinkle a dash on top of the finished iced coffee for a decorative finish. Cocoa powder creates a mocha-like taste; use unsweetened cocoa for control over sweetness. Nutmeg adds warmth, while cinnamon pairs well with vanilla syrup.
For a chai-inspired drink, try cardamom or ginger. Avoid overdoing it—spices can overpower coffee quickly. Stir thoroughly to blend, especially if adding after brewing. These spices also offer antioxidants and a caffeine-free flavor boost. Experiment with blends like pumpkin pie spice for seasonal variations.
Store spices in an airtight container away from light to maintain freshness.
Dairy and non-dairy milk options for creaminess
Transform your iced coffee’s texture with the right milk choice. Whole milk provides rich creaminess, while oat milk offers a smooth, neutral flavor that froths well. For a nutty taste, try almond milk (unsweetened to control sugar).
Coconut milk adds a tropical hint, but use the carton variety to avoid separation. Soy milk gives a protein boost and creamy consistency. For extra indulgence, use half-and-half or heavy cream in small amounts. Cold foam is easy: shake milk in a jar until frothy, then pour over ice.
Non-dairy options like cashew milk are naturally creamy. Avoid skim milk as it can become watery. Pour milk over ice before adding coffee to prevent dilution, or use coffee ice cubes. Experiment with ratios: start with 1/4 cup milk per 8 oz coffee.
For a dairy-free latte, heat oat milk and froth before adding. Store milk alternatives in the fridge and shake before use, as some separate naturally.
How to Store Homemade Iced Coffee for Later
Refrigerating cold brew for up to two weeks
To store your homemade iced coffee, start by preparing a cold brew concentrate instead of brewing hot coffee and cooling it. Cold brew stays fresher longer and tastes smoother. After brewing, strain out all coffee grounds using a fine-mesh sieve or cheesecloth.
Pour the concentrate into an airtight glass container—avoid plastic, which can absorb odors. Label it with the date and place it in the refrigerator. Cold brew concentrate remains fresh for up to two weeks, but for best flavor, use within 10 days.
When ready to drink, simply dilute with water or milk at a 1:1 or 1:2 ratio (concentrate to liquid) over ice. Never add sugar or cream before storing, as dairy spoils quickly and sweeteners can alter taste. If you must add milk, do it only per serving.
This method ensures you always have ready-to-enjoy iced coffee without daily brewing. Stir before each use as natural sediment may settle.
Freezing iced coffee in portions
For longer storage, freeze your homemade iced coffee in ice cube trays. This prevents dilution when you add cubes to fresh coffee later. Brew a strong batch (double the usual coffee grounds) and let it cool completely. Pour the coffee into silicone ice cube trays—they release cubes easily.
Once frozen solid, transfer the cubes to a freezer-safe zip-top bag, removing as much air as possible. Label with the date and freeze for up to 3 months. For a creamy twist, freeze leftover coffee with a splash of milk or cream.
When you need a quick iced coffee, fill a glass with these coffee cubes and top with milk or water. The cubes melt slowly, keeping your drink cold and flavorful. Avoid freezing coffee in large blocks; portioning ensures you only thaw what you need.
This technique also works for making coffee slushies—blend cubes with milk and sweetener for a refreshing treat.
Reheating tips if you prefer hot coffee later
If you made iced coffee but later crave a hot cup, reheat it gently to preserve flavor. Pour the stored coffee into a small saucepan and warm over low heat, stirring occasionally. Do not boil—high heat makes coffee bitter and acidic.
Alternatively, use a microwave-safe mug and heat in 20-second bursts at 50% power, stirring between intervals, until steaming. Add a pinch of salt to counteract any bitterness from storage. For best results, reheat only the amount you plan to drink; reheating repeatedly degrades taste.
If your coffee was frozen, thaw cubes in the fridge overnight or microwave briefly before reheating. To restore freshness, stir in a drop of vanilla extract or cinnamon. Avoid reheating coffee more than once, as it loses aromatic oils.
This method is ideal for mornings when you want a quick hot brew without brewing a new pot. Serve immediately and enjoy your revived coffee with your favorite additions.
Frequently Asked Questions
What is the easiest way to make iced coffee at home?
The simplest method is to brew a pot of strong coffee (double the grounds), let it cool to room temperature, then pour it over ice. Add milk, cream, or sweetener to taste.
How do I make iced coffee without it getting watery?
Use coffee ice cubes made by freezing leftover coffee in an ice tray, or brew a concentrated batch (like cold brew) that stays flavorful even as regular ice melts.
What’s the difference between cold brew and iced coffee?
Iced coffee is hot-brewed coffee that is cooled and poured over ice, while cold brew is made by steeping coarse grounds in cold water for 12–24 hours. Cold brew is smoother and less acidic.
Can I make iced coffee with instant coffee?
Yes, dissolve 1–2 teaspoons of instant coffee in a small amount of hot water, then add cold water, milk, and ice. Stir well and sweeten if desired.
How do I make iced coffee creamy like a café?
Add a splash of heavy cream, half-and-half, or a flavored creamer. For a frothy texture, shake hot coffee with ice and milk in a sealed jar before pouring.
What’s a quick iced coffee recipe using a French press?
Brew coffee in a French press using double the grounds, let it steep for 4 minutes, then press and pour over a glass filled with ice. Add milk or sweetener to taste.
How can I sweeten iced coffee without sugar dissolving poorly?
Make a simple syrup by dissolving equal parts sugar and hot water, then cool it. This syrup blends easily into cold coffee without graininess.
Conclusion
Making homemade iced coffee is simple, cost-effective, and customizable. By brewing strong coffee, chilling it properly, and adding your favorite milk or sweetener, you can avoid watered-down drinks and save money. Whether you choose cold brew or flash-chilled hot coffee, the key is to start with quality beans and experiment with ratios. Ditch the drive-thru and enjoy a refreshing, café-quality iced coffee from the comfort of your kitchen—your taste buds and wallet will thank you.