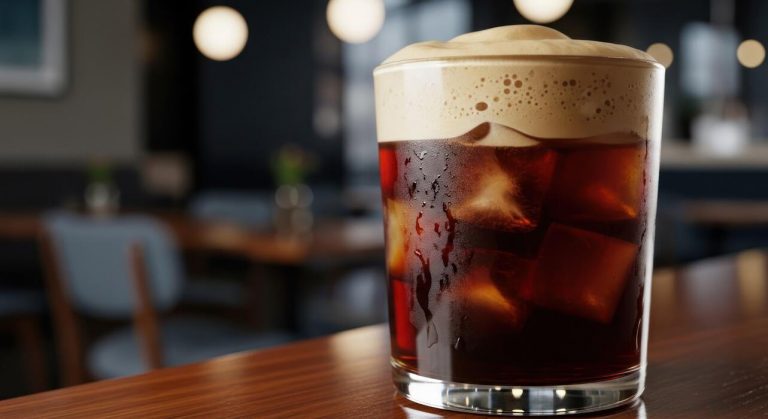
How To Make Iced Espresso At Home
How to make iced espresso at home is simpler than you think, yet most people end up with watery, bitter coffee. The core problem is dilution—melting ice ruins the balance of strong espresso. You’re in the right place because we’ll skip the guesswork and show you the exact method: brew a double shot directly over ice or chill it first, then add cold milk or water. No machines required—just fresh beans, hot water, and a few tools.
What You Need to Make Iced Espresso at Home
Essential equipment for brewing espresso
To make iced espresso at home, you first need a reliable method for brewing concentrated coffee. An espresso machine is the classic choice, but a stovetop Moka pot, Aeropress, or portable manual espresso maker also works well.
Whichever you choose, ensure it can produce a small, strong shot with a layer of crema. You’ll also need a burr grinder for consistent, fine grounds—avoid pre-ground coffee as it loses freshness quickly.
A kitchen scale is crucial for measuring 18-20 grams of coffee for a double shot, and a tamper helps compact the grounds evenly. Finally, use filtered water to avoid off-flavors. Heat your water to around 200°F (just off boiling) for optimal extraction.
With these basics, you can pull a rich espresso base that won’t get lost in the ice.
Choosing the right coffee beans
The best iced espresso starts with fresh, high-quality coffee beans that can stand up to dilution from ice. Opt for a medium to dark roast—these have deeper, chocolatey, or nutty notes that remain bold when chilled. Light roasts can taste overly acidic or sour in iced drinks.
Look for beans labeled espresso blend or single-origin with tasting notes like caramel, cocoa, or toasted nuts. Whole beans are essential; grind them just before brewing to preserve volatile oils and aromatics. For a smoother, sweeter iced coffee, try beans from Central or South America (e.g., Colombia, Brazil).
Avoid oily, stale beans, as they can produce bitter, flat shots. Store your beans in an airtight container away from light and heat, and use them within two to four weeks of roasting for the best flavor. This choice directly impacts your final drink’s richness.
Must-have tools for chilling and serving
Once your espresso is brewed, quick chilling prevents bitterness and preserves flavor. Use large ice cubes or whiskey stones—they melt slower than small cubes, so your drink stays strong. A tall glass (12-16 oz) is ideal for layering.
First, fill it with ice, then pour the hot espresso directly over it to shock-chill. For a smoother texture, consider a shaker to shake the espresso with ice for 10 seconds, then strain into a fresh glass.
A milk frother or steam wand is optional if you want to add cold foam or a splash of milk—try oat or almond milk for a creamy finish. A stainless steel tumbler keeps your drink cold longer without condensation. Finally, a stirring straw or spoon ensures even mixing.
With these tools, you can serve a crisp, refreshing iced espresso that rivals any café version.
How to Brew a Strong Espresso Shot for Iced Drinks

Step-by-step espresso brewing process
Start by preheating your espresso machine and portafilter with hot water to ensure temperature stability. Grind 18-20 grams of fresh coffee beans to a fine, powdery consistency just before brewing. Distribute the grounds evenly in the portafilter, then tamp with firm, level pressure (about 30 pounds).
Lock the portafilter into the group head and immediately start the shot. Aim for a 1:2 ratio of coffee to liquid espresso—for 18 grams of grounds, you want about 36 grams of liquid. The shot should take 25-30 seconds to pull.
For iced drinks, use a heatproof glass or cup filled with ice to catch the espresso directly, which rapidly chills it and preserves the crema. Brew directly over the ice to lock in bold flavor and prevent dilution from melting ice later.
This method yields a concentrated, syrupy shot that stands up well to milk or water in iced beverages.
Tips for pulling a perfect shot
For iced espresso, consistency is key—always weigh your coffee dose and liquid output to avoid under- or over-extraction. Use a burr grinder set to a fine setting; pre-ground coffee loses flavor quickly and can lead to bitter or sour shots.
Fresh beans roasted within 2-4 weeks produce the richest crema and sweetness. Ensure your machine’s water temperature is around 195-205°F (90-96°C) for optimal extraction. If your shot runs too fast (under 20 seconds), grind finer; if too slow (over 35 seconds), grind coarser.
Clean your portafilter and basket after each use to remove old coffee oils that can impart rancid flavors. For iced drinks, consider a slightly longer pre-infusion (2-3 seconds) to enhance body without bitterness.
Finally, chill your glass beforehand to keep the espresso cold longer, and serve immediately for the best texture and aroma.
Adjusting grind size and dose for iced coffee
Iced espresso requires a finer grind than hot espresso because the ice cools the shot instantly, reducing the risk of over-extraction. Start with a grind that feels like powdered sugar and adjust based on flow: if the shot drips slowly, grind coarser; if it gushes, grind finer.
Increase your dose by 1-2 grams (e.g., from 18 to 20 grams) to compensate for the dilution from ice, ensuring a stronger, more concentrated flavor. Use a double basket to hold the larger dose and maintain even extraction.
For a balanced iced drink, aim for a 1:1.5 ratio of coffee to liquid—20 grams of grounds yielding 30 grams of espresso. This creates a bolder shot that cuts through milk or water.
Always taste test after adjusting: a properly extracted shot should be sweet and smooth, not sour or bitter. Fine-tune your settings based on the specific coffee beans you use for best results.
Best Ways to Cool Down Espresso Without Diluting It
Using ice cubes made from coffee
The most effective way to cool your espresso without dilution is to use ice cubes made from brewed coffee. Simply pour leftover coffee into an ice cube tray and freeze. When you pull a fresh shot, drop 2–3 coffee ice cubes into the glass before pouring the espresso over them.
This method instantly chills the espresso while adding concentrated coffee flavor instead of watering it down. For best results, use a strong brew or cold brew concentrate for the cubes so they don’t weaken the final drink.
You can also add a splash of milk or sweetener to the cubes before freezing for a flavored iced latte. To avoid dilution entirely, let the espresso cool slightly on its own before adding the cubes.
This technique works perfectly for a pure iced espresso or as the base for an iced Americano. Remember that coffee ice cubes melt slower than regular ones, giving you more time to enjoy your drink without it becoming watery.
Chilling espresso in the fridge or freezer
A straightforward, no-dilution approach is to chill your espresso in the fridge or freezer before serving. Pull your shot into a pre-chilled glass or a small metal container, then place it uncovered in the freezer for 2–3 minutes or in the fridge for 5–7 minutes.
The key is to stir the espresso occasionally to distribute the cold evenly and speed up cooling. For faster results, use a metal shot glass or a stainless steel cup, as metal conducts temperature better than ceramic or glass.
Once the espresso reaches your desired temperature, pour it over ice or into cold milk. This method preserves the full strength and flavor profile of the coffee without any water dilution. Be careful not to leave it too long in the freezer, as espresso can freeze into a slushy texture.
For a pro tip, chill the glass or cup ahead of time to reduce the cooling duration. This technique is ideal when you want a pure, concentrated iced espresso experience.
Flash cooling with a metal shaker
For an instant, professional-quality chill, use a metal cocktail shaker to flash cool your espresso. Pull your fresh shot directly into the shaker, then add ice cubes and seal it tightly.
Shake vigorously for 10–15 seconds—the rapid motion and cold metal surface quickly drop the temperature while the ice melts only slightly, creating a thin layer of dilution that actually balances the espresso’s intensity.
After shaking, strain the espresso into a glass with fresh ice to avoid over-dilution from the melted ice. This method also aerates the espresso, creating a smooth, velvety texture with a light crema-like foam.
For an iced latte, add milk to the shaker with the ice and espresso, then shake for a frothy result. The key is using a high-quality, leak-proof shaker and shaking with confidence. This technique is beloved by baristas for its speed and the microfoam it produces.
It’s perfect when you want a chilled espresso that feels creamy and refreshing without waiting.
How to Make Classic Iced Espresso in 5 Minutes
Simple iced espresso recipe
To make classic iced espresso at home in 5 minutes, start by brewing a double shot of espresso using your espresso machine, Moka pot, or a strong AeroPress. While the espresso is hot, fill a tall glass with ice cubes—about ¾ full.
Immediately pour the freshly brewed espresso directly over the ice. The rapid cooling preserves the coffee’s bold flavor and prevents excessive dilution. For a smoother taste, consider flash-chilling: brew the espresso into a chilled metal shaker or cup with ice, then strain it into your serving glass.
This method locks in crema and intensity. If you prefer a larger drink, simply add cold water to the iced espresso for an Americano-style refreshment. Serve immediately with a straw or stir gently.
The key is to act fast—espresso oxidizes quickly, so pouring over ice within 30 seconds of brewing ensures maximum freshness. Enjoy the pure, robust coffee experience with zero waiting.
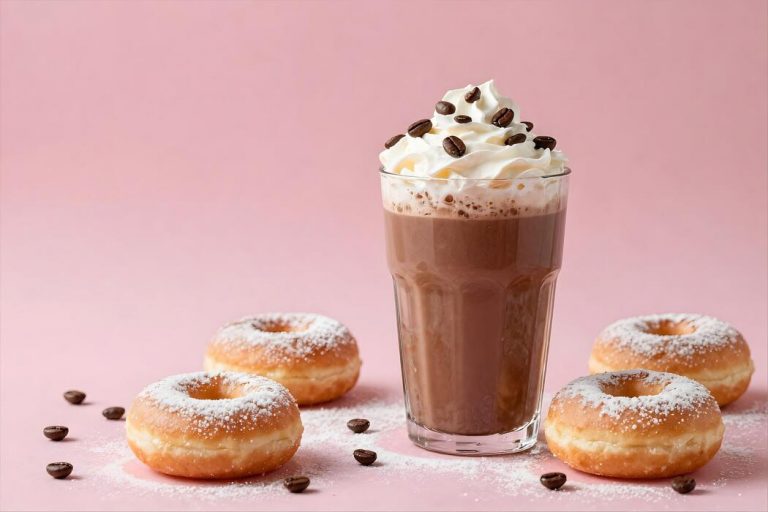
Adding milk or cream for an iced latte
Transform your iced espresso into a creamy iced latte by adding cold milk or a dairy-free alternative like oat, almond, or soy milk. After pouring your espresso over ice, fill the rest of the glass with milk—typically 6 to 8 ounces for a standard 12-ounce drink.
Stir gently to combine, or use a handheld frother to lightly foam the milk before pouring for a café-style texture. For a richer version, substitute half-and-half or heavy cream, but keep in mind that higher fat content can mute the espresso’s nuanced flavors.
To prevent watering down, use chilled milk directly from the fridge and avoid adding extra ice if possible. If you prefer a layered effect, pour the milk slowly over the back of a spoon so it sits atop the espresso.
For a dairy-free iced latte, oat milk is a top choice because it froths well and complements coffee’s natural sweetness. Adjust the milk-to-espresso ratio to your taste—more milk creates a milder, sweeter drink.
Sweeteners and syrups to enhance flavor
Elevate your iced espresso with simple syrups, flavored syrups, or natural sweeteners that dissolve instantly in cold liquids. Make a quick simple syrup by dissolving 1 part sugar in 1 part hot water (microwave for 30 seconds), then cool it before adding to your iced coffee.
Classic options include vanilla, caramel, or hazelnut syrup—start with 1 to 2 tablespoons per serving. For a healthier twist, use honey, agave nectar, or maple syrup, but stir vigorously since they are thicker.
Sugar-free alternatives like stevia or monk fruit sweeteners work well if you dissolve them in a small amount of hot water first. Seasonal flavors like cinnamon, pumpkin spice, or peppermint can be added via store-bought syrups or homemade infusions.
To avoid clumping, always mix sweeteners directly into the hot espresso before pouring over ice. Experiment with salted caramel, brown sugar, or lavender syrup for a gourmet touch. Remember, sweetness is personal—start with less and adjust to your preference.
A well-sweetened iced espresso can transform your daily routine into a delightful treat.
Tips for Making Iced Americano and Iced Latte Variations
Iced Americano vs. iced latte: key differences
Understanding the difference between an iced Americano and an iced latte is essential for crafting your perfect drink. An iced Americano is made by pulling a double shot of espresso over cold water and ice, resulting in a bold, coffee-forward flavor with a lighter body.
The water dilutes the espresso slightly, giving it a smooth yet intense taste. In contrast, an iced latte combines espresso with cold milk (dairy or plant-based) poured over ice, creating a creamier, richer beverage with a milder coffee profile.
The milk adds sweetness and texture, making it ideal for those who prefer a less bitter drink. To make an iced Americano at home, simply brew a double shot of espresso, fill a glass with ice, add cold water (about 2:1 water-to-espresso ratio), then pour the espresso over the ice.
For an iced latte, skip the water and add 6–8 ounces of cold milk instead. Experiment with milk types—oat milk adds creaminess, while almond milk keeps it light. Both variations start with quality espresso, so use freshly ground beans and a proper espresso machine or Moka pot for best results.
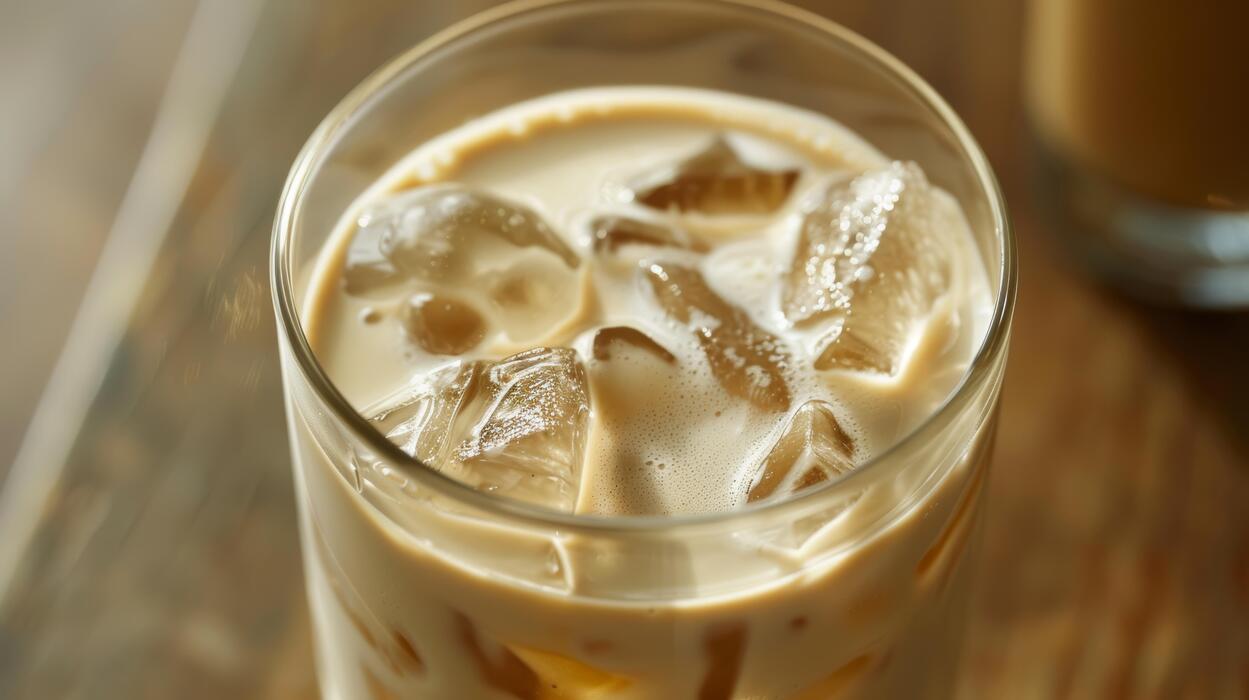
How to layer espresso over milk or water
Layering espresso over milk or water creates a visually appealing and flavorful iced coffee. The key is to pour the espresso slowly over the back of a spoon to achieve distinct layers. Start by filling your glass with ice cubes—use large, dense ice for slower dilution.
For an iced latte, add cold milk first, filling the glass about three-quarters full. Then, brew a double shot of espresso directly into a separate cup. Hold a spoon upside down just above the milk’s surface and gently pour the hot espresso over the spoon’s back.
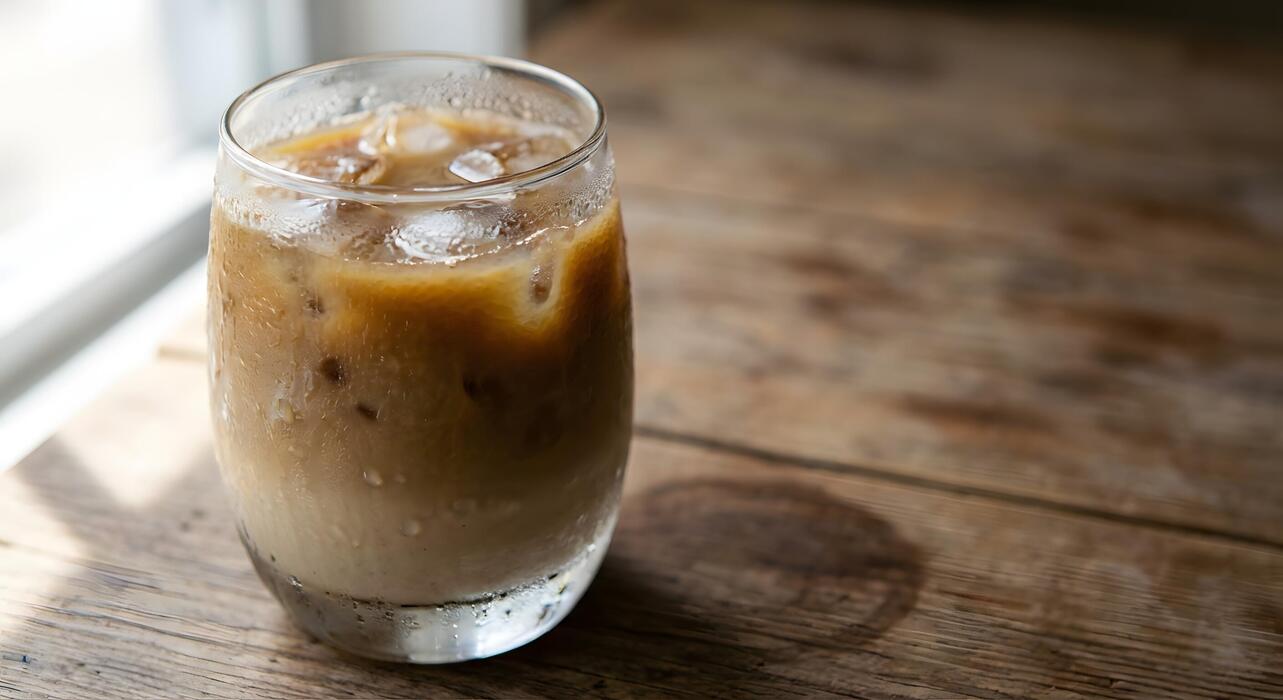
This technique slows the pour, allowing the espresso to float on top without mixing immediately. For an iced Americano, fill the glass with ice and cold water, leaving room for the espresso. Use the same spoon method to layer the espresso over the water.
The result is a beautiful gradient—dark espresso on top, lighter liquid below. Stir before drinking if you prefer a uniform flavor, or sip through the layers for a dynamic taste experience. Practice makes perfect, so don’t worry if your first attempts are slightly mixed.
Flavor twists with vanilla, caramel, or mocha
Elevate your iced espresso drinks with simple flavor twists using vanilla, caramel, or mocha syrups. For a vanilla iced latte, add 1–2 teaspoons of vanilla syrup to the milk before pouring over ice, then layer espresso on top. Stir gently to combine, or leave it layered for a sweet surprise.
A caramel iced Americano is easy: drizzle caramel sauce along the inside of your glass, add ice and water, then pour espresso. The caramel melts into the coffee, adding buttery sweetness without overpowering the roast.
For a mocha iced latte, mix 1–2 tablespoons of chocolate syrup or cocoa powder with a splash of hot water to dissolve, then combine with cold milk and ice. Top with espresso and optional whipped cream for indulgence.
To make your own syrups, simmer equal parts sugar and water with vanilla extract, caramel sauce, or cocoa powder. Adjust sweetness to taste—start with less and add more. These variations work with any milk type, so customize based on your preferences.
For a healthier twist, use sugar-free syrups or natural sweeteners like honey or agave. Enjoy experimenting!
Common Mistakes to Avoid When Making Iced Espresso
Using too much ice and watering down the drink
One of the most common mistakes is piling your glass with ice without considering dilution. As the hot espresso hits the cubes, it melts rapidly, turning your bold brew into a weak, watery mess. To prevent this, use fewer, larger ice cubes—they have less surface area and melt slower.
Alternatively, try coffee ice cubes made from leftover brewed coffee or cold brew; they chill without diluting. A good rule of thumb is to fill your glass only halfway with ice, then taste and adjust. Remember, the espresso will still melt some ice, so starting with less gives you control.
If you prefer a stronger flavor, consider double-shot espresso or adding a splash of milk after the ice settles. For extra insurance, chill your espresso shot briefly in the fridge for 30 seconds before pouring over ice. This small adjustment keeps your drink intense and refreshing, not watered down.
Not pre-chilling your glass or ingredients
Skipping the pre-chill step is a surefire way to end up with a lukewarm iced espresso that melts ice too quickly. When your glass, milk, or syrup are at room temperature, the hot espresso has to work harder to cool down, leading to rapid ice melt and a diluted taste.
Always chill your glass in the freezer for at least 10 minutes before assembling your drink. For an even better result, pre-chill your milk or alternative milk (like oat or almond) in the refrigerator.
If you’re using syrups or sweeteners, stir them into the hot espresso first so they dissolve fully, then let the mixture cool slightly before pouring over ice. This ensures the syrup doesn’t sink to the bottom or clump.
A cold glass and cold ingredients mean your espresso stays concentrated and your ice lasts longer. For a pro tip, rinse the glass with cold water right before use to remove any freezer taste and add extra chill.
Over-extracting or under-extracting the espresso
Perfect iced espresso hinges on a balanced shot—neither bitter nor sour. Over-extraction happens when water passes through the grounds too slowly or too hot, pulling out harsh, bitter compounds. This results in a drink that tastes burnt and astringent, especially when chilled.
Under-extraction occurs when the water flows too fast or is too cool, leaving the espresso sour, weak, and lacking body. To avoid these pitfalls, dial in your grind size and brew time specifically for iced espresso.
Use a finer grind than for hot espresso to slow extraction slightly, but not too fine. Aim for a 25-30 second pull from your machine. Always use fresh, quality beans and a consistent tamp. Before pouring over ice, taste the hot shot—it should be balanced with a slight sweetness.
If it’s bitter, adjust your grind coarser; if sour, grind finer. A well-extracted shot holds its flavor even when iced, so take the time to perfect your technique for a crisp, smooth result.
How to Store and Prep Espresso for Quick Iced Drinks
Making espresso ice cubes in advance
Prevent watery iced drinks by making espresso ice cubes in advance. Brew a double or triple shot of your favorite espresso, let it cool slightly, then pour it into an ice cube tray. For best results, use silicone trays for easy removal.
Once frozen solid, pop the cubes out and store them in a sealed freezer bag or container. When you’re ready for a quick iced drink, simply add 3-4 espresso cubes to a glass and top with cold milk or water.
This method ensures your espresso stays bold and concentrated as the cubes melt, avoiding dilution. You can also get creative by adding a pinch of cinnamon or vanilla extract to the liquid before freezing for flavored cubes.
Prep a batch on Sunday to have intense, non-watery iced espresso ready all week. Just remember to use fresh, high-quality espresso for the best flavor—stale coffee will taste flat even when frozen.
Brewing and refrigerating espresso shots
For a straightforward approach, brew your espresso shots and refrigerate them ahead of time. Pull 2-3 shots using an espresso machine, moka pot, or AeroPress, then let them cool to room temperature.
Transfer the espresso to a sealed glass jar or bottle and place it in the refrigerator for up to 3 days. When you crave an iced drink, simply pour the chilled espresso over a glass full of ice and add your preferred milk or sweetener.
This method saves you from waiting for hot espresso to cool down, making it perfect for quick morning prep. To maintain freshness, avoid adding milk or sugar until serving—this prevents separation and spoilage.
For extra convenience, portion the refrigerated espresso into small containers so you can grab a single serving instantly. Remember, espresso loses some aromatic oils over time, so consume within 24-48 hours for the most vibrant flavor.
Batch prepping for busy mornings
Streamline your routine by batch prepping espresso for the week. Brew a larger quantity—like 8-10 shots—using your espresso machine or a stovetop moka pot. Let the espresso cool, then pour it into an ice cube tray or a large glass pitcher.
For individual servings, freeze the espresso in silicone molds with 2-ounce compartments. Once solid, transfer the cubes to a freezer bag labeled with the date. On hectic mornings, just grab a few cubes, add cold milk or water, and stir.
This method is ideal for consistent, fast iced espresso without daily cleanup. You can also pre-mix a simple syrup (equal parts sugar and water) and store it in the fridge to sweeten your drinks instantly. To save even more time, portion out your milk or creamer into small containers.
Batch prepping reduces your morning effort to under 30 seconds while ensuring every cup tastes fresh and strong.
Frequently Asked Questions
What is the easiest way to make iced espresso at home without an espresso machine?
You can use a stovetop Moka pot to brew strong coffee, then chill it by pouring over ice. Alternatively, use instant espresso powder dissolved in hot water for a quick, no-machine option.
How do I make iced espresso with a standard espresso machine?
Brew a double or single shot of espresso directly into a heatproof glass. Then, fill the glass with ice cubes and add cold milk or water to taste. Stir immediately to cool the espresso and prevent dilution.
Should I brew the espresso hot or cold for iced espresso?
Always brew the espresso hot, as heat is essential for proper extraction. Then, immediately pour it over ice to chill and dilute it, which preserves the coffee’s flavor and crema.
How can I prevent my iced espresso from getting watery?
Use large ice cubes or ice balls that melt slowly, and consider making coffee ice cubes by freezing leftover espresso. Also, brew a slightly stronger shot to compensate for melting ice.
What’s the best ratio of espresso to milk or water for iced espresso?
A classic iced espresso typically uses 1-2 shots (2-4 oz) of espresso with 6-8 oz of cold milk or water. Adjust to your taste, but start with a 1:3 or 1:4 ratio of espresso to liquid.
Can I use an Aeropress to make iced espresso at home?
Yes, the Aeropress can produce a concentrated coffee similar to espresso. Use a fine grind, brew with hot water, and press directly into a glass filled with ice. Add milk or sweetener if desired.
How do I make a creamy iced espresso like from a coffee shop?
Brew a double shot of espresso, then shake it with ice in a cocktail shaker for 10-15 seconds to create a frothy texture. Pour into a glass with fresh ice and top with cold milk or foam.
What type of coffee beans work best for iced espresso?
Use medium to dark roast beans with chocolate or nutty notes, as they hold up well against ice and milk. Lighter roasts can taste too acidic when chilled, so choose a blend designed for espresso.
Conclusion
Making iced espresso at home is simple, affordable, and rewarding. Key takeaways are to brew a double shot directly over ice to preserve flavor, or chill it separately to avoid dilution. Use whole milk or a barista-style alternative for the best texture. With a bit of practice, you can skip the coffee shop line and enjoy a perfectly crisp, custom iced espresso any time. Grab your machine and start experimenting today.