How To Make Nitro Cold Brew
If you love the velvety texture and creamy head of a coffee shop nitro cold brew, you will be happy to know you can easily recreate it at home. You do not need expensive equipment to get that signature cascading effect and natural sweetness. This guide will show you exactly how to make nitro cold brew using a few simple tools and quality beans. We will dive straight into the best methods so you can start sipping today.
What is nitro cold brew coffee?
The difference between cold brew and nitro
To understand how to make nitro cold brew, you must first master the foundational difference between standard cold brew and its nitrogen-infused counterpart.
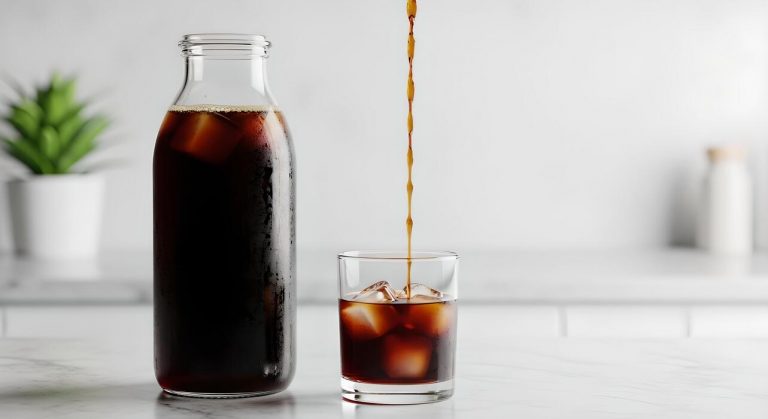
Regular cold brew is crafted by steeping coarse coffee grounds in room temperature or cold water for 12 to 24 hours, resulting in a concentrated syrup that is typically diluted with water or milk.
Nitro cold brew takes this finished concentrate and elevates it by using a specialized pressurized keg or whipped cream dispenser to infuse pure nitrogen gas into the liquid.
While standard cold brew is served over ice and often requires sweeteners to balance its natural acidity, nitro is served straight from a tap without ice to preserve its unique physical properties.
The primary technical distinction lies in the carbonation-style delivery system which replaces large oxygen bubbles with microscopic nitrogen bubbles. This mechanical process completely transforms the mouthfeel from a standard watery consistency into something that mimics the heavy, velvety body of a draught stout beer, providing a luxurious drinking experience.
Why nitrogen creates a creamy texture
The secret to achieving the perfect pour when learning how to make nitro cold brew lies in the science of nitrogen gas solubility. Unlike carbon dioxide, which creates large, sharp bubbles and a prickly acidity in sodas, nitrogen is largely insoluble in water.
When you force nitrogen into coffee under high pressure and release it through a restrictor plate in a stout faucet, it creates millions of microscopic bubbles.
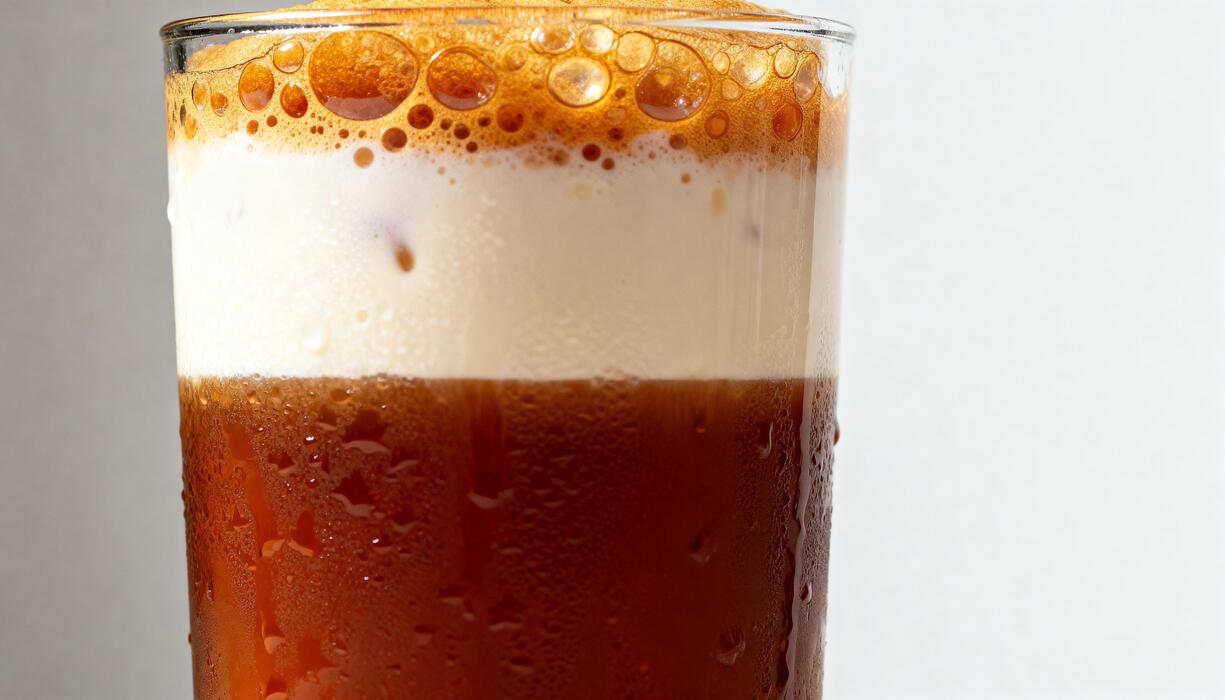
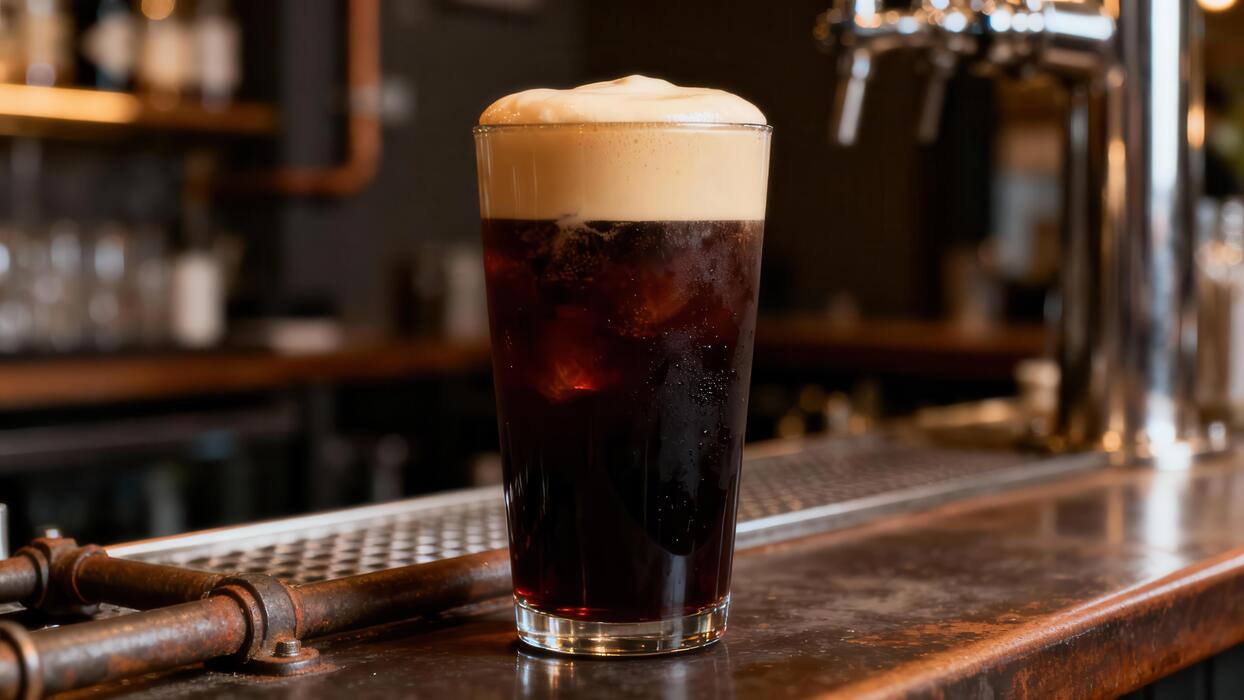
This phenomenon produces the iconic cascading effect where the bubbles slowly rise to the top, forming a thick, persistent head of foam known as crema. This dense micro-foam tricks the palate into perceiving a creamy, rich texture without the addition of any dairy, fats, or artificial creamers.
Because these bubbles are so small, they coat the tongue evenly, enhancing the perceived thickness of the coffee. For DIY enthusiasts, using a nitrogen cartridge in a dedicated dispenser is the most effective way to replicate this professional-grade silkiness at home, ensuring every sip feels exceptionally smooth and decadent.
Flavor profile and caffeine content
When you successfully execute the process of how to make nitro cold brew, you unlock a flavor profile that is significantly sweeter and less bitter than traditional iced coffee.
The infusion of nitrogen suppresses the perception of bitterness and acidity, allowing the natural chocolatey and nutty notes of the coffee beans to shine through. This inherent sweetness often eliminates the need for added sugars, making it a healthier choice for many consumers.
In terms of energy, nitro cold brew is known for its high caffeine concentration because it is typically served undiluted and in larger volumes than a standard espresso. The lack of ice means you are consuming more coffee solids per ounce, leading to a potent and sustained energy boost.
Furthermore, the rapid absorption of the nitrogen-infused liquid may lead to a faster caffeine onset. By focusing on high-quality Arabica beans and a precise gas-to-liquid ratio, you can create a beverage that offers a complex, multi-layered taste experience with a powerful kick that satisfies both gourmets and caffeine seekers alike.
Essential equipment for home nitro brewing
Choosing a nitro coffee dispenser or keg
To replicate the creamy texture of draft coffee at home, selecting the right vessel is your first priority.
Most beginners should opt for a mini keg system or a specialized nitro whipped cream dispenser, as these are designed to handle high pressure while remaining portable enough for a standard refrigerator shelf.
A dedicated 2-liter or 5-liter mini keg usually features a stout faucet, which contains a restrictor disc that forces the liquid through tiny holes to create that iconic cascading effect. When shopping, ensure the build material is food-grade stainless steel to prevent any metallic aftertaste and to ensure long-term durability.
If you are tight on space, a pressurized growler with a tap attachment is a fantastic alternative that offers professional results without the footprint of a full kegerator.
Look for models with a pressure relief valve for safety and easy cleaning, as maintaining a sterile environment is vital for the best-tasting home nitro brew.
Nitrogen cartridges vs. N2O chargers
The gas you choose is the defining factor in achieving the signature micro-foam head of a true nitro cold brew. You must use pure nitrogen (N2) cartridges rather than nitrous oxide (N2O) chargers if you want the authentic experience found in high-end cafes.
While N2O is commonly used for whipped cream and can provide a slight lift, it often imparts a subtle sweetness and creates larger, less stable bubbles.
In contrast, pure N2 gas is relatively insoluble in water, which allows it to create the velvety mouthfeel and dense, creamy head that defines the style. Most home systems use 2-gram or 8-gram non-threaded cartridges, so verify your dispenser’s specifications before purchasing.
It is essential to remember that nitrogen requires a bit more shaking of the canister to properly integrate into the cold liquid. Always check that your chargers are food-grade certified to avoid any industrial contaminants, ensuring your coffee remains pure, crisp, and perfectly textured every time you pour.
Cold brew filtration tools
Before you can even think about nitrogen infusion, you must produce a perfectly clear coffee concentrate. Any sediment or fine particles remaining in your brew can clog the fine restrictor disc in your nitro tap, leading to a messy pour or a complete blockage.
To prevent this, invest in dual-stage filtration tools, such as a high-quality stainless steel mesh filter followed by a secondary paper filter. This combination ensures that even the smallest silt is removed, resulting in a polished liquid that flows smoothly through the dispenser.
Many home brewers prefer using a nut milk bag or a dedicated cold brew system with integrated felt filters for the most consistent results. Using a coarse grind size is also a critical step in the filtration process, as it prevents over-extraction and makes the physical straining much easier.
By starting with a sediment-free base, you guarantee that the nitrogen gas can interact perfectly with the coffee oils to produce that sought-after, silk-like consistency.
How to brew the perfect cold brew base

Best coffee beans for nitro infusion
To achieve the signature creamy mouthfeel and sweet finish of a professional nitro cold brew, you must start with the right raw materials. Selecting single-origin African beans with bright, fruity notes can provide a refreshing complexity, but most enthusiasts prefer medium to dark roasts from Central or South America.
These beans naturally contain lower acidity and higher oil content, which helps facilitate a stable, cascading head of foam once nitrogen is introduced. Look for tasting notes involving chocolate, toasted nuts, or caramel, as these flavors are amplified by the infusion process.
It is absolutely vital to use a coarse grind size, similar to sea salt, to prevent over-extraction and bitterness during the long contact time. Using pre-ground coffee is discouraged because the delicate volatile compounds needed for a rich aroma dissipate quickly.
By prioritizing freshly roasted specialty beans and grinding them immediately before the steeping process begins, you ensure a clean, vibrant base that interacts perfectly with gas bubbles for a velvety texture.
Ideal coffee-to-water ratios
The secret to a successful nitro pour lies in creating a robust concentrate that can withstand the diluting effects of ice or the textural changes caused by nitrogen gas. For a professional-grade result, use a 1:4 or 1:5 coffee-to-water ratio by weight.
For example, mixing 250 grams of coarse grounds with 1 liter of filtered water creates a potent base that maintains its structural integrity when pressurized. Using a digital kitchen scale is the only way to ensure consistency, as measuring by volume is often inaccurate due to varying bean densities.
High-quality filtered or spring water is equally important, as tap water minerals can clash with the subtle nuances of the coffee oils. This concentrated approach is necessary because the nitrogen infusion process adds a perceived sweetness and creaminess that can mask the flavor of a weaker brew.
By starting with a dense, concentrated liquid, you guarantee that the final glass remains flavorful and bold rather than watery, providing the perfect canvas for the iconic cascading effect seen in high-end coffee shops.
Step-by-step steeping instructions
Begin by combining your coarse grounds and filtered water in a clean glass jar or dedicated cold brew system, ensuring all grounds are fully saturated without aggressive stirring.
Let the mixture steep at room temperature for 12 to 15 hours, or in the refrigerator for up to 24 hours if you prefer a more mellow profile. Avoid over-steeping beyond this window, as it can lead to woody or astringent flavors that ruin the nitro experience.
Once the time is up, perform a dual-stage filtration by first passing the liquid through a metal mesh to remove large particles, followed by a secondary pass through a paper or cloth filter.
This second step is critical for nitro cold brew, as any remaining sediment or fine silt can clog the small apertures of a nitrogen infuser or keg spear. After filtering, keep your concentrate chilled until it reaches 40°F or lower before attempting to infuse it with gas.
Cold liquid absorbs nitrogen much more efficiently, resulting in the tiny, persistent bubbles that define a perfect, cafe-quality nitro beverage.
Step-by-step guide to nitrogen infusion
Preparing the dispenser
To begin the process of crafting the perfect nitro cold brew, you must ensure your whipped cream dispenser or dedicated nitro vessel is impeccably clean and ready for pressure.
Start by pouring your chilled cold brew concentrate or ready-to-drink coffee into the canister, leaving approximately one to two inches of headspace at the top. This gap is critical because it allows the nitrogen gas to expand and circulate freely, which is what creates that signature velvet texture.
If you fill the container to the absolute brim, the gas will have nowhere to go, resulting in a flat and disappointing pour.
It is highly recommended to filter your coffee through a fine paper filter before pouring it into the dispenser to remove any micro-sediment that might clog the nozzle.
Once the coffee is inside, securely screw the head onto the canister, making sure the silicone gasket is seated perfectly to prevent any high-pressure leaks during the infusion stage.
Charging the canister with nitrogen
Once your dispenser is sealed tight, it is time to introduce the gas that transforms ordinary coffee into a creamy masterpiece. Place a single nitrogen (N2) or nitrous oxide (N2O) charger into the holder and twist it onto the dispenser valve until you hear a distinct hissing sound.
This sound indicates that the gas is successfully being released into the liquid chamber. For a standard pint-sized dispenser, one charger is usually sufficient, but larger professional units may require two. It is vital to use food-grade nitrogen chargers specifically designed for beverages to ensure the cleanest flavor profile possible.
As the gas enters the cold liquid, the low temperature helps the nitrogen dissolve more efficiently into the coffee. Keep the canister upright during this initial charging phase to ensure the gas flows directly into the headspace before you begin the integration process.
This step sets the foundation for the micro-bubble structure that defines a high-quality nitro cold brew experience.
The shaking technique for a thick head
The final and most physical step involves vigorous agitation to fully integrate the gas into the coffee oils. Turn the canister upside down and shake it forcefully for 30 to 60 seconds to distribute the nitrogen evenly throughout the liquid.
This motion is what creates the tiny micro-bubbles responsible for the cascading effect and the thick, frothy head that mimics a stout beer. If the canister feels cold to the touch, that is a positive sign that the gas is stabilizing.
After shaking, let the dispenser rest for a few minutes in the refrigerator if possible; this allows the pressure to equalize and results in a much smoother pour.
When you are ready to serve, hold the dispenser completely vertical with the nozzle pointing directly into the glass and depress the trigger gently. A slow, controlled release will produce a beautiful, creamy foam layer and a rich mouthfeel that makes the effort of home nitrogen infusion entirely worthwhile.
Tips for getting the perfect cascading pour
The importance of serving temperature
To achieve that iconic, velvety cascade when making nitro cold brew, the temperature of your beverage is the most critical factor. For the nitrogen gas to remain properly dissolved and then release in a mesmerizing downward flow, your coffee must be chilled to between 33 and 38 degrees Fahrenheit.
If the liquid is too warm, the nitrogen bubbles will expand too rapidly, resulting in a thin, fizzy texture rather than the creamy micro-foam that enthusiasts crave. Always pre-chill your keg and nitrogen lines for several hours before attempting a pour to ensure consistency.
Furthermore, consider keeping your serving glass in the freezer for a few minutes prior to use. This thermal preparation prevents the cold coffee from hitting a warm surface, which would immediately destabilize the nitrogen infusion.
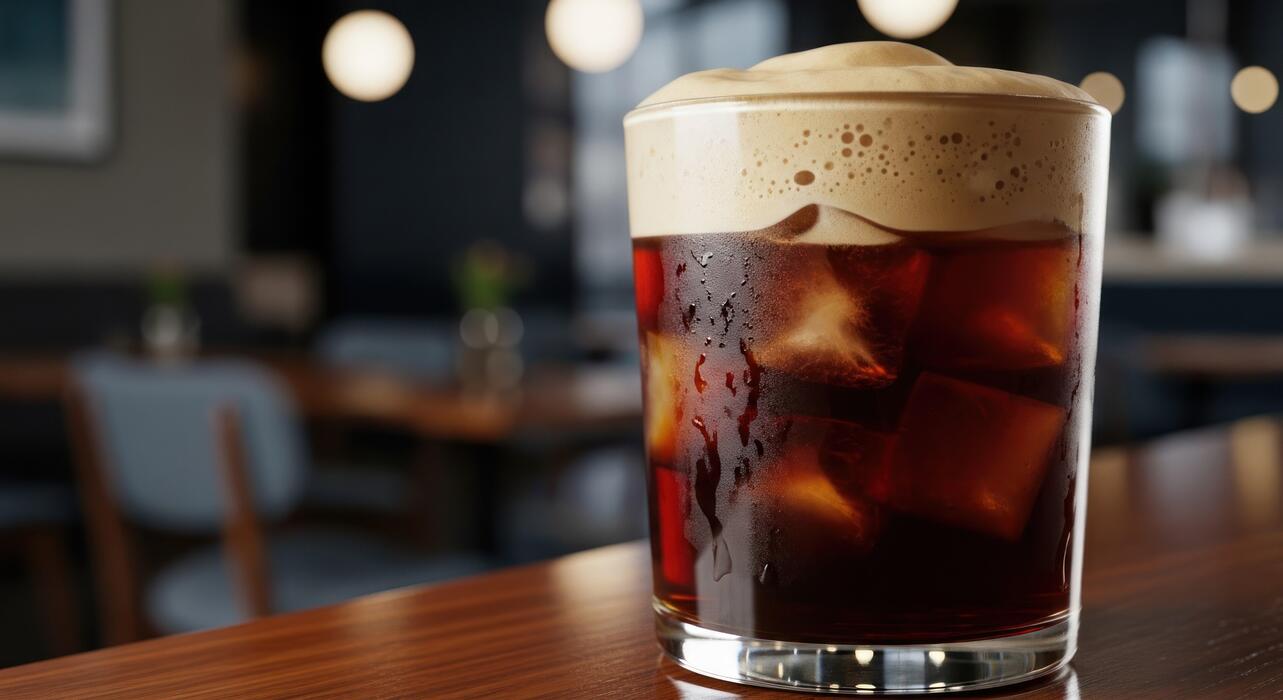
By maintaining a near-freezing temperature, you ensure the gas stays suspended long enough to create that beautiful, slow-motion separation between the dark coffee body and the thick, white frothy head.
Glassware selection for the best visual
The visual appeal of a nitro cold brew is half the experience, and selecting the right vessel is essential for showcasing the cascading effect. You should opt for a clear, tulip-shaped glass or a standard pint glass with a slight taper.
The curved walls of a tulip glass help to funnel the nitrogen bubbles upward and then back down the sides, enhancing the natural convection current that creates the ‘waterfall’ look. Avoid using mugs with opaque walls or glasses with heavy textures, as these obscure the beautiful transition of colors.
Ensure your glassware is spotless and free of oils, as any residue or soap film can act as a surfactant that prematurely breaks down the nitrogen bubbles.
A clean, polished surface allows the foam to cling properly to the rim, creating a dense and persistent head that lasts until the very last sip. Using high-quality, transparent glass ensures that every guest can appreciate the hypnotic motion of the infusion.
How to pour without losing the foam
The technique used at the tap determines whether you get a perfect professional finish or a flat, disappointing drink. To begin, hold your glass at a 45-degree angle directly under the stout faucet, ensuring the nozzle is close to the glass wall but not touching it.
Open the tap fully in one swift motion; partial opening can cause turbulence that leads to large, uneven bubbles. As the glass fills, gradually tilt it back to a vertical position when it is about two-thirds full.
This transition allows the nitrogen to build a thick, creamy head on top of the liquid. Once the glass is nearly full, stop the flow and let the drink rest for about thirty seconds.
This resting period is vital for the separation of the nitrogen micro-bubbles, allowing the cascade to settle into a distinct, dark base and a pillowy white crown. Mastering this steady, controlled motion ensures you maintain the velvety mouthfeel and aesthetic beauty of a true nitro infusion.
Common nitro cold brew mistakes to avoid
Fixing watery or thin coffee
One of the most frequent frustrations when learning how to make nitro cold brew is ending up with a beverage that feels thin or lacks that signature creamy mouthfeel. This usually happens because the initial coffee concentrate was too diluted or the nitrogen pressure was insufficient to create micro-bubbles.
To fix this, ensure you use a strict coffee-to-water ratio of 1:4 or 1:5 during the steeping phase to create a robust base. Once the concentrate is ready, avoid over-diluting it before putting it into the keg; a 1:1 ratio of concentrate to water is typically the limit.
Additionally, make sure your liquid is ice-cold before charging it with nitrogen, as gas dissolves much more effectively in cold liquids than in room-temperature ones.
If the brew still feels watery, try shaking the dispenser vigorously for at least sixty seconds after charging to force the nitrogen into the solution, ensuring that rich, velvety texture every enthusiast craves.
Preventing clogged dispenser nozzles
A sudden stop in flow or a sputtering pour is a classic sign that your nitro system has become clogged with fine coffee particulates. This mistake often stems from improper filtration during the initial cold brew process.
To prevent this, you must triple-filter your coffee using a fine mesh strainer followed by a high-quality paper filter to remove all sediment and silt. Even tiny particles can wedge themselves in the delicate valves of a nitro tap or the small orifice of a stout faucet.
If you are using a pressurized keg, always flush the dispensing line with warm water after every use to prevent coffee oils from hardening and creating blockages.
Furthermore, ensure you are using dedicated nitro nozzles designed for high pressure; using standard CO2 equipment can lead to inconsistent flow and debris buildup. By maintaining a pristine, sediment-free liquid, you guarantee a consistent cascade and a professional-grade pour every time you pull the handle for a fresh glass.
Managing over-extraction bitterness
While nitro cold brew is celebrated for its natural sweetness, many beginners accidentally produce a bitter, astringent batch by over-extracting the beans. This typically occurs when the coffee grounds are left to steep for too long or if the grind size is too fine.
To master the flavor profile, use a consistent coarse grind size similar to sea salt, which allows for a slow and gentle extraction.
Limit your steeping time to 12-18 hours at room temperature or up to 24 hours if brewing in the refrigerator; exceeding these windows allows the water to pull out harsh tannins that the nitrogen will only amplify.
If you find your batch is already too bitter, you can attempt to balance the acidity by adding a tiny pinch of salt to the keg, which suppresses bitterness and enhances the natural chocolate notes of the bean.
Remember that the nitrogen infusion process highlights existing flavors, so starting with a smooth, low-acid roast is the best way to ensure success.
Cleaning and maintaining your nitro setup
Daily rinsing procedures
To ensure your nitro cold brew remains fresh and free from off-flavors, establishing a consistent daily rinsing routine is essential. After each use, you should immediately flush the dispensing tap with warm water to prevent coffee oils and sugars from hardening inside the nozzle.
This simple step prevents the small aerator holes from becoming clogged, which is the most common cause of poor foam quality. Next, disassemble the tap tip and rinse it thoroughly under a high-pressure stream of water to dislodge any trapped sediment.
Empty the main keg and rinse the interior with hot water until the liquid runs clear, ensuring no residue remains at the bottom. It is also important to purge the gas line briefly if your system allows, as this prevents backflow issues.
By maintaining these basic habits, you protect the integrity of your brew and extend the life of your equipment significantly, making each pour as creamy as the first one you enjoyed.
Deep cleaning the valves and seals
While daily rinsing is helpful, a monthly deep clean is vital for removing stubborn organic buildup and mineral deposits that standard water cannot reach. You must submerge all removable components, including the pressure valves and rubber gaskets, in a solution of food-grade brewery wash or unscented oxygen-based cleaner.
Allow these parts to soak for at least thirty minutes to effectively break down calcified residues and coffee stains. Use a small nylon brush to gently scrub the internal threads of the keg neck and the tiny crevices of the relief valve where bacteria can thrive.
Pay close attention to the integrity of the O-rings during this process; if they appear cracked or brittle, replace them immediately to prevent nitrogen leaks. After soaking, rinse every part multiple times with fresh water to ensure no chemical taste lingers.
This level of maintenance ensures your nitro system remains sanitary and operates at peak mechanical efficiency for every single batch you prepare.
Storing your equipment safely
Proper storage is the final step in maintaining a high-quality nitro setup and preventing long-term damage like mold or oxidation. Before putting your gear away, you must ensure every component is completely dry to avoid the growth of mildew inside the sealed environment.
Leaving a keg slightly damp can lead to unpleasant odors that are difficult to remove later. It is highly recommended to store the keg disassembled or with the lid resting loosely on top to allow for continuous airflow.
Keep your nitrogen canisters in a cool, dry place away from direct sunlight or extreme temperature fluctuations, as heat can affect the internal pressure of the cartridges.
Additionally, apply a thin layer of food-grade lubricant to the seals before long-term storage to keep the rubber supple and prevent it from sticking to the metal surfaces.
Organizing your small parts in a dedicated container prevents loss and ensures that your next cold brew session is seamless, efficient, and perfectly pressurized.
Frequently Asked Questions
What equipment do I need to make nitro cold brew at home?
To make nitro cold brew, you need a specialized whipped cream dispenser or a dedicated nitro cold brew keg system. You will also need nitrogen (N2) or nitrous oxide (N2O) chargers to infuse the coffee with tiny bubbles.
What is the best coffee-to-water ratio for nitro cold brew?
A standard ratio is 1 part coffee to 4 or 5 parts water to create a strong cold brew concentrate. Since nitrogen infusion adds a creamy texture and perceived sweetness, a bold concentrate ensures the coffee flavor isn’t lost.
How do I infuse the cold brew with nitrogen using a dispenser?
Fill a whipped cream dispenser with filtered cold brew, seal it tightly, and insert one nitrogen charger. Shake the dispenser vigorously for 30 seconds to help the gas dissolve into the liquid before dispensing.
Can I use regular CO2 cartridges for nitro cold brew?
No, you should not use CO2 because it creates large bubbles and a carbonic acid bite, making the coffee taste sour. Nitrogen (N2) creates the signature tiny bubbles and velvety, creamy head associated with nitro coffee.
How long should I steep the coffee before infusing it?
Steep your coarse coffee grounds in cold water for 12 to 24 hours at room temperature or in the fridge. Once steeped, filter the grounds thoroughly through a fine-mesh sieve or paper filter to prevent clogging the nitrogen dispenser.
What is the secret to getting a thick foam head on the pour?
The secret is ensuring the coffee is ice cold before charging it with nitrogen. Shake the canister well and pour the coffee at an angle against the side of the glass to encourage the cascading effect and a thick, creamy head.
Conclusion
Mastering nitro cold brew at home is a rewarding journey that blends science with craft. By focusing on a quality cold brew base and achieving the perfect nitrogen infusion, you can enjoy a velvety, cafe-quality beverage in your own kitchen. While it requires some specialized equipment and patience, the smooth texture and rich flavor are well worth the effort.