How To Make Iced Coffee With A Cafetiere
How to make iced coffee with a cafetiere is a question many coffee lovers ask when they want a smooth, cold brew without buying new gear. The core problem is avoiding a watery, bitter result. You’re in the right place: the trick is brewing a double-strength concentrate with coarse grounds, then pouring it directly over ice. This method preserves bold flavor without dilution, delivering a crisp, refreshing cup in minutes.
What You Need to Make Iced Coffee with a Cafetiere
Choosing the right coffee beans
For the best iced coffee, start with coffee beans that shine when cold. Medium to dark roasts work well because they maintain bold flavor even as the ice melts. Choose a single-origin or blend with chocolate, nutty, or caramel notes—these stand up to dilution.
Avoid overly fruity or acidic light roasts, as they can taste sour when chilled. Freshly ground beans are essential; pre-ground coffee loses aroma quickly. For a cafetiere, use a coarse, even grind (like sea salt) to prevent over-extraction and sludge.
Aim for a 1:15 coffee-to-water ratio (e.g., 30g coffee to 450ml water) for a balanced brew that won’t be bitter. If you want stronger flavor to survive the ice, increase the ratio to 1:12.
Remember, cold brewing separately is optional, but this method uses hot water for a quick, rich concentrate.
Essential equipment and tools
You only need a few basics: a cafetiere (French press), preferably with a fine mesh plunger to minimize sediment. Use filtered water for clean taste. You’ll need a kettle to heat water to about 200°F (93°C)—just off boiling.
A digital scale ensures accurate coffee and water measurements, while a timer (phone works) helps control steeping time. For the cold stage, have ice cubes ready—preferably large ones or coffee ice cubes (freeze leftover brew) to avoid watering down. A long spoon helps stir the brew before plunging.
Finally, a glass or insulated tumbler for serving keeps your iced coffee cold longer. Clean equipment is key; rinse the cafetiere thoroughly after each use to avoid stale oil buildup.
Optional extras for better flavor
Elevate your iced coffee with simple add-ons. Coffee ice cubes prevent dilution—freeze leftover brew in an ice tray. Milk or cream (dairy, oat, or almond) adds richness; add after brewing to avoid curdling. Sweeteners like simple syrup, maple syrup, or honey dissolve better than granulated sugar in cold liquid.
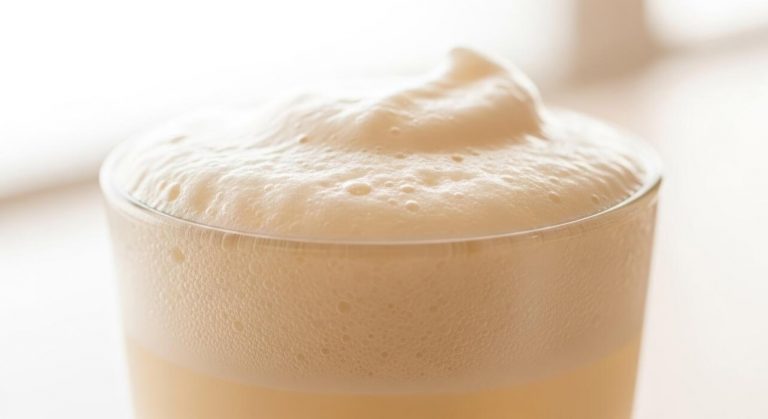
Flavor syrups (vanilla, caramel, or hazelnut) offer café-style variety. A pinch of salt can reduce bitterness. Spices like cinnamon or nutmeg sprinkled on top add warmth. For a cold foam finish, froth milk with a handheld frother. Vanilla extract or cocoa powder can be stirred in before serving.
Experiment with ratios—start with 1:15 coffee to water, then adjust to your taste. These extras turn a basic iced coffee into a customized, refreshing treat.
How to Brew Strong Coffee for Iced Coffee

Best coffee-to-water ratio for iced coffee
When brewing strong coffee for iced coffee with a cafetiere, use a higher coffee-to-water ratio than usual, typically 1:10 or 1:12 (e.g., 30–35 grams of coffee per 350ml of water). This compensates for dilution from ice, ensuring your final drink stays bold and not watery.
A good starting point is double your normal strength: if you usually use 2 tablespoons per cup, use 4. Measure carefully with a scale for consistency. The goal is to extract a concentrated brew that will hold up against melting ice.
Pour your hot concentrate directly over a full glass of ice—about half coffee, half ice—for an instantly chilled, robust iced coffee. Adjust the ratio based on your taste: more coffee for a bolder kick, less for a smoother sip. Remember, the stronger the brew, the more flavor survives the ice.
Grind size and why it matters
For a cafetiere, grind size directly affects extraction and clarity. Use a coarse, even grind resembling sea salt—too fine, and you’ll get over-extracted bitterness and sludge in your iced coffee; too coarse, and the brew will be weak and sour.
Since you’re making a concentrated batch for iced coffee, coarse grounds prevent clogging and ensure a clean pour. A consistent grind also helps control strength: aim for particles about 0.7–1.0 mm (like rough breadcrumbs). If your coffee tastes harsh or muddy, your grind is likely too fine.
For best results, grind fresh just before brewing using a burr grinder for uniformity. This maximizes flavor and avoids stale notes. The coarse grind allows hot water to extract fully without overdoing it, giving you a smooth, rich base that won’t turn bitter when chilled.
Brewing time and temperature tips
For a strong iced coffee base in a cafetiere, brew at 195–205°F (90–96°C)—just off the boil—to avoid scalding the grounds. Let it steep for 4 minutes, then stir the crust and steep another 4–5 minutes for full extraction. This longer contact time extracts more flavor, crucial for withstanding ice dilution.
Do not exceed 8 minutes total, or bitterness increases. After steeping, press the plunger slowly and steadily to avoid agitating grounds. Immediately pour the hot concentrate over a full glass of ice to halt extraction and lock in brightness.
For extra strength, use hotter water (near 205°F) and a 4-minute steep, then skip the second steep—this yields a cleaner, less bitter concentrate. Always preheat your cafetiere with hot water to maintain stable temperature during brewing.
Step-by-Step Guide to Making Iced Coffee with a Cafetiere

Step 1: Prepare your cafetiere and coffee
Start by selecting a coarse grind – similar to breadcrumbs – to avoid a muddy, over-extracted brew. For a bold iced coffee that won’t get watery when poured over ice, use a higher coffee-to-water ratio than usual: aim for 1:4 (e.g., 60g coffee to 240ml water).
First, rinse your cafetiere with hot water to preheat it, then discard the water. Add your coarsely ground coffee to the empty carafe. Give it a gentle shake to level the grounds. This simple preparation ensures your coffee extracts evenly and stays robust after chilling.
Remember, the key to great iced coffee is a concentrated base, so don’t skimp on the coffee grounds.
Step 2: Pour and steep the coffee
Bring fresh, filtered water to just off the boil (around 93°C/200°F) – boiling water can scorch the grounds. Pour the water over the coffee in a steady, circular motion, ensuring all grounds are saturated.
Give it a gentle stir with a chopstick or spoon to release trapped CO2 and promote even extraction. Place the lid on the cafetiere with the plunger pulled up, and let it steep for exactly 4 minutes. A longer steep can make the coffee bitter, while shorter yields weak results.
For an extra-smooth cold brew-style taste, try steeping for 6 minutes, but adjust your grind slightly coarser to compensate. Set a timer to avoid guesswork.
Step 3: Press and cool the concentrate
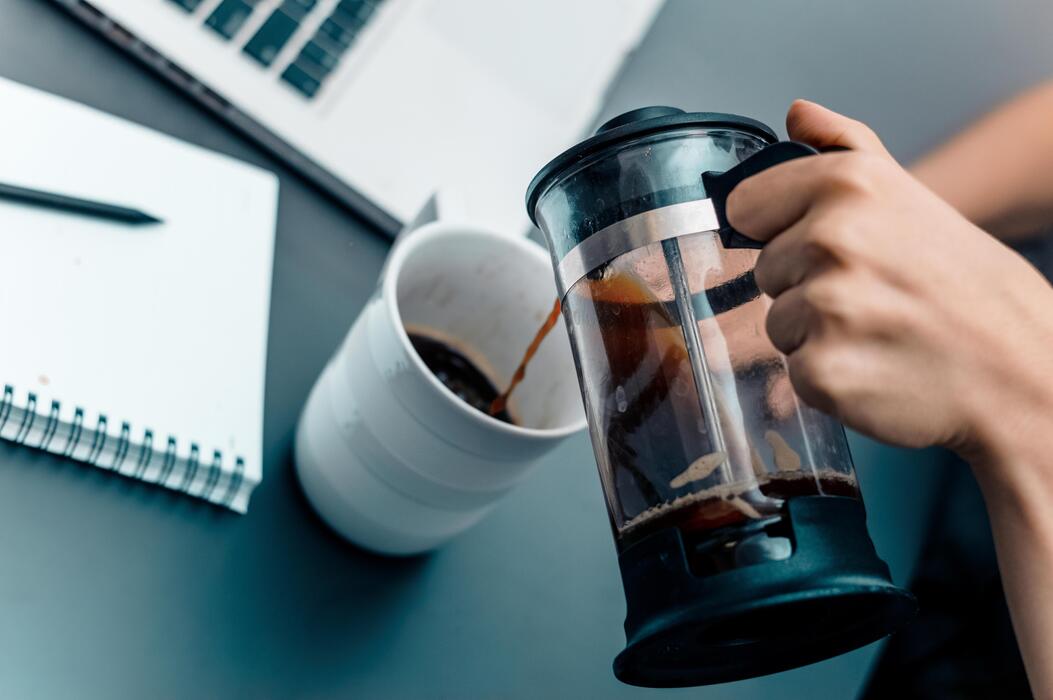
After steeping, slowly and evenly press the plunger down – don’t rush, or you’ll force fines through the mesh. Once pressed, immediately pour the concentrate into a heatproof pitcher or directly over a glass filled with ice.
Do not let it sit in the cafetiere, as residual heat will continue extraction and cause bitterness. For a quick cool-down, fill a large bowl with ice water and set the pitcher in it for 5 minutes, stirring occasionally. This method locks in freshness and prevents dilution.
When ready, fill a tall glass with ice, pour the chilled concentrate over it, and add milk, cream, or sweetener to taste. Enjoy your crisp, smooth iced coffee instantly!
Tips for Avoiding Watery or Bitter Iced Coffee
How to prevent dilution from ice
To avoid watery iced coffee when using a cafetiere, always brew double-strength coffee to compensate for melting ice. Use a ratio of 4 tablespoons (20-24g) of coarse-ground coffee per 8 ounces (240ml) of water instead of the standard 2 tablespoons.
Brew as usual with hot water (just off the boil), steep for 4 minutes, then press and let cool slightly. Fill your serving glass halfway with ice cubes, then pour the concentrated coffee over the ice.
The extra strength ensures the coffee remains bold and flavorful even as the ice melts. For minimal dilution, use large ice cubes or coffee ice cubes (freeze leftover brewed coffee in an ice tray).
Avoid pouring hot coffee directly over ice, as this accelerates melting—let it cool for 5 minutes first. Finally, stir gently to chill evenly without over-diluting. This method keeps your iced coffee rich, not watery.
Using cold brew method with a cafetiere
For a naturally smooth, less acidic iced coffee that avoids bitterness, use your cafetiere for cold brew. Combine 1 part coarse-ground coffee to 4 parts cold, filtered water (e.g., 1 cup coffee to 4 cups water) directly in the cafetiere.
Stir gently to ensure all grounds are saturated, then place the lid on without pressing the plunger. Let it steep at room temperature for 12-18 hours—longer yields stronger brew. After steeping, press the plunger down slowly to separate the grounds from the liquid.
Pour the cold brew concentrate into a jar or pitcher; it keeps in the fridge for up to two weeks. To serve, fill a glass with ice, add equal parts cold brew concentrate and water or milk, then stir. This method extracts flavors without heat, reducing bitterness and acidity.
Adjust the steeping time to your taste: shorter for milder, longer for bolder. The result is a perfectly balanced iced coffee every time.
Adjusting strength for personal taste
Fine-tuning your iced coffee strength with a cafetiere is simple. Start with the standard hot brew ratio of 2 tablespoons (12g) of coarse-ground coffee per 6 ounces (180ml) of water, then adjust.
For a stronger, more concentrated brew to resist ice dilution, increase coffee to 3-4 tablespoons per 6 ounces or reduce water slightly. If you prefer a milder taste, use less coffee or more water—try 1.5 tablespoons per 6 ounces.
For cold brew, the ratio of coffee to water can vary from 1:4 (strong) to 1:8 (mild); experiment to find your sweet spot. After brewing, taste before adding ice—if it’s too strong, add a splash of water, milk, or cream.
If too weak, brew a smaller batch with more coffee next time. Keep notes on your preferred ratios for consistency. Remember, coarse grind is crucial to avoid over-extraction and bitterness, regardless of strength. This approach lets you craft iced coffee that perfectly matches your palate.
Best Ways to Serve Iced Coffee from a Cafetiere
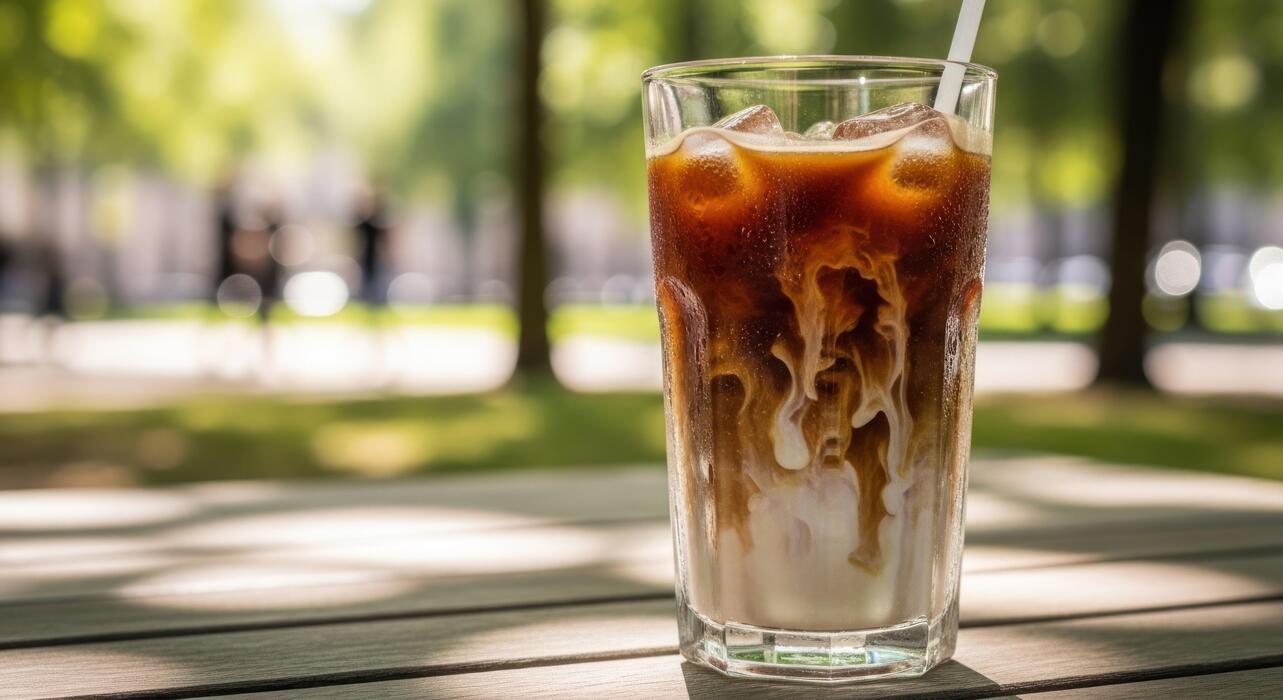
Classic iced coffee with milk or cream
To make a classic iced coffee, start by brewing a double-strength batch in your cafetiere. Use twice the usual coffee grounds per cup of hot water (e.g., 4 tablespoons per 8 ounces). Steep for 4 minutes, then plunge slowly. While the coffee brews, fill a tall glass with ice cubes.
Pour the hot, strong coffee directly over the ice—this rapid chilling locks in flavor and prevents dilution. Let it cool for a minute, then add cold milk or cream to taste. For a smoother texture, consider using whole milk or oat milk.
Stir gently to combine, and if desired, add a splash of simple syrup or a pinch of salt to reduce bitterness. This method yields a crisp, refreshing drink without the need for chilling the coffee first, making it perfect for hot days.
Serve immediately with a straw or a long spoon.
Adding flavored syrups and sweeteners
Enhance your cafetiere iced coffee with flavored syrups or simple sweeteners for a personalized touch. After brewing a strong concentrate (as in the classic method), pour it over ice in a glass. While still hot, stir in 1–2 tablespoons of vanilla, caramel, or hazelnut syrup—the heat helps it dissolve evenly.
For a natural alternative, use honey, agave nectar, or maple syrup, but add them to the hot coffee before icing to ensure they blend. If you prefer a sugar-free option, try stevia or monk fruit sweetener, adjusting to taste.
For a seasonal twist, add a pinch of cinnamon or nutmeg to the grounds before brewing. Remember to start with less sweetener and adjust, as cold temperatures can mute sweetness. Stir well and finish with a splash of milk or cream.
This approach transforms your basic iced coffee into a café-style treat, perfect for customizing to your cravings.
Iced coffee variations like affogato or latte
Elevate your cafetiere iced coffee into indulgent variations like an affogato or iced latte. For an affogato, brew a strong, small batch (about 2 ounces per serving). Immediately pour the hot coffee over a scoop of vanilla gelato or ice cream in a chilled glass.
The contrast of hot coffee and cold, creamy ice cream creates a decadent dessert drink. For an iced latte, brew a concentrated coffee (double strength), then let it cool slightly.
Fill a glass with ice, pour in the coffee, and top with cold frothed milk—use a milk frother or shake milk in a jar. For a mocha twist, stir in chocolate syrup before adding milk.
Another option is a coffee frappé: blend the brewed coffee with ice, milk, and sweetener until slushy. These variations use your cafetiere as the base, offering versatility beyond a simple iced coffee. Experiment with different ice cream flavors or plant-based milks to suit your taste.
Common Mistakes When Making Iced Coffee with a Cafetiere
Using the wrong grind size
For iced coffee in a cafetiere, grind size is critical. A common mistake is using a fine grind meant for espresso or drip machines, which leads to over-extraction and a muddy, bitter brew because fine particles slip through the mesh filter.
Conversely, an overly coarse grind under-extracts, leaving a weak, sour result. Aim for a medium-coarse grind, resembling sea salt or breadcrumbs. This allows proper steeping without clogging the filter or letting sediment through.
To test, press the plunger slowly—if it meets resistance or coffee seeps around the edges, your grind is too fine. If the plunger sinks instantly with weak color, it’s too coarse. Consistency is key: use a burr grinder for uniform particles.
Pre-measure your coffee (a 1:8 ratio of coffee to water works well for iced versions) and adjust grind until you get a balanced extraction. Remember, cold brewing concentrates flavors, so a slightly coarser grind than hot coffee helps avoid bitterness as the ice dilutes the final drink.
Over-extracting or under-extracting coffee
The steeping time in a cafetiere directly impacts extraction, and iced coffee amplifies mistakes. Over-extraction happens when you steep too long (over 4 minutes) or use water that’s too hot (boiling), pulling out bitter tannins. This results in a harsh, astringent brew that ice can’t fix.
Under-extraction occurs with short steeps (under 3 minutes) or cool water, yielding a sour, watery, and flavorless coffee. For iced coffee, aim for a 4-minute steep with water just off the boil (around 200°F/93°C). After steeping, press and pour immediately to stop extraction.
Since ice will dilute the coffee, you want a slightly stronger brew: use a 1:7 coffee-to-water ratio instead of the usual 1:15. This compensates for melting ice. To test, taste the coffee before chilling—it should be robust but not bitter.
If it’s too sharp, reduce steeping time by 30 seconds next batch. Consistency is your ally: use a timer and a thermometer for repeatable results.
Not cooling the coffee properly
A frequent error is pouring hot coffee directly over ice without proper cooling, leading to uneven dilution and a watery taste. The ice melts too quickly, washing out the coffee’s depth. Instead, cool the brewed coffee first to room temperature (about 10-15 minutes) before adding ice.
This slows melting and preserves flavor concentration. For faster results, pour the hot coffee into a shallow dish or metal bowl to increase surface area. Alternatively, brew double-strength coffee (use twice the grounds) and pour over a full glass of ice—this balances dilution.
Another tip: chill your cafetiere or glass beforehand. Avoid refrigerating hot coffee in a sealed container, as it traps heat and creates condensation. The goal is a bold, cold brew-like taste without bitterness. Stir the cooled coffee with ice to ensure even temperature.
For creaminess, add milk or a splash of cream after cooling. Remember, patience pays off: a properly cooled base yields a crisp, refreshing iced coffee that highlights the beans’ natural sweetness.
How to Store and Reuse Leftover Iced Coffee
Refrigerating brewed coffee concentrate
After brewing a batch of iced coffee with your cafetiere, store any leftover concentrate properly to maintain freshness. Pour the coffee into an airtight glass container or a mason jar, leaving a little space at the top. Seal it tightly and place it in the refrigerator immediately.
The concentrate will stay fresh for up to 5 days, but it’s best used within 3 days for optimal flavor. Avoid leaving the coffee at room temperature for more than 2 hours to prevent bacterial growth.
Before reusing, give the container a gentle shake or stir, as the coffee may settle. This chilled concentrate can be poured directly over ice with milk or water for a quick iced coffee. To prevent dilution, use large ice cubes or coffee ice cubes.
Remember that the flavor may intensify slightly over time, so you might want to add a pinch of salt or a splash of cream to balance it. This storage method saves time and reduces waste, making your morning routine more efficient.
Making coffee ice cubes for later
Transform leftover iced coffee from your cafetiere into coffee ice cubes to prevent dilution in future drinks. Pour the cooled coffee into an ice cube tray, filling each compartment about three-quarters full. For best results, use silicone trays for easy removal. Freeze for at least 4 hours or overnight.
Once solid, pop out the cubes and transfer them to a freezer-safe zip-top bag for long-term storage. These cubes can be added directly to a glass of milk or water for a refreshing iced coffee that doesn’t get watered down.
You can also blend them into smoothies for a caffeinated boost. For variety, try adding a splash of vanilla extract or a sprinkle of cinnamon before freezing. The cubes will keep for up to 3 months, but use them within 1 month for the best taste.
This method is perfect for using up extra coffee and creating a customizable, no-waste solution for hot days.
Reheating or repurposing old coffee
If your leftover cafetiere coffee has been refrigerated for a few days, you can still give it new life. For a hot drink, reheat the coffee gently on the stovetop or in a microwave, but avoid boiling to prevent bitterness.
Add a splash of fresh milk or a pinch of salt to restore flavor. Alternatively, repurpose it as a base for coffee cocktails, like an espresso martini or iced coffee with bourbon. You can also use it in baking recipes, such as coffee-flavored cakes, brownies, or frosting.
For a simple dessert, mix it with condensed milk and freeze for a creamy coffee ice cream. If the coffee tastes stale, try adding a dash of cinnamon or nutmeg.
For a non-culinary use, dilute it and pour it into your garden as a natural fertilizer for acid-loving plants like roses or blueberries. This approach ensures no coffee goes to waste, turning old brews into creative, useful resources.
Frequently Asked Questions
What is the basic method for making iced coffee with a cafetiere?
Brew a strong batch of coffee in your cafetiere using double the usual amount of grounds (e.g., 4 tablespoons per cup). Let it steep for 4 minutes, then press the plunger. Pour the hot coffee over a glass full of ice, and stir. Add milk or sweetener if desired.
How do I avoid watery iced coffee when using a cafetiere?
To prevent dilution, brew your coffee twice as strong as usual. Alternatively, make coffee ice cubes by freezing leftover coffee in an ice tray and using them instead of regular ice. This keeps the flavor robust as the cubes melt.
Can I brew the coffee directly with ice in the cafetiere?
No, it’s not recommended to put ice directly into a glass cafetiere as thermal shock can crack it. Instead, brew the coffee hot, then pour it over ice in a separate heatproof glass or carafe for best results.
What coffee-to-water ratio should I use for iced coffee in a cafetiere?
Use a 1:8 ratio of coffee to water by weight (e.g., 30g coffee to 240ml water) for a strong brew. This compensates for the ice melting and ensures a bold flavor. Adjust to taste, but start with double your usual hot coffee amount.
Should I use coarse or fine grounds for iced coffee in a cafetiere?
Use coarse grounds, similar to sea salt, to prevent over-extraction and a bitter taste. Fine grounds can slip through the mesh filter and make the coffee cloudy. Coarse grounds also steep better for a balanced iced coffee.
How long should I steep the coffee for iced coffee in a cafetiere?
Steep for 4 minutes for a balanced flavor. For a stronger concentrate, you can steep up to 5 minutes, but avoid longer to prevent bitterness. Stir the grounds after adding water to ensure even extraction.
Can I make cold brew iced coffee with a cafetiere?
Yes, add coarse grounds and cold water (use a 1:5 ratio) to the cafetiere, stir, and let it steep in the fridge for 12-24 hours. Then press the plunger and pour over ice. This yields a smooth, low-acid iced coffee.
What are some tips for serving iced coffee from a cafetiere?
Serve immediately over ice to preserve freshness. Add milk, cream, or flavored syrups like vanilla or caramel. For a creamy texture, try a splash of condensed milk. Garnish with ice cubes made from coffee to avoid dilution.
Conclusion
Making iced coffee with a cafetiere is quick, cost-effective, and yields a smooth, full-bodied brew. Remember to use coarsely ground coffee, steep for four minutes, and pour over plenty of ice to lock in flavor. For an extra boost, try double-strength brewing. Now, ditch the drive-through and enjoy café-quality iced coffee from your own kitchen—it’s easier than you think!