How To Make The Best Cold Brew
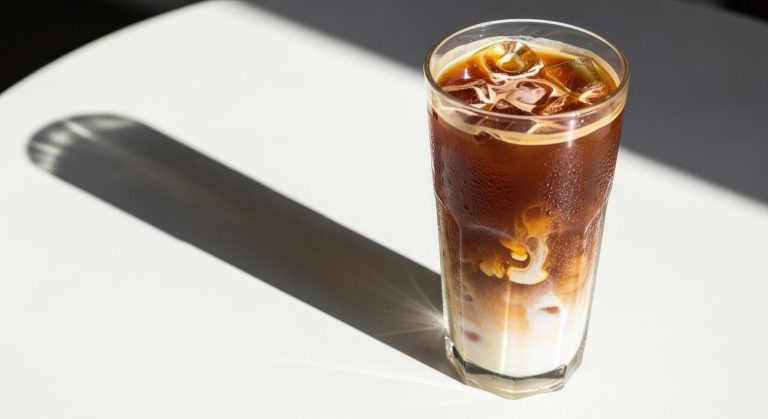
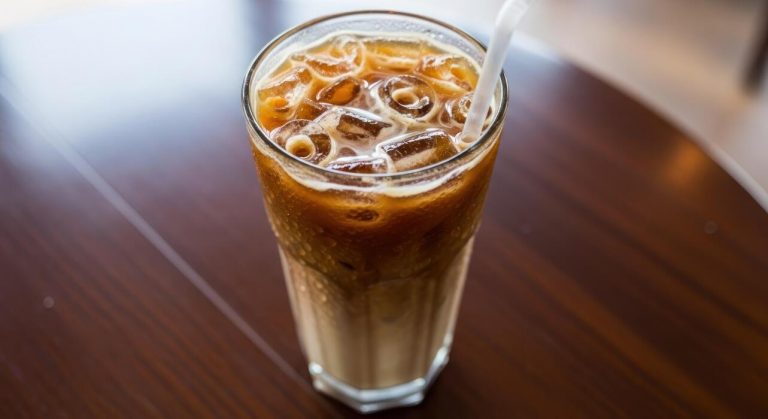
If you are tired of watery, bitter iced coffee, learning how to make the best cold brew at home is a total game changer. You do not need expensive equipment or a barista certification to master this brew. Stick with us, and you will discover exactly how to craft cafe-quality cold brew today.
What is cold brew coffee and why it tastes better
The difference between cold brew and iced coffee
To master the art of making the best cold brew, you must first understand that it is fundamentally different from traditional iced coffee. Standard iced coffee is simply hot coffee brewed quickly and poured over ice, which often leads to a diluted, watery beverage that lacks depth.
In contrast, the cold brew method relies on time rather than heat to extract flavor. By steeping coarse grounds in room temperature or filtered cold water for 12 to 24 hours, you create a concentrated essence that is incredibly smooth.
This slow immersion prevents the bitter tannins and oils from being forced out of the bean by high temperatures. When you aim for the best results, remember that patience is the primary ingredient that separates a subpar drink from a professional-grade concentrate.
Using a 1:4 coffee-to-water ratio ensures a robust base that holds its integrity even when diluted with milk or water, providing a rich, velvety texture that hot-brewed methods simply cannot replicate.
Why low acidity matters for your stomach
One of the most compelling reasons to switch to cold brew is its significantly lower acid profile compared to hot-brewed coffee. When coffee grounds are exposed to boiling water, the heat triggers a chemical reaction that releases various acidic oils and compounds.
These acids can often cause digestive discomfort or heartburn for sensitive drinkers. However, because cold brew utilizes ambient temperature extraction, these volatile acids are never activated.
Research suggests that cold brew can be up to 67% less acidic than hot coffee, making it the superior choice for those with sensitive stomachs or acid reflux. This reduction in acidity doesn’t just benefit your digestion; it also transforms the flavor profile.
Without the sharp, biting acid, the natural sweetness and chocolatey notes of the coffee beans are allowed to shine. This makes it easier to enjoy your beverage black, reducing the need for added sugars or heavy creams.
Focusing on a long, cold steep ensures you capture the bean’s best qualities while leaving the harsh irritants behind.
The science of cold water extraction
The secret to the best cold brew lies in the chemistry of slow solubility. Solubility is the rate at which coffee solids dissolve into water, and heat usually acts as a catalyst to speed this up.
By removing heat from the equation, you are forcing the water to work harder over a longer period to pull out the flavor. This results in a selective extraction process where the desirable flavor compounds dissolve, but the bitter, metallic elements remain trapped in the grounds.
To achieve the perfect extraction, you must use a consistent coarse grind resembling sea salt. Fine grounds will over-extract and lead to a muddy, bitter taste, while the right coarse texture allows water to flow evenly around every particle.
Additionally, using filtered water is crucial because impurities can interfere with the delicate chemical bonding between the water and the coffee solubles.
By controlling the temperature and the grind size, you harness the power of molecular diffusion to create a drink that is consistently bold, smooth, and naturally flavorful without any burnt aftertaste.
Best coffee beans and roast levels for cold brew

Why dark roast is the standard choice
When learning how to make the best cold brew, starting with a dark roast is generally considered the gold standard for achieving that signature smooth, chocolatey flavor profile.
Because the cold brewing process relies on time rather than heat, it tends to extract lower acidity and less bitterness than traditional drip methods.
Darker roasts are ideal because they possess low acidity and robust oils that stand up well to the long steeping process, typically lasting between twelve and twenty-four hours.
These beans often feature tasting notes of caramel, cocoa, and toasted nuts, which become incredibly concentrated and velvety when steeped in cold water. Furthermore, dark roasts are physically more porous due to the longer roasting cycle, allowing water to penetrate the grounds more easily during the immersion phase.
This ensures a full-bodied concentrate that tastes excellent whether served black or diluted with milk. By choosing a dark roast, you guarantee a consistent, rich base that remains bold even after adding ice or creamers.
The benefits of using single-origin beans
While blends offer consistency, utilizing single-origin beans can elevate your cold brew from a standard beverage to a gourmet experience by highlighting unique regional characteristics.
Single-origin beans allow you to explore distinctive flavor profiles that are often lost in complex blends, such as the citrusy brightness of Ethiopian beans or the earthy, spicy undertones found in Sumatran varieties.
Because cold brewing mutes sharp acidity, it provides a unique platform to taste the subtle nuances and floral notes of high-quality beans without the harshness sometimes found in hot extractions.
When you select a single-origin bean, you are essentially tailoring the final taste to your specific preference, whether you desire a fruity and light infusion or a deep, syrupy texture.
This approach encourages experimentation with different altitudes and processing methods, such as natural or washed beans, to see how they interact with the long immersion time. Ultimately, single-origin beans offer a more transparent and adventurous tasting journey for those seeking the absolute best cup of cold brew coffee possible.
Freshness and storage tips for your beans
The quality of your cold brew is directly tied to the freshness of your coffee beans, making proper storage and grinding techniques essential. To achieve the best results, you should always aim to use beans that have been roasted within the last two to four weeks.
Coffee begins to oxidize and lose its aromatic compounds immediately after roasting, so keeping your beans in an airtight, opaque container away from direct sunlight and moisture is crucial for preserving flavor.
When you are ready to brew, ensure you use a coarse grind size, similar to sea salt, to prevent over-extraction and sediment in your final carafe.
Grinding your beans immediately before steeping ensures that the volatile oils and fragrances are at their peak, leading to a much more vibrant and flavorful concentrate. Avoid storing your coffee in the refrigerator or freezer, as this can introduce moisture and odors that compromise the delicate bean profile.
By prioritizing freshness and proper storage, you ensure that every batch of cold brew you make is consistently delicious, aromatic, and free from stale off-flavors.
The ideal grind size and water-to-coffee ratio
Why you must use a coarse grind
To achieve a smooth flavor profile without excessive bitterness, you must use a coarse grind size resembling sea salt or peppercorns. Because cold brew involves an extended steeping time, typically between twelve and twenty-four hours, the surface area of the coffee particles plays a critical role in extraction speed.
Using a fine grind will lead to over-extraction, resulting in a muddy, harsh, and overly acidic beverage that masks the natural sweetness of the beans. Furthermore, coarse grounds act as their own natural filter, allowing water to flow through more easily and making the final filtration process significantly simpler.
If you use fine sediment, your filters will likely clog, leaving you with a cloudy drink and a gritty mouthfeel. By sticking to a consistent coarse setting on a burr grinder, you ensure that the water extracts the delicious oils and sugars slowly.
This creates the signature chocolatey and nutty notes that enthusiasts crave while avoiding the astringent tannins found in poorly brewed batches.
Standard ratios for concentrate vs. ready-to-drink
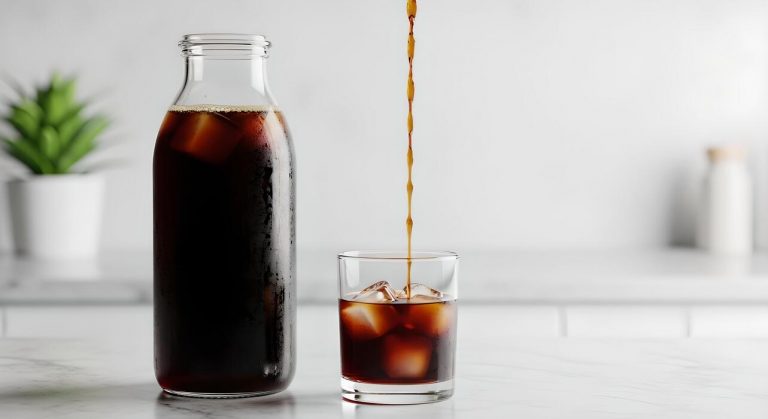
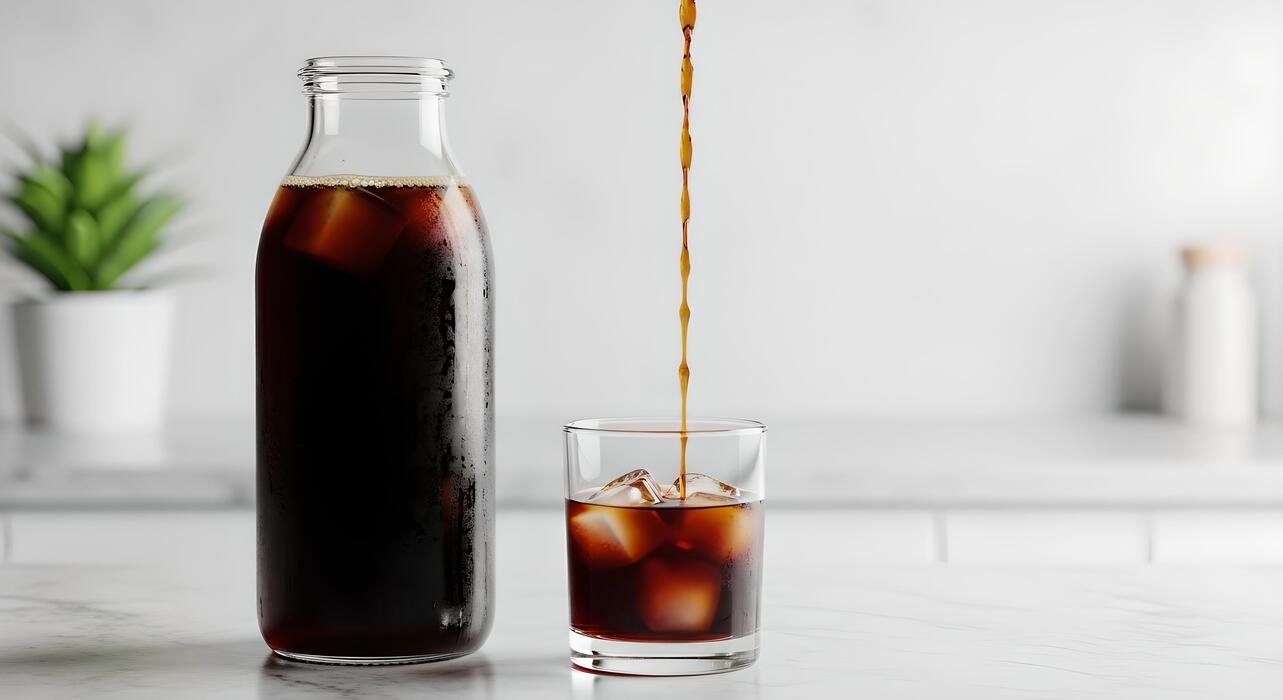
Finding the perfect balance depends entirely on whether you prefer a versatile concentrate or a beverage that is ready to pour immediately. For a strong concentrate that you can later dilute with milk, water, or ice, the industry standard is a 1:4 or 1:5 ratio of coffee to water.
This concentrated base is ideal for meal prepping as it saves space in your refrigerator and stays fresh for up to two weeks. However, if you prefer the convenience of drinking your brew straight from the jar, a 1:8 or 1:10 ratio is more appropriate for a ready-to-drink experience.
These higher water volumes yield a lighter, more refreshing cup that highlights delicate floral or fruity notes without needing additional dilution. Experimenting within these ranges allows you to customize the intensity to your specific palate.
Always remember that it is easier to dilute a strong brew than it is to fix one that was started with too much water and ended up weak.
Measuring by weight for consistent results
The most common mistake in home brewing is relying on volumetric measurements like scoops or cups, which can vary wildly depending on the roast level and bean density. To guarantee a perfect batch every single time, you should always measure your ingredients by weight using a digital kitchen scale.
For example, using a 1:8 ratio by weight means combining 100 grams of coffee with 800 grams of filtered water. This precision eliminates the guesswork and ensures that your water-to-coffee ratio remains identical regardless of the specific bag of beans you are using.
Darker roasts are less dense and take up more physical space than light roasts, so a ‘cup’ of one will not contain the same amount of coffee as a ‘cup’ of the other.
By switching to grams for both solids and liquids, you gain total control over the strength of your brew. This scientific approach allows you to make micro-adjustments to your recipe until you find the exact concentration that satisfies your taste buds perfectly every morning.
How to make cold brew at home step-by-step
Equipment you need to get started
To craft the ultimate cold brew, you must prioritize quality gear, starting with a reliable burr grinder to achieve a consistent coarse texture. Avoid blade grinders that create fine dust, which leads to over-extraction and bitterness.
You will need a large glass jar or dedicated brewing vessel that is airtight to maintain freshness during the long steeping process. A digital kitchen scale is indispensable for measuring your coffee-to-water ratio accurately, typically aiming for a 1:8 ratio for a versatile concentrate.
Use filtered water rather than tap water to ensure no chlorine or mineral off-flavors interfere with the delicate profile of your beans. Finally, source freshly roasted medium-to-dark roast beans, as these typically yield the chocolatey and nutty notes that thrive in cold temperatures.
Having these essential tools ready ensures a controlled environment where the subtle nuances of the coffee can shine without the interference of heat-induced acidity or inconsistent particle sizes.
Mixing and steeping instructions
Begin by grinding your coffee beans to a texture resembling sea salt or breadcrumbs, which is the secret to a smooth extraction. Place the grounds into your vessel and slowly pour over your filtered, room-temperature water, ensuring every particle is fully saturated.
Use a long spoon to gently stir the mixture, breaking up any dry clumps or air pockets that might prevent even brewing. Once mixed, seal the container tightly to prevent the coffee from absorbing any stray odors from your kitchen or refrigerator.
Allow the mixture to steep for 12 to 18 hours at room temperature; while some prefer the fridge, a room-temperature steep often yields a more complex and vibrant flavor profile. Avoid exceeding 24 hours, as this can result in woody or overly earthy notes that ruin the balance.
This patient, slow-soaking method gently draws out the natural sweetness and oils while leaving behind the harsh acids found in traditional hot-brewed coffee.
How to filter your brew for a clean cup
Once the steeping time is complete, the final step to achieving a professional-grade beverage is a thorough two-stage filtration process. Start by pouring the concentrate through a fine-mesh metal sieve to remove the largest grounds and sediment.
For a truly crisp and sediment-free result, perform a second pass by lining the sieve with a dampened paper coffee filter or a clean nut milk bag. Wetting the filter beforehand is crucial as it prevents the paper from absorbing the precious coffee oils and removes any papery taste.
Let the liquid gravity-strain naturally without squeezing the filter, as forcing the liquid through can introduce fine silts that make the coffee cloudy and gritty. The result of this careful filtration is a crystal-clear, heavy-bodied concentrate that can be stored in the refrigerator for up to two weeks.
Dilute your finished brew with water, milk, or ice to your preferred strength, enjoying the silky mouthfeel that only a well-filtered cold brew can provide.
How long to steep cold brew for maximum flavor
The 12 to 24 hour timing window
To achieve the absolute best cold brew results, you must master the delicate timing window between extraction and over-steeping. For most home brewers, the ideal duration is 12 to 18 hours for a balanced, chocolatey profile.
If you prefer a more concentrated, syrupy body that can stand up to heavy cream or milk, stretching the time to the full 24-hour mark is recommended.
However, exceeding this limit often leads to the extraction of unwanted tannins, resulting in a bitter, woody aftertaste that masks the bean’s natural sweetness. For a standard coarse grind, starting your brew in the early evening ensures it is ready for your morning routine.
Remember that grind size directly impacts timing; if your coffee is ground slightly finer than sea salt, aim for the shorter end of the spectrum to avoid harshness.
Consistency is key, so use a timer to ensure you filter the grounds exactly when the peak flavor profile has been reached for your specific roast.
Room temperature vs. refrigerator steeping
Where you choose to store your brewing vessel significantly alters the extraction speed and the final flavor complexity. Steeping at room temperature accelerates the process, typically requiring only 12 to 14 hours to reach full maturity.
This method often produces a more robust, floral, and aromatic cup because the slightly higher temperature pulls out nuanced oils more efficiently. Conversely, refrigerator steeping is a slower, gentler process that usually requires 18 to 24 hours to achieve the same strength.
The benefit of the cold environment is a remarkably smooth, low-acid finish that is difficult to over-extract. Many enthusiasts prefer the fridge method because it keeps the concentrate chilled and ready to serve immediately.
If you are in a hurry, leave the jar on your kitchen counter, but if you prioritize a mellow and crisp flavor profile, the refrigerator is your best bet.
Regardless of the location, ensure the container is tightly sealed to prevent the coffee from absorbing any lingering food odors from your kitchen environment.
How to tell if you over-steeped your coffee
Recognizing the signs of over-steeped cold brew is essential for refining your technique and ensuring every batch is high quality. The most obvious indicator is a sharp, bitter bite that lingers on the back of the tongue, which is a departure from the characteristic smoothness of cold-extracted coffee.
Additionally, look for a dusty or muddy mouthfeel; this happens when the beans have been submerged for too long, causing the cellulose fibers to break down into the liquid.
If your brew smells more like wet tobacco or fermented earth rather than toasted nuts or cocoa, you have likely exceeded the optimal steeping window.
You can sometimes rescue an over-steeped batch by diluting it with extra water or milk, but the clarity of the original flavor will be permanently compromised.
To avoid this in the future, always taste a small spoonful at the 12-hour mark and every two hours thereafter until you find the perfect balance. Proper filtration using a dual-layer mesh or paper filter also helps stop the extraction process immediately.
Tips for serving and storing your cold brew
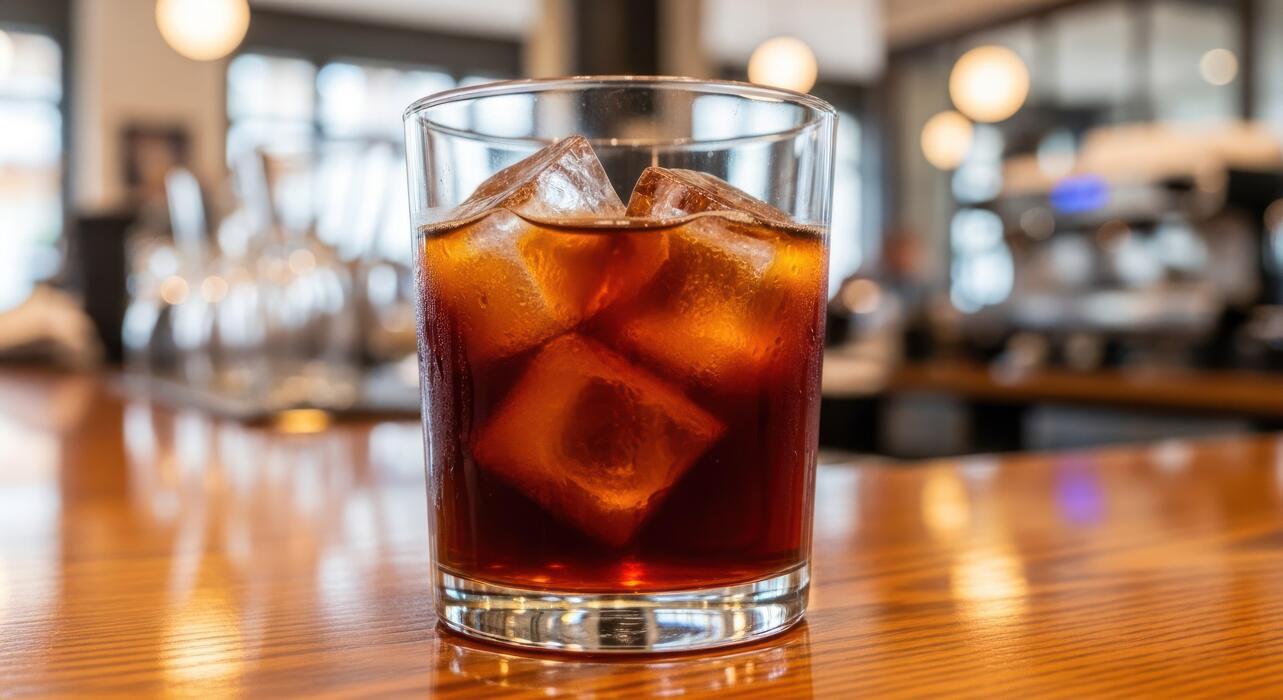
How to dilute cold brew concentrate
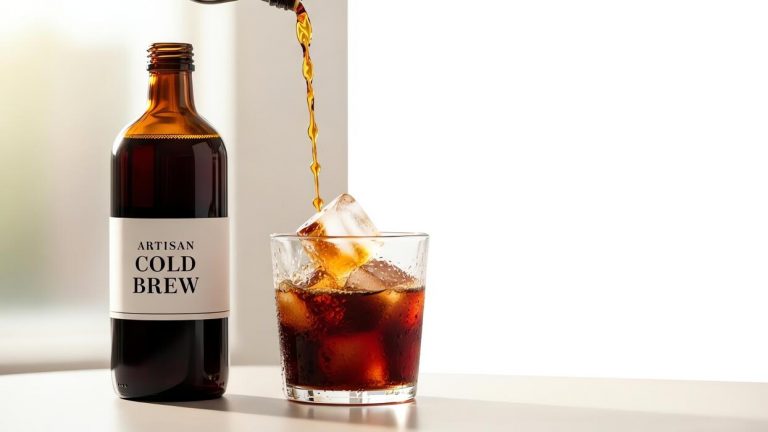
Mastering the dilution process is the secret to transforming a potent concentrate into the best cold brew for your specific palate. Since cold brew is typically brewed as a heavy concentrate, you should start with a standard ratio of 1:1, mixing equal parts coffee and filtered water or milk.
If you prefer a lighter, more refreshing drink that mimics an iced Americano, try a 1:2 ratio to let the subtle floral notes shine through.
For those who enjoy a creamy texture, replacing water with oat milk or almond milk adds a velvety finish that complements the low acidity of the brew. Always pour your concentrate over fresh ice first before adding your diluent to ensure the beverage chills evenly without becoming overly watery.
If you find the flavor too intense, simply add small splashes of water until you hit the perfect balance. Remember that the quality of your water matters significantly; using filtered water prevents chlorine or minerals from masking the smooth, chocolatey profile of your beans.
Best ways to keep it fresh in the fridge
To maintain that signature smooth flavor and prevent your coffee from tasting stale or bitter, proper storage is non-negotiable. Always store your cold brew in an airtight glass container, such as a Mason jar or a dedicated glass carafe, rather than plastic which can leach odors over time.
Keeping the container tightly sealed is crucial because coffee is highly porous and will easily absorb the scents of other foods in your refrigerator, like onions or leftovers.
For peak quality, consume your cold brew concentrate within 7 to 10 days of brewing; if you have already diluted it with water, aim to finish it within 3 days.
To further extend freshness, minimize the amount of headspace in your jar to reduce oxygen exposure, which causes oxidation and flavor degradation. Keep the bottle stored in the main body of the fridge rather than the door to ensure a consistent, cold temperature.
This meticulous approach ensures every glass tastes as vibrant and clean as the moment you finished the initial straining process.
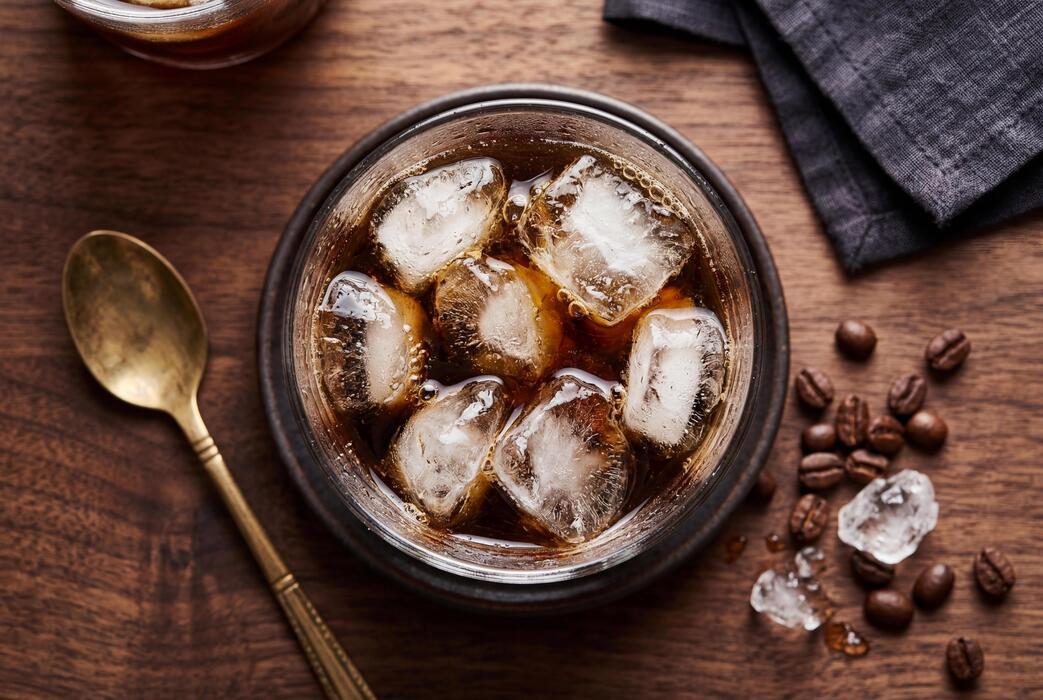
Creative ways to use coffee ice cubes
One of the most effective ways to upgrade your cold brew experience is to eliminate the problem of dilution by using coffee ice cubes. Simply pour your leftover cold brew or a slightly diluted concentrate into silicone ice tray molds and freeze them overnight.
As these cubes melt in your glass, they release more coffee flavor instead of watering down your drink, ensuring the last sip is as strong as the first.
For a more gourmet twist, you can drop a vanilla bean or a dash of cinnamon into each cube slot before freezing to infuse subtle aromatics into your beverage.
These cubes are also incredibly versatile for making quick blended drinks; toss a handful into a high-speed blender with a splash of milk for an instant coffee frappe that has a perfect slushy consistency.
Using coffee ice cubes is a sustainable way to reduce waste while ensuring your premium home-brewed coffee maintains its full-bodied integrity even on the hottest summer days. This simple preparation step is what truly separates a basic iced coffee from the best cold brew.
Common cold brew mistakes and how to fix them
Fixing bitter or sour flavors
Achieving the perfect balance in cold brew requires understanding how extraction time and grind size interact.
If your coffee tastes unpleasantly sharp or sour, it is likely under-extracted; to fix this, ensure you are using a coarse, sea-salt grind and extending your steep time to at least 12 to 18 hours. Conversely, if the result is overly bitter or harsh, you have likely over-extracted the beans.
This often happens when the grind is too fine, causing the water to pull out heavy tannins. To solve this, adjust your grinder to a coarser setting and avoid steeping for longer than 24 hours at room temperature.
Remember that cold brew is a concentrate, so if the flavor is simply too intense, you can dilute the final product with water or milk until it reaches your desired profile.
Maintaining a consistent 1:5 or 1:8 coffee-to-water ratio will help you isolate these variables and master the smooth, chocolatey profile that defines the very best cold brew.
The importance of filtered water
Since cold brew is composed of approximately 98% water, the quality of your tap source drastically impacts the final cup. Using unfiltered tap water can introduce chlorine, fluoride, and heavy minerals that create metallic or chemical off-flavors, masking the delicate notes of your premium beans.
To make the best cold brew, you should always use charcoal-filtered or bottled spring water to ensure a clean canvas for extraction. Distilled water should be avoided, as it lacks the essential minerals needed to pull flavors effectively from the grounds.
By using freshly filtered water at room temperature, you create a stable environment for the slow oxidation process to occur. This small adjustment eliminates the ‘muddy’ taste often associated with homemade batches and highlights the natural sweetness and acidity of the coffee.
Investing in a simple water filtration pitcher is perhaps the easiest way to elevate your brewing game from average to professional quality without needing expensive equipment or complex techniques.
Why you should never use a paper filter twice
While sustainability is important, reusing a paper filter for cold brew is a mistake that will ruin your entire batch. Paper filters are designed to trap fine sediments and oily lipids; once used, these residual oils quickly turn rancid and will contaminate your fresh brew with a stale, sour odor.
Furthermore, the structural integrity of the paper weakens significantly after its first saturation. Attempting a second run increases the risk of the filter tearing during the straining process, which leads to a gritty, sediment-filled concentrate that is impossible to clean.
To achieve a crisp, sediment-free finish, you must use a fresh, high-quality paper filter for every single batch. If you prefer a more eco-friendly approach, consider a permanent stainless steel mesh filter, but be prepared for a heavier body with more silt.
For those seeking the cleanest possible profile, a single-use compostable paper filter remains the gold standard for removing bitter particulates and ensuring every sip is consistently smooth and bright.
Frequently Asked Questions
What is the best coffee-to-water ratio for cold brew?
For a versatile cold brew concentrate, use a 1:4 ratio of coffee to water. If you prefer a ready-to-drink brew that doesn’t require dilution, a 1:8 or 1:10 ratio is ideal.
What grind size should I use for cold brew?
You should always use an extra-coarse grind, similar in texture to sea salt or breadcrumbs. This prevents the coffee from becoming over-extracted and bitter during the long steeping process and makes filtering much easier.
How long should I steep cold brew for the best flavor?
The optimal steeping time is between 12 and 18 hours at room temperature, or up to 24 hours if steeping in the refrigerator. Steeping longer than 24 hours can result in woody or bitter off-flavors.
Should I steep my cold brew in the fridge or on the counter?
Steeping on the counter at room temperature extracts flavors faster and often results in a more complex profile. However, steeping in the fridge is safer for long durations and yields a very clean, crisp finish.
What kind of roast is best for cold brew?
Medium to dark roasts are generally preferred for cold brew because the low-acid extraction method highlights chocolatey, nutty, and caramel notes. Light roasts can be used but may result in a more tea-like, floral body.
How do I properly filter cold brew to avoid sediment?
First, pass the mixture through a metal mesh sieve to remove large grounds, then run it through a paper coffee filter or a fine nut milk bag. This double-filtration method ensures a clear, sediment-free cup with a smooth mouthfeel.
How long does homemade cold brew stay fresh?
Undiluted cold brew concentrate can stay fresh in an airtight container in the refrigerator for up to two weeks. Once you dilute it with water or milk, it is best consumed within 2-3 days for peak flavor.
Conclusion
Mastering the art of cold brew comes down to patience, high-quality beans, and the perfect coarse grind. Do not be afraid to experiment with different steep times to find your ideal flavor profile. Now that you have the tools for success, grab your favorite roast and start brewing your best batch today.