How To Make Good Cold Brew Coffee
Making a smooth, low-acid cold brew at home is surprisingly simple once you master the coffee-to-water ratio. You do not need expensive equipment to ditch the bitter store-bought bottles; just a jar, your favorite coarse grounds, and a little patience. In this guide, we will show you exactly how to make good cold brew coffee by walking you through the foolproof steeping process. From choosing the right beans to perfecting your pour, you will have barista-quality caffeine ready fast.
What is cold brew coffee?
Cold brew vs iced coffee differences
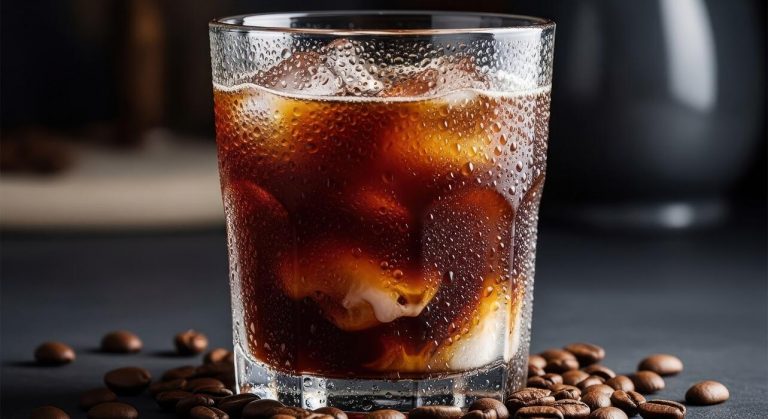
To make good cold brew coffee, you must first understand that it is a unique brewing method, not just chilled hot coffee. Traditional iced coffee is brewed hot and poured over ice, which often leads to a diluted, bitter profile as the ice melts.
In contrast, cold brew is created by steeping coarse grounds in room temperature water for 12 to 24 hours. This patient, slow-steeping process creates a concentrated liquid known as cold brew concentrate.
Because heat is never introduced, the volatile oils and aromatic compounds are preserved differently, resulting in a naturally sweet and heavy-bodied beverage.
When you learn how to make good cold brew, you focus on the ratio of coffee to water, typically 1:4 or 1:8, ensuring a robust flavor that holds up even when diluted with milk or water later.
This distinction is vital for achieving a professional, cafe-quality result at home without the watery disappointment often associated with standard iced coffee methods.
Why cold brew tastes less acidic
One of the primary benefits of learning how to make good cold brew coffee is achieving a significantly smoother flavor profile. High temperatures used in standard brewing extract certain oils and acids that can taste sharp or sour.
By utilizing cold water extraction, these acidic components remain trapped within the coffee grounds, leading to a beverage that is roughly 60% less acidic than hot-brewed coffee. This makes it an excellent solution for coffee lovers with sensitive stomachs or those who find traditional coffee too harsh.
To ensure your cold brew remains low-acid and flavorful, always use a coarse grind size similar to sea salt. Using fine grounds can lead to over-extraction and unwanted bitterness, defeating the purpose of the cold brew method.
The result of this chemistry is a mellow, chocolatey, and nutty flavor profile that highlights the bean’s natural sweetness without the bite. Focusing on this low-acid extraction ensures every batch you brew is consistently smooth, rich, and incredibly easy to drink.
The science of cold water extraction
Mastering how to make good cold brew coffee requires a basic understanding of solubility and time. Since heat acts as a catalyst for extraction, removing it means you must compensate with extended immersion time.
Water is a solvent, and at room temperature, it works much more slowly to dissolve the soluble solids within the coffee beans. This slow process prevents the extraction of tannins and bitter polyphenols that are typically released at boiling temperatures.
For the best results, you should filter your water to remove impurities that might interfere with the delicate chemical balance of the brew.
Additionally, the science suggests that a long, steady steep at a consistent temperature produces a more stable concentrate that stays fresh in the refrigerator for up to two weeks.
By allowing the water and coffee to interact over a span of 18 hours, you achieve a complex molecular extraction that brings out deep caramel notes. This scientific approach ensures your homemade cold brew is consistently bold and never under-extracted or weak.
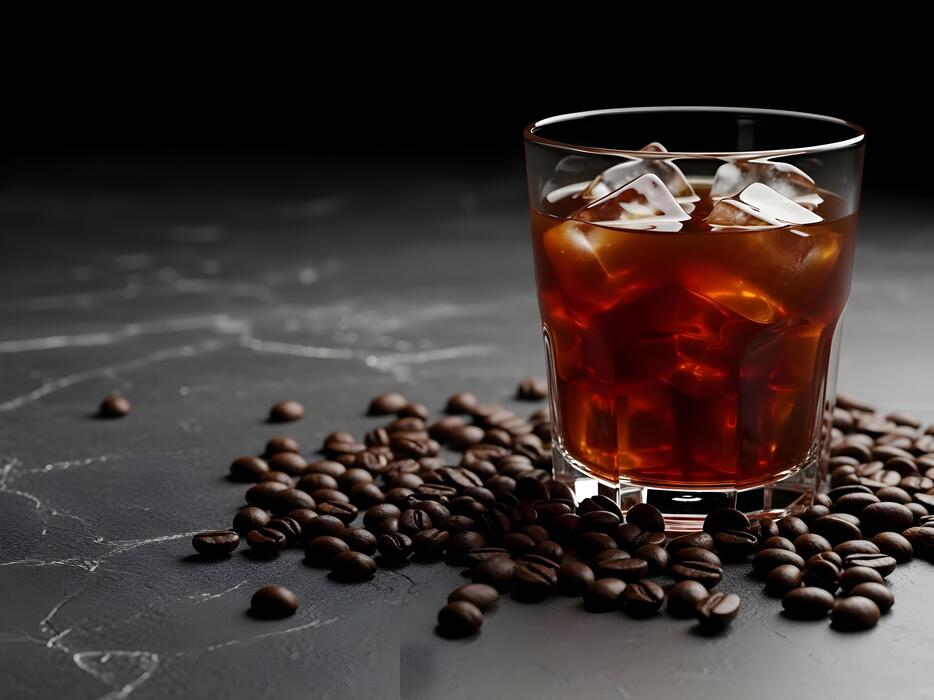
Best coffee beans for cold brew

Choosing the right roast level
Selecting the perfect roast is the foundational step in mastering how to make good cold brew coffee at home. While you can technically use any bean, dark roasts are widely considered the gold standard for this brewing method.
The cold extraction process naturally highlights deep, chocolatey, and nutty notes while muting the sharp acidity often found in lighter beans.
Because cold water is less efficient at extracting solubles than hot water, the bold profile of a dark roast ensures your concentrate remains flavorful even after being diluted with milk or water.
If you prefer a more complex and floral profile, a medium roast can offer a pleasant balance, but you should generally avoid light roasts as they often result in a thin, overly acidic beverage that lacks the signature smoothness of a classic cold brew.
Look for beans with flavor descriptions like caramel, cocoa, or toasted nuts to ensure a rich and satisfying result that stands up well to ice.
Why coarse grind size matters
The secret to a crystal-clear, sediment-free glass of coffee lies entirely in your grind consistency. For cold brew, you must use an extra-coarse grind that resembles sea salt or peppercorns.
Because the coffee grounds sit in water for twelve to twenty-four hours, a fine grind would lead to over-extraction, resulting in a harsh, bitter taste that ruins the experience.
Furthermore, fine particles are incredibly difficult to filter out, often leaving a muddy silt at the bottom of your jar that creates an unpleasant mouthfeel. Using a consistent burr grinder ensures that all particles are the same size, allowing for an even extraction throughout the long steeping period.
This coarse texture allows water to flow freely around the grounds, pulling out the sweetness without the tannins. By prioritizing a chunky grind size, you guarantee a mellow finish and a much easier filtration process when it is finally time to separate the liquid from the spent coffee solids.
Freshly ground vs pre-ground beans
When learning how to make good cold brew coffee, the debate between convenience and quality often centers on when the beans were processed. For the ultimate flavor experience, always choose whole beans and grind them immediately before you begin the steeping process.
Coffee starts to oxidize and lose its aromatic oils the moment it is ground, and since cold brew relies on a long immersion time to build flavor, starting with the freshest material possible is vital.
Pre-ground coffee is almost always too fine for cold brew, which leads to the bitterness and cloudiness mentioned previously. By grinding your own, you maintain total control over the texture and ensure the volatile compounds and natural sweetness are preserved within the bean until the very last second.
If you do not own a quality grinder, many local specialty cafes will grind your bag of beans specifically for cold brew upon request. This small adjustment in your routine significantly elevates the final profile, turning a basic caffeine fix into a cafe-quality treat.
Essential cold brew equipment
Mason jars and simple containers
You do not need expensive gear to start brewing at home because large glass mason jars or any food-safe pitcher serve as the perfect vessel for immersion brewing. The wide-mouth design of a 32-ounce or 64-ounce jar allows for easy pouring and simplifies the cleanup process after you finish steeping.
When selecting a container, prioritize non-porous materials like glass to ensure that old coffee oils do not linger and affect the flavor of your next batch.
Using a simple jar allows you to easily observe the saturation of the grounds and ensures there is enough headspace for a quick stir to eliminate dry pockets.
Simply combine your coarse grounds and filtered water in the jar, secure the lid to prevent fridge odors from contaminating the brew, and let it sit for 12 to 24 hours.
This low-barrier method proves that a consistent, delicious concentrate is achievable using basic kitchen staples found in almost any household pantry.
Dedicated cold brew coffee makers
If you plan to brew frequently, investing in a specialized cold brew system can significantly streamline your workflow and improve consistency.
These devices, such as the Toddy or the Oxo Good Grips Cold Brewer, are engineered specifically to manage the unique demands of cold extraction by featuring built-in drainage valves and custom-fitted filters.
A dedicated maker often includes a fine-mesh stainless steel insert or a paper filter housing that keeps the grounds separated from the liquid, making the cleanup as simple as lifting a basket. This specialized equipment helps you maintain a precise coffee-to-water ratio by providing clear measurement markings on the carafe.
Furthermore, many of these systems are designed with airtight seals that keep your concentrate fresh in the refrigerator for up to two weeks.
By reducing the mess and manual labor associated with straining, a dedicated brewer encourages a more sustainable habit for enthusiasts who want high-quality results without the hassle of a makeshift setup.
Filters and straining tools
The secret to a clean, sediment-free cup lies in your choice of high-quality filtration tools used during the final stage of the process.
If you are using a basic container, you will need a fine-mesh sieve paired with natural paper filters or cheesecloth to remove the fine silt that can make cold brew taste muddy or overly bitter.
For those seeking a heavier body and more oils, a permanent stainless steel mesh filter is an excellent choice, whereas paper filters provide a crisp, bright profile by trapping more of the micro-particles.
You might also consider disposable brew bags, which act like giant tea bags for your coffee grounds, allowing for an effortless removal process once the steeping time is complete. Regardless of the tool, the goal is to strain the concentrate slowly to avoid forcing sediment through the filter.
Proper filtration ensures that your final concentrate is smooth, clear, and perfectly prepared for dilution with ice, water, or your favorite milk alternative for a professional finish.
Step-by-step cold brew instructions
Measuring the perfect coffee-to-water ratio
The foundation of a smooth, flavorful cold brew begins with the precision of your measurements. Unlike traditional hot coffee, cold brew requires a much higher concentration of grounds to water because the extraction happens over time rather than through heat.
For a versatile concentrate that can be diluted later, aim for a 1:4 ratio by weight, which typically translates to one cup of coffee grounds for every four cups of filtered water.
If you prefer a ready-to-drink beverage that is slightly lighter on the palate, a 1:8 ratio is often the sweet spot. Regardless of the ratio you choose, the most critical factor is the grind size. You must use a coarse, breadcrumb-like grind to prevent over-extraction and bitterness.
Using finely ground beans will result in a muddy, overly acidic brew that is difficult to filter. Always weigh your ingredients with a digital scale to ensure consistent results every time you prepare a fresh batch at home.
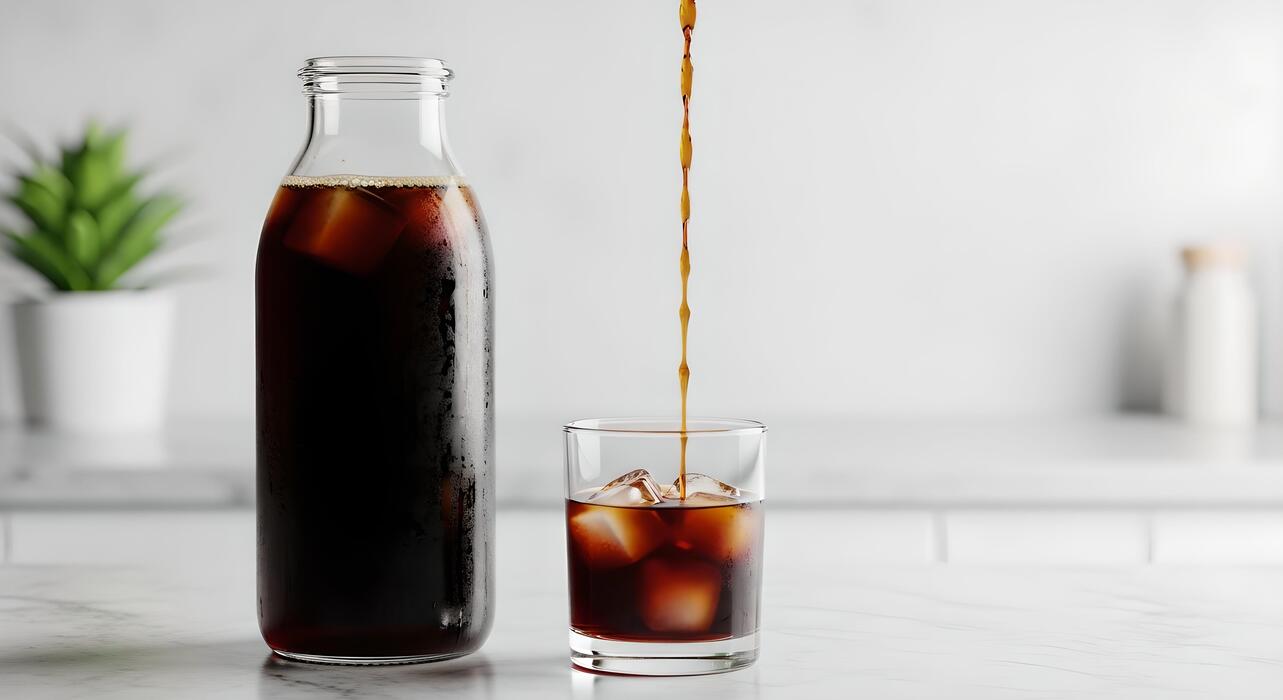
The mixing and steeping process
Once you have your measured ingredients ready, place the coarse grounds into a clean glass jar or a dedicated cold brew maker. Slowly pour your room temperature or cold filtered water over the grounds, ensuring that every particle is fully saturated.
It is important to stir gently with a long spoon to break up any dry clumps, but avoid over-agitation which can lead to a cloudy final product. After mixing, cover the container tightly to prevent the coffee from absorbing any stray odors from your kitchen or refrigerator.
Place the vessel in a cool, dark spot on your counter or directly into the fridge. The ideal steeping time falls between 12 to 18 hours depending on your strength preference.
Steeping for less than 12 hours often results in a weak, tea-like consistency, while exceeding 24 hours can pull out harsh, woody tannins from the beans. Finding your personal timing preference is the key to mastering the perfect homemade brew.
How to strain without the mess
Straining is the final hurdle in achieving a professional-grade cold brew that is free of sediment and grit. Start by pouring the steeped mixture through a fine-mesh sieve to remove the largest grounds; this initial pass makes the subsequent finer filtration much faster and less likely to clog.
For a truly clean and crisp mouthfeel, perform a second strain using a paper coffee filter or a clean flour sack towel draped over a carafe.
Be patient during this stage and avoid squeezing the filter, as forcing the liquid through can push fine particulates and bitter oils into your drink. If you find the process too slow, try using a French press by simply depressing the plunger slowly after the steeping period is complete.
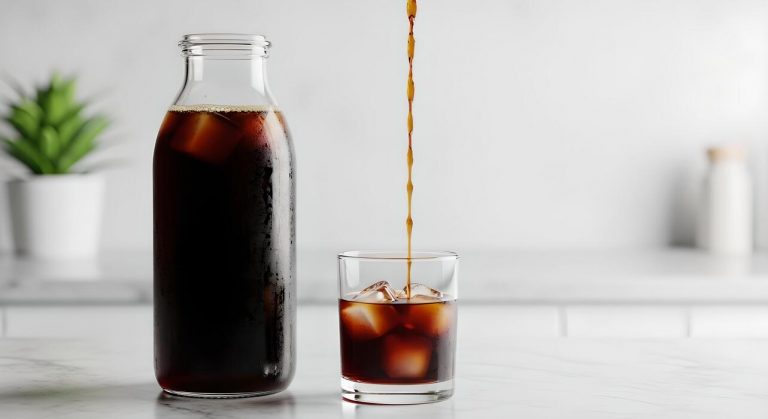
Once strained, transfer your concentrate into a clean glass bottle. This fresh cold brew will stay delicious in the refrigerator for up to two weeks, allowing you to enjoy a premium caffeine kick whenever you need it most.
How long to steep cold brew
Countertop vs refrigerator brewing
Deciding where to place your brewing vessel is the first step in mastering the extraction process. When you brew on the countertop at room temperature, the chemical reactions occur more rapidly, typically requiring a shorter window of 12 to 16 hours to reach peak flavor.
This method often yields a brighter profile with more pronounced acidity. Conversely, refrigerator brewing slows down the extraction significantly due to the lower temperature, necessitating a longer duration of 18 to 24 hours.
While the fridge method takes more patience, it is highly recommended for those seeking a silky, mellow body with significantly reduced bitterness. The cold environment ensures a stable environment that prevents the coffee from oxidizing too quickly, which is essential for maintaining a fresh taste.
Regardless of the location chosen, always ensure your container is tightly sealed to prevent the grounds from absorbing any ambient food odors found in your kitchen or refrigerator space.
Finding your ideal brew time
The sweet spot for cold brew generally falls between 12 and 24 hours, but the precise timing depends heavily on your grind size and desired strength.
If you are using a standard coarse grind, which resembles sea salt, a 16-hour steep at room temperature is the gold standard for a balanced concentrate. If you prefer a lighter, ready-to-drink beverage, you might pull the filter at the 12-hour mark to capture the delicate floral notes.
For those who enjoy a robust, heavy-bodied concentrate meant for diluting with milk or water, extending the steep to 20 or 22 hours in the fridge will pull more oils and sugars from the beans.
It is helpful to taste-test your brew every two hours once you hit the 12-hour threshold. This allows you to monitor the transition from bright and acidic to rich and chocolatey, ensuring you stop the process exactly when the flavor profile aligns with your personal palate preferences.
Signs of over-extracted coffee
While cold brew is more forgiving than hot coffee, it is entirely possible to steep the grounds for too long, leading to over-extraction. The most common indicator of an over-steeped batch is a harsh, bitter aftertaste that lingers on the back of the tongue.
You might also notice a dusty or chalky mouthfeel and a flavor profile that leans toward woody or even tobacco-like notes. Visually, the coffee may appear exceptionally dark and lose the vibrant clarity associated with a well-timed steep.
If your brew tastes astringent or unpleasantly pungent, it is a sign that the water has begun to pull out the heavier, more bitter organic compounds that are usually left behind.
To avoid this, never exceed the 24-hour limit, as the quality of the flavor begins to degrade rapidly beyond this point. If you do over-extract a batch, you can sometimes save it by diluting heavily with water or using it specifically for blended iced drinks with sweeteners.
Tips for better tasting cold brew
Using filtered water for clarity
Since cold brew coffee is composed of approximately ninety-eight percent water, the quality of your source material is paramount for achieving a clean profile.
Using filtered water or bottled spring water removes chlorine, heavy metals, and volatile organic compounds that can introduce metallic or chemical aftertastes during the long steeping process.
Unlike hot brewing, which can sometimes mask impurities through acidity, the cold extraction method highlights the natural sweetness and subtle nuances of the bean. By starting with a neutral, mineral-balanced base, you ensure that the intrinsic flavor notes of your specialty coffee beans are the primary focus.
Avoid using distilled water, as it lacks the essential minerals needed to pull the rich oils and flavors from the grounds effectively.
Instead, opt for a high-quality carbon filter or a dedicated water pitcher to maintain optimal pH levels, resulting in a crisp, refreshing beverage that tastes professional and lacks the muddy bitterness often associated with basic tap water preparations.
The double-filtration technique
One of the most common complaints regarding homemade cold brew is the presence of fine sediment or a dusty mouthfeel at the bottom of the glass. To achieve a cafe-quality clarity and brightness, implement a double-filtration strategy after the initial steeping period is complete.
First, pass your concentrate through a coarse metal mesh or a nut milk bag to remove the bulk of the large coffee grounds. Immediately following this, perform a second pass through a high-quality paper filter or a fine cloth filter.
This secondary step captures the microscopic silt and excess oils that can lead to oxidation and a heavy, chalky texture. While it takes a few extra minutes for the liquid to drip through a paper barrier, the result is a translucent, vibrant concentrate that feels light on the palate.
This technique not only improves the immediate taste but also prevents the brew from becoming overly bitter if it sits in the refrigerator, as it removes the tiny particles that would otherwise continue to over-extract.
Proper storage to keep it fresh
Once you have perfected your extraction, maintaining that peak flavor requires diligent storage habits to prevent degradation. Always store your cold brew concentrate in an airtight glass container, such as a Mason jar or a specialized carafe, rather than plastic.
Plastic containers can be porous and may leach old odors or impart a synthetic taste into the delicate liquid over time. To minimize the risk of oxidation, which leads to a stale and sour flavor profile, try to keep the container full to reduce the headspace and limit oxygen exposure.
Place the vessel in the coldest part of your refrigerator, away from pungent foods like onions or garlic that could contaminate the aroma. When stored correctly, a cold brew concentrate can maintain its freshness for up to ten days, though it is best enjoyed within the first week.
If you notice a change in the scent or a sudden increase in acidity, it is a sign that the oils have begun to turn, and it is time to brew a fresh batch.
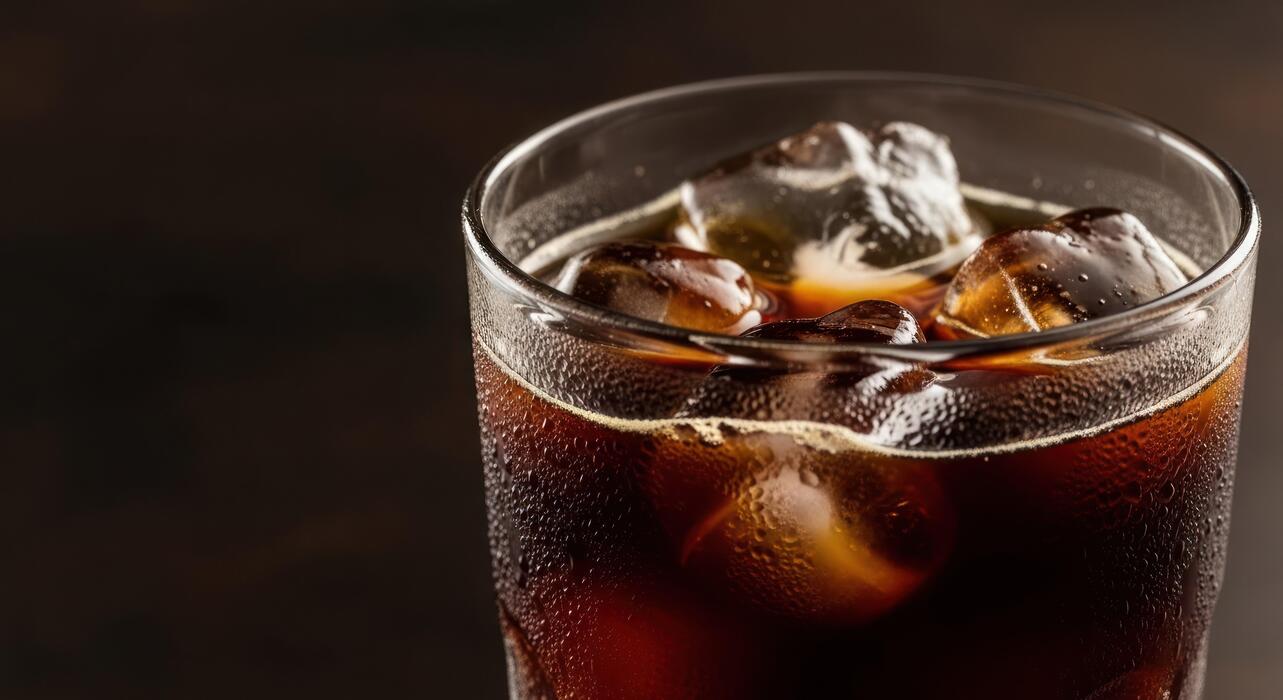
Best ways to serve cold brew
Diluting your cold brew concentrate
When learning how to make good cold brew coffee, mastering the dilution stage is critical because the initial steep creates a potent concentrate. To achieve a balanced flavor, you should generally follow a one-to-one ratio of coffee concentrate to filtered water.
Using high-quality water is essential, as it prevents any metallic or chlorine notes from masking the natural sweetness of the beans. If you prefer a lighter, more refreshing beverage, feel free to increase the water ratio slightly.
For those who enjoy an iced experience, remember that pouring the concentrate over ice cubes will naturally dilute the drink as the ice melts over time. Always taste your brew before finalizing the mix to ensure the strength aligns with your personal preference.
By carefully controlling the dilution process, you maintain the signature smooth, low-acid profile that makes cold brew so popular. This step allows you to customize the intensity of every glass, ensuring a consistent and professional-grade result every single morning.
Milk and sweetener recommendations
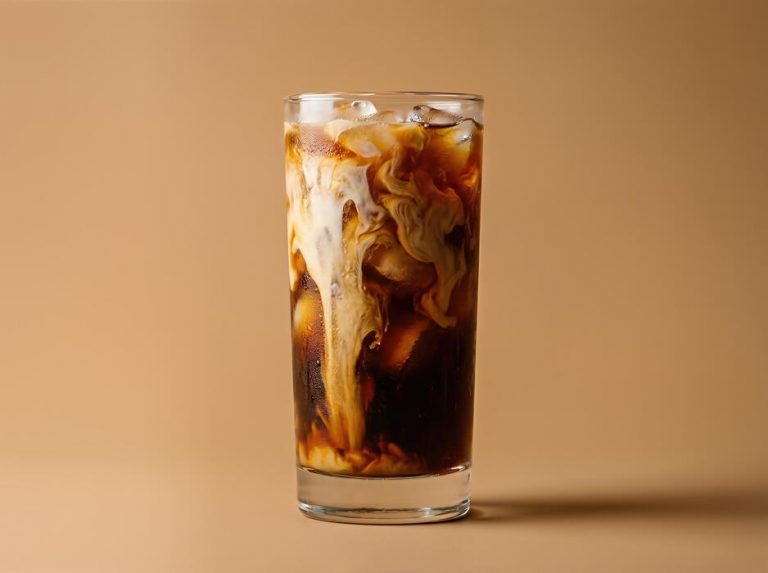
Enhancing your cold brew involves choosing the right additions to complement its chocolatey and nutty undertones. Unlike hot coffee, cold brew is naturally less bitter, so you may find you need less sugar than usual.
For a creamy texture, oat milk is a top recommendation because its natural sweetness and thick consistency pair perfectly with the cold extraction method. If you prefer dairy, whole milk or half-and-half provides a luxurious mouthfeel that balances the coffee’s strength.
When it comes to sweetening, liquid sweeteners like simple syrup or agave are superior to granulated sugar, which often fails to dissolve in cold liquids. You can also experiment with flavored syrups such as vanilla or salted caramel to create a cafe-style experience at home.
Adding a pinch of sea salt can further brighten the flavor profile and cut through any lingering earthy notes. Choosing the right milk and sweetener allows you to bridge the gap between a basic caffeine fix and a truly sophisticated, gourmet coffee beverage.
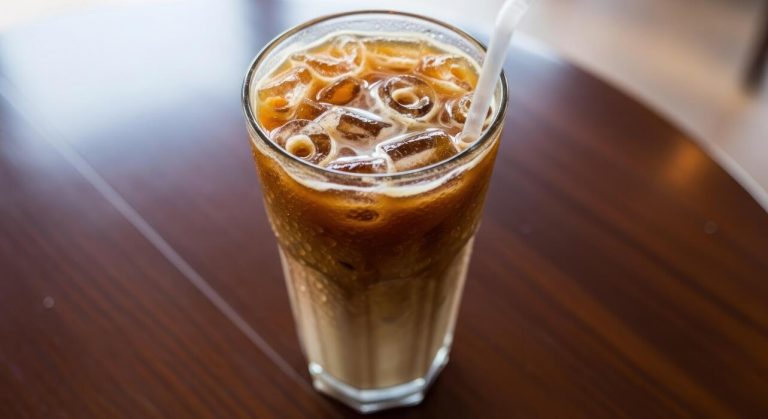
Creative cold brew drink recipes
Once you have perfected your base, you can elevate your routine with creative recipes that go beyond the standard glass of iced coffee. One popular trend is the Cold Brew Tonic, which combines coffee concentrate with tonic water and a squeeze of lime for a refreshing, effervescent treat.
The acidity of the citrus and the bitterness of the quinine create a complex flavor profile that is perfect for warm afternoons. Another excellent option is the Nitro-style cold brew at home, achieved by vigorously shaking your concentrate with ice in a mason jar to create a frothy, velvety head.
For a decadent dessert-inspired drink, try making a Cold Brew Float by adding a scoop of high-quality vanilla bean ice cream to your glass. These variations showcase the incredible versatility of the cold brew method and allow you to impress guests with minimal effort.
By experimenting with different textures and mixers, you transform your homemade concentrate into a diverse menu of professional-grade coffee drinks.
Frequently Asked Questions
What is the best coffee-to-water ratio for cold brew?
For a versatile cold brew concentrate, use a 1:4 or 1:5 ratio of coffee to water by weight. If you prefer a ready-to-drink brew that doesn’t require dilution, a 1:8 or 1:10 ratio is recommended.
What grind size should I use for cold brew coffee?
You should use an extra-coarse grind, similar to the consistency of sea salt or breadcrumbs. A coarse grind prevents the coffee from becoming over-extracted and bitter during the long steeping process and makes filtering much easier.
How long should I steep cold brew coffee?
The ideal steeping time is between 12 and 24 hours at room temperature or in the refrigerator. Steeping for less than 12 hours may result in a weak, acidic brew, while going beyond 24 hours can extract woody, bitter flavors.
Should I steep cold brew in the fridge or on the counter?
Both methods work, but they yield different results; counter steeping is faster and highlights more floral notes, while refrigerated steeping takes longer and produces a smoother, more mellow flavor. Most experts recommend the refrigerator to keep the beverage at a food-safe temperature throughout the process.
What kind of water is best for making cold brew?
Since cold brew is 98% water, using filtered or bottled spring water will significantly improve the taste compared to tap water. Avoid distilled water, as the lack of minerals can lead to a flat-tasting extraction.
How do I properly filter cold brew to avoid sediment?
Start by pouring the mixture through a coarse metal mesh sieve to remove the large grounds, then pass it through a paper coffee filter or a fine nut milk bag. This two-step process ensures a clean, sediment-free cup with a crisp finish.
How long does homemade cold brew stay fresh?
Cold brew concentrate can stay fresh in an airtight container in the refrigerator for up to two weeks. However, if you have already diluted the coffee with water or milk, it is best consumed within 2 to 3 days for optimal flavor.
Conclusion
Mastering cold brew coffee at home is a simple yet rewarding process that relies on patience and quality ingredients. By using a coarse grind, maintaining a consistent water-to-coffee ratio, and allowing ample steeping time, you can achieve a smooth, low-acid beverage that rivals any cafe. Don’t be afraid to experiment with different beans and dilution levels to find your perfect flavor profile. Now, grab your favorite bag of coffee and start brewing your own refreshing batch today.