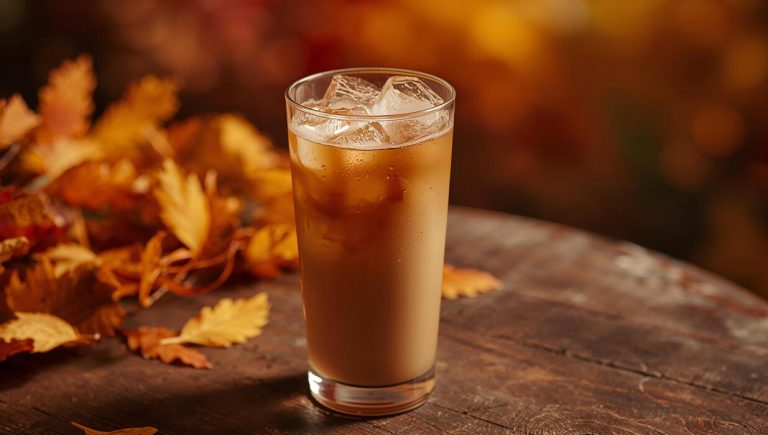
How To Make Cold Coffee With Coffee Beans
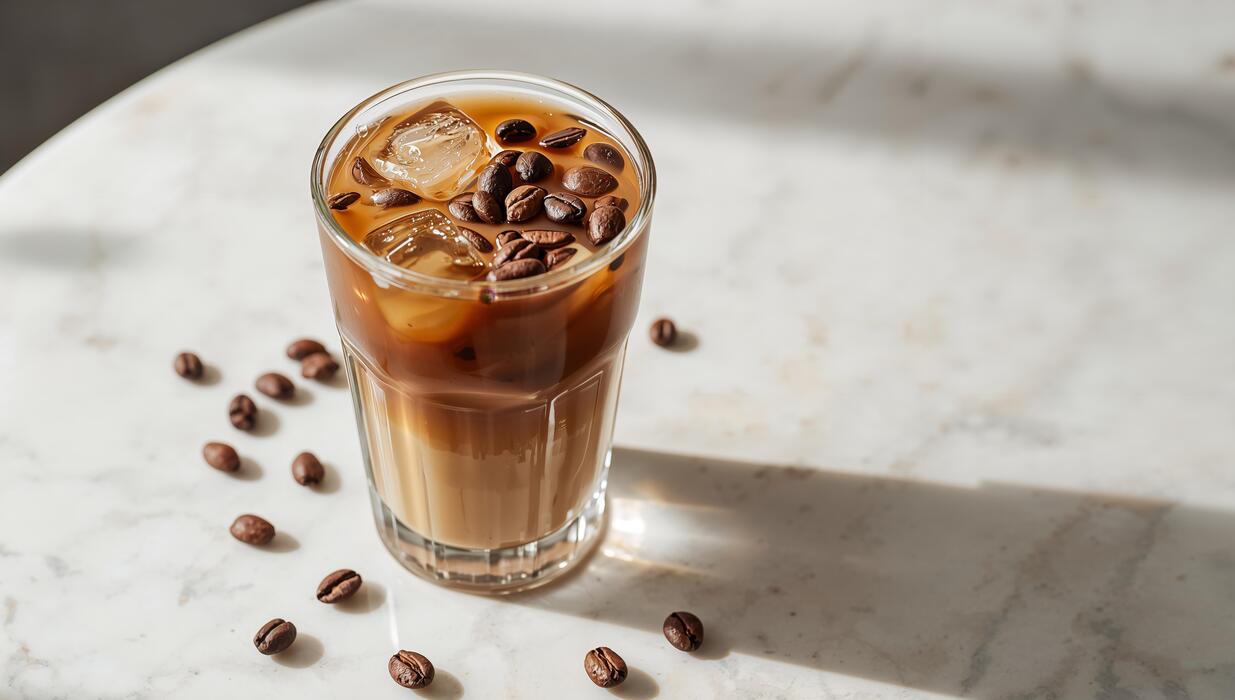
How to make cold coffee with coffee beans is a common question for anyone craving rich, smooth iced coffee without instant mixes or stale grounds. The core challenge is extracting full flavor without heat-based bitterness. You’re in the right place: we’ll cover the simple cold brew method—coarsely grinding beans, steeping them in cold water for 12–24 hours, then straining for a concentrate that’s naturally sweet, low-acid, and perfect over ice. No special gear required.
Why Use Whole Coffee Beans for Cold Coffee
Freshness and flavor benefits of grinding your own beans
Using whole coffee beans is the single most impactful step for achieving a vibrant, complex cold coffee. Pre-ground coffee begins to oxidize immediately, losing volatile oils and aromatic compounds within minutes. By grinding your own beans right before brewing, you lock in freshness and unlock the full spectrum of flavors.
For cold brew, a coarse grind is essential—similar to breadcrumbs—to prevent over-extraction and bitterness. This allows the cold water to slowly draw out smooth, rich flavors without harshness.
Grinding fresh also lets you adjust particle size for different methods: a finer grind for cold drip or a coarser one for immersion. The result is a cleaner, sweeter, and more aromatic cold coffee that pre-ground versions simply cannot match.
Invest in a burr grinder for consistent results, and always store your whole beans in an airtight container away from light and heat to preserve their peak freshness until brewing.
Best coffee bean roasts for cold coffee
The roast level of your whole coffee beans dramatically influences the final taste of your cold coffee. For a balanced, approachable brew, medium roasts are a safe bet—they offer a harmony of sweetness, acidity, and body without overwhelming bitterness.
If you crave bold, chocolatey notes with low acidity, go for a dark roast; these beans shine in cold brew, producing a smooth, full-bodied cup with hints of caramel or dark cocoa.
Avoid light roasts for cold immersion methods, as their high acidity can become sharp and sour when extracted slowly over many hours. For a cleaner, brighter profile, try a medium-dark roast like Full City, which retains some origin character while developing rich sugars.
Experiment with single-origin or blends designed for cold brew—many roasters now offer beans specifically marketed for cold coffee, ensuring optimal extraction. Remember, the cold brewing process mutes some flavors, so choose a roast that stands out boldly.
How bean origin affects cold brew taste
The origin of your whole coffee beans is the secret ingredient to customizing your cold coffee’s flavor profile.
Single-origin beans from regions like Ethiopia or Kenya often bring bright, fruity, and floral notes—think berry, citrus, or jasmine—which can be delightfully complex in cold brew but may require careful steeping to avoid sourness.
For a classic, nutty, and chocolate-forward cold coffee, choose beans from Brazil or Colombia; their low acidity and creamy body produce a smooth, crowd-pleasing brew. Indonesian beans (e.g., Sumatra) yield earthy, herbal, and spicy tones, ideal for those who enjoy a rustic, full-bodied cup.
Blends are also excellent for cold coffee, as roasters often combine origins to create a balanced, consistent flavor. When selecting, consider your taste preference: fruity and wine-like, or rich and cocoa-driven. Always check the roast date and opt for beans with a clear origin story to ensure quality.
This level of detail transforms your homemade cold coffee from ordinary to exceptional.
Tools You Need to Make Cold Coffee with Beans
Essential equipment: grinder, container, and filter
To make cold coffee with beans, you need just three core tools. First, a burr grinder is ideal for achieving a consistent, medium-coarse grind, which prevents over-extraction and bitterness. A blade grinder can work but may produce uneven particles, so pulse in short bursts.
Second, a large glass jar or pitcher (at least 32 ounces) serves as your brewing container; a wide mouth makes adding water and stirring easy. Third, a fine-mesh strainer or cheesecloth is essential for filtering out grounds after steeping.
A nut milk bag or a French press plunger also works well. For the best results, grind your beans just before brewing—freshness is key. If you don’t have a grinder, buy whole beans and ask a café to grind them for cold brew (coarse).
Remember, the ratio is typically 1 part coffee to 4 parts water by weight, so a kitchen scale is helpful but not mandatory. These basics will let you create smooth, concentrated cold coffee every time.
Optional tools for smoother cold coffee
While the essentials get the job done, a few optional upgrades can elevate your cold coffee to café quality. A cold brew maker (like a Toddy or a dedicated pitcher with a built-in filter) simplifies the process and reduces sediment, giving you a cleaner, smoother brew.
If you prefer a faster method, an AeroPress can produce a concentrated cold coffee in minutes by using room-temperature water and a gentle press.
For even smoother texture, invest in a paper coffee filter or a reusable stainless steel filter (like a mesh cone) to catch fine particles that strainers miss. Another game-changer is a kitchen scale for precise coffee-to-water ratios—aim for 1:8 for a balanced concentrate.
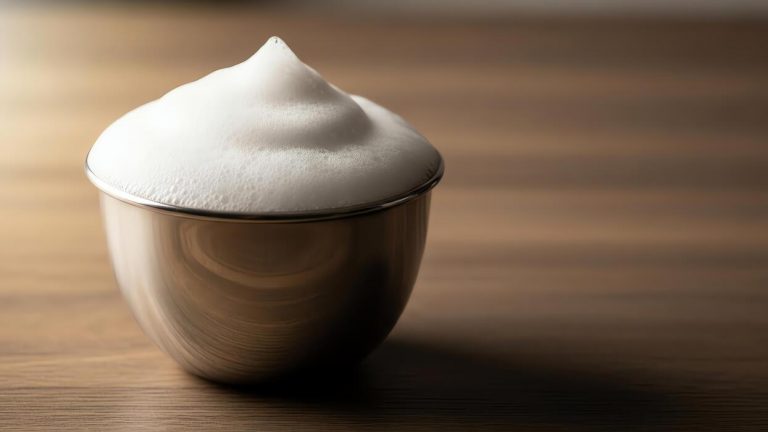
A carafe with a tight seal helps store your cold brew in the fridge without absorbing odors. Finally, consider a milk frother if you enjoy creamy iced lattes; it adds a velvety finish. These tools are optional but can refine your technique and consistency.
Budget-friendly alternatives to specialty gear
You don’t need expensive equipment to make excellent cold coffee. If a burr grinder is out of reach, buy pre-ground coffee specifically labeled for cold brew (coarse grind) from a local roaster or grocery store—it’s often affordable and fresh.
Instead of a fancy container, use a clean mason jar or repurposed pasta sauce jar; just ensure it’s wide-mouthed for easy cleaning. For filtering, a clean cotton T-shirt or thin kitchen towel works as a substitute for cheesecloth—rinse it first to avoid lint.
A fine-mesh sieve from your kitchen can replace a strainer; just double-layer it if needed. If you lack a scale, use standard measuring cups: 1 cup of coarse coffee grounds to 4 cups of water. For storage, any airtight bottle or even a reused glass juice container is fine.
The key is to focus on technique, not tools—steep for 12-24 hours at room temperature, then filter. With these hacks, you’ll get smooth, rich cold coffee on any budget.
How to Grind Coffee Beans for Cold Coffee
Best grind size for cold brew vs. iced coffee
Choosing the right grind size is crucial for flavor, and it differs between cold brew and iced coffee. For cold brew, which uses a long, cold steep (12-24 hours), you need a coarse grind, similar to breadcrumbs or sea salt.
This prevents over-extraction, which would make your brew bitter and muddy. A coarse grind allows water to flow through slowly, extracting smooth, low-acid flavors. For iced coffee, where hot water is brewed directly onto ice, use a medium grind, like sand.
This ensures proper extraction during the short hot contact time, balancing acidity and sweetness. If you use a fine grind for iced coffee, it may over-extract and taste bitter; if too coarse, it will be weak.
Always adjust based on your brewing method: French press for cold brew or pour-over for iced coffee. Test small batches to find your perfect grind size, and remember that consistency is key for a delicious, refreshing drink.
Step-by-step grinding tips for even extraction
To achieve even extraction, start by measuring your beans right before grinding. Use a burr grinder instead of a blade grinder, as burrs produce uniform particles that ensure consistent flavor. First, set your grinder to the correct coarseness: coarse for cold brew, medium for iced coffee.
Then, grind only the amount you need for one batch—pre-ground coffee loses freshness quickly. For cold brew, pulse the grinder in short bursts to avoid heating the beans, which can alter taste. For iced coffee, grind steadily and avoid overfilling the hopper.
After grinding, sift the grounds with a fine-mesh sieve to remove any fines (tiny particles) that cause bitterness. This step is especially helpful for cold brew, where fines can muddy the clarity. Finally, use the grounds immediately for the freshest flavor.
Even extraction means every particle contributes equally, so consistent size and minimal fines are your goals.
Avoiding common grinding mistakes
Many home brewers make mistakes that ruin their cold coffee. The most common is using a blade grinder, which chops beans unevenly, leading to a mix of fine dust and large chunks. This causes over-extraction of fines (bitterness) and under-extraction of larger pieces (sourness).
Always invest in a burr grinder for uniform results. Another mistake is grinding too fine for cold brew, which results in a sludgy, bitter drink because the long steep extracts too many compounds. Stick to a coarse grind. For iced coffee, avoid grinding too coarse, which yields weak, watery flavor.
Also, never grind beans ahead of time—coffee stales quickly after grinding, losing aromatic oils. Grind just before brewing. Finally, ignore the grind setting if your machine is inconsistent; calibrate it with a test grind. By avoiding these pitfalls, you’ll achieve a smooth, balanced cold coffee every time.
Step-by-Step Cold Brew Method with Beans
Measuring coffee and water ratios
Getting the ratio right is the most important step for balanced cold brew. For a standard concentrate, use a 1:4 ratio of coffee to water by weight. This means 1 cup (about 100 grams) of coarsely ground coffee to 4 cups (about 800 grams) of cold, filtered water.
If you prefer a milder brew, try a 1:6 ratio (100 grams coffee to 600 grams water). Always use a kitchen scale for accuracy, as volume measurements can vary. For best results, grind your beans on a coarse setting—similar to breadcrumbs—to avoid over-extraction and bitterness.
Place the grounds in a large jar or French press, then slowly pour the water over them, stirring gently to ensure all grounds are saturated. Cover and let it sit at room temperature or in the fridge.
Remember, the ratio directly affects strength; you can always dilute the concentrate later with water or milk to taste.
Steeping time and temperature guidelines
Steeping time and temperature are critical for flavor extraction. For a smooth, low-acid brew, steep your coffee grounds in cold or room temperature water (around 20°C or 68°F) for 12 to 24 hours.
Room temperature steeping (12-16 hours) yields a slightly bolder flavor, while refrigeration (18-24 hours) produces a cleaner, less acidic concentrate. Avoid steeping beyond 24 hours, as it can lead to bitter or overly strong results. Use a tightly sealed container to prevent odors from absorbing.
If you’re short on time, a minimum of 8 hours works, but the flavor will be weaker. Stir the mixture once after the first hour to ensure even extraction. For consistent results, set a timer and taste-test at intervals—your ideal brew might be at 14 hours.
Always keep the container away from direct sunlight to maintain stable temperature.
Filtering and storing your cold brew concentrate
After steeping, it’s time to separate the grounds from the liquid for a silky-smooth concentrate. Use a fine-mesh sieve lined with a coffee filter, cheesecloth, or a nut milk bag to strain into a clean pitcher or jar.
Pour slowly to avoid clogging—press the grounds gently to extract every drop, but don’t squeeze too hard to prevent bitterness. For double clarity, strain a second time through a fresh filter. Store your cold brew concentrate in a sealed glass container in the refrigerator for up to two weeks.
Label it with the date to track freshness. To serve, dilute the concentrate with equal parts water, milk, or a milk alternative (1:1 ratio) for a classic iced coffee. Adjust to taste: use less water for a stronger kick or more for a lighter drink.
Never freeze the concentrate, as it alters flavor. Enjoy over ice with your favorite sweetener or cream.
How to Make Iced Coffee with Freshly Ground Beans
Quick hot brew method for iced coffee
Start by grinding your coffee beans to a medium-coarse consistency, similar to sea salt. For a single serving, use 2 tablespoons of grounds per 6 ounces of water. Boil water and let it cool for 30 seconds to about 200°F, then pour over the grounds in a heatproof container.
Stir gently and steep for exactly 4 minutes. While it brews, fill a tall glass with ice cubes. After steeping, pour the hot coffee directly over the ice using a fine-mesh strainer or a paper filter to catch the grounds.
The ice rapidly cools the coffee, locking in bold flavors and bright acidity without bitterness. For stronger coffee, increase the grounds to 3 tablespoons. This method is fast and perfect for mornings when you need a quick, refreshing iced coffee.
Adjust sweetness by adding simple syrup or flavored syrups before pouring over ice for a balanced taste.
Using a French press for iced coffee
For a rich, full-bodied iced coffee, use a French press. Coarsely grind 4 tablespoons of fresh beans for every 8 ounces of water. Add grounds to the press, pour in hot water (just off boil), and stir. Let steep for 4 minutes, then press the plunger down slowly.
Meanwhile, fill a pitcher or glass with ice cubes. Pour the pressed coffee directly over the ice, leaving room for milk or cream if desired. This method extracts more oils from the beans, resulting in a smooth, velvety texture that stands up well to ice.
To prevent bitterness, avoid over-steeping—stick to 4 minutes. For a cold brew twist, try steeping grounds in cold water for 12-24 hours in the press, then press and serve over ice. Either way, you’ll get a concentrated, flavorful base that doesn’t water down quickly.
Chilling techniques to avoid dilution
Dilution is the biggest challenge with iced coffee. To keep your drink bold and concentrated, use coffee ice cubes—freeze leftover brewed coffee in an ice cube tray. When you pour fresh hot coffee over them, they melt without watering it down.
Alternatively, chill the brewed coffee in the refrigerator for 2-3 hours before serving over ice. This reduces the amount of ice needed, maintaining intense flavor. Another tip: double-brew by using twice the amount of coffee grounds for the same water volume.
This creates a strong concentrate that holds up when ice melts. For a quick fix, pour hot coffee over a single large ice cube or a reusable stainless steel ice cube, which cools without diluting. Always pre-chill your glass in the freezer for 5 minutes to further slow melting.
These techniques ensure every sip is as flavorful as the first.
Tips for the Best Cold Coffee Flavor
Adjusting strength and bitterness
The key to perfect cold coffee is controlling extraction. For a bolder, less bitter brew, start with a coarse grind, similar to sea salt, and use a 1:8 coffee-to-water ratio. Steep in the fridge for 12-16 hours; longer steeping increases bitterness.
If it’s too strong, dilute with water or milk after brewing. To reduce bitterness, decrease steep time to 10-12 hours or use a slightly finer grind for a shorter cold brew (8-10 hours).
For hot-brewed iced coffee, brew double-strength by using twice the coffee grounds, then pour over ice immediately to lock in flavor. Avoid over-extraction by not letting hot coffee sit before chilling. Experiment with bean origin—light roasts offer brighter, less bitter notes, while dark roasts are richer but more bitter.
Always filter thoroughly to remove fine grounds that cause harshness.
Adding milk, sweeteners, or flavorings
Elevate your cold coffee with thoughtful additions. For milk, start with a splash of whole milk or oat milk for creaminess without overwhelming the coffee. For a dairy-free option, coconut milk adds tropical sweetness, while almond milk keeps it light.
Sweeteners dissolve best in warm liquid, so make a simple syrup by heating equal parts sugar and water, then cooling it. For zero-calorie options, use liquid stevia or monk fruit sweetener. Flavor-wise, add a dash of vanilla extract, cinnamon, or cocoa powder before brewing for infused notes.
For a mocha twist, stir in 1 tablespoon of unsweetened cocoa powder per cup. Avoid granulated sugar in cold drinks—it won’t dissolve. To prevent dilution, use cold milk or cream directly, or freeze coffee into ice cubes.
Taste as you go; start with 1 teaspoon of syrup per 8 ounces and adjust.
Troubleshooting weak or sour cold coffee
Weak or sour cold coffee often stems from extraction issues. For weak coffee, increase the coffee-to-water ratio to 1:5 or steep for 18-24 hours. Use a finer grind (like table salt) to boost extraction, but avoid powder-fine grinds that cause sludge.
If sourness dominates, your brew is under-extracted—extend steep time by 4-6 hours or use hotter water for initial bloom (a 30-second hot pour before cold water). For hot-brewed iced coffee, ensure water is just off boil (195-205°F) and brew for 4 minutes; if sour, grind finer.
Check bean freshness—stale beans taste flat or sour. Always use filtered water; hard water can mute flavors. If bitterness appears, your grind may be too fine or steep time too long. Finally, strain through a paper filter to remove fines that cause astringency.
Adjust one variable at a time for best results.
Common Mistakes When Making Cold Coffee with Beans
Using the wrong grind size
One of the most frequent errors is grinding your coffee beans incorrectly for cold brewing. A coarse, even grind is essential because cold water extracts flavor more slowly than hot water.
If you use a fine grind, like what you’d use for espresso, the water will over-extract bitter and harsh compounds, resulting in a muddy, overly bitter brew. Conversely, an extremely coarse grind can lead to under-extraction, leaving your coffee weak and sour.
Aim for a consistency similar to coarse sea salt or breadcrumbs. If you don’t have a burr grinder, buy your beans pre-ground specifically for cold brew at a local roaster. For the immersion method (steeping grounds in water), a coarse grind allows for easy filtering later.
If you’re using a Japanese slow-drip method, a medium-coarse grind works better. Always taste your cold brew after brewing; if it’s bitter, your grind was too fine; if it’s sour or weak, it was too coarse. Adjust next time for perfect balance.
Over-extracting or under-extracting
Getting the extraction time right is critical for smooth, flavorful cold coffee. Over-extraction happens when you steep the grounds too long (over 24 hours) or use too much coffee. This pulls out bitter tannins and acids, making your brew harsh and unpalatable.
Under-extraction occurs when you don’t steep long enough (less than 12 hours) or use too little coffee, resulting in a watery, sour, or flat taste.
The golden rule for a standard cold brew concentrate is a 12 to 24-hour steep at room temperature or in the fridge, with a ratio of 1:4 to 1:5 (coffee to water by weight). For a ready-to-drink brew, use a 1:8 to 1:10 ratio.
To avoid mistakes, start with a 16-hour steep and taste-test. If it’s too strong or bitter, dilute it with water or milk. If it’s weak, steep longer next time. Remember, extraction slows in the fridge, so adjust time accordingly. Use a timer and always record your ratios for consistent results.
Skipping the filtering step
Neglecting to properly filter your cold brew is a sure way to ruin your coffee. Coffee sludge and fine particles left in the brew will continue to extract, making it bitter over time, and create an unpleasant gritty texture.
After steeping, always pour the mixture through a fine-mesh strainer lined with a paper filter or a reusable nut milk bag. A standard metal strainer alone won’t catch the smallest grounds.
For a cleaner cup, double-filter: first through a coarse strainer, then through a paper coffee filter or a damp cheesecloth. If you’re using a French press, press slowly to avoid disturbing the grounds, then pour through a paper filter for clarity.
For a cold brew drip tower, ensure the filter is secure and not clogged. Once filtered, store your concentrate in a sealed glass container in the fridge for up to two weeks. Don’t skip this step—proper filtering ensures a smooth, sediment-free coffee that’s enjoyable hot or iced.
Frequently Asked Questions
What is the basic process for making cold coffee with coffee beans?
The basic process involves coarsely grinding coffee beans, steeping them in cold water for 12-24 hours, then filtering out the grounds to create a concentrated cold brew. This concentrate can be diluted with water or milk and served over ice.
How do I grind coffee beans for cold brew?
Grind the coffee beans to a coarse consistency, similar to breadcrumbs or sea salt. A fine grind can lead to over-extraction and a bitter, muddy taste, while a very coarse grind may under-extract.
What is the ideal coffee-to-water ratio for cold brew?
A common ratio is 1:4 or 1:5 by weight (e.g., 1 cup of coffee grounds to 4 cups of cold water). For a milder brew, use 1:8. Adjust to your taste preference, but start with a stronger ratio for a concentrated base.
How long should I steep the coffee grounds in cold water?
Steep for 12 to 24 hours at room temperature or in the refrigerator. Shorter steeping (12 hours) produces a lighter flavor, while longer steeping (24 hours) yields a stronger, more robust concentrate.
How do I filter the cold brew after steeping?
Pour the mixture through a fine-mesh sieve lined with a coffee filter, cheesecloth, or a nut milk bag. For best clarity, repeat the filtering process or use a dedicated cold brew maker with a built-in filter.
Can I make cold brew without a special coffee maker?
Yes, you only need a large jar or pitcher, a lid, and a filtering method. Simply combine coarsely ground beans and cold water, stir, cover, and let it steep. Then strain through a sieve and filter.
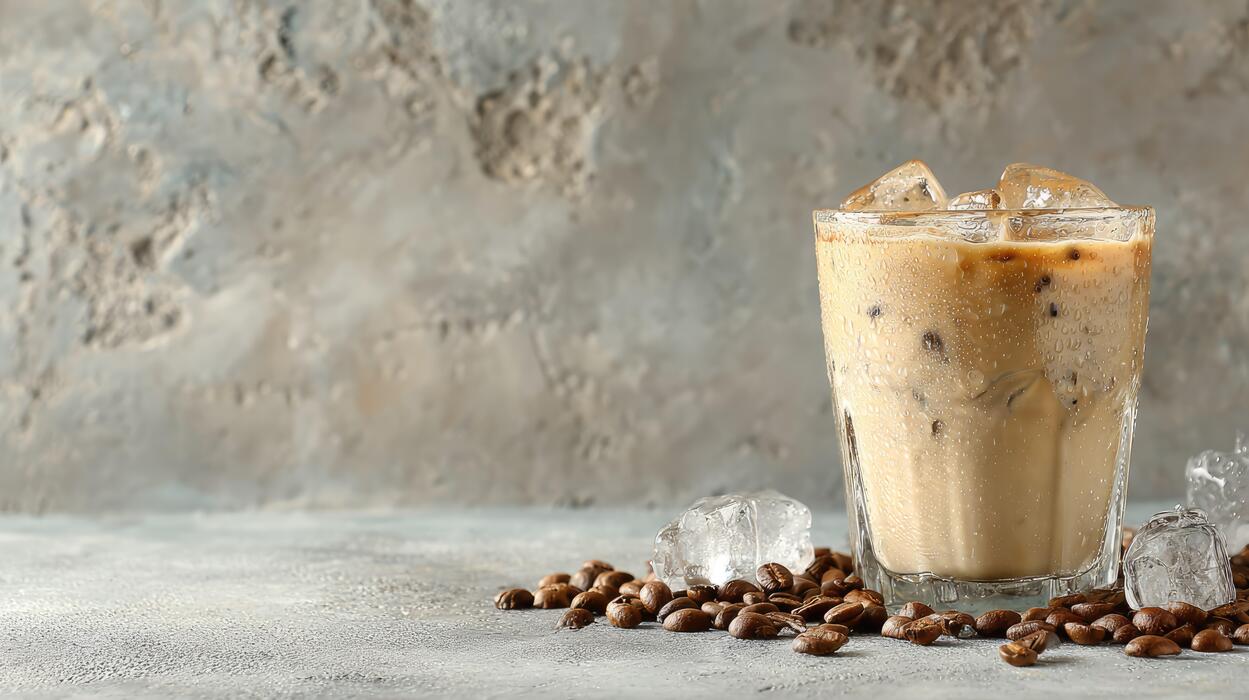
How do I serve cold coffee made from beans?
Serve the cold brew concentrate over ice, diluted with water, milk, or a milk alternative. Add sweeteners like simple syrup, flavored syrups, or sugar to taste. For a creamier drink, use whole milk or cream.
How should I store leftover cold brew concentrate?
Store the filtered concentrate in an airtight container in the refrigerator for up to 1-2 weeks. Keep it away from light and strong odors to preserve freshness.
Conclusion
Mastering cold coffee from beans is simpler than you think. The key takeaways are using coarse grounds, a 1:8 coffee-to-water ratio, and steeping for 12-24 hours in the fridge. This method unlocks a smoother, less acidic brew than hot coffee. Don’t be intimidated by the process. With just a few minutes of prep, you can enjoy barista-quality cold brew at home. Start your carafe tonight and wake up to a delicious, refreshing treat tomorrow.