How To Make Brew Coffee At Home
Making a delicious cup of coffee at home is easier than you think, and you don’t need a fancy machine to get barista-quality results. Whether you prefer a smooth pour-over or a bold French press, the secret lies in the right beans and a simple technique. You will be sipping your perfect morning cup in just a few minutes.
Essential Equipment for Your Home Coffee Station
Choosing the Right Coffee Maker
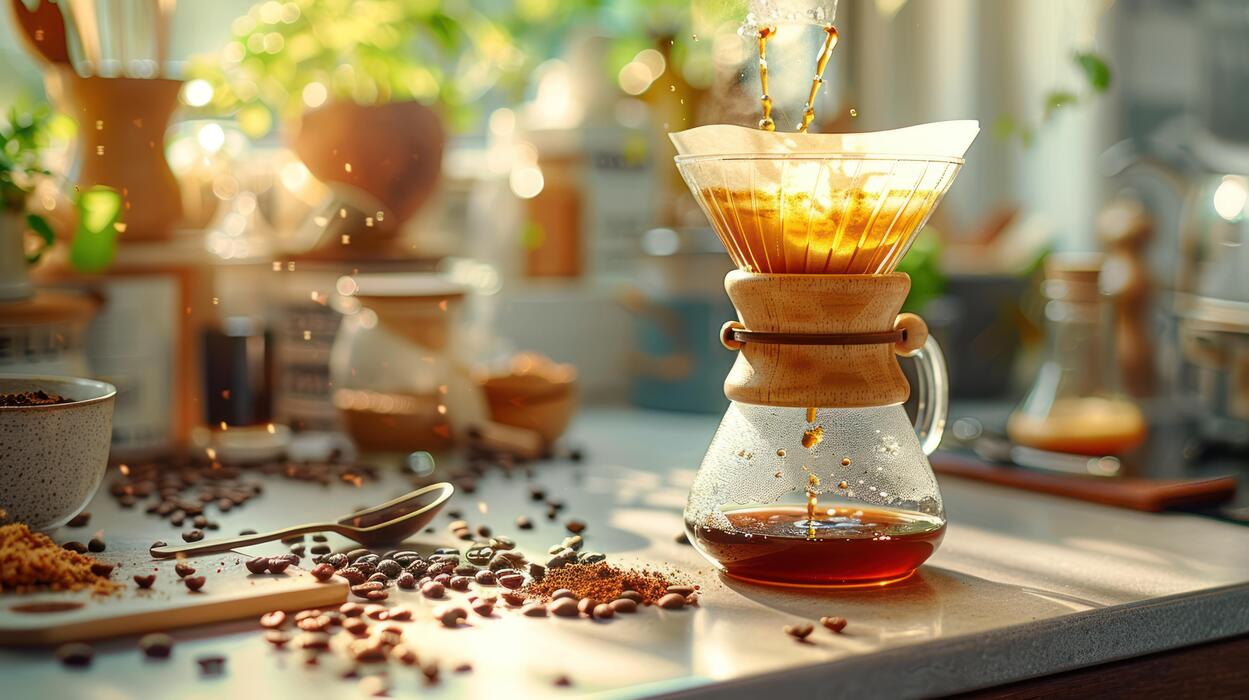
Selecting the perfect brewing device is the foundational step in learning how to make professional-grade coffee in your own kitchen. For those who enjoy a clean, crisp cup that highlights delicate floral notes, a pour-over dripper like a Hario V60 or Chemex is an excellent choice.
If you prefer a full-bodied, robust texture with minimal effort, the classic French Press remains a staple for home baristas. For versatility and speed, the AeroPress offers a portable solution that can produce everything from concentrated espresso-style shots to smooth filter coffee.
When choosing your equipment, consider your desired flavor profile, the amount of time you can dedicate to the ritual, and how many servings you typically need at once. Investing in a reusable metal filter or high-quality bleached paper filters will further refine your results.
By matching the brewing method to your personal taste preferences, you ensure that every morning starts with a consistently delicious and satisfying beverage tailored specifically to your palate.
Why a Quality Burr Grinder Matters
The most significant upgrade you can make to your home setup is moving away from pre-ground beans and investing in a high-quality burr grinder. Unlike cheap blade grinders that shatter beans into inconsistent boulders and dust, a burr grinder uses two revolving abrasive surfaces to produce uniform coffee particles.
This consistency is vital because it ensures even extraction during the brewing process, preventing your coffee from tasting simultaneously bitter and sour. Freshness is the other half of the equation; coffee begins to lose its aromatic compounds within minutes of being ground.
By grinding your beans immediately before brewing, you capture the full spectrum of oils and flavors intended by the roaster. Look for a grinder with adjustable micron settings so you can easily switch between a coarse grind for cold brew and a fine setting for pour-over.
This control allows you to fine-tune your recipe, unlocking the true potential of specialty beans and transforming your daily caffeine routine into a gourmet experience.
Digital Scales and Gooseneck Kettles
Precision is the secret ingredient that separates an average cup from an extraordinary one, making digital scales and gooseneck kettles essential tools for accuracy.
Using a digital scale allows you to follow a precise coffee-to-water ratio, typically recommended at 1:16, which eliminates the guesswork associated with using scoops or measuring cups. Measuring by weight ensures that your brew is never too weak or over-concentrated, providing a repeatable framework for success every single morning.
Complementing the scale, a gooseneck kettle provides an unparalleled level of pour control due to its thin, curved spout. This design allows you to manage the flow rate and placement of hot water with surgical precision, ensuring all coffee grounds are saturated evenly during the blooming and pouring phases.
Many modern electric versions also feature built-in temperature control, allowing you to heat water to the exact degree required for your specific roast level. Together, these instruments empower you to master the chemistry of extraction, resulting in a balanced, cafe-quality cup at home.
How to Select the Best Coffee Beans
Light, Medium, and Dark Roast Profiles
Selecting the right roast level is the foundation of a great home brew, as it dictates the primary flavor notes in your cup. Light roasts are ideal for those who enjoy high acidity and complex, floral, or fruity undertones; they retain the most original characteristics of the bean’s origin.
If you prefer a balanced profile with a bit more body and a sweeter finish, medium roasts are the versatile choice for most drip or pour-over methods.
For those who crave a heavy mouthfeel with smoky, chocolatey, or nutty flavors, dark roasts are the best fit, though they have lower acidity and less origin-specific nuance.
When brewing at home, consider your preferred extraction method; lighter beans often shine in manual drippers, while darker beans are perfect for French presses or espresso.
Experimenting with different levels will help you identify which roast profile aligns with your personal palate, ensuring every morning starts with a satisfying and professional-quality beverage.
The Difference Between Arabica and Robusta
To elevate your home brewing experience, you must understand the two primary species of coffee beans available on the market. Arabica beans are widely considered the gold standard for specialty coffee because they offer a wide range of delicate flavors, higher acidity, and a smoother finish.
They are grown at higher altitudes, which contributes to their refined taste profiles. In contrast, Robusta beans contain significantly more caffeine and produce a thicker crema, but they carry a harsher, more bitter taste often described as earthy or rubbery.
While Robusta is frequently used in traditional espresso blends for its punch, most home enthusiasts seeking a flavorful and aromatic cup should prioritize 100% Arabica selections. Checking the packaging for the specific species ensures you aren’t paying premium prices for lower-quality fillers.
Choosing high-quality Arabica is the most effective way to eliminate bitterness and achieve a cafe-quality result in your own kitchen, regardless of the specific brewing equipment you currently own.
Checking Roast Dates for Peak Freshness
Freshness is the most critical factor in determining the quality of your home-brewed coffee, far outweighing the brand name on the bag. Always look for a specific roast date printed on the packaging rather than a vague expiration date.
Coffee is a perishable agricultural product that begins to lose its volatile aromatic compounds through oxidation immediately after roasting. For the best flavor, aim to use beans that are between one to three weeks past their roast date.
Beans that are too fresh may still be degassing carbon dioxide, which can interfere with water contact and lead to uneven extraction. Conversely, beans older than a month often taste stale, flat, or woody. Buying in small batches ensures you can consume the entire bag during its peak freshness window.
By prioritizing recently roasted beans from local or reputable roasters, you guarantee that the natural oils and intricate flavors remain intact, providing a vibrant and delicious cup of coffee every single time you brew.
The Science of Water and Coffee Ratios

Using Filtered Water vs Tap Water
To elevate your home brewing experience, prioritize using freshly filtered water over standard tap water. Since a cup of coffee is approximately 98% water, the mineral content significantly dictates the final flavor profile.
Tap water often contains chlorine and heavy minerals that can lead to a metallic or chemical aftertaste, masking the delicate notes of high-quality beans. By utilizing a carbon-based filter or a specialized water pitcher, you remove impurities while retaining the essential magnesium and calcium ions necessary for effective flavor extraction.
If your local water is excessively hard, it may cause over-extraction and bitterness; conversely, water that is too soft can result in a flat, sour brew. Achieving the optimal mineral balance ensures that the bright acidity and natural sweetness of your coffee are fully realized.
Consistently using filtered water also protects your brewing equipment from limescale buildup, extending the lifespan of your kettle and dripper while ensuring every single cup tastes clean, vibrant, and professionally prepared.
The Golden Ratio for Perfect Strength
Mastering the relationship between coffee grounds and water is the most effective way to ensure a consistent brew. The industry standard, often referred to as the Golden Ratio, suggests using 1 to 2 tablespoons of ground coffee for every six ounces of water.
For those seeking precision, a digital kitchen scale is indispensable, as it allows for a more accurate ratio of 1:15 to 1:17 coffee-to-water by weight. A 1:15 ratio produces a bolder, more concentrated cup, while a 1:17 ratio yields a lighter, more nuanced flavor profile.
Adjusting this ratio allows you to control the TDS (Total Dissolved Solids) in your cup, directly impacting the perceived strength and body. If your coffee tastes too weak or watery, try increasing the amount of coffee grounds slightly.
If it feels overwhelming or intense, add more water to find your personal preference balance. Experimenting within these parameters will help you replicate the professional results of your favorite specialty cafe right in your own kitchen.
Ideal Water Temperatures for Extraction
Temperature plays a critical role in how efficiently water dissolves the soluble compounds within coffee grounds. For the best results, aim for a water temperature between 195°F and 205°F (90°C to 96°C).
Using boiling water at 212°F can actually scorch the grounds, leading to an unpleasantly bitter and ashy flavor profile. Conversely, water that is too cool will fail to extract the necessary oils and acids, resulting under-extracted coffee that tastes thin and sour.
If you do not own a variable-temperature gooseneck kettle, simply bring your water to a full boil and then let it sit for about thirty to sixty seconds before pouring. This brief waiting period allows the temperature to drop into the optimal extraction window.
Remember that lighter roasts often benefit from the higher end of the temperature spectrum to help break down denser bean structures, while darker roasts shine at slightly lower temperatures to prevent over-extraction. Maintaining thermal stability throughout the brewing process is key to achieving a balanced and delicious cup.
Step-by-Step Guide to Pour Over Coffee
Setting Your Grind Size
To master how to make brew coffee at home, you must prioritize the texture of your beans. For a standard pour over, you should aim for a medium-coarse grind, which should visually resemble the texture of sea salt or kosher salt.
If your grind is too fine, the water will struggle to pass through, leading to an over-extracted and bitter cup. Conversely, a grind that is too coarse will allow water to rush through too quickly, resulting in a sour and watery flavor profile.
Achieving the perfect balance ensures that the water extracts the optimum oils and aromatic compounds during the three-minute brewing window. Always use a burr grinder rather than a blade grinder to ensure particle uniformity, as consistent sizes lead to an even extraction.
Testing small adjustments on your grinder can dramatically shift the clarity of the final brew, allowing the unique notes of your specific coffee beans to shine through clearly in every single morning cup you prepare.
The Importance of the Bloom Phase
The bloom phase is a critical initial step where you saturate the coffee grounds with a small amount of hot water, typically double the weight of the coffee. Once you pour this initial water, wait for approximately 30 to 45 seconds to allow the coffee to degas.
You will notice bubbles forming on the surface; this is the release of carbon dioxide, which naturally builds up during the roasting process. If you skip this step, the escaping gas will actually repel the water during the main pour, preventing deep saturation and leading to a flat taste.
A successful bloom ensures that the grounds are fully prepped for even extraction, allowing the water to penetrate the cells of the bean more effectively. This simple pause is often the biggest difference between a mediocre home brew and a professional-grade cup.
By allowing the gases to escape, you unlock the vibrant acidity and sweetness that define high-quality specialty coffee, ensuring a much more complex and rewarding flavor profile.
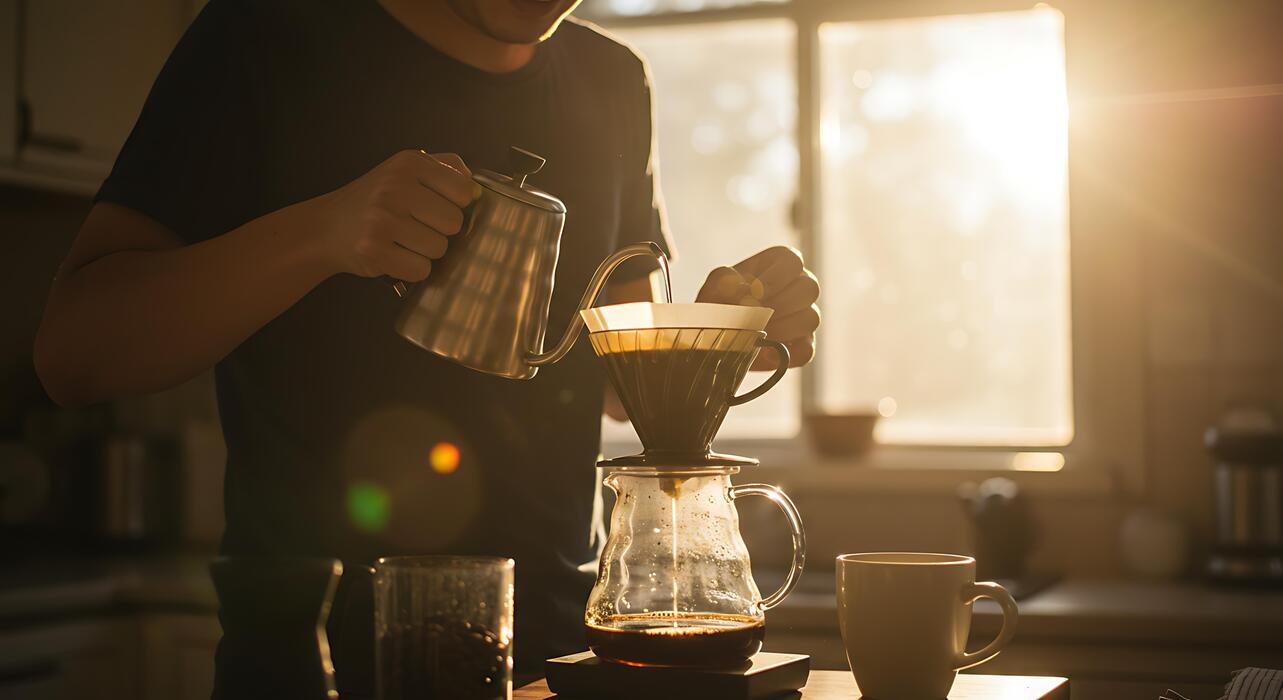
Proper Pouring Techniques
Once the bloom is complete, begin adding the remaining water using a slow, circular motion. Start from the center of the filter and spiral outward toward the edges, but avoid pouring directly onto the filter walls to prevent channeling, where water bypasses the coffee entirely.
Using a gooseneck kettle is highly recommended because it provides the precision needed to maintain a steady, thin stream of water. This controlled flow keeps the coffee bed agitated without being turbulent, which helps in maintaining a consistent temperature throughout the brewing process.
Aim to keep the water level in the dripper relatively stable, adding water in small stages rather than all at once. This technique ensures that every coffee particle is exposed to the water for the same amount of time.
Finish your pour when you reach your desired water-to-coffee ratio, typically 1:16, and let the water draw down completely. This disciplined approach guarantees a balanced, clean, and delicious result that highlights the subtle nuances of your chosen roast.
How to Use a French Press Correctly
Coarse Grind Requirements
To achieve a perfect French Press extraction at home, you must prioritize the texture of your coffee particles. Unlike drip machines that use fine grounds, the French Press requires a consistent coarse grind similar in appearance to sea salt or cracked peppercorns.
Using fine grounds will cause the mesh filter to clog and result in an over-extracted, bitter beverage. For the best results, utilize a burr grinder rather than a blade grinder to ensure uniformity across all particles.
This consistency allows for an even saturation process where water can flow freely around the large surface area of the beans. Aim for a standard ratio of 1:15, meaning one gram of coffee for every fifteen grams of water.
By starting with the correct grind size, you prevent the unpleasant silty texture often associated with immersion brewing. Always grind your beans immediately before brewing to preserve the delicate volatile oils and aromatic compounds that define a high-quality cup of craft coffee.
Steeping Time and Plunging Tips
Once your coarse grounds are in the carafe, pour hot water (ideally between 195°F and 205°F) over them and start your timer. Allow the coffee to bloom for thirty seconds before gently stirring the ‘crust’ that forms on the surface.
Total steeping time should be exactly four minutes to balance strength and acidity. When the timer expires, it is time to plunge with intentional care. Hold the lid firmly and apply slow, steady downward pressure to the plunger.
If you encounter significant resistance, pull the plunger up slightly and then continue pressing down. Avoid using excessive force, as this can cause hot liquid to spray or force fine sediments through the filter. Once the plunger reaches the bottom, decant the coffee immediately into a mug or thermal carafe.
Leaving the brewed coffee in the press leads to over-extraction, making the final profile taste unpleasantly metallic or harsh. Precise timing and gentle handling are the secrets to a smooth, full-bodied home brew.
Fixing Common Muddy Flavor Issues
If your French Press coffee tastes muddy or lacks clarity, the primary culprit is often the presence of micro-sediment. To fix this, try the double-filter technique by placing a secondary paper filter over the metal mesh or simply skimming the floating foam and remaining grounds off the top before plunging.
Another effective solution is to let the brew rest for two minutes after the four-minute steep but before you actually push the plunger down. This allows the heavy silt to settle naturally at the bottom of the carafe.
Additionally, ensure your equipment is meticulously cleaned; old coffee oils trapped in the mesh screen can turn rancid and create a murky, off-putting flavor profile. If the taste remains too intense, slightly increase your grind coarseness or shorten the brew time by thirty seconds.
By managing these variables and focusing on sediment reduction strategies, you can enjoy a clean, rich cup that highlights the unique tasting notes of your specific coffee beans without the typical grit.
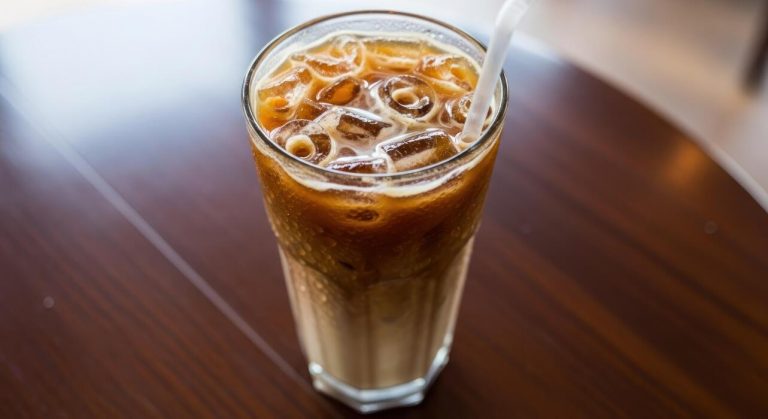
Quick Methods for Cold Brew and Iced Coffee
Easy Overnight Cold Brew Steps
Making a smooth, low-acid cold brew at home is remarkably simple and requires no specialized machinery. To begin, you will need to coarsely grind your favorite coffee beans to a texture resembling sea salt; this prevents the final brew from becoming muddy or over-extracted.
Place the grounds into a large glass jar or a dedicated cold brew carafe and add filtered water using a standard 1:8 coffee-to-water ratio for a balanced result.
Stir the mixture gently to ensure all grounds are fully saturated, then cover the container and let it steep at room temperature or in the refrigerator for at least twelve to eighteen hours.
Once the steeping process is complete, use a fine-mesh sieve or a paper filter to strain the liquid into a clean vessel, discarding the spent grounds immediately.
This method produces a rich, velvety concentrate that stays fresh in the fridge for up to a week, allowing you to enjoy high-quality iced coffee every morning with minimal effort.
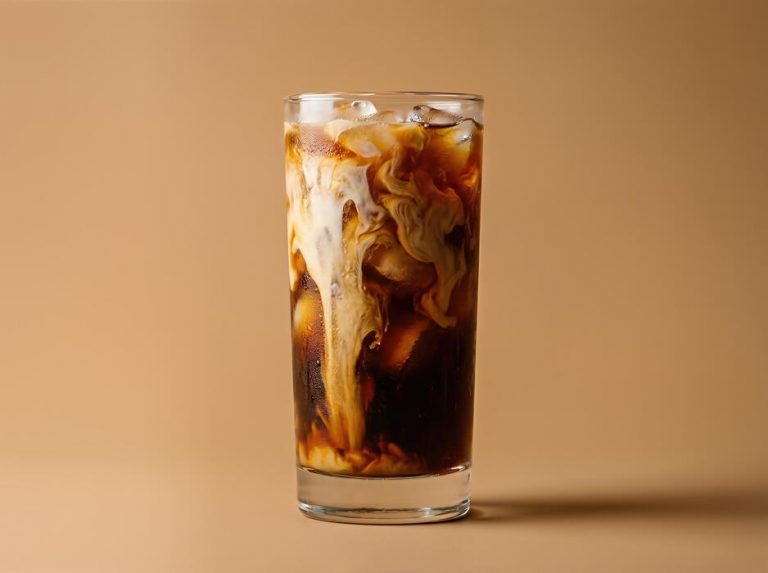
Flash Chilling for Instant Iced Coffee
If you are short on time and cannot wait for an overnight steep, the flash chilling method, also known as Japanese-style iced coffee, provides an immediate solution.
This technique involves brewing hot coffee directly over a container filled with ice cubes to lock in the aromatic oils and bright acidity that are often lost in traditional cooling.
To achieve the perfect balance, you must replace half of your brewing water with ice by weight to ensure the final drink is not watery.
For example, if your recipe calls for 400 grams of water, use 200 grams of hot water for brewing and place 200 grams of ice in the carafe below. Use a slightly finer grind than usual to compensate for the faster extraction time and lower water volume.
As the hot coffee hits the ice, it chills instantly while diluting to the ideal strength, resulting in a crisp, vibrant beverage that captures the complex flavor profile of the bean far better than standard refrigerated leftovers.
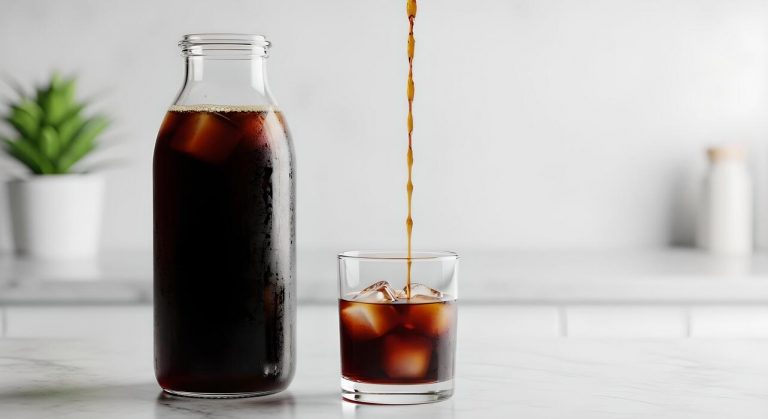
Dilution Ratios for Concentrates
Mastering the final presentation of your homemade cold brew requires an understanding of dilution ratios to suit your personal palate. Because the overnight steeping process creates a potent concentrate, drinking it straight can be overwhelming and highly caffeinated.
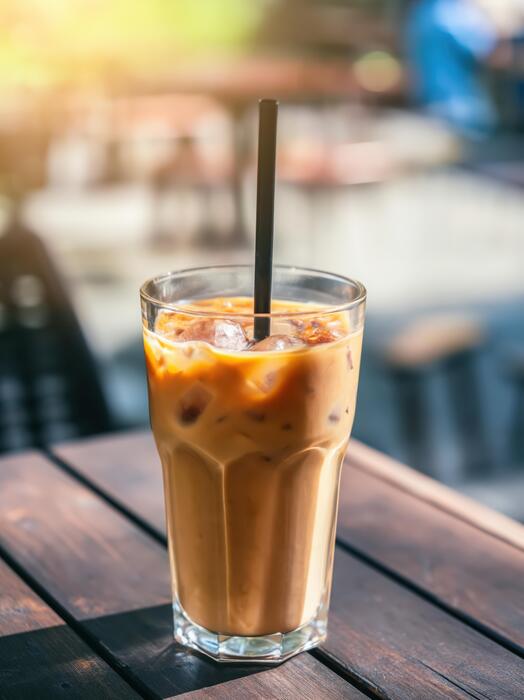
A reliable starting point is a 1:1 ratio, combining equal parts of coffee concentrate with either cold filtered water or your choice of milk. If you prefer a bolder, more robust flavor profile that mimics a strong espresso, try a 2:1 ratio where the coffee remains the dominant component.
Conversely, for those who enjoy a lighter and more refreshing beverage, increasing the water or milk volume will soften the intensity. Always add your ice cubes after mixing the concentrate and diluent to prevent premature melting from altering your carefully measured proportions.
Experimenting with these ratios allows you to customize every cup, whether you are looking for a creamy latte-style drink or a clean, black iced coffee that highlights the unique notes of your specific roast.
Tips for Maintaining Your Coffee Gear
Daily Cleaning Routines
To ensure your morning cup remains crisp and flavorful, establishing a consistent daily cleaning habit is essential for any home brewer. After every brewing cycle, you must discard used coffee grounds immediately to prevent mold growth and unpleasant odors from developing inside your equipment.
For those using a drip machine or pour-over, rinse the brew basket and carafe with warm, soapy water to remove residual oils that can turn rancid over time.
If you use a French press, pay close attention to the mesh filter, as fine particles often get trapped between the layers; a quick scrub with a soft brush ensures these sediments don’t bitter your next batch.
Additionally, always wipe down the exterior of your machine and the warming plate to prevent mineral buildup or staining. By taking just five minutes each day to maintain your gear, you protect the integrity of your beans and ensure that every extraction is as clean and vibrant as possible.
How to Descale Your Machine
Over time, calcium and magnesium deposits from your tap water will accumulate inside the internal heating elements of your coffee maker, leading to slower brew times and lukewarm coffee. To combat this, you should perform a deep descale every one to three months depending on your local water hardness.
You can use a commercial descaling solution or a simple mixture of equal parts white vinegar and water to break down these stubborn mineral scales.
Start by filling the reservoir with the solution and running a half-brew cycle, then turn the machine off for thirty minutes to let the mixture sit.
Finish the cycle and follow up by running two or three full pots of plain water through the system to eliminate any lingering vinegar scent or taste.
Regular descaling not only improves the flavor profile of your brew by ensuring optimal water temperature but also significantly extends the overall lifespan of your expensive kitchen appliances.
Storing Beans to Prevent Staleness
Even the highest quality coffee beans will lose their complex aromatic compounds if they are not stored with care once the bag is opened. Oxygen, light, heat, and moisture are the primary enemies of freshness, so you must utilize an airtight, opaque container to shield your beans from the environment.
Avoid the common mistake of storing coffee in the freezer or refrigerator, as the constant temperature fluctuations create condensation that can ruin the delicate oils and cell structure of the bean.
Instead, find a cool, dark spot in your pantry away from the stove or direct sunlight to maintain a stable climate. For the best results when brewing at home, try to buy smaller quantities that you can consume within two weeks of the roast date.
By prioritizing these storage techniques, you ensure that the volatile gases responsible for that rich, freshly-brewed aroma are preserved, resulting in a much more satisfying and professional-tasting cup of coffee every single morning.
Frequently Asked Questions
What is the best coffee-to-water ratio for brewing at home?
A general rule of thumb is the ‘Golden Ratio’ of 1 to 2 tablespoons of ground coffee for every 6 ounces of water. This can be adjusted to your personal taste preference for a stronger or milder brew.
What equipment do I need to start brewing coffee at home?
At a minimum, you will need a brewing device such as a drip coffee maker, French press, or pour-over dripper, along with a grinder, fresh coffee beans, and filtered water. A scale and a gooseneck kettle are optional but help improve consistency.
How does grind size affect the flavor of my coffee?
Grind size determines how quickly water extracts flavor; coarse grinds are best for slow methods like French press, while medium grinds work for drip filters. If your coffee tastes bitter, try a coarser grind, and if it tastes sour or weak, try a finer grind.
What is the ideal water temperature for brewing coffee?
The ideal water temperature for extracting the best flavor is between 195°F and 205°F. If you don’t have a thermometer, bring your water to a boil and then let it sit for about 30 to 60 seconds before pouring.
Should I use pre-ground coffee or whole beans?
Whole beans are highly recommended because coffee begins to lose its flavor and aroma immediately after being ground. Grinding your beans just before brewing ensures the freshest possible cup with the most complex flavor profile.
How can I improve the taste of my home-brewed coffee?
To improve your brew, use filtered water to avoid off-tastes from tap minerals and ensure your equipment is cleaned regularly to prevent oil buildup. Additionally, always check the roast date on your coffee beans to ensure they are fresh.
Conclusion
Mastered the art of home brewing by focusing on fresh beans, precise measurements, and the right water temperature. Whether you prefer a bold French press or a clean pour-over, the key is consistency and experimentation. Now that you have the essential techniques, you can skip the cafe lines and enjoy a barista-quality cup in your own kitchen. Start brewing today and refine your process until you discover your perfect morning ritual. Enjoy your coffee!