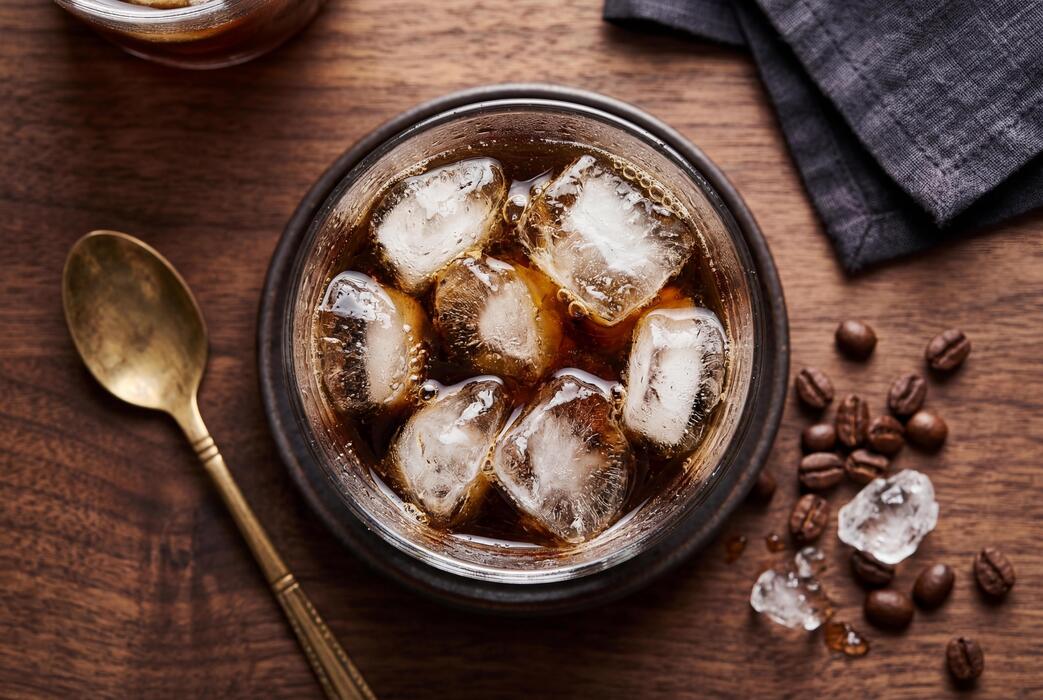
How To Make Best Cold Brew At Home
Making the best cold brew at home is easier than you think and far cheaper than your daily coffee shop run. You do not need fancy equipment to achieve that smooth, low-acid flavor everyone loves. By mastering the right coffee-to-water ratio and choosing the correct grind size, you can create a professional-grade concentrate in your own kitchen.
What is cold brew and why it tastes better
Cold brew vs iced coffee differences
To master the best cold brew at home, you must first understand that it is a unique brewing method, not just chilled coffee. Unlike traditional iced coffee, which is brewed hot and poured over ice, cold brew relies on extended immersion in room temperature or cold water.
This fundamental shift in temperature changes how the water interacts with the coffee grounds over a twelve to twenty-four hour period. By avoiding heat, you prevent the rapid oxidation and degradation of coffee oils that typically occur with hot brewing.
This results in a stable concentrate with a longer shelf life, allowing you to store your batch in the refrigerator for up to two weeks without losing flavor quality.
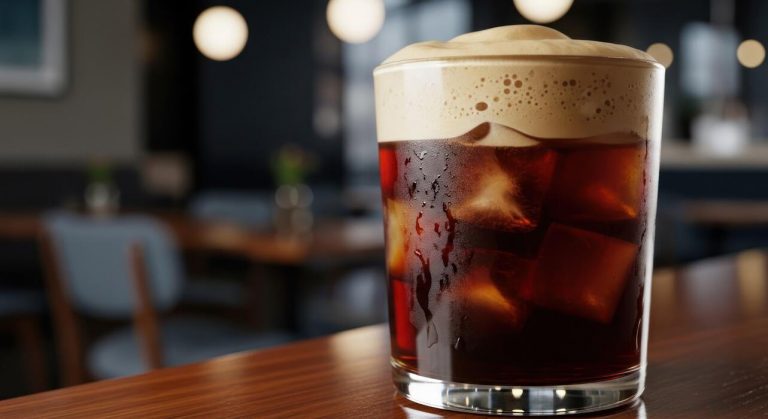
When you learn how to make best cold brew at home, you prioritize this slow extraction to achieve a velvety mouthfeel and concentrated strength that hot-brewed iced coffee simply cannot replicate. Using a coarse grind is essential here to ensure a clean filtration process and a crystal-clear final cup.
The science of low-acid extraction
The primary reason cold brew tastes superior to many drinkers is the chemistry of temperature-controlled extraction. High heat acts as a catalyst that pulls out acidic compounds and bitter oils from the bean.
By opting for a cold soak, you are reducing the total acidity by approximately 60 to 70 percent compared to hot methods. This is a game-changer for those with sensitive stomachs or those who find traditional coffee too sharp.
The science shows that certain bitter soluble solids require boiling temperatures to dissolve; without that heat, those harsh notes remain locked inside the grounds.
When you focus on how to make best cold brew at home, you are essentially performing a gentle chemical extraction that favors sweetness and body over bitterness.
This low-acid profile allows the natural sugars of the coffee to shine through, creating a smooth, chocolatey finish that feels heavy on the tongue. This scientific advantage is why cold brew remains the preferred choice for drinkers who enjoy a mellow yet robust caffeine experience.
Flavor profiles of cold steeped beans
When exploring how to make best cold brew at home, the flavor profile is where the magic happens. Because the cold water extraction is so gentle, it highlights deep, earthy, and nutty notes while muting the volatile floral or citrus aromatics often found in hot pour-overs.
This results in a flavor palette dominated by caramel, cocoa, and molasses undertones. Because the harsh bitterness is absent, many find they can enjoy their coffee black, reducing the need for added sugars or heavy creams.
To maximize this profile, it is recommended to use freshly roasted medium to dark beans, which provide the boldest chocolate notes during the long steeping process.
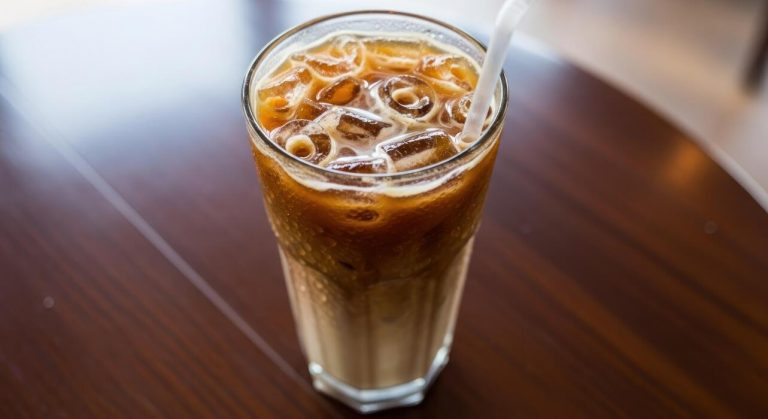
The resulting concentrate is incredibly versatile; you can dilute it with water for a crisp drink or mix it with milk for a creamy treat that tastes like a melted coffee milkshake.
Understanding these flavor dynamics ensures that every batch you brew at home delivers a consistently rich and indulgent experience that outperforms any store-bought alternative or standard hot-brewed cup.
Essential equipment for home cold brewing

Choosing between jars and dedicated brewers
To start your journey toward the best cold brew at home, you must first decide on your primary vessel. A simple Mason jar or glass pitcher is an excellent low-cost entry point that utilizes items you likely already own.
This method, known as immersion brewing, allows the coffee grounds to remain in constant contact with water for an extended period, resulting in a rich and heavy-bodied concentrate.
However, if you plan to make cold brew regularly, investing in a dedicated cold brew maker with a built-in stainless steel mesh filter can significantly streamline the cleanup process.
These specialized brewers are designed to fit perfectly in refrigerator doors and often feature airtight seals that keep your coffee tasting fresh for up to two weeks.
Regardless of the vessel you choose, ensure it is made of non-reactive materials like glass or high-quality plastic to prevent any metallic or chemical off-flavors from leaching into your steep. Your choice should ultimately balance convenience, budget, and the volume of coffee you consume daily.
Why a burr grinder is non-negotiable
The most critical factor in achieving a professional-grade cold brew is the consistency of your coffee particles, which is why a high-quality burr grinder is absolutely essential.
Unlike blade grinders that shatter beans into uneven shards and dust, burr grinders use revolving abrasive surfaces to crush beans into a uniform size. For cold brew, you require an extra-coarse grind setting, resembling sea salt or breadcrumbs.
If your grind is too fine, the long extraction time will pull out bitter tannins, resulting in an astringent and unpleasant drink. Furthermore, fine particles can clog your filters, making the straining process a messy ordeal.
By using a burr grinder, you ensure that the water extracts flavors evenly from every grain, highlighting the natural sweetness and chocolatey notes characteristic of great cold brew.
Investing in a manual or electric burr mill allows you to grind fresh right before brewing, which preserves the delicate aromatic oils that pre-ground coffee lacks. This single piece of equipment will elevate your home brewing game more than any other tool in your kitchen.
Filter options for a clean cup
The final stage of the cold brew process is filtration, and the material you choose will dictate the clarity and mouthfeel of your finished beverage. For those who prefer a silky, sediment-free cup, secondary filtration through a paper coffee filter or a fine-mesh cloth bag is the gold standard.
Paper filters are particularly effective at trapping fine silt and oils, resulting in a crisp profile that highlights subtle acidity.
Alternatively, if you enjoy a fuller body with more texture, a dual-layer stainless steel filter allows some of the coffee’s natural oils to pass through while still catching the larger grounds.
Many enthusiasts recommend a two-step approach: first, use a coarse metal sieve to remove the bulk of the grounds, then pass the liquid through a dampened paper filter to achieve professional-level clarity. This ensures there is no muddy residue at the bottom of your glass.
Proper filtration also extends the shelf life of your concentrate by halting the extraction process completely, preventing the brew from becoming over-extracted and bitter as it sits in your refrigerator over the following week.
Choosing the best coffee beans for cold brew
Best roast levels for cold extraction
When selecting beans for cold brew, the roast level significantly impacts the final flavor profile because the cold extraction process highlights different chemical compounds than hot brewing.
For most enthusiasts, a dark roast is the gold standard for cold brew because the extended roasting process develops deep, chocolatey, and nutty notes that hold up exceptionally well during the long 12 to 24-hour steeping period.
Darker beans are also less acidic, which is ideal since cold water doesn’t extract acids as aggressively as boiling water. However, if you prefer a more complex and tea-like beverage, a medium roast can offer a beautiful balance of caramel sweetness and subtle acidity.
While light roasts are popular for pour-overs, they often lack the body required for a satisfying cold brew concentrate. Ultimately, choosing a medium-to-dark profile ensures your homemade batch has that signature smooth, bold finish that characterizes the best café-quality cold brew experiences.
Single origin vs blends
Deciding between single origin beans and blends depends entirely on your preferred flavor complexity and how you intend to serve your coffee.
Coffee blends are often engineered specifically for consistency and balance, making them a reliable choice for cold brew where you want a dependable, chocolate-forward base that pairs perfectly with milk or cream.
Because cold brewing is a forgiving method, a high-quality blend can provide a smooth and uniform taste without any harsh edges.
On the other hand, single origin beans allow you to explore the unique terroir of a specific region, such as the fruity notes of Ethiopian beans or the earthy tones of Sumatran varieties.
If you enjoy drinking your cold brew black to appreciate subtle nuances, single origins are the way to go. For those just starting their home brewing journey, a dedicated cold brew blend often provides the most foolproof results, ensuring a delicious and crowd-pleasing pitcher every single time.
The importance of a coarse grind size
The most critical technical factor in choosing and preparing your beans is ensuring you use a consistent coarse grind, often compared to the texture of sea salt or peppercorns.
Because cold brew involves a very long immersion time, using a fine grind will lead to over-extraction, resulting in a bitter, muddy, and unpleasant flavor that ruins the batch.
Furthermore, extra-coarse grounds act as their own natural filter, allowing water to flow freely around the particles for a clean extraction while making the final filtration process much easier. If the grounds are too small, they can clog your filter and leave sediment in your cup, creating a gritty mouthfeel.
To achieve the best results at home, it is highly recommended to grind your beans fresh using a burr grinder rather than a blade grinder to maintain uniformity.
Investing in the right grind size ensures your concentrate remains bright, sweet, and incredibly smooth, which is the hallmark of professional-grade cold brew.
Step-by-step guide to making cold brew coffee
Measuring your coffee-to-water ratio
To achieve a professional-grade result when learning how to make best cold brew at home, you must prioritize precision over estimation. The most effective starting point is a 1:4 coffee-to-water ratio by weight, which creates a versatile concentrate.
For every 100 grams of coarsely ground coffee, use 400 grams of filtered water. Using a digital kitchen scale ensures consistency that volumetric measurements simply cannot match.
If you prefer a ready-to-drink beverage rather than a concentrate, you might opt for a 1:8 or 1:10 ratio, but starting strong allows for more flexibility during serving. Always use coarsely ground beans resembling sea salt; fine grounds will lead to over-extraction and a muddy, bitter flavor profile.
By mastering these measurements, you establish a solid foundation for a smooth, chocolatey brew. High-quality filtered water is equally essential, as it prevents mineral impurities from masking the nuanced notes of your specialty beans, ensuring every batch meets your specific taste standards perfectly every time.
The mixing and steeping process
Once your ingredients are measured, place the coarse grounds into a large glass jar or dedicated cold brew maker. Slowly pour your room temperature or cool filtered water over the grounds, ensuring they are all fully saturated.
Use a long spoon to gently stir the mixture, breaking up any dry pockets without over-agitating the sediment. Cover the container tightly to prevent the coffee from absorbing any stray refrigerator odors. For the best extraction, let the mixture steep for 12 to 18 hours at room temperature.
Steeping in the fridge is an option, but it often requires up to 24 hours due to the slower chemical reaction in colder temperatures. Avoid steeping for longer than 24 hours, as this can pull unpleasant woody and bitter tannins from the beans.
Finding the ‘sweet spot’ within this timeframe is the secret to a naturally sweet, low-acid cup that highlights the unique characteristics of your chosen coffee roast without any harshness.
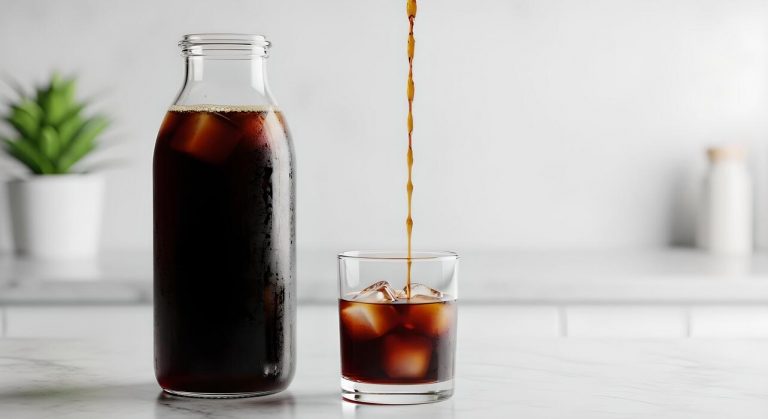
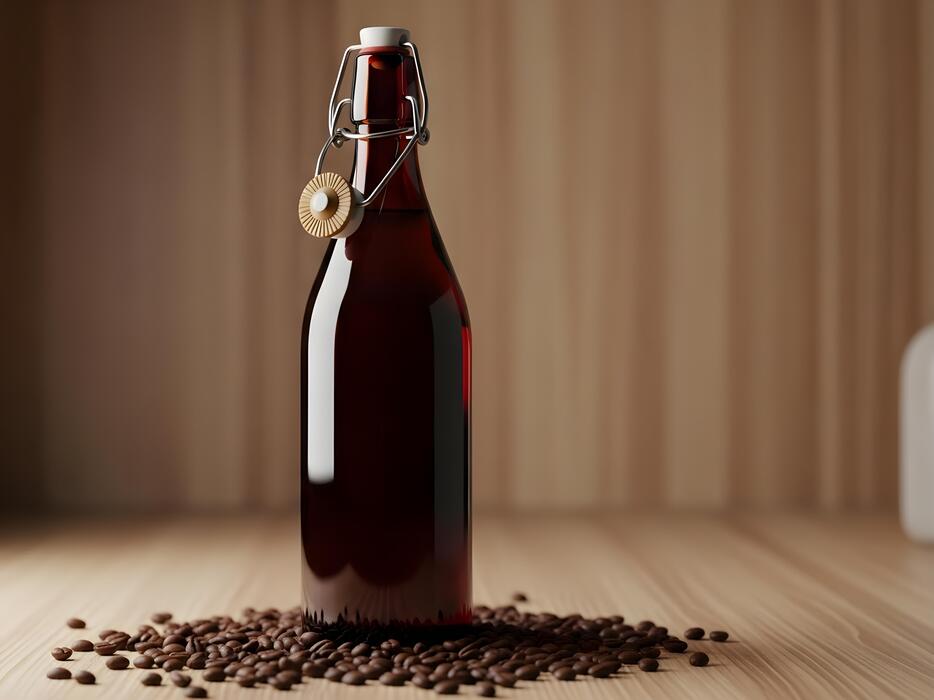
How to filter and store your concentrate
After the steeping window is complete, the final step is achieving a clean, sediment-free finish. Set up a fine-mesh sieve lined with a paper coffee filter or a cheesecloth over a clean carafe.
Pour the mixture slowly, allowing gravity to do the work; never squeeze the grounds, as this forces bitter oils and fine dust into your final drink. Once filtered, you are left with a potent concentrate. Store this liquid in an airtight glass container in the refrigerator immediately.
Your cold brew concentrate will stay fresh and flavorful for up to two weeks, though it is best consumed within the first seven days. When you are ready to serve, dilute your concentrate with equal parts water or milk over ice.
This storage method is incredibly convenient for busy mornings, providing a quick, cafe-quality caffeine fix. Remember to keep the container sealed tightly between uses to preserve the delicate aromatic compounds and prevent oxidation from dulling the vibrant flavor profile.
How to perfect your steeping time and temperature
Countertop vs refrigerator brewing
To achieve the perfect cold brew at home, you must first decide whether to steep your grounds at room temperature or in the refrigerator.
Leaving your jar on the countertop speeds up the extraction process because molecules move faster in warmer environments, typically resulting in a bolder, more robust flavor profile within 12 to 16 hours.
However, many enthusiasts prefer the refrigerator method for its ability to produce a cleaner, crisper cup with less risk of oxidation. While brewing in the fridge requires a longer duration—often up to 24 hours—it helps preserve the delicate floral and fruity notes of high-quality beans.
Regardless of the location you choose, it is essential to keep the vessel away from direct sunlight and maintain a consistent ambient temperature throughout the duration of the steep.
A stable environment ensures that the chemical breakdown of the coffee grounds happens uniformly, preventing any unexpected sourness or off-flavors from developing in your final concentrate.
The 12 to 24 hour timing rule
Precision in timing is the secret to mastering cold brew, as the extraction window is much wider than traditional hot brewing methods. Most experts recommend a standard steeping time of 12 to 24 hours, depending on your specific taste preferences and the grind size used.
If you are brewing on your kitchen counter, aim for the lower end of the spectrum, around 12 to 15 hours, to avoid the development of woody or dusty flavors.
For those utilizing the cold environment of a refrigerator, a full 18 to 24 hours is usually necessary to fully extract the sugars and oils from the coarse grounds.
It is helpful to taste your brew periodically once you hit the 12-hour mark; simply dip a spoon in and check if the profile has reached your desired strength. Once you find that perfect balance of sweetness and low acidity, strain the mixture immediately.
Leaving the grounds in for too long will lead to a heavy, muddy texture.
Signs of over-extracted or bitter coffee
Even though cold brew is naturally smoother than hot coffee, it is still possible to over-extract the beans, leading to a unpleasant bitterness or astringency.
You will know your coffee has steeped for too long if the liquid develops a harsh, dry sensation on the tongue or a metallic aftertaste that lingers.
Another sign of over-extraction is a muddy or opaque appearance in the concentrate, which often indicates that the fine particles have broken down too much and bypassed the filter.
To fix a batch that has become too intense, you can try diluting it further with water or milk, but the underlying bitter compounds will remain.
To prevent this in future batches, ensure you are using a consistent extra-coarse grind—similar to sea salt—which slows down the extraction process and keeps the flavor profile bright.
Additionally, using filtered water can help you distinguish between the natural bitterness of the coffee and any harsh mineral flavors that might interfere with the final result.
Tips for serving and flavoring cold brew
Diluting concentrate for the perfect strength
Mastering the final flavor of your cold brew begins with finding the ideal ratio between your potent concentrate and your chosen diluting liquid.
Since cold brew is steeped for a long duration, it typically results in a very high caffeine density and a bold profile that can be overwhelming if consumed straight.
To achieve a balanced cup, start with a standard one-to-one ratio of concentrate to filtered water or milk, then adjust based on your personal palate. If you prefer a lighter, more refreshing beverage that highlights floral notes, increase the water ratio slightly.
Conversely, for those who enjoy a heavy mouthfeel similar to an iced latte, using cold milk or a creamy oat alternative as the primary diluent provides a velvety texture.
Always remember to add ice after mixing to prevent premature dilution, and consider using coffee ice cubes to ensure your drink remains robust and flavorful until the very last sip is finished.
Best milk and sweetener pairings
Because cold brew is naturally lower in acidity and bitterness compared to hot-brewed coffee, it pairs exceptionally well with a variety of dairy and plant-based enhancers. For a classic experience, whole milk or heavy cream adds a luxurious thickness that complements the chocolatey undertones of dark roasts.
If you are looking for dairy-free options, oat milk is the gold standard due to its natural sweetness and ability to froth, while almond milk offers a lighter, nutty finish.
When it comes to sweetening your brew, traditional granulated sugar often fails to dissolve in cold liquid, leading to a gritty texture at the bottom of the glass. Instead, utilize simple syrups, agave nectar, or maple syrup, which integrate seamlessly into the cold liquid.
For an elevated flavor profile, try infusing your syrups with vanilla bean, cinnamon sticks, or even a hint of sea salt to highlight the natural caramelization present in the coffee beans during the long steeping process.
Creative cold brew cocktail and mocktail ideas
Transform your morning staple into a sophisticated evening beverage by utilizing cold brew as a versatile base for cocktails and mocktails.
For a refreshing non-alcoholic treat, create a Cold Brew Tonic by combining one part concentrate with two parts tonic water over ice, finished with a fresh sprig of rosemary and a squeeze of grapefruit for a bright, botanical twist.
If you are hosting a gathering, the Cold Brew Martini is a crowd favorite; simply shake concentrate with vodka and a coffee liqueur to achieve a frothy head without the need for an espresso machine.
For those who enjoy deeper, spiced flavors, try mixing your coffee with ginger beer and a splash of lime to create a unique ‘Dark and Stormy’ coffee variant.
The natural smoothness of the brew allows it to play well with citrus, herbs, and even sparkling elements, making it an essential ingredient for creative mixology that transitions perfectly from a midday pick-me-up to a refined social drink.
Common cold brew mistakes and how to fix them
Fixing cloudy or muddy coffee
If your cold brew looks murky or has a gritty texture, the primary culprit is almost always an inconsistent grind size. To achieve a crystal-clear concentrate, you must use a coarse, sea-salt grind rather than the fine powder used for drip or espresso.
Fine particles extract too quickly and easily slip through standard filters, creating sediment. If you are already using a coarse grind but still see cloudiness, try double-filtering your concentrate through a secondary paper filter or a fine mesh sieve lined with cheesecloth.
This extra step captures the microscopic ‘fines’ that cause bitterness and a muddy mouthfeel. Additionally, avoid squeezing the filter bag to speed up the process; while tempting, this forces bitter oils and fine dust into your beverage.
Instead, let gravity do the work to ensure a clean and bright flavor profile that highlights the natural sweetness of the beans. Consistency in your grinding equipment is the most effective long-term solution for professional home results.
Dealing with weak or watery results
A thin or flavorless cold brew typically stems from an incorrect coffee-to-water ratio or insufficient steeping time. For a robust concentrate that stands up to ice and milk, aim for a ratio of 1:4 or 1:5 by weight.
Many beginners make the mistake of using a standard drip ratio, which results in a drink that tastes diluted once served. If your ratio is correct but the coffee still lacks punch, extend your steeping time to 18-24 hours at room temperature.
Cold temperatures in the refrigerator slow down extraction significantly, so if you prefer brewing in the fridge, you must allow for the full 24-hour window. Another vital factor is the freshness of your coffee beans; stale beans have lost the aromatic oils necessary for a full-bodied experience.
Always grind your beans immediately before brewing to maximize the solubles available for extraction. By tightening your ratio and allowing ample time, you will produce a bold and syrupy concentrate every single time.
Proper cleaning habits for fresh flavor
One of the most overlooked aspects of making the best cold brew is the cleanliness of your equipment. Coffee oils are incredibly stubborn and can turn rancid over time, leading to a sour or metallic aftertaste in your next batch.
To prevent this, ensure you are thoroughly scrubbing all carafes and filters with fragrance-free soap after every use. Pay special attention to mesh filters, where tiny coffee particles can become trapped and rot; using a soft-bristled brush can help dislodge these hidden residues.
If you use a reusable fabric bag, boil it periodically to remove deep-seated oils that standard rinsing cannot reach. Furthermore, the quality of your water is paramount since cold brew is 98% water.
Using filtered or bottled water prevents mineral buildup in your equipment and ensures that no chlorine tastes interfere with the delicate notes of your coffee beans. Maintaining a pristine brewing environment is the final secret to achieving a consistent, cafe-quality beverage that tastes fresh and vibrant throughout the entire week.
Frequently Asked Questions
What is the best coffee-to-water ratio for cold brew?
The ideal ratio for a cold brew concentrate is 1:4 (one part coffee to four parts water), which can be diluted later. For a ready-to-drink brew, a 1:8 ratio is recommended to achieve a balanced flavor profile.
Which grind size should I use for cold brew?
You must use an extra-coarse grind, similar in texture to sea salt or peppercorns. Using a fine grind will result in an over-extracted, bitter taste and will make the filtration process much more difficult.
How long should cold brew steep for the best flavor?
The sweet spot for steeping is typically between 12 and 18 hours at room temperature, or up to 24 hours if steeping in the refrigerator. Steeping longer than 24 hours can lead to woody or bitter notes.
Should I steep my cold brew on the counter or in the fridge?
Steeping at room temperature is generally preferred as it extracts flavors more efficiently and results in a more complex profile. However, if you prefer a cleaner, lighter taste, steeping in the refrigerator works well but requires a longer duration.
What type of coffee bean is best for cold brew?
Medium to dark roasts are generally best because the cold extraction process highlights chocolatey, nutty, and low-acid notes. Single-origin beans with fruity profiles can also work if you prefer a more floral and bright cold brew.
How do I filter homemade cold brew properly?
First, pour the mixture through a fine-mesh sieve to remove large grounds, then pass it through a paper coffee filter or a cheesecloth. This double-filtration method ensures a clean, sediment-free cup with a smooth mouthfeel.
How long does homemade cold brew stay fresh?
Cold brew concentrate can stay fresh in an airtight container in the refrigerator for up to two weeks. If you have already diluted it with water, it is best consumed within 2 to 3 days for peak freshness.
Conclusion
Mastering cold brew at home is a rewarding journey that begins with coarse grounds and patience. By prioritizing high-quality beans and maintaining a consistent water-to-coffee ratio, you can achieve a smooth, low-acid concentrate that rivals any cafe. Remember to experiment with steep times to find your perfect flavor profile. Now that you have the essential techniques, it is time to start brewing. Enjoy the process and raise a glass to your best homemade batch yet.