Best Way To Roast Coffee Beans At Home
The best way to roast coffee beans at home is to control heat, timing, and airflow so you can develop rich flavor without burning the beans. If you want better-tasting coffee from your own kitchen, you’re in the right place to learn a simple, reliable method that works for consistently delicious results every time.
How to Roast Coffee Beans at Home
What home coffee roasting means
Home coffee roasting means taking green coffee beans and heating them until they develop the aroma, color, and flavor you want. The best way to roast coffee beans at home depends on your goal: small batches, simple equipment, and consistent control.
Start with fresh green beans from a reliable seller, because old beans roast unevenly. Use a method that lets you watch the color change from green to yellow, then light brown, and finally to your preferred roast level.
A light roast preserves brightness, a medium roast balances sweetness and body, and a dark roast brings deeper caramelized notes. Keep batches small so heat moves evenly through the beans. No matter which method you choose, focus on steady heat, movement, and timing.
After roasting, cool the beans quickly and let them rest for a day or two so the flavors settle. This simple process gives you more control than store-bought coffee and helps you tailor each roast to your taste.
Why fresh-roasted beans taste better
Fresh-roasted beans taste better because roasting releases trapped aromas and transforms raw, grassy flavors into sweet, complex coffee notes. When beans are roasted at home, you can brew them at their peak instead of buying coffee that has sat on a shelf for weeks.
Fresh beans often show more aroma, cleaner flavor, and better sweetness. You also control the roast level, which means you can bring out fruity, chocolatey, nutty, or smoky characteristics depending on the bean.
Another benefit is less staleness: coffee loses flavor as oxygen breaks down the oils and compounds that make it taste vibrant. If you roast in small batches, you can use beans while they are still lively and adjust future roasts based on what you liked.
For the best results, store roasted beans in an airtight container, keep them away from heat and light, and wait at least 12 to 48 hours before brewing. That resting time helps carbon dioxide escape and improves extraction, giving you a smoother cup.
Best methods for beginners
The best methods for beginners are the ones that are easy to control, safe, and repeatable. A home coffee roaster machine is the simplest option because it automates airflow, heat, and timing, making it easier to learn roast stages.
If you want a low-cost start, try a popcorn popper or a heavy skillet, but move the beans constantly and watch closely to avoid scorching. Whichever method you use, roast in small batches, keep the heat moderate, and listen for the first crack, which signals light roast development.
Stop earlier for brighter flavors or continue a little longer for a fuller roast, but avoid pushing too far too fast. Set up near a fan or open window, because roasting creates smoke and chaff. Have a metal colander or baking sheet ready for fast cooling.
The most helpful beginner strategy is to take notes on time, heat, and results so you can repeat what works. Consistency matters more than perfection when learning the best way to roast coffee beans at home.
What You Need Before You Start Roasting
Choosing green coffee beans
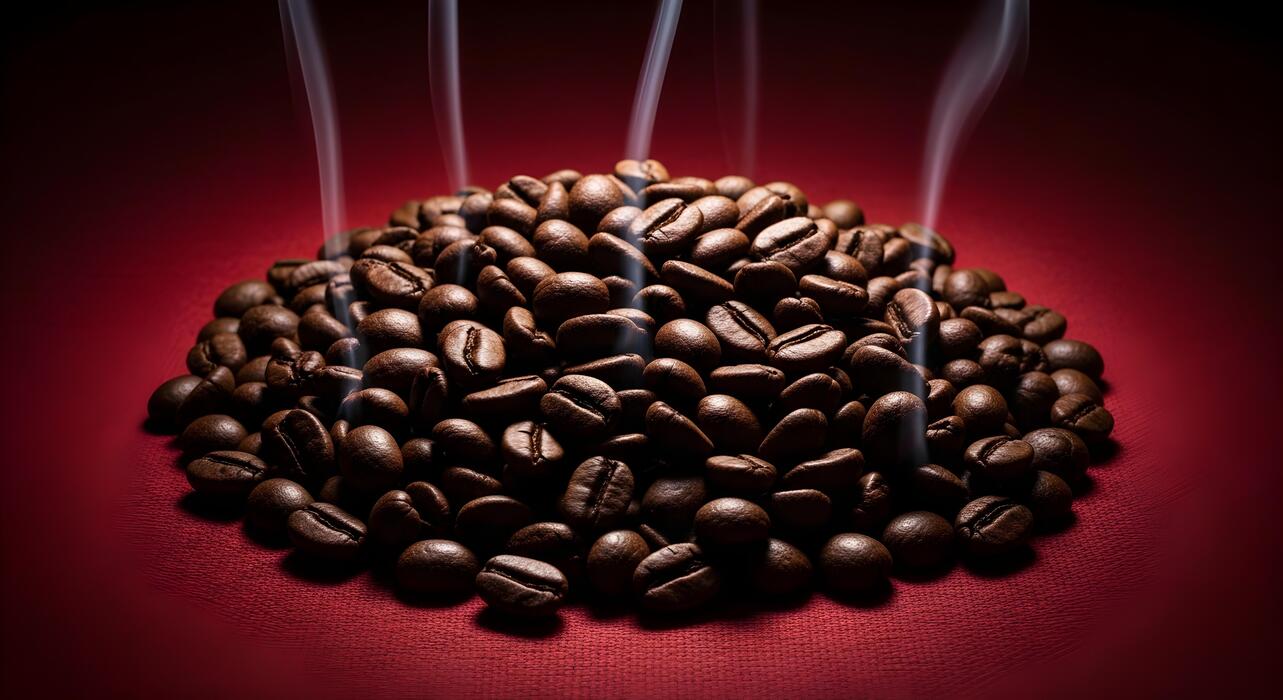
Start with fresh, high-quality green coffee beans if you want the best way to roast coffee beans at home. Buy from a trusted supplier that lists origin, processing method, and harvest date, because older beans can taste flat even when roasted well.
For an easier first roast, choose single-origin beans with a medium density, since they give clearer results and help you learn how different roast levels affect flavor.
If you prefer a forgiving cup, look for beans labeled natural or washed process and avoid very small, very uneven lots until you have more practice. Buy enough for several attempts so you can compare batches, but start with small amounts to limit waste.
Before roasting, inspect the beans for broken pieces, stones, or excess chaff. Good green coffee should smell fresh and grassy, not musty or sour, and that simple check can save you from wasting time on poor-quality beans.
Picking a roasting method
Choose a roasting method that matches your budget, space, and how hands-on you want to be.
For beginners, the best way to roast coffee beans at home is often a method you can control easily, such as a dedicated home coffee roaster, a cast-iron skillet, or a popcorn popper designed for roasting-style airflow.
A dedicated roaster offers the most consistent heat and timing, while a skillet gives you low-cost flexibility but requires constant stirring. A popcorn popper can work for small batches, though you must watch temperature carefully and keep the batch size modest.
Pick one method and learn it well before trying another, because changing variables makes it harder to judge results. Also think about ventilation: roasting creates smoke and chaff, so a method that fits your kitchen setup will make the process safer and more enjoyable.
The right method is the one you can repeat cleanly and consistently.
Essential tools and safety gear
Gather a few essential tools before you start so the process is smoother and safer. You will need a digital scale for accurate bean measurements, a timer to track roast stages, and a cooling tray or metal colander to stop the roast quickly once the beans reach your target level.
A thermometer or a roaster with built-in temperature control helps you monitor heat, especially when learning how different beans respond. For safety, use heat-resistant gloves, a long spoon or heat-safe stirrer, and good ventilation such as an open window, exhaust fan, or outdoor setup if possible.
Keep a fire extinguisher nearby and roast on a stable, uncluttered surface away from paper towels, curtains, and plastic items. A notebook is also useful for recording bean type, batch size, time, and results. These simple tools help you roast more consistently and reduce risk while you learn.
Best Ways to Roast Coffee Beans at Home
Roasting in a popcorn popper
A popcorn popper is one of the best beginner-friendly ways to roast coffee at home because it gives you steady airflow and fast heat. Use only a machine with side vents and rotate the beans by gently shaking to keep them moving.
Start with a small batch, usually about 1/2 cup, so the beans can circulate evenly. Roast outdoors or under strong ventilation, since smoke will build quickly. Watch for first crack, then continue a bit longer if you want a darker roast.
Pour the beans into a colander immediately to cool them fast and stop the roast. This method is simple, affordable, and great for learning roast levels.
Roasting in a skillet or pan
A skillet or heavy pan works well when you want a simple, low-cost roasting method and don’t mind staying active during the process. Preheat the pan over medium heat, then add a thin layer of green beans so they roast evenly.
Keep the beans moving constantly by stirring or shaking the pan to prevent scorching. Expect smoke and chaff, so use good ventilation and keep a lid nearby in case of flare-ups. Listen for first crack to gauge progress, and remove the beans when they reach your preferred color.
Cool them quickly in a metal colander or tray. This method gives you hands-on control, but it rewards attention and patience.
Roasting in an oven
Roasting coffee beans in an oven is a practical option if you want a consistent heat source and already have kitchen basics on hand. Spread the beans in a single layer on a perforated roasting tray or baking sheet, and preheat the oven to a moderate temperature.
Stir or shake the beans every few minutes so they roast more evenly. Use the oven light and smell as cues, and listen for first crack to track development. Because ovens can be slow and less responsive, this method often produces a gentler roast rather than a very even one.
Cool the beans quickly after roasting to preserve flavor. Good airflow and cleanup are important because chaff and smoke can accumulate.
Using a dedicated home coffee roaster
A dedicated home coffee roaster is the best way to roast coffee beans at home if you want the most control, consistency, and repeatability. These machines are designed to manage airflow, temperature, and roasting time, which makes it easier to hit the same roast level again and again.
Load the recommended batch size, choose a profile or manually adjust settings, and monitor the roast as it approaches first crack and beyond. Many models include timers, cooling cycles, and smoke management, which simplifies the process.
This is the ideal choice if you roast regularly or want to dial in lighter, medium, or darker profiles with less guesswork. It costs more upfront, but it delivers reliable results.
How to Roast Coffee Beans Step by Step
Preheat and prepare your equipment
Start by setting up a clean, well-ventilated roasting area and gathering everything before you heat the beans. The best way to roast coffee beans at home is to use a method you can control consistently, such as an air roaster, popcorn popper, or heavy skillet with a lid.
Measure out a small batch first, usually 4 to 8 ounces, so the beans can move and roast evenly. Preheat your equipment if the method requires it, and make sure your colander, baking sheet, or cooling tray is ready nearby.
Keep a timer, spoon, heat-resistant gloves, and a fan within reach. Use green coffee beans only, since fresh, unroasted beans roast more predictably. If using a skillet, keep the heat at medium to medium-high and stir constantly to avoid scorching.
Preparation matters because once roasting starts, the process moves fast and you need to respond quickly.
Watch for color, smell, and sound changes
As the beans heat, focus on three signals: color, aroma, and sound. They will shift from green to yellow, then to light brown, and finally to deeper brown as roasting progresses.
The smell changes from grassy to bready, then to toasted and nutty, which helps you judge progress even if the color is hard to see. The most important cue is sound: the beans will reach first crack, a light popping sound that signals a lighter roast.
After first crack, you can stop for a light to medium roast or continue toward darker flavors. If you keep roasting, look for a quieter phase followed by second crack, which is sharper and more rapid; this is where darker roasts develop.
Avoid letting the beans go too long after second crack, because they can taste smoky or burnt. Use steady attention and small test batches so you learn how your equipment behaves and can repeat your preferred roast level.
Cool the beans quickly after roasting
Once the beans reach your desired roast level, stop the heat immediately and cool them as fast as possible. Quick cooling is essential because beans keep roasting from their own retained heat, which can push them past the flavor you wanted.
The best home method is to pour them into a metal colander or baking sheet and stir or shake them while aiming a fan over the beans.
If you used a popcorn popper or air roaster, transfer them right away to a cooling surface rather than leaving them in the machine. Remove any loose chaff during cooling, since it can add bitterness if it stays mixed in.
Let the beans rest for at least 12 to 24 hours before brewing so gases can escape and the flavor settles. Store cooled beans in an airtight container away from light, heat, and moisture. This final step protects the roast quality and helps you get a cleaner, more balanced cup.
How to Choose the Right Roast Level
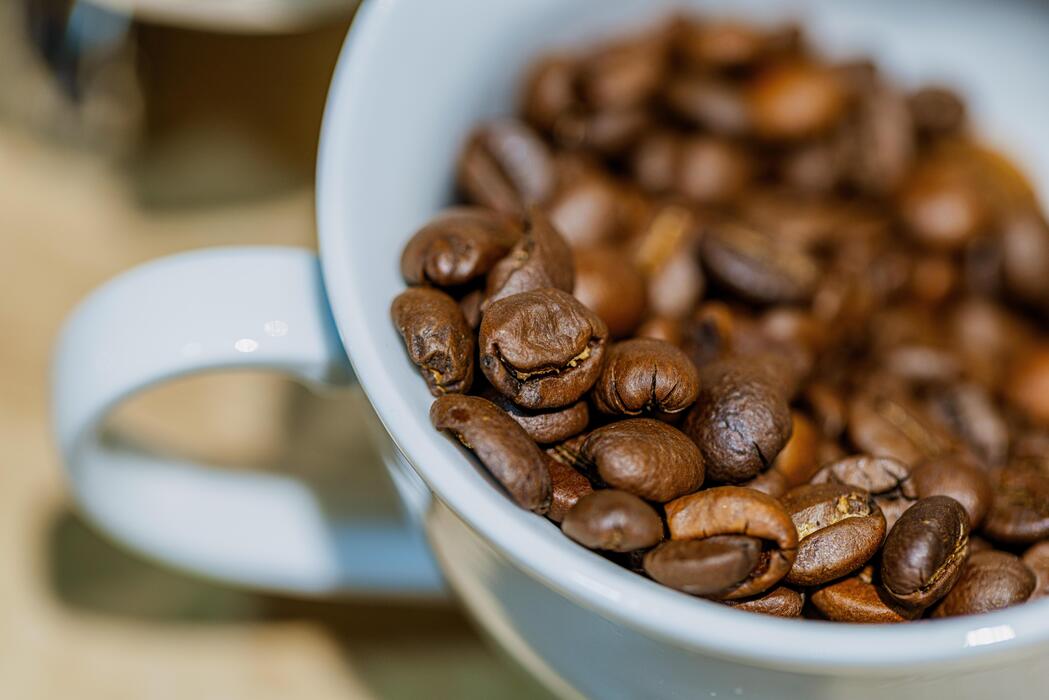
Light roast for bright flavor
Choose a light roast if you want to preserve the bean’s origin flavors and learn the basics of roasting at home. This level works best when you stop the roast soon after first crack, while the beans still look light brown and dry.
Use it when you want higher acidity, floral notes, and fruit-forward taste from beans that are high quality and freshly sourced. To get consistent results, roast in small batches, stir or agitate evenly, and watch the color closely rather than relying on time alone.
A good home setup is a popcorn popper, stovetop pan, or small drum roaster with a thermometer. The key is to avoid rushing the process—keep heat steady, then cool the beans quickly once they reach your target.
If your goal is the best way to roast coffee beans at home while learning flavor differences, light roast is ideal for making small adjustments and tasting the impact of each variable.
Medium roast for balance
Pick a medium roast if you want the most forgiving and versatile home-roasting target. This roast level brings out a balance of sweetness, body, and acidity, making it a great default for many brewing methods.
Aim to end the roast just after first crack, when the beans have turned a richer brown but before the surface oils appear. Home roasters often find this level easier to repeat because small timing differences are less dramatic than with lighter roasts.
To improve consistency, preheat your equipment, measure beans by weight, and record roast time, temperature, and cooling method for each batch. Medium roasts are also a smart choice if you are trying to please multiple tastes in one household.
If you are asking for the best way to roast coffee beans at home without overcomplicating the process, medium roast gives you a reliable middle ground that works well for drip coffee, pour-over, and espresso.
Dark roast for bold taste
Go for a dark roast if you prefer bold, smoky flavors and a fuller-bodied cup. This level is usually taken past first crack and into second crack, but you should watch carefully to avoid burnt or harsh notes.
Dark roasting is useful when you want to reduce acidity and highlight bittersweet chocolate, caramelized sugar, and toasted undertones.
Because beans can move from rich to overdone very quickly, keep your heat control steady and have a fast cooling method ready, such as a metal colander, fan, or dedicated cooling tray.
Dark roasts work best when you start with beans that can stand up to deeper roasting, especially if you plan to use them for espresso or milk drinks.
For the best way to roast coffee beans at home, dark roast can be rewarding if you want strong flavor and a straightforward profile, but it requires close attention so the beans finish bold, not scorched.
Common Home Roasting Mistakes to Avoid
Roasting too fast or too hot
One of the biggest mistakes when learning the best way to roast coffee beans at home is cranking the heat too high. Beans that roast too quickly can taste harsh, smoky, or uneven, with a burnt outside and grassy center.
Instead, aim for steady, controlled heat so the roast develops evenly. Preheat your roaster or pan, then keep the temperature moderate and consistent. If you hear cracks happening very early, the heat is probably too aggressive.
Slowing the roast gives you more control over flavor and helps bring out sweetness and balance. Watch the color closely, and make small adjustments rather than big jumps. A slower roast is usually easier to manage and produces a more satisfying cup.
Not stirring or moving beans enough
Uneven movement is another common problem that can ruin an otherwise good roast. If beans sit in one spot too long, they can develop hot spots, scorch marks, or inconsistent development.
Whether you are using a skillet, popcorn popper, or home roaster, keep the beans moving so they roast more evenly. Stir constantly in a pan, shake or agitate the roaster as needed, and avoid letting beans settle.
Consistent movement helps each bean absorb heat at a similar rate, which improves flavor and reduces burnt edges. If you notice some beans darkening much faster than others, increase your stirring or rotation immediately. Better circulation means better balance, more predictable results, and fewer wasted batches.
Ignoring smoke and ventilation
Roasting coffee at home creates smoke, chaff, and strong aromas, and ignoring ventilation can make the process unpleasant or even unsafe. Poor airflow can leave your kitchen smoky and affect the flavor of the beans.
Always roast in a well-ventilated space, such as near an open window, under a strong hood fan, or outdoors if your equipment allows it. Keep a fan nearby if needed, and never leave the roast unattended.
Smoke usually increases as the beans approach darker stages, so plan ahead before that point. Good ventilation also helps you judge the roast more clearly because thick smoke can hide color changes. A clean, airy setup makes the whole process easier, safer, and more enjoyable.
Storing beans before they rest
A frequent beginner mistake is grinding or sealing beans too soon after roasting. Freshly roasted coffee releases carbon dioxide, and if you store it in a fully sealed container immediately, pressure can build and flavor can taste sharp or trapped.
Let the beans rest first so they can degas and develop their best flavor. For most home roasts, allow at least 12 to 24 hours before brewing, and often a little longer for darker or denser roasts.
Spread them out briefly after roasting, then move them to a container that allows some airflow or one-way venting if possible. Once the resting period is complete, store them in an airtight container away from light, heat, and moisture to preserve freshness.
How to Store and Brew Fresh Roasted Coffee
Letting coffee rest after roasting
Freshly roasted beans need time to settle before they taste their best. Most home-roasted coffee should rest for 24 to 72 hours, because roasting releases carbon dioxide that can make the first brew taste sharp, sour, or overly foamy.
Lighter roasts often benefit from a slightly longer rest, while darker roasts may taste good sooner. After cooling, leave the beans in a loosely closed container or vented bag so gas can escape without letting in too much air.
If you roast in small batches, label each batch with the roast date so you know when it will peak. Taste the coffee daily if you want to learn its rest curve; this helps you choose the best brew window for future roasts.
A simple rule is to wait until the aroma smells sweet and balanced, not grassy or smoky, before brewing for the first time.
Storing beans for freshness
To keep home-roasted coffee flavorful, focus on air, light, heat, and moisture control. Store beans in an opaque, airtight container placed in a cool, dry cupboard away from the stove, oven, and sunlight. Avoid clear jars on the counter, since light and warmth speed up staling.
If you roast in larger batches, divide beans into smaller portions so you only expose one container at a time. Do not refrigerate coffee, because condensation can damage flavor and create moisture problems.
Freezing can work for long-term storage, but only if the beans are sealed tightly in portioned bags and thawed once, not repeatedly opened and refrozen. For the best taste, aim to use home-roasted beans within 1 to 2 weeks after roasting, though many coffees remain pleasant longer.
Keep beans whole until brew time, because pre-ground coffee loses aroma much faster.
Grinding and brewing for the best flavor
For the cleanest, most flavorful cup, grind coffee right before brewing and match the grind size to your method. Use a coarse grind for French press, medium for drip, and fine for espresso or moka pot.
If the coffee tastes sour and thin, grind a little finer or extend brew time; if it tastes bitter or dry, grind coarser or shorten extraction. Start with a brew ratio around 1:15 to 1:17—for example, 20 g coffee to 300–340 g water—and adjust from there.
Use water that is hot but not boiling, ideally 195–205°F (90–96°C), to avoid scorching delicate flavors. A scale helps you repeat good results and spot changes after each roast. If your beans are very fresh, let them bloom during brewing to release trapped gas.
Consistency matters more than fancy gear: good roast, proper rest, airtight storage, and precise brewing will produce a better cup than any single machine upgrade.
Frequently Asked Questions
What is the best way to roast coffee beans at home?
The easiest and most consistent method is using a dedicated home coffee roaster or a hot-air popcorn popper designed for roasting. These methods provide better airflow and more even heat, which helps you control the roast and reduce burnt or uneven beans.
Can I roast coffee beans in the oven?
Yes, but it is usually less consistent than a roaster or popcorn popper. An oven can work in a pinch if you spread the beans in a single layer and stir them often, but heat distribution is uneven and the roast may be slower and less predictable.
How do I know when the beans are done roasting?
Listen for the first crack, which sounds like light popping and usually signals a light roast. For medium to darker roasts, continue a bit beyond first crack and watch the color, smell, and sound carefully, stopping before the beans become too dark or oily if you want to preserve flavor.
What roast level is best for beginners?
A medium roast is often the best starting point because it is forgiving and gives a balanced flavor. It is easier to manage than very light or very dark roasts, and it works well for many brewing methods.
How long should home coffee roasting take?
Most home roasts take about 8 to 15 minutes depending on the method and batch size. Smaller batches and higher heat roast faster, while lower heat or larger batches take longer and can produce different flavor profiles.
How should I cool coffee beans after roasting?
Cool them as quickly as possible to stop the roast from continuing. Spread the beans in a metal colander or tray and stir them, or use a cooling system if your roaster has one, then let them rest before brewing.
Do freshly roasted beans need to rest before brewing?
Yes, most coffee tastes better after resting for 12 to 72 hours because the beans release excess carbon dioxide. Brewing too soon can lead to uneven extraction and a sharper, less developed flavor.
Conclusion
Roasting coffee beans at home is a rewarding way to enjoy fresher, more flavorful coffee while tailoring each batch to your taste. By choosing quality beans, using the right method, and paying close attention to time, temperature, and cooling, you can achieve excellent results with practice. Start small, experiment patiently, and trust your senses. With each roast, you’ll build confidence and discover the style that makes your perfect cup.