How To Make Cold Brew Starbucks Barista
Ever wondered how to get that smooth, signature Starbucks taste without the daily cafe run? You are in the right place. Making cold brew like a pro is easier than you think, and I am here to share the exact methods used behind the counter. From the perfect grind to the ideal steeping time, you will master the craft quickly.
What makes Starbucks cold brew different?
The specific coffee bean blend used
To replicate the Starbucks experience at home, you must start with the right foundation: a custom coffee bean blend. Unlike their standard espresso, Starbucks cold brew uses a specific mixture of Latin American and African beans.
This curated blend is designed to highlight chocolatey notes and a natural citrus sweetness that only emerges during a cold extraction process. As a barista would tell you, the secret lies in the coarse grind size, which should resemble sea salt to prevent over-extraction and bitterness.
When selecting beans, look for a medium-to-dark roast that features flavor profiles of cocoa and earthiness. Avoid using finely ground coffee, as this will lead to a cloudy, silt-filled concentrate that lacks the signature clarity of the professional version.
By choosing a high-quality, freshly roasted bean blend with these specific regional characteristics, you ensure that your homemade concentrate has the same smooth, velvety body and complex aroma that makes the store-bought version a global favorite for coffee enthusiasts.
Starbucks cold brew vs iced coffee
Understanding the difference between cold brew and iced coffee is essential for any aspiring home barista. Traditional iced coffee is brewed hot at double strength and then quickly chilled with ice, which often results in a more acidic, thinner profile with a sharp finish.
In contrast, Starbucks cold brew is never exposed to heat, meaning the acidic oils are never released. This results in a drink that is significantly lower in acidity and naturally sweeter on the palate.
When you make cold brew, you are creating a concentrated coffee base that can be diluted with water or milk to reach your preferred strength. The lack of heat-induced bitterness means you often need less sugar or creamer to enjoy the flavor.
While iced coffee is great for a quick, crisp caffeine fix, the cold brew method provides a more potent caffeine kick and a much heavier mouthfeel.
Mastering this distinction allows you to appreciate why the slow-steeping method is superior for those seeking a rich, chocolate-forward beverage that remains smooth until the very last sip.
Why the 20-hour steep time matters
The hallmark of the Starbucks barista method is the precise 20-hour steep time at room temperature. This extended duration is the ‘sweet spot’ for flavor extraction, allowing the water to slowly pull out the deep, complex sugars from the coffee grounds without the harshness associated with hot brewing.
If you steep for too short a time, the result will be weak and tea-like; if you go too long, you risk a woody or overly fermented taste.
For the best results at home, keep your brewing vessel in a cool, dark place rather than the refrigerator, as the cold temperature of a fridge can actually slow down the extraction process too much.
Once the 20 hours have passed, you must filter the concentrate twice to ensure a clean finish. This patience pays off by creating a bold, concentrated syrup that serves as the perfect base for vanilla sweet cream or salted caramel foam.
By adhering to this strict timing, you replicate the exact chemical process used in-store, ensuring your DIY version has that signature mellow finish and high caffeine density that fans crave.
Equipment you need for barista-style cold brew
Choosing the right coarse burr grinder
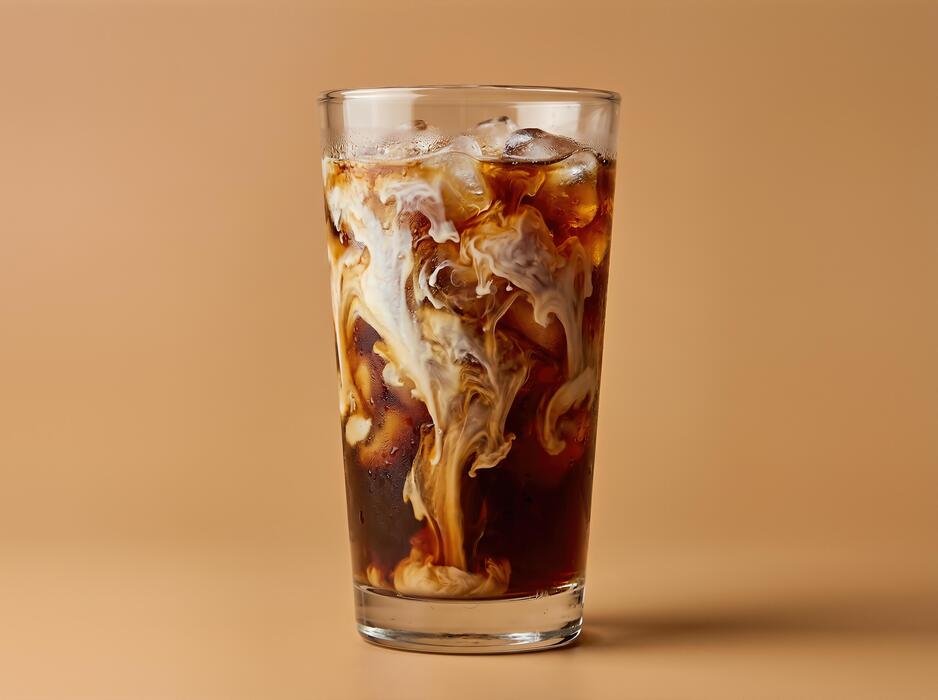
To replicate the Starbucks flavor profile at home, the most critical piece of equipment is a high-quality burr grinder capable of producing an extra-coarse setting. Unlike blade grinders that shatter beans into uneven dust, a burr mill ensures every particle is roughly the size of sea salt or cracked peppercorns.
This uniformity is essential for cold brew because the long steep time—typically 12 to 20 hours—will over-extract fine particles, leading to a bitter, muddy taste that ruins the smooth finish.
Investing in a manual or electric burr grinder allows you to control the surface area exposure, ensuring the water absorbs the chocolatey and nutty notes without the harsh acidity. For a true barista-style result, grind your beans fresh just seconds before adding water.
This preserves the volatile aromatic oils that define the signature Starbucks cold brew experience, providing that rich, bold foundation required for adding milk, syrups, or sweet cream foam later in the process.
Best containers for large batch brewing
Since cold brew is a time-intensive process, Starbucks baristas prepare it in large quantities, and you should do the same using a non-reactive glass or stainless steel container.
A large glass pitcher or a dedicated cold brew carafe is ideal because glass does not absorb odors or flavors from previous batches, ensuring your coffee remains crisp and untainted.
Look for a vessel with a silicone airtight seal to prevent the coffee from absorbing fridge odors during the long steeping phase.
If you are making a massive batch to last the week, a stainless steel beverage dispenser with a spigot can mimic the professional setup found in cafes, allowing for easy pouring without disturbing the grounds at the bottom.
Avoid plastic containers if possible, as they can sometimes leach chemicals or retain oils that go rancid over time. Utilizing a large-capacity vessel ensures you have enough concentrate on hand to dilute with water or milk whenever a craving strikes.
Filter options for a clean finish
The secret to that silky, sediment-free texture found in professional cold brew lies in a dual-filtration method. While many home brewers rely solely on a built-in mesh metal filter, these often allow fine silts to pass through, resulting in a chalky mouthfeel.
To achieve a true barista-standard finish, use a heavy-duty paper filter or a fine-weave cotton nut milk bag inside your brewing vessel. Paper filters are particularly effective at trapping cafestol and fine sediments, which produces a much brighter and cleaner cup.
If you prefer a more sustainable approach, a high-quality felt or cloth filter offers a middle ground, providing a full body while still catching the sludge. For the ultimate clarity, some enthusiasts pour their finished concentrate through a secondary paper coffee filter after the initial strain.
This ensures that the final liquid is a pure, translucent concentrate that stays fresh in the refrigerator for up to two weeks without developing an off-flavor or gritty texture in the bottom of your glass.
How to choose and grind your coffee beans
The best Starbucks beans for home brewing
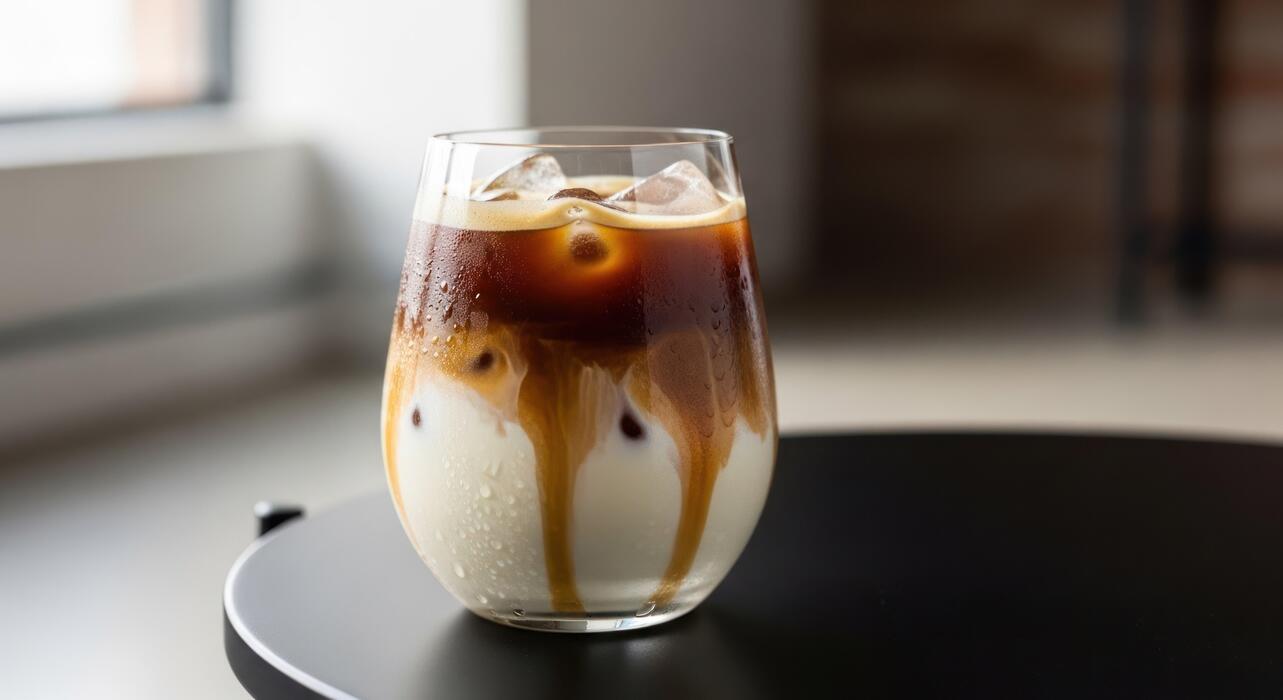
To replicate the signature Starbucks flavor profile at home, you must select the right core component. Baristas typically utilize the Starbucks Cold Brew Pitcher Packs or their signature Guatemala Casi Cielo and Kenya blends for a crisp finish.
However, for that classic, smooth, and chocolatey taste found in stores, the Starbucks Pike Place Roast or any Single-Origin Colombia beans are your best bet. Look for medium to dark roasts that feature low acidity and nutty undertones, as these characteristics are amplified during the long, cold steeping process.
Avoid light roasts, which can often result in a sour or overly floral profile that lacks the body associated with a professional brew. When purchasing, ensure the bags are vacuum-sealed and fresh, as stale beans will produce a flat, bitter concentrate regardless of your technique.
Starting with high-quality, oil-rich beans is the foundational step to achieving that rich, velvety texture that defines the Starbucks experience in every single glass you pour.
Why a coarse grind is non-negotiable
Achieving the perfect cold brew requires a specific texture that resembles sea salt or cracked peppercorns. Unlike hot coffee methods that use fine grounds for quick extraction, cold brew relies on a slow infusion process.
If your grind is too fine, the water will over-extract the bitter tannins, resulting in a cloudy, harsh liquid that is difficult to filter. A consistent coarse grind allows the water to flow freely between the particles, extracting the sweet, chocolatey flavors without the sediment.
Starbucks baristas emphasize that using a burr grinder is superior to a blade grinder because it produces uniform pieces, ensuring every bean surface area reacts to the water at the same rate.
This uniformity prevents the ‘sludge’ effect at the bottom of your pitcher and ensures a clean, bright cup that remains fresh in the refrigerator for up to two weeks. Remember, the goal is a gentle saturation that highlights the bean’s natural sweetness over a period of twelve to twenty-four hours.
Measuring your coffee-to-water ratio
The secret to the Starbucks ‘barista-style’ strength lies in the precise calculation of your concentrate. For a professional-grade result, aim for a ratio of 1:4 or 1:5 by weight. This means for every one cup of coarsely ground coffee, you should add four cups of cold, filtered water.
Using filtered water is crucial because chlorine or minerals in tap water can skew the delicate flavor profile of the cold extraction. Once the steeping process is complete, you are left with a potent coffee concentrate rather than a ready-to-drink beverage.
When you are ready to serve, follow the Starbucks standard by diluting the concentrate with equal parts water or milk, and pouring it over fresh ice. This method allows you to customize the intensity of your drink while maintaining the structural integrity of the flavor.
By mastering this ratio, you ensure a balanced and bold base that mimics the heavy-bodied mouthfeel of the Nitro or traditional Cold Brew served at your local cafe every morning.
Step-by-step Starbucks cold brew recipe
Mixing the coffee and filtered water
To replicate the signature Starbucks flavor at home, you must begin with a coarse grind size, similar to sea salt, which prevents the final brew from becoming overly bitter or cloudy. Use a 1:4 coffee-to-water ratio for a concentrated base, or a 1:8 ratio if you prefer it ready-to-drink immediately.
For the best results, use freshly roasted dark beans and always opt for filtered water to ensure a clean taste profile that highlights the chocolatey notes of the beans. Start by adding your coffee grounds to a large glass pitcher or a dedicated cold brew maker.
Slowly pour the cool, filtered water over the grounds in a circular motion to ensure full saturation. Avoid stirring aggressively; instead, use a long spoon to gently press down any dry clumps to make sure every particle is submerged.
This meticulous preparation sets the foundation for a smooth, low-acid beverage that mirrors the professional quality found in high-end cafes.
The steeping process and temperature
Unlike traditional hot coffee, cold brew relies on time rather than heat to extract flavor, requiring a steeping period of 12 to 20 hours. For the classic Starbucks profile, a 20-hour steep time at room temperature is often considered the gold standard for achieving that deep, mellow sweetness.
Place your container in a cool, dark spot away from direct sunlight to maintain a stable environment during the extraction.
While some prefer steeping in the refrigerator to keep the beverage cold, this actually slows down the extraction process and may require up to 24 hours to reach the desired strength.
During this time, the water slowly dissolves the aromatic oils and caffeine without pulling out the acidic compounds triggered by boiling water. Ensure the container is tightly sealed to prevent the coffee from absorbing any stray odors from your kitchen.
Patience is the most critical ingredient here, as rushing the process will result in a weak, underdeveloped brew that lacks the body of a true barista-style concentrate.
How to strain without making a mess
Once the steeping is complete, the final hurdle is separating the liquid from the heavy sediment without creating a kitchen disaster. To achieve a crystal-clear finish, start by pouring the mixture through a fine-mesh sieve to catch the largest grounds.
For the second pass, line the sieve with a dampened paper coffee filter or a clean nut milk bag. Pre-wetting the filter is a pro tip that prevents it from absorbing the precious coffee concentrate and speeds up the flow.
Allow the liquid to drip through naturally; never squeeze the filter, as this forces fine silt and bitter tannins into your drink, ruining the smooth texture. If the flow slows down, simply replace the filter with a fresh one.
Once strained, transfer your cold brew concentrate into a glass carafe for storage. This clean, efficient method ensures a professional result with minimal cleanup, leaving you with a delicious batch of coffee that stays fresh in the refrigerator for up to two weeks when properly sealed.
How to dilute and store your cold brew concentrate

Finding your perfect water-to-coffee strength
Mastering the dilution process is the secret to achieving that signature Starbucks smoothness at home. Since the concentrate produced by professional brewing methods is incredibly potent, you must never drink it straight.
For a standard result that mimics a barista-prepared beverage, start with a 1:1 dilution ratio of cold brew concentrate to filtered water or your favorite milk. If you prefer a bolder, more intense flavor profile similar to an Nitro Cold Brew, try a 2:1 ratio favoring the concentrate.
Always use cold, filtered water to maintain the integrity of the flavor notes and prevent any unwanted bitterness from mineral buildup. When adding ice, remember that it will melt and further dilute your drink, so you might want to start with a slightly stronger mix.
Experimenting with these proportions allows you to customize the caffeine kick and mouthfeel to your exact preference, ensuring every glass is perfectly balanced and never watered down or overly harsh.
Storage tips to keep it fresh for 14 days
To maintain the high quality of your homemade batch, proper storage is non-negotiable for preserving those delicate chocolatey and nutty undertones.
Always store your cold brew in an airtight glass container, such as a Mason jar or a specialized glass carafe, as plastic can sometimes leach odors or flavors into the coffee over time.
Keep the concentrate in the back of the refrigerator where the temperature is most consistent, rather than in the door where it fluctuates.
A crucial tip for longevity is to store the coffee as a concentrate rather than diluting the entire batch at once; adding water significantly shortens the shelf life and can cause the flavor to degrade within just a few days.
By keeping it in concentrated form, you effectively lock in the freshness for up to two full weeks. Make sure the lid is sealed tightly after every single use to prevent oxygen from oxidizing the oils, which is the primary cause of flavor loss in refrigerated coffee.
Signs your cold brew has gone bad
While cold brew is famous for its long shelf life compared to hot coffee, it does eventually lose its luster and can spoil. The first indicator that your batch is past its prime is a noticeable sour or acidic scent, which replaces the rich, pleasant aroma of fresh grounds.
If you see any cloudiness or sediment that wasn’t there initially, or if the liquid appears thick or slimy, it is time to discard it immediately. Taste-wise, look out for a metallic or cardboard-like flavor, which indicates that oxidation has taken a heavy toll on the coffee oils.
In some cases, mold can even develop on the surface of the liquid if the container wasn’t properly sterilized or sealed. If the coffee tastes uncharacteristically bitter or lacks the smooth finish you expect from a Starbucks-style brew, it is likely that the chemical compounds have broken down.
Trust your senses; if the profile seems dull and the vibrant notes have vanished, it is safer to brew a fresh new batch.
Ways to make Starbucks signature drinks at home
How to make vanilla sweet cream cold foam
To replicate the signature velvety texture of Starbucks cold foam, you must master the ratio of heavy cream, 2% milk, and vanilla syrup. Start by mixing two parts heavy cream with one part 2% milk to achieve the perfect density that sits atop your brew without immediately sinking.
Add two tablespoons of high-quality vanilla syrup to sweeten the base. For the authentic barista finish, use a high-speed handheld milk frother or a specialized cold foam blender setting for approximately thirty seconds until the mixture reaches a thick, pourable consistency.
This technique creates micro-bubbles that mimic the luxurious mouthfeel found in the cafe. Always ensure your ingredients are chilled thoroughly before frothing, as cold proteins and fats bond more effectively to hold their shape.
Pour the foam gently over your cold brew to create a distinct visual layer, allowing the vanilla sweetness to gradually bleed into the coffee for a balanced, professional-grade beverage experience right in your own kitchen.
Recreating the salted caramel cream cold brew
The secret to this fan-favorite drink lies in the contrast between the savory foam and the deep, cocoa notes of the cold brew base. Begin by preparing your cold brew concentrate and diluting it with water and ice, leaving about two inches of space at the top of the glass.
Add two pumps of vanilla syrup directly into the coffee to sweeten the foundation. To create the salted caramel topper, follow the standard sweet cream recipe but incorporate two pumps of caramel syrup and a generous pinch of sea salt before frothing.
Whisk the mixture until it reaches a soft-peak consistency that resembles melted ice cream. The key to a true barista-style pour is the slow layering technique, ensuring the salted foam floats elegantly on the surface.
This combination of salt and caramel enhances the natural richness of the coffee beans, providing a complex flavor profile that rivals the store-bought version. Garnish with an extra sprinkle of salt for a professional aesthetic and flavor boost.
Adding syrups and flavors like a barista
To customize your cold brew like a professional, you must understand the order of operations for flavor integration. Baristas always add syrups and sauces to the cup first, before the ice or coffee, to ensure the flavors dissolve evenly throughout the drink.
If you prefer a more decadent texture, use thick sauces like white chocolate mocha or dark caramel, which should be whisked into a small amount of room-temperature coffee to prevent clumping. For those seeking the classic Starbucks profile, stick to high-quality simple syrups that provide sweetness without a chemical aftertaste.
Experiment with layering different flavors, such as combining hazelnut and toffee nut, to create a custom ‘secret menu’ profile. Remember that cold brew is naturally less acidic and smoother than hot coffee, so you may need fewer pumps of syrup than you would use in a traditional latte.
Always finish your drink with a quick stir using a long-handled spoon to distribute the sweetness from the bottom to the top for a consistent sip.
Common mistakes when making cold brew
Why you should never use fine grounds
One of the most frequent errors home baristas make when trying to replicate the Starbucks experience is using a fine or medium grind setting. To achieve that signature smooth profile, you must use a coarse, pebble-like grind similar to sea salt.
Fine grounds increase the surface area exposed to water, which leads to over-extraction and a muddy, sediment-filled cup that is difficult to filter. Because cold brew steeps for upwards of twenty hours, fine particles release harsh tannins and acidity that ruin the mellow sweetness of the beans.
Professional baristas always ensure the grind size is consistent to allow water to flow freely around the coffee particles without clogging the mesh filter or paper bag.
By switching to a coarse setting, you ensure a clean finish and a concentrated flavor profile that stands up well to ice and milk. Avoiding fine dust is the primary secret to a professional-grade cold brew texture every single time.
The impact of using unfiltered tap water
If your cold brew tastes metallic or dull despite using high-quality beans, the culprit is likely your water source. Since cold brew is roughly 98% water, the mineral content significantly dictates the final flavor.
Using unfiltered tap water introduces chlorine, fluoride, and heavy minerals that can mask the delicate chocolate and citrus notes found in the Starbucks cold brew blend.
To replicate the barista standard, you should always use filtered or bottled spring water to ensure a neutral base that allows the coffee oils to shine. Hard water prevents the proper extraction of flavor compounds, while overly soft water can lead to a flat, uninspired brew.
Maintaining a consistent water temperature during the initial mixing phase is also crucial for a balanced extraction.
By investing in a simple charcoal filter or using a water pitcher, you eliminate unwanted chemical odors and ensure that your homemade concentrate has the crisp and refreshing quality expected from a premium coffee shop beverage.
How to fix bitter or weak coffee
Achieving the perfect balance requires precision in your steeping time and your coffee-to-water ratio. If your brew tastes excessively bitter, you have likely over-steeped the grounds beyond the recommended twenty-four-hour mark.
To fix this, shorten your brew time and ensure you are steeping at room temperature or in the fridge consistently. Conversely, if the coffee feels thin or weak, you may be using too much water.
The Starbucks standard often utilizes a 1:4 or 1:5 ratio for a true concentrate, which is then diluted before serving. If you find the result too potent, simply add more filtered water or milk to your glass rather than altering the initial brewing process.
Always remember to decant the coffee immediately once the timer is up to stop the extraction process. Mastering the ratio allows you to create a versatile coffee base that can be customized with syrups and creams without losing its structural integrity or becoming unpleasantly watery or harsh.
Frequently Asked Questions
What coffee beans does Starbucks use for cold brew?
Starbucks baristas use a specific Cold Brew Blend, which is a multi-region blend of Latin American and African beans. For the closest DIY match, use a dark roast with notes of chocolate and citrus, such as Starbucks Kenya or Guatemala Antigua.
What is the official Starbucks cold brew ratio?
Baristas typically use a high-concentration ratio of 1 pound of coarsely ground coffee to about 2 quarts of filtered water. When serving, this concentrate is diluted with equal parts water and ice to achieve the signature smooth flavor.
How long do Starbucks baristas steep their cold brew?
The standard steeping time in Starbucks cafes is 20 hours at room temperature. This slow extraction process minimizes acidity and highlights the natural sweetness of the beans compared to traditional hot brewing methods.
What grind size is best for Starbucks-style cold brew?
You must use an extra-coarse grind, similar to the texture of sea salt or breadcrumbs. A fine grind will result in a cloudy, bitter brew and may clog your filter, preventing the clean finish found in professional batches.
How do I make Starbucks Sweet Cream at home?
To replicate the Vanilla Sweet Cream, whisk together 2% milk, heavy cream, and Starbucks-brand vanilla syrup. The ratio is approximately 1 part syrup, 2 parts 2% milk, and 3 parts heavy cream for that rich, cascading effect.
Should I steep cold brew in the fridge or on the counter?
Starbucks baristas steep their batches at room temperature to ensure full flavor extraction within the 20-hour window. If you choose to steep in the refrigerator, you may need to extend the brewing time to 24 hours due to the slower extraction in cold temperatures.
How do I filter the coffee like a pro barista?
Professional baristas use large commercial paper filters to ensure no sediment remains. At home, you can use a fine-mesh nut milk bag or double-filter your concentrate through a standard paper coffee filter to achieve that clear, crisp Starbucks texture.
Conclusion
Mastering the Starbucks cold brew method at home is simpler than it seems. By using a coarse grind, filtered water, and allowing for a patient twelve to twenty-four-hour steep, you can achieve that signature smooth, low-acid profile. Whether you enjoy it black or topped with sweet cream, these barista secrets ensure a premium experience in your own kitchen. Now that you have the tools, start brewing today and elevate your morning coffee routine.