How To Make Vanilla Cold Brew At Home
How to make vanilla cold brew at home is simpler than you think, but getting that smooth, rich flavor without bitterness can be tricky. You’re tired of watery, overpriced coffee shop versions, right? You’ve come to the right place. This guide walks you through the exact steeping time, coffee-to-water ratio, and real vanilla bean or extract technique to create a perfectly balanced, sweet concentrate—no fancy equipment needed. Let’s brew.
What You Need to Make Vanilla Cold Brew at Home
Best coffee beans for cold brew
For a smooth, rich vanilla cold brew, start with coarse-ground, medium to dark roast beans. Avoid light roasts, which can turn sour during the long steep. Look for beans with tasting notes of chocolate, caramel, or nuts—these flavors complement vanilla beautifully.
A blend of beans from Central or South America (like Colombian or Brazilian) offers a balanced, low-acid profile. If you prefer a bolder, more robust base, try an Indonesian or Sumatran single origin. Always buy whole beans and grind them yourself just before brewing to preserve freshness.
For cold brew, use a burr grinder set to the coarsest setting—think breadcrumb texture. Pre-ground coffee often results in over-extraction and bitterness. Aim for a 1:4 or 1:5 coffee-to-water ratio for a concentrate, or 1:8 for a ready-to-drink brew.
The right beans will create a velvety, naturally sweet foundation that makes the vanilla flavor shine without needing much sugar.
Essential equipment for cold brewing
You don’t need fancy gear to make vanilla cold brew at home. The most essential item is a large glass jar or pitcher (at least 1 quart) with a lid—mason jars work perfectly. You’ll also need a fine-mesh strainer, cheesecloth, or a nut milk bag to filter the grounds.
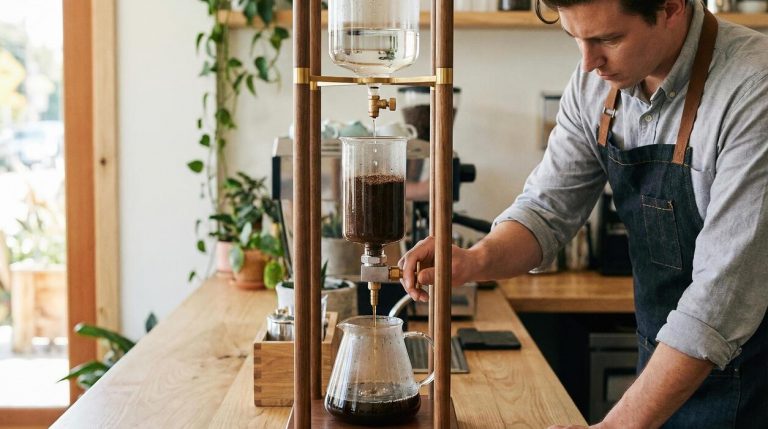
A coffee grinder (burr preferred) is crucial for achieving a consistent coarse grind; a blade grinder can create fine particles that make the brew cloudy and bitter. For easier cleanup, consider a cold brew maker like a Toddy or a French press, but they’re not required.
A kitchen scale ensures accurate coffee-to-water ratios, while a long spoon helps stir the mixture. Finally, have a sealed bottle or jar for storing your finished concentrate in the fridge. If you’re using vanilla beans, a small knife to split them is handy.
With just these basics, you’ll consistently produce smooth, flavorful cold brew without any hassle.
Choosing the right vanilla: extract vs. bean
The vanilla you choose dramatically impacts your cold brew’s flavor and convenience. Vanilla extract is the easiest option—just stir in 1-2 teaspoons per cup of concentrate after brewing. It’s consistent, shelf-stable, and blends instantly. For a more natural, nuanced sweetness, use whole vanilla beans.
Split one bean lengthwise and add it to the coffee grounds before steeping; the cold brew will absorb the tiny black seeds and deep floral notes over 12-24 hours.
Vanilla beans require a bit more effort and cost more, but they yield a cleaner, more authentic taste without any alcohol bite. If you choose extract, opt for pure vanilla extract (not imitation) to avoid artificial aftertastes.
You can also combine both—use a bean during steeping and a dash of extract after to amplify the flavor. For a budget-friendly compromise, vanilla bean paste works well; it’s thick with seeds and mixes easily.
Whichever you pick, add it gradually and taste as you go to avoid overpowering the coffee’s natural richness.
How to Make Vanilla Cold Brew: Step-by-Step Guide
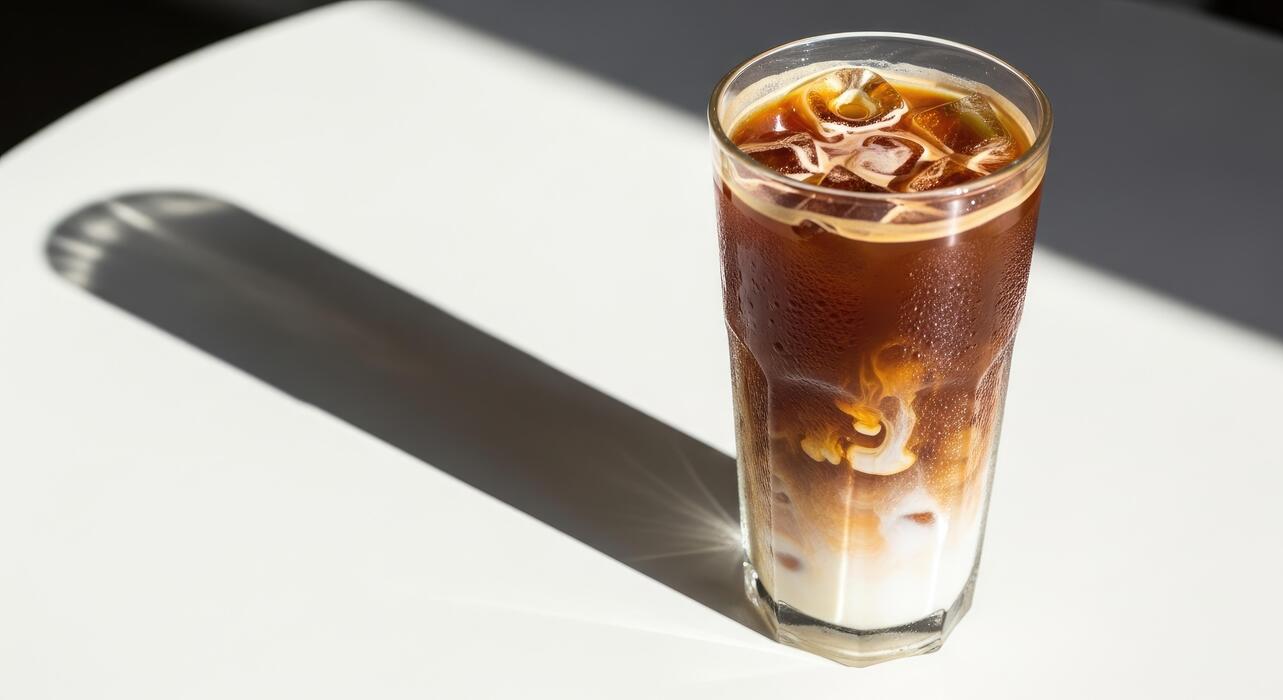
Step 1: Grind and combine coffee with water
Start with coarse ground coffee—similar to breadcrumbs—to avoid over-extraction and bitterness. Use a 1:4 ratio of coffee to water for a strong concentrate. For example, combine 1 cup of coarse grounds with 4 cups of cold, filtered water.
Place the grounds in a large jar or pitcher, pour the water over them, and stir gently to ensure all grounds are saturated. Avoid using fine grounds, as they can make the cold brew cloudy and harsh. This base is the foundation for your vanilla cold brew, so quality matters.
Choose a medium or dark roast for a rich, smooth flavor that pairs well with vanilla. Once mixed, cover the container and let it sit at room temperature or in the fridge—room temperature steeping is faster, but refrigeration yields a cleaner taste.
Step 2: Add vanilla to the mixture
Infuse your cold brew with real vanilla for a natural, aromatic sweetness. The easiest method is to split 1-2 vanilla beans lengthwise and scrape the seeds into the coffee-water mixture, then drop the pods in as well.
Alternatively, use 2 teaspoons of pure vanilla extract (not imitation) for a consistent flavor. Stir thoroughly to distribute the vanilla evenly. For a deeper flavor, you can also add a vanilla bean to the coffee grounds before pouring water.
Avoid vanilla syrups if you want a cleaner taste; they add sugar and artificial notes. If you prefer a sweeter brew, you can add a tablespoon of maple syrup or honey at this stage, but the vanilla itself provides a subtle, pleasant sweetness.
Let the vanilla steep with the coffee for the entire extraction time.
Step 3: Steep and strain your cold brew
Cover the container and let it steep for 12 to 24 hours at room temperature or in the refrigerator. For a balanced vanilla flavor, aim for 18 hours. Taste after 12 hours—if it’s strong enough, proceed.
After steeping, strain the mixture through a fine-mesh sieve lined with cheesecloth or a nut milk bag into a clean pitcher. Press gently on the grounds to extract all liquid, but avoid squeezing too hard to prevent bitterness. Discard the solids. Your vanilla cold brew concentrate is ready.
Store it in the fridge for up to two weeks. To serve, dilute with equal parts water or milk—adjust to taste. Pour over ice and enjoy a smooth, naturally vanilla-infused coffee. For a creamier version, use oat milk or add a splash of heavy cream.
This method yields a customizable, cafe-quality drink at home.
Tips for the Best Vanilla Cold Brew Flavor
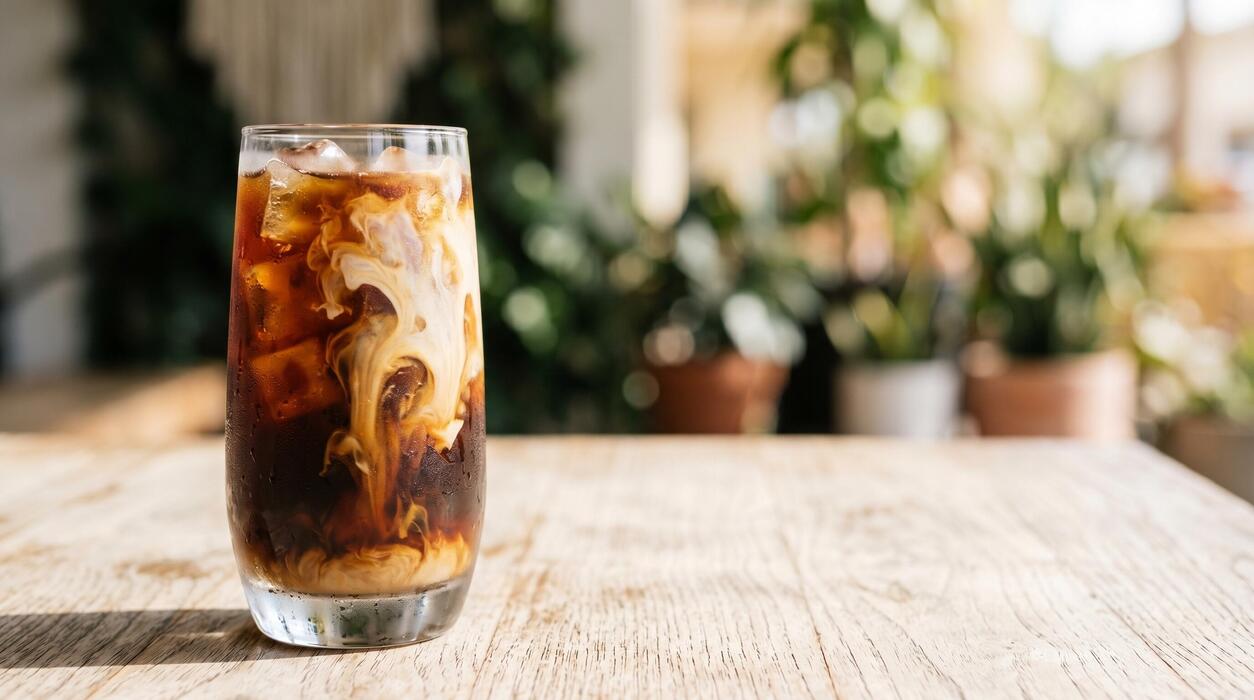
Coffee-to-water ratio for smooth results
The foundation of a great vanilla cold brew is the coffee-to-water ratio. For a balanced, smooth concentrate that isn’t overly bitter or weak, start with a 1:4 ratio (one part coarse-ground coffee to four parts water by weight).
For example, use 1 cup (about 100 grams) of coffee grounds to 4 cups (about 800 grams) of water. This yields a strong base that you can dilute with milk or water later. If you prefer a milder brew, try a 1:5 or even 1:6 ratio for a lighter body.
Always use coarse ground coffee—like sea salt texture—to avoid over-extraction and sediment. A finer grind can make your cold brew cloudy and harsh. Weigh your ingredients with a kitchen scale for precision, as volume measurements can vary.
Once you find your ideal ratio, stick with it for consistent, smooth results every time. This ratio also ensures the vanilla flavor shines without being overpowered by coffee bitterness.
Steeping time: 12 to 24 hours
Steeping time is crucial for extracting rich, smooth flavors without bitterness. For vanilla cold brew, 12 to 24 hours at room temperature is the sweet spot. At the 12-hour mark, the coffee will be lighter and more tea-like, allowing the vanilla to stand out.
For a bolder, deeper coffee flavor that still lets vanilla notes through, aim for 18 to 20 hours. Avoid steeping beyond 24 hours, as the coffee can become overly bitter and lose its vanilla character.
To infuse vanilla, add split vanilla beans or 1-2 teaspoons of vanilla extract directly to the grounds and water before steeping. Stir gently to combine. If using extract, add it after steeping for a more controlled flavor.
Always use a clean container and stir the mixture once after the first hour to ensure even extraction. After steeping, strain through a fine-mesh sieve or cheesecloth for a silky, sediment-free brew.
How to adjust vanilla strength to taste
Customizing vanilla intensity is simple and lets you tailor the cold brew to your preference. For a subtle hint, add 1 teaspoon of pure vanilla extract per 4 cups of water before steeping, or use half a vanilla bean.
For a stronger, more aromatic vanilla flavor, use 1 to 2 whole vanilla beans, split lengthwise, or 2 teaspoons of extract. If you prefer a richer, sweeter taste, stir in vanilla syrup after brewing—start with 1 tablespoon per cup and adjust. To avoid overpowering the coffee, taste as you go.
Another tip: infuse the vanilla in the cold brew during steeping for a more integrated flavor, or add it after straining for a fresher, punchier note. Remember, vanilla extract can add slight sweetness, so reduce any added sugar accordingly.
For a dairy-free twist, use vanilla-flavored oat or almond milk as your dilution. Always use pure vanilla extract or real beans for the best, most natural taste without artificial aftertaste.
How to Make Vanilla Cold Brew Concentrate
Why make a concentrate instead of ready-to-drink
Making a vanilla cold brew concentrate is the most efficient and cost-effective method for enjoying café-quality iced coffee at home. A concentrate is brewed with a higher coffee-to-water ratio (typically 1:4 or 1:5), resulting in a strong, smooth base that you dilute with water, milk, or your favorite alternative milk.
This approach gives you complete control over strength and flavor—you can adjust each serving to your personal preference, whether you like a bold black cold brew or a creamy vanilla latte. Additionally, a single batch of concentrate yields multiple servings, saving you time and money compared to buying single-serve bottles.
The vanilla flavor infuses evenly during the long steep, creating a naturally sweet, aromatic profile without added sugars or syrups. By mastering a concentrate, you’ll never need to purchase pricey ready-to-drink options again, and you can experiment with different vanilla sources (beans, extract, or paste) to find your perfect taste.
Dilution ratios for serving
Once your vanilla cold brew concentrate is ready, dilution is key to achieving the ideal flavor and strength. A standard starting ratio is 1 part concentrate to 1 part water or milk (1:1), which yields a balanced, smooth coffee that’s not too intense.
For a stronger, bolder cup, try a 2:1 ratio (2 parts concentrate to 1 part liquid), while a 1:2 ratio creates a lighter, more refreshing drink.
If you prefer a creamy vanilla latte, replace the water with whole milk, oat milk, or almond milk, and add a splash of vanilla syrup or a pinch of cinnamon for extra flavor. Always taste and adjust—the beauty of concentrate is that you can customize each glass.
For iced coffee, pour the diluted mixture over ice, or heat it for a hot vanilla latte. Remember, the vanilla infusion already adds sweetness, so you may need less sugar or syrup than usual. Start with a 1:1 ratio and tweak based on your preference.
Storing concentrate for later use
Proper storage ensures your vanilla cold brew concentrate stays fresh and delicious for up to two weeks. Transfer the concentrate to an airtight glass container (like a mason jar or a carafe) and refrigerate immediately after straining out the grounds.
Glass is ideal because it doesn’t absorb odors or impart any flavors to the coffee. Avoid storing in plastic or metal containers, as they can affect taste over time. Keep the concentrate away from light and heat—the back of the fridge is perfect.
Before each use, give the container a gentle swirl, as some natural sediment may settle. For best quality, consume within 7-10 days, though it remains safe for up to 14 days if kept cold.
If you’ve added vanilla extract or beans, the flavor will deepen slightly during storage, so taste test after a few days. Never freeze the concentrate, as thawing can alter its smooth texture. With proper storage, you’ll always have a quick, flavorful base for your daily iced vanilla coffee.
Best Ways to Serve Vanilla Cold Brew

Over ice with milk or cream
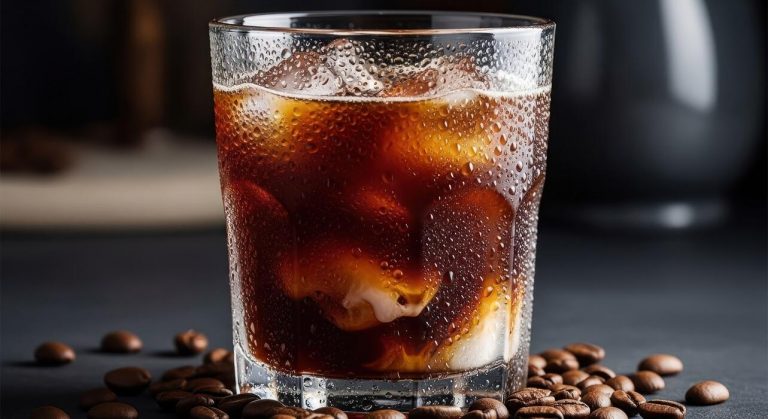
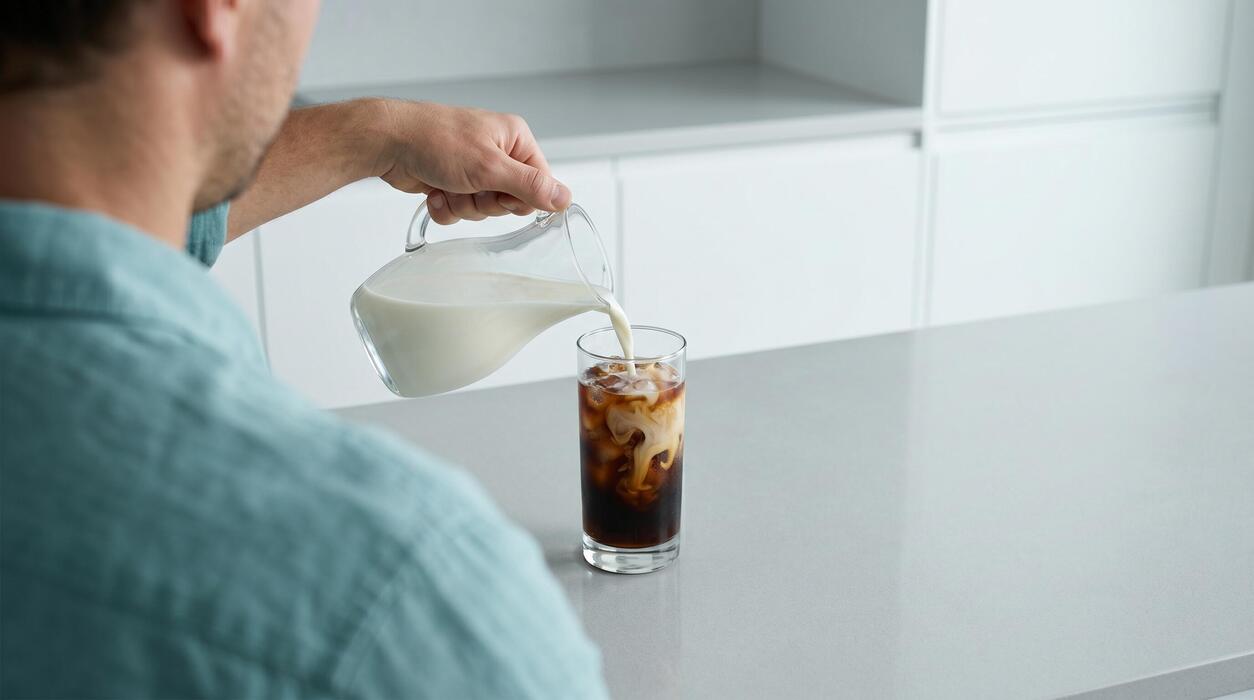
For a classic and refreshing serve, fill a tall glass with ice cubes and pour your homemade vanilla cold brew over them, leaving room for milk or cream. Use whole milk for a creamy texture, oat milk for a dairy-free option, or a splash of heavy cream for indulgence.
The cold brew’s natural sweetness from vanilla pairs perfectly, so start with a 1:1 ratio of coffee to milk, then adjust to taste. Stir gently to combine, and consider using ice cubes made from cold brew to avoid dilution as they melt.
This method highlights the smooth vanilla notes without overpowering them, making it ideal for warm afternoons. For a richer experience, try barista-style oat milk or a dash of vanilla extract in your milk before adding.
Serve immediately for the best flavor, and remember that cold brew is less acidic, so it stays smooth even with dairy. This simple approach lets the vanilla shine while offering a customizable, satisfying drink every time.
Vanilla cold brew with sweetener options
Enhance your vanilla cold brew with sweeteners that complement its natural flavors without masking the vanilla. Simple syrup (equal parts sugar and water, dissolved) blends easily in cold drinks; try a vanilla-infused simple syrup by steeping a split vanilla bean in the mixture for extra depth.
For a low-calorie option, use stevia drops or monk fruit sweetener, starting with a few drops and adjusting to taste. Maple syrup adds a subtle, earthy sweetness, while honey pairs well if warmed slightly to dissolve. If you prefer a sugar-free path, liquid allulose works without crystallization.
Add sweetener directly to the cold brew concentrate before serving, stirring thoroughly to ensure even distribution. For a layered effect, drizzle syrup over the ice before pouring the coffee. Remember that cold brew is less bitter, so you may need less sweetener than hot coffee.
Start with 1-2 teaspoons per 8 ounces and adjust based on your preference for a perfectly balanced vanilla treat.
Adding toppings like foam or cinnamon
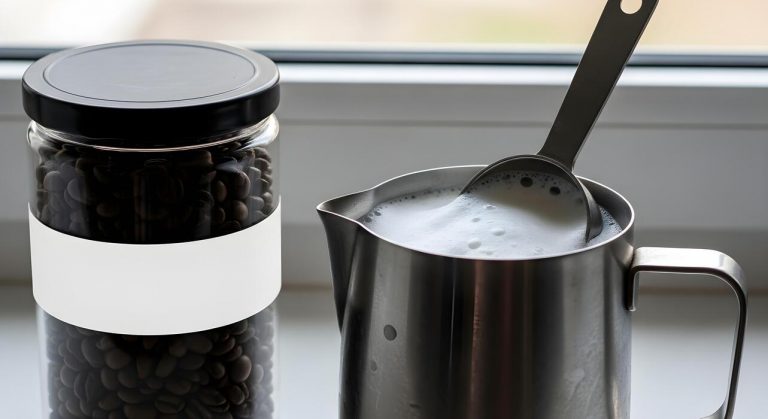
Elevate your vanilla cold brew with toppings that add texture and aroma. Cold foam is a simple upgrade: froth cold milk (dairy or non-dairy) using a handheld frother or jar shake until thick and airy, then spoon over the coffee.
For a vanilla twist, add a drop of vanilla extract to the milk before frothing. A dusting of cinnamon on top provides warmth and spice that enhances the vanilla; use a fine mesh strainer for even coverage.
Try cocoa powder or nutmeg for variation, or a pinch of sea salt to balance sweetness. For a decadent option, top with whipped cream and a drizzle of caramel or vanilla syrup. You can also garnish with a cinnamon stick or vanilla bean pod for visual appeal.
These toppings not only improve presentation but also add layers of flavor, making your homemade cold brew feel like a café creation. Experiment with ratios to find your favorite combination, and serve immediately to maintain the foam’s texture and the spices’ fragrance.
Common Mistakes When Making Vanilla Cold Brew
Using the wrong grind size
The most common mistake is using a grind size meant for drip coffee or espresso, which leads to over-extraction, bitterness, and sediment. For cold brew, you need a coarse, even grind, similar to breadcrumbs or sea salt.
A fine grind exposes too much surface area, causing the coffee to extract harsh compounds during the long steep. To fix this, use a burr grinder on its coarsest setting or buy pre-ground coffee labeled specifically for cold brew.
If your brew tastes muddy or gritty, your grind is too fine. A consistent coarse grind also makes filtering easier—simply pour through a fine-mesh sieve or a nut milk bag without clogging. Always check your grinder’s calibration and aim for particles that look like cracked peppercorns.
Over-steeping or under-steeping
Steeping time is critical: too short yields weak, sour coffee, while too long creates bitter, over-extracted flavors. The sweet spot is 12 to 18 hours at room temperature or in the fridge. Under 12 hours leaves the coffee under-extracted, tasting flat and acidic.
Over 20 hours pulls out bitter tannins, ruining the smoothness cold brew is known for. Use a timer and taste-test at 12 hours—if it’s strong enough, strain immediately. If you prefer a concentrate, steep for 18 hours max. Always use a 1:4 coffee-to-water ratio for concentrate or 1:8 for ready-to-drink.
Remember, steeping in the fridge slows extraction, so you may need 18-24 hours if refrigerating. Never guess; set an alarm and stick to the window for balanced, sweet results.
Adding vanilla at the wrong time
Many people add vanilla extract or syrup to the grounds before steeping, which can cause the alcohol in extract to evaporate or the flavor to become muted. Instead, add vanilla after steeping and straining for the brightest, most controlled flavor.
For a natural infusion, split a vanilla bean and steep it in the finished cold brew for 2-4 hours in the fridge—this avoids dilution. If using extract, stir in 1/2 to 1 teaspoon per 4 cups of cold brew after straining, adjusting to taste.
Adding sweetened vanilla syrup too early can also ferment or cloud the brew. For a balanced result, first perfect your plain cold brew base, then customize with vanilla. This ensures the vanilla complements rather than overwhelms the coffee’s natural smoothness.
How to Store Homemade Vanilla Cold Brew
Best containers for freshness
To preserve the rich, smooth flavor of your homemade vanilla cold brew, choose an airtight glass container over plastic, which can absorb odors and affect taste over time.
A dark glass bottle or a mason jar with a tight-fitting lid works perfectly, as it blocks light that can degrade the coffee’s quality. For larger batches, consider a BPA-free glass pitcher with a spigot for easy serving, but ensure the lid seals securely.
Avoid metal containers, as they may impart a metallic taste to the brew. Before storing, strain the cold brew through a fine-mesh sieve or cheesecloth to remove fine grounds, which can turn bitter if left in. Fill the container to the brim to minimize oxygen exposure, then seal it immediately.
Label with the date, and store in the refrigerator at 40°F or below for optimal freshness. For daily use, a 32-ounce glass bottle is ideal, while a half-gallon growler suits families. Always wash containers with hot, soapy water between batches to prevent residue buildup.
How long does vanilla cold brew last
When stored correctly in an airtight container in the refrigerator, homemade vanilla cold brew stays fresh for 7 to 10 days, though its peak flavor is best within the first 3 to 5 days.
The vanilla infusion can slightly extend shelf life due to natural preservatives, but do not exceed two weeks as the taste will decline. Unlike hot coffee, cold brew doesn’t go stale quickly because it’s never exposed to high heat, but it can still sour over time.
For best results, brew in smaller batches to ensure you consume it while it’s at its richest. If you add milk, cream, or sweeteners to the batch, consume within 3 to 4 days because dairy spoils faster.
To maximize longevity, keep the cold brew away from strong-smelling foods in the fridge, as it can absorb odors. You can also freeze vanilla cold brew in ice cube trays for up to 3 months—use the cubes in smoothies or iced coffee without diluting flavor.
Always check the aroma before drinking after day 7.
Signs your cold brew has gone bad
Even properly stored vanilla cold brew can spoil, so trust your senses to detect issues. The first sign is a sour or vinegary smell—fresh cold brew has a sweet, chocolatey aroma, while spoiled brew smells sharp or fermented.
Visually, look for cloudiness, mold spots, or sediment that wasn’t present after straining; mold often appears as fuzzy green or white patches on the surface. Taste a small sip if the smell is neutral: if it’s overly acidic, bitter, or has a rancid aftertaste, discard it immediately.
Texture changes, like a slimy or oily film, also indicate bacterial growth. If you added dairy, curdling or separation is a clear red flag. Never consume cold brew that’s been left at room temperature for over 2 hours, as bacteria multiply rapidly.
To avoid waste, always sniff before pouring—if in doubt, throw it out. Regularly cleaning your brewing equipment prevents contamination, and using filtered water reduces impurities that accelerate spoilage. Your safety matters, so err on the side of caution.
Frequently Asked Questions
What is vanilla cold brew and how is it different from iced coffee?
Vanilla cold brew is coffee that is steeped in cold water for 12-24 hours, then sweetened and flavored with vanilla. Unlike iced coffee, which is hot-brewed and cooled, cold brew is smoother, less acidic, and has a naturally sweeter flavor.
What ingredients do I need to make vanilla cold brew at home?
You need coarsely ground coffee beans, cold or room-temperature filtered water, vanilla extract or vanilla syrup, and a sweetener like sugar or simple syrup. For a richer flavor, you can also use a vanilla bean.
How do I brew the cold coffee base for vanilla cold brew?
Combine 1 cup of coarsely ground coffee with 4 cups of cold water in a large jar or pitcher. Stir gently, cover, and let it steep in the refrigerator for 12-24 hours. Then, strain the mixture through a fine-mesh sieve or coffee filter to remove the grounds.
How do I add vanilla flavor to my cold brew?
After straining, stir in 1-2 teaspoons of vanilla extract per cup of cold brew concentrate, or add vanilla syrup to taste. For a more intense flavor, steep a split vanilla bean in the coffee grounds during the brewing process.
What is the best coffee-to-water ratio for vanilla cold brew?
A standard ratio is 1 part coffee to 4 parts water for a concentrate. For a ready-to-drink strength, use 1 part coffee to 8 parts water. Adjust based on your preference, but coarsely ground beans are essential to avoid bitterness.
Can I use vanilla syrup instead of vanilla extract?
Yes, vanilla syrup works well and adds sweetness along with flavor. Use about 1-2 tablespoons of vanilla syrup per serving of cold brew, adjusting to taste. You can make your own syrup by simmering equal parts sugar and water with vanilla extract.
How long does homemade vanilla cold brew last in the fridge?
Stored in an airtight container, vanilla cold brew concentrate can last up to 2 weeks. However, once you add milk or cream, it’s best consumed within 2-3 days for optimal freshness.
How do I serve vanilla cold brew for the best taste?
Fill a glass with ice, pour the vanilla cold brew concentrate over it, and add equal parts water or milk to dilute to your desired strength. Stir well and garnish with a vanilla bean or cinnamon for extra flair.
Conclusion
Making vanilla cold brew at home is simple, requiring only coarse coffee grounds, water, vanilla extract, and patience. The key takeaways are to steep for 12-24 hours, strain thoroughly, and adjust sweetness to taste. This method yields a smoother, less acidic coffee than hot brewing. Skip the overpriced café drinks and enjoy a refreshing, custom-made vanilla cold brew from your own kitchen. Your perfect cup awaits.