How To Foam Milk With French Press
If you’re wondering how to foam milk with french press, this guide shows the quickest, easiest method for creating smooth, café-style foam at home. You’ll learn the right milk, ideal temperature, and simple plunging technique to get creamy microfoam without a steamer. Whether you want latte foam for coffee or a topping for hot chocolate, you’re in the right place to solve the problem fast and get reliable results every time with confidence and consistent froth fast.
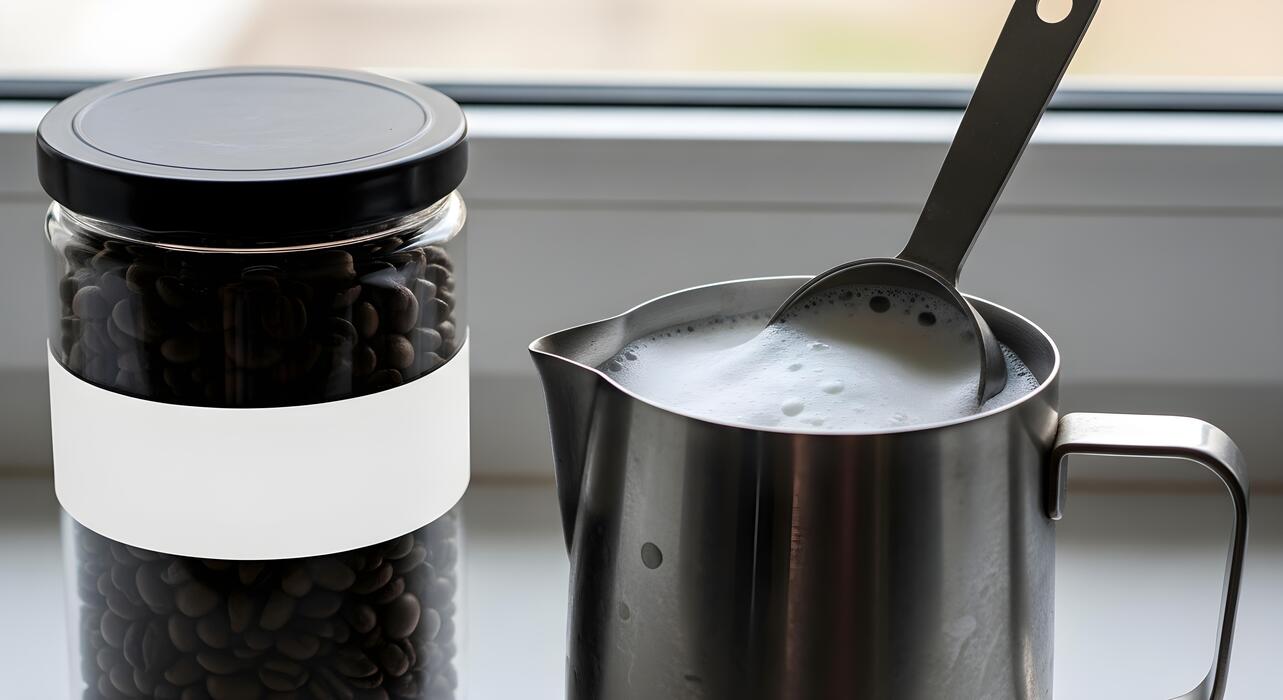
What You Need to Foam Milk with a French Press
Best milk to use for foam
For the easiest foam in a French press, choose cold, fresh milk and avoid anything that has been sitting open for days. Whole milk usually gives the richest, most stable foam because its fat and protein balance creates a creamy texture.
If you want a lighter result, 2% milk still froths well and produces a bit more foam volume. Nonfat milk can create a larger amount of foam, but it tends to be drier and less silky.
For plant-based options, look for barista-style oat, soy, or almond milk because they are formulated to foam better than standard versions. Whatever milk you choose, start with milk straight from the refrigerator and avoid overfilling the press, since the milk needs room to expand.
Cold milk also gives you more time to work with it before it warms up too much and loses its structure.
French press size and mesh quality
A smaller French press is often easier to use for milk foam because it gives you more control and requires less milk to create a thick, consistent texture.
A 12-ounce or 16-ounce press is usually enough for one or two drinks, while larger presses can work if you are making several servings. The mesh quality matters too: a fine, tight mesh screen helps break up bubbles more evenly and creates smoother foam.
If the screen is loose, bent, or damaged, the milk may pass through unevenly and produce froth that collapses quickly. Before you start, make sure the plunger moves smoothly and the lid fits securely, since good resistance makes pumping more effective.
For best results, use only one-third to one-half of the press capacity with milk so there is enough space for expansion during frothing. A clean, well-maintained press will always give better foam than one with old residue or worn parts.
Optional tools for better results
You can foam milk with only a French press, but a few extra tools can make the process easier and more consistent.
A microwave or small saucepan is helpful if you want to warm the milk after frothing, since milk foam holds its shape best when the milk is heated gently, not boiled.
A kitchen thermometer can help you keep the milk in the ideal range, around 140°F to 155°F, which improves texture and sweetness without scalding it. A towel or silicone grip can also make the French press easier to hold while pumping, especially when the jug is warm and slippery.
If you want more precision, a funnel or measuring cup helps you pour the exact amount of milk needed so you don’t overfill the press. These tools are optional, but they can improve consistency, reduce mess, and help you get café-style foam with less trial and error.
How to Foam Milk with a French Press Step by Step

Heat the milk to the right temperature
Start with cold, fresh milk for the best foam. Pour the amount you need into a small saucepan or microwave-safe container and heat it until it reaches about 150°F to 155°F (65°C to 68°C).
If you do not have a thermometer, aim for hot but not boiling; the milk should feel very warm to the touch, not scalding. Do not let it boil, because overheated milk loses sweetness and foams less effectively.
Whole milk usually gives the richest texture, but 2% milk can also work well. Plant-based milks can foam too, especially barista-style versions. Heating the milk properly is the foundation for smooth, stable foam.
Pour the milk into the French press
Once the milk is heated, pour it into a clean French press. Fill it only one-third to one-half full to leave enough room for the milk to expand as foam forms. If you add too much, the foam will spill over when you pump.
Make sure the press is dry and free of coffee residue, since leftover oils can affect flavor and texture. Use the lid and plunger assembly, but keep the plunger raised for now. A standard 12- to 16-ounce French press works well for most home drinks.
Smaller batches foam more easily, so avoid overfilling if you want a thicker, silkier result.
Pump the plunger to create foam
Hold the French press steady and begin pumping the plunger up and down briskly. Use short, controlled strokes rather than pushing all the way to the bottom each time. This motion forces air into the milk and builds foam.
Continue for about 20 to 30 seconds, or until the milk looks doubled in volume and has a light, creamy froth on top. If the plunger becomes difficult to move, slow down slightly to avoid splashing. For finer foam, keep the strokes quick and consistent.
The goal is to introduce air without making huge bubbles, so a steady rhythm works better than aggressive pumping.
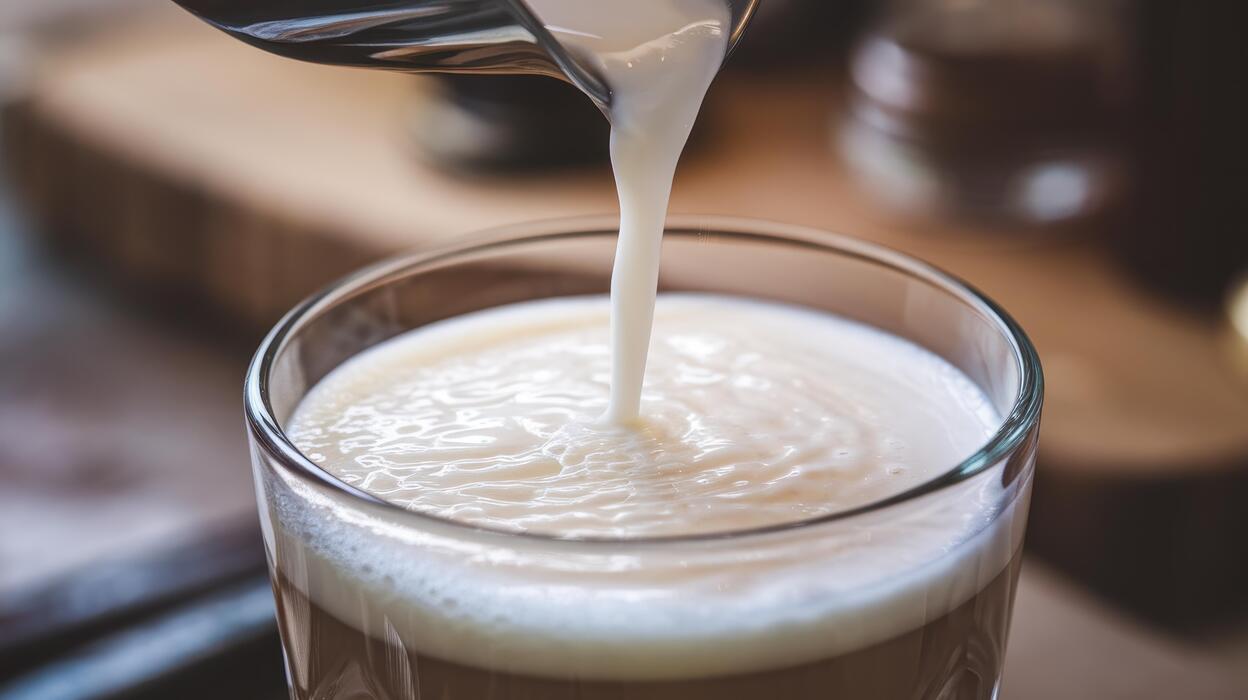
Tap and swirl for a smoother texture
After foaming, give the French press a few gentle taps on the counter to break up any large bubbles. Then swirl the milk slowly in the press to help the foam and liquid combine into a smoother, more velvety texture.
This step makes the milk easier to pour and improves the final look of your drink. If the foam seems too stiff, let it rest for a few seconds so it settles slightly. When you pour, tilt the French press and move slowly to keep the foam integrated.
A smooth, glossy finish is ideal for lattes, cappuccinos, and hot chocolate, giving your drink a café-style result at home.
How to Get the Best Milk Foam Texture
Choose the right milk temperature
For the smoothest french press foam, start with cold milk and heat it to about 140°F to 150°F (60°C to 65°C). This range gives you stable microfoam without making the milk taste scorched or causing the proteins to break down.
If you do not have a thermometer, aim for milk that feels hot but still comfortable to hold for a second. Overheating is one of the biggest reasons foam turns thin and bubbly instead of creamy.
Whole milk usually creates the richest texture because its fat content helps build a silky body, but oat milk labeled “barista” can also foam well. Pour only enough milk to fill the french press to about one-third full, since the milk will expand as you pump.
Warming the milk first in a saucepan or microwave, then frothing immediately, helps you get dense, glossy foam with less effort and fewer large bubbles.
Use the correct pumping speed
The key to great french press foam is steady, controlled pumping, not fast plunging. Move the plunger up and down briskly but smoothly for about 20 to 30 seconds. If you pump too aggressively, you trap large air bubbles that make the foam look frothy rather than velvety.
If you go too slowly, you will not add enough air to create volume. Keep the metal coil or mesh just below the surface at first to introduce air, then lower it slightly into the milk to break those bubbles into a finer texture.
You should see the milk expand and become glossy and thick, almost like wet paint. If the foam starts getting too airy, slow down and finish with a few gentler strokes.
After frothing, tap the french press lightly on the counter and swirl it once to smooth out any visible bubbles before pouring.
Control foam thickness for lattes and cappuccinos
The best foam texture depends on the drink you are making. For a latte, you want thin, silky microfoam that pours easily and blends with the espresso. For a cappuccino, aim for thicker, drier foam with a more distinct layer on top.
To make latte foam, stop pumping as soon as the milk looks glossy and has only a modest increase in volume. Then swirl the french press so the foam and milk stay integrated.
For cappuccino-style foam, pump a little longer to create more volume, but stop before the bubbles become large and stiff. When pouring, hold back the foam with a spoon if you want more liquid milk first, or spoon the thicker foam on top for a stronger cap.
Remember that less foam means a smoother drink, while more foam means a lighter, airier cup. Adjust the pumping time based on your preference and cup size.
Common Mistakes to Avoid When Frothing Milk
Overheating the milk
One of the biggest mistakes when learning how to foam milk with a French press is heating it too much. Milk froths best when it is warm, not boiling.
Aim for about 140°F to 150°F (60°C to 65°C), or stop heating when the milk is hot to the touch but still comfortable to hold for a moment.
If it gets too hot, the proteins can break down, making it harder to build stable foam and giving the milk a scorched taste. To avoid this, heat the milk slowly on the stove or in the microwave, then froth immediately.
If you do overshoot, let it sit for a minute before pumping so the texture stays smooth and creamy.
Filling the French press too much
Another common mistake is overfilling the French press, which leaves too little room for the milk to expand as you pump. For the best results, fill the press only about one-third full, or even slightly less if you want extra airy foam.
This gives the milk enough space to double in volume without splashing over the top. If you add too much, the plunger will push against liquid instead of building air into the milk, and you may end up with weak foam or a messy counter.
For a single drink, start with a small amount and test the texture. You can always froth a second batch if needed, but you cannot recover milk that has overflowed.
Pumping too fast or too long
When using a French press, speed and timing matter. Pumping too fast can create large bubbles instead of the fine, velvety foam you want for lattes or cappuccinos.
On the other hand, pumping too long can overwork the milk and cause it to separate, leaving you with dry foam on top and thin milk below. Use steady, moderate strokes for about 20 to 30 seconds, or until the milk looks doubled in volume and feels light and silky.
If the foam starts to look bubbly or stiff, stop immediately. A good rule is to lift the plunger just enough to incorporate air without splashing. Smooth, controlled movement gives you the most consistent texture.
Using the wrong milk type
The type of milk you choose can make a huge difference when frothing with a French press. Whole milk usually produces the richest, most stable foam because its fat and protein content create a creamy texture. 2% milk also froths well and gives a lighter result.
If you use non-dairy milk, choose one labeled “barista” or specifically made for frothing, since many regular plant milks separate or stay thin. Avoid ultra-low-protein options if you want lasting foam. Also, make sure the milk is fresh, because older milk can froth poorly and taste flat.
If your foam keeps collapsing, try switching milk types before adjusting your technique; the wrong milk can undermine even perfect pumping.
Best Milk Types for French Press Frothing

Whole milk vs skim milk
For learning how to foam milk with a French press, whole milk is usually the easiest and most forgiving choice. Its higher fat content creates a richer, silkier foam and a smoother mouthfeel, which makes it ideal for lattes and cappuccinos.
Skim milk can produce a larger volume of foam because it contains more protein relative to fat, but the bubbles are often stiffer, drier, and less creamy.
If you want a balanced result, use cold whole milk and fill the French press only about one-third full so the milk has room to expand. Heat it gently first, then pump the plunger in short, quick strokes until the milk looks glossy and doubles in size.
For a softer microfoam, stop as soon as the texture becomes velvety and before it turns bubbly or too stiff.
Oat milk and other plant-based options
Plant-based milks can work well in a French press, but the best results usually come from barista-style versions. Oat milk is often the top pick because it foams into a smooth, creamy texture that resembles dairy milk and holds up well in coffee.
Look for brands with added stabilizers or protein, since they tend to produce more consistent foam. Soy milk is another strong option because it has enough protein to create stable bubbles, though the flavor can be more noticeable.
Almond milk and coconut milk are usually less reliable, often making foam that is thin or quick to collapse. To improve results, warm plant milk gently, avoid overheating, and keep the French press strokes light and controlled.
If your milk separates or stays watery, try a different brand rather than overfrothing it.
What milk creates the creamiest foam
If your goal is the creamiest foam, choose whole dairy milk or a barista oat milk made for steaming and frothing. Whole milk usually wins for silky texture, balanced sweetness, and stable microfoam, which makes it the most dependable answer to how to foam milk with French press.
The combination of fat and protein gives the foam a velvety finish instead of a dry, airy top layer. If you prefer plant-based milk, barista oat milk is the closest alternative because it creates dense, glossy foam and blends smoothly with espresso or strong coffee.
The key is not just the milk type, but also the method: start with cold milk, warm it to steaming-hot but not boiling, and pump until the volume increases and the texture looks like wet paint. For the creamiest result, tap the French press gently and swirl before pouring.
How to Use Foamed Milk in Coffee Drinks
Making a latte with French press foam
To make a latte with French press foam, start by heating milk gently until it is hot but not boiling; about 150–160°F is ideal if you have a thermometer.
Pour the milk into the French press so the container is only one-third to halfway full, which gives the plunger room to move. Pump the plunger up and down quickly for 20–40 seconds until the milk doubles in volume and looks creamy.
Let it sit for 10–15 seconds so the foam and liquid separate slightly, then swirl the press to recombine into a smoother texture. Pour the steamed-style milk first over your espresso, then spoon the foam on top for a classic latte finish.
For a sweeter drink, add syrup or sugar to the espresso before pouring the milk. If the foam is too airy, tap the press gently on the counter to settle it.
Adding foam to cappuccinos and macchiatos
French press foam works especially well for cappuccinos and macchiatos because both drinks rely on a distinct foam layer. For a cappuccino, make espresso or strong coffee, then prepare the milk in the French press until you get dense, glossy foam with a small amount of liquid milk underneath.
Pour the milk into the cup first, then use a spoon to add a thick cap of foam, aiming for about one-third espresso, one-third milk, and one-third foam.
For a macchiato, use much less milk and focus on a small dollop or two of foam to “mark” the espresso without overpowering it. If you want a stronger coffee flavor, use less milk and more foam.
Keep the foam stable by serving it immediately after frothing, since French press foam is best when fresh. A quick swirl before pouring helps create a smoother, more polished texture.
Topping hot chocolate and other drinks
French press foam is a simple way to upgrade hot chocolate, chai, matcha, and even flavored coffee drinks. For hot chocolate, prepare the drink first, then spoon a thick layer of foam on top to create a rich, café-style finish.
The foam adds a light, creamy texture that balances the sweetness below. With chai or matcha, use a smaller amount of foam so it complements rather than overwhelms the spices or tea flavor.
You can also add cinnamon, cocoa powder, nutmeg, or a drizzle of caramel over the foam for extra presentation. If you want a stronger topping, use whole milk or 2% milk, which usually froths better than skim or plant-based milks.
To keep the foam from collapsing, pour the drink into a warmed mug first and top it right before serving. This method is quick, inexpensive, and works well when you want café-style drinks without an espresso machine.
Tips for Cleaning and Maintaining Your French Press
How to clean the mesh after frothing
After using a French press to foam milk, clean the mesh right away so dried milk doesn’t clog the screen. Start by pouring out any leftover milk, then fill the carafe with warm water and a drop of dish soap.
Pump the plunger up and down several times to push soapy water through the mesh and loosen residue. If the screen still looks cloudy, remove the lid and filter assembly and rinse each part separately under hot running water.
Use a soft brush or sponge to gently scrub both sides of the mesh, paying attention to the rim and edges where milk proteins collect. Avoid abrasive pads, which can bend the screen or scratch the glass.
For a deeper clean, soak the mesh in warm soapy water for 10 to 15 minutes before rinsing. Dry all parts completely before reassembling to keep the press fresh and ready for the next cup.
Removing milk residue safely
Milk residue can build up fast, so safe cleaning habits matter if you use your French press for frothing often. To remove stubborn residue, soak the plunger parts in hot water with baking soda or mild dish soap for a few minutes before washing.
This helps break down fats and proteins without harsh chemicals. If the milk has dried, fill the press with warm water, let it sit, then pump the plunger to loosen the film.
For harder buildup, remove the filter assembly and clean the layers individually so trapped milk doesn’t stay hidden between the screens. Never use bleach, steel wool, or very strong cleaners, since they can damage the metal and leave behind odors or tastes.
Rinse thoroughly until no soap remains, because even a small amount can affect the flavor of your next coffee or foam. Finish by air-drying all parts completely to prevent smells and bacterial growth.
Keeping your French press ready for daily use
If you make foam milk regularly, a few simple habits will keep your French press in great shape. Rinse it immediately after each use so milk doesn’t dry inside the carafe or on the plunger.
Once a day, give the press a full wash with warm water, mild soap, and a careful scrub of the mesh, lid, and rim. Check the filter for bent edges, loose parts, or buildup, because worn components make frothing less effective and can let milk slip through.
Store the French press fully dry with the plunger disassembled or slightly open so moisture can escape. If you use it only for milk, keep it separate from strong-smelling ingredients like spices or flavored syrups. A quick weekly deep clean helps maintain smooth pumping action and better foam quality.
With consistent care, your French press will stay hygienic, odor-free, and ready whenever you want café-style milk foam at home.
Frequently Asked Questions
How do you foam milk with a French press?
Heat the milk until it is hot but not boiling, then pour it into a French press no more than one-third full. Pump the plunger up and down briskly for 20 to 30 seconds until the milk becomes frothy and has doubled in volume.
What kind of milk works best in a French press?
Whole milk usually gives the richest, most stable foam because it has more fat and protein. You can also use 2% milk, oat milk, or other barista-style plant milks, but results may be less creamy depending on the brand.
How hot should the milk be before frothing?
Aim for about 150°F to 160°F, which is hot to the touch but not scalding. If the milk boils, it can taste burnt and foam less well.
How much milk should I put in the French press?
Fill the French press only about one-third full to leave room for the foam to expand. Overfilling makes it harder to pump and can cause milk to spill out.
How long should I pump the French press to foam milk?
Usually 20 to 30 seconds is enough to create a thick foam. If you pump too long, the bubbles can get large and unstable, so stop once the milk looks light and foamy.
Why is my milk not foaming well in the French press?
The milk may be too cold, too hot, or the press may be too full. Low-protein or very low-fat milk can also foam less, so try whole milk or a barista-style alternative for better results.
How do I make the foam smoother for lattes?
After frothing, tap the French press gently on the counter and swirl it to break up large bubbles. Pour immediately for a smoother, creamier texture that blends better into coffee.
Can I froth non-dairy milk with a French press?
Yes, many non-dairy milks can be frothed in a French press, especially barista versions made for steaming and foaming. Oat milk often works well, while some almond or coconut milks may separate or create lighter foam.
Conclusion
Frothing milk with a French press is an easy, affordable way to create café-style drinks at home. By choosing the right milk, heating it properly, and pumping steadily, you can achieve a smooth, creamy foam for lattes, cappuccinos, and more. With a little practice, you’ll improve your technique and enjoy better results every time. So grab your French press and start making your favorite coffee drinks today.