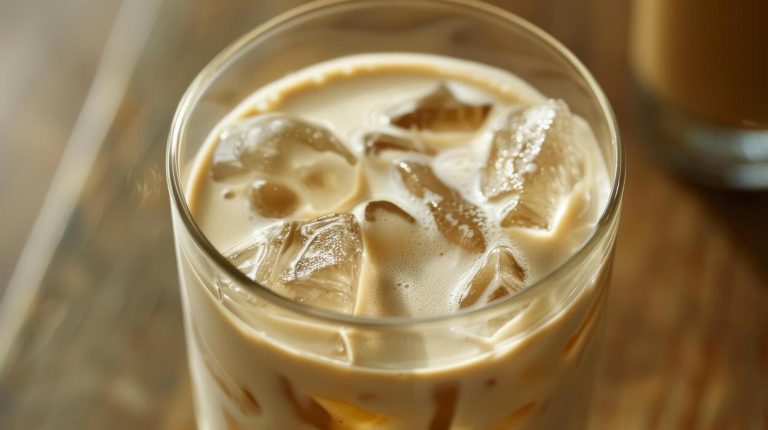
How To Make Starbucks Iced Coffee At Home
Craving that signature Starbucks chill without the long drive-thru line? You are in the right place. Learning how to make Starbucks iced coffee at home is easier than you think and will save you a fortune. We will dive straight into the best beans, brewing methods, and simple pro tips for perfect results.
The Basic Starbucks Iced Coffee Recipe
Choosing the Right Coffee Beans
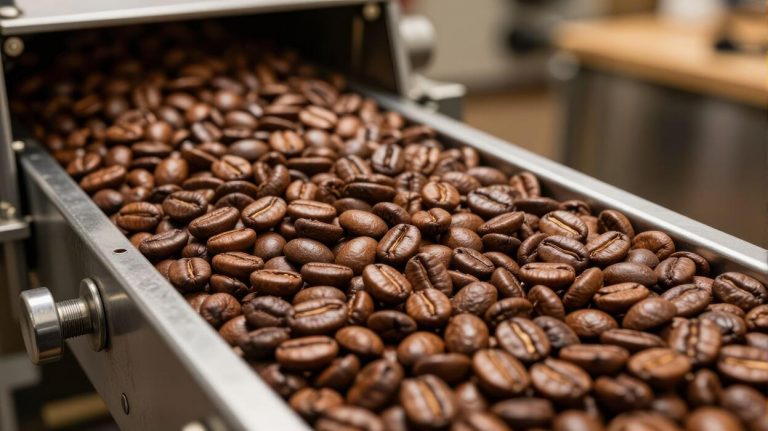
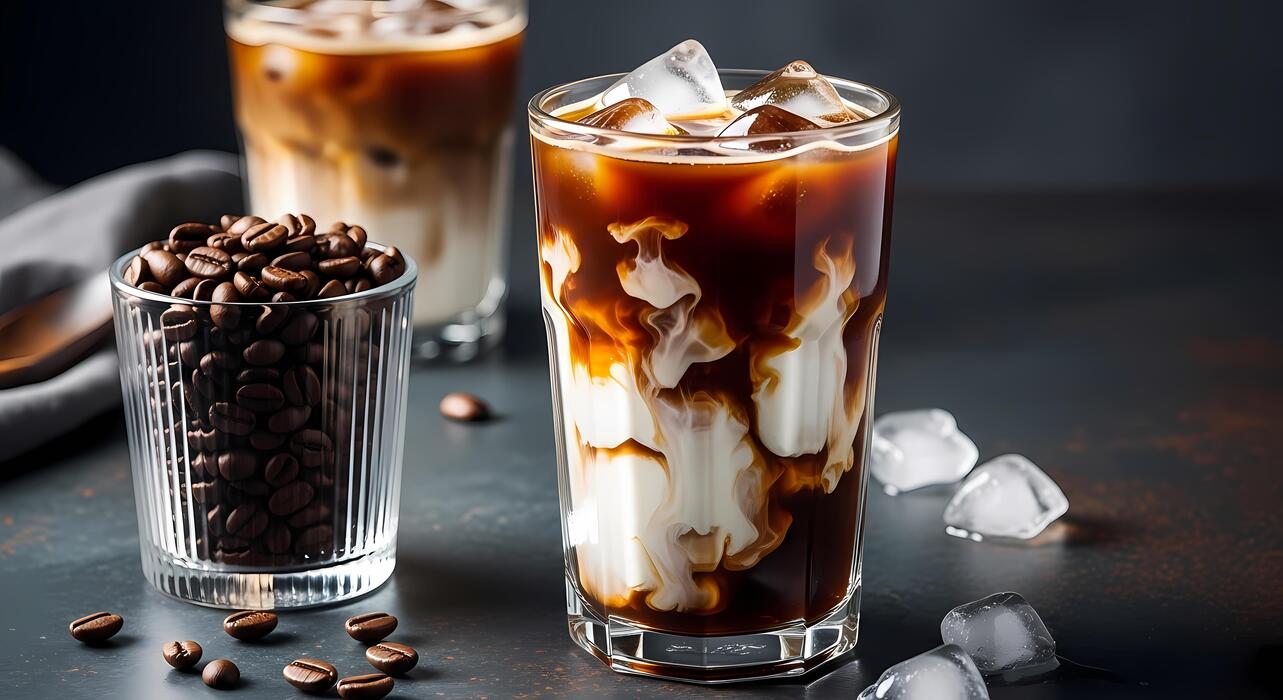
To replicate the signature flavor of a Starbucks iced coffee at home, you must start with high-quality beans that can withstand dilution from ice. Starbucks traditionally uses their Terraza Blend for iced coffee, which is a medium roast specifically designed to be smooth and refreshing when chilled.
If you cannot find that specific blend, look for a medium-roast African or Latin American coffee with notes of cocoa or nuts, as these profiles remain vibrant even when served cold.
Avoid using very light roasts, which can taste sour when iced, or extremely dark roasts that might become unpleasantly bitter. For the freshest taste, purchase whole bean coffee and grind it just before brewing. A consistent medium grind is essential for standard drip brewers to ensure a balanced extraction.
By selecting beans with a clean finish and bright acidity, you create a professional foundation that mimics the coffee house experience without the premium price tag.
The Golden Ratio for Iced Coffee
The secret to a non-watery Starbucks iced coffee is using a double-strength brewing ratio to account for the melting ice.
Standard hot coffee typically uses two tablespoons of grounds for every six ounces of water, but for iced coffee, you should use four tablespoons of coffee for every six ounces of water.
This concentrated brew ensures that as the ice cubes melt, the beverage dilutes into a perfectly balanced drink rather than a weak, translucent liquid. If you prefer a more precise method, use a kitchen scale to measure 30 grams of coffee for every 250 milliliters of water.
This ratio allows the bold coffee flavors to punch through any added sweeteners or heavy splashes of milk.
Remember that the ice constitutes roughly half of the final volume, so treating the hot liquid as a coffee concentrate is the most critical step in achieving that professional, full-bodied mouthfeel you expect from a barista-made drink.
Step-by-Step Brewing Instructions
Begin by brewing your double-strength coffee using a standard drip machine or a pour-over setup with filtered water heated to 200 degrees Fahrenheit.
Once the brewing cycle finishes, it is vital to sweeten the coffee while it is still hot if you are using granulated sugar or the classic Starbucks Simple Syrup, as this ensures the sweetener dissolves completely.
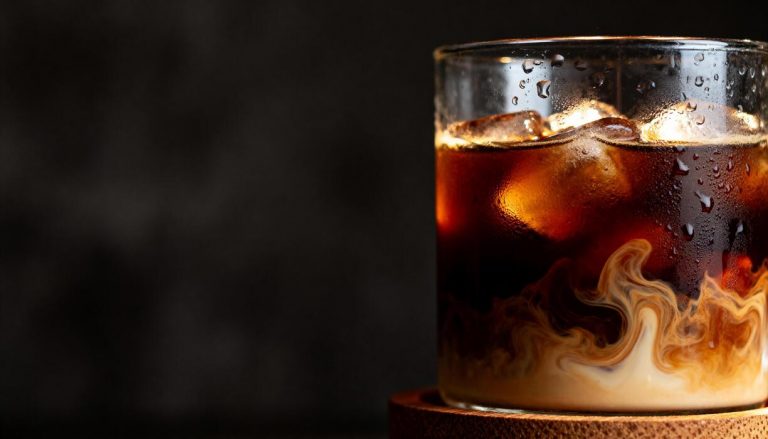
Let the concentrate sit at room temperature for about fifteen minutes to prevent thermal shock, then transfer it to a glass carafe. For the best results, flash-chill the coffee by pouring the hot concentrate directly over a tall glass filled to the brim with fresh ice.
This immediate cooling traps the aromatic oils and prevents the coffee from developing a stale, oxidized flavor. Finally, leave enough room at the top of the glass for a splash of 2% milk or heavy cream to match the authentic Starbucks texture.
Stir gently and enjoy your homemade masterpiece immediately for the freshest possible flavor profile.
Essential Equipment for Home Baristas

Best Coffee Makers for Iced Drinks
To replicate the smooth profile of Starbucks iced coffee, choosing the right brewing equipment is the most critical first step. While many people use standard drip machines, a cold brew pitcher or a French press is often superior for achieving that signature rich, low-acid concentration.
If you prefer the classic iced coffee taste, look for a machine with an ‘Over Ice’ setting, which brews a double-strength concentrate that won’t taste watered down once it hits the ice cubes.
For those who enjoy Starbucks espresso-based cold drinks like the Iced Shaken Espresso, a stovetop Moka pot or an entry-level espresso machine is essential for creating the necessary pressure to extract bold flavors. By using a brewer that handles high coffee-to-water ratios, you ensure your beverage maintains its structural integrity.
Investing in a pour-over dripper is another excellent alternative, allowing for precise control over the extraction process and temperature, resulting in a crisp, clean cup every single time.
Why a Quality Grinder Matters
The secret to the consistent flavor found in professional coffee shops lies in the uniformity of the coffee grounds. To match the Starbucks experience at home, you should move away from pre-ground bags and invest in a burr grinder rather than a blade grinder.
Burr grinders crush the beans into consistent particles, ensuring even extraction and preventing the bitter or sour notes that ruin an iced beverage.
For iced coffee, a medium-coarse setting is generally ideal to allow for a clean finish, whereas cold brew requires a very coarse grind to prevent the sediment from making the drink muddy. Freshly grinding your beans immediately before brewing preserves the volatile aromatic oils that provide that distinct coffee aroma.
When you control the grind size, you gain the ability to dial in the strength of your brew, making it easy to create a high-quality concentrate that stands up to heavy cream, sweet syrups, and large amounts of ice without losing its character.
Tools for Perfect Mixing and Serving
Once your coffee is brewed, the right accessories are what truly transform a simple drink into a cafe-quality masterpiece. A handheld milk frother is an affordable tool that allows you to create the famous Starbucks cold foam at home using skim milk or heavy cream.
To ensure your drink stays cold without becoming diluted, consider using silicone oversized ice cube trays, which melt much slower than standard freezer tray ice. For the authentic aesthetic and functionality, a dual-wall insulated tumbler will prevent condensation and keep your iced coffee at the perfect temperature for hours.
Precision is also key, so using a long-handled stirring spoon or a dedicated cocktail shaker will help integrate your syrups and sauces thoroughly. Don’t forget a set of reusable straws, which are a staple of the iced coffee experience.
Having these specific tools on hand allows you to layer flavors and textures just like a professional barista, ensuring your homemade version is indistinguishable from the original.
How to Make Starbucks Style Simple Syrups
Classic Liquid Cane Sugar Recipe
To replicate the smooth sweetness of Starbucks iced coffee, you must master the Classic Liquid Cane Sugar recipe. Unlike granulated sugar, which clumps in cold liquids, this syrup integrates instantly for a consistent flavor profile.
Start by combining equal parts filtered water and turbinado or granulated cane sugar in a small saucepan over medium heat. Stir the mixture constantly to prevent scorching until the crystals have completely dissolved and the liquid appears crystal clear.
Avoid bringing the mixture to a rolling boil, as this can create a thick candy consistency rather than a pourable syrup. Once the sugar is dissolved, remove the pan from the heat and allow it to cool to room temperature before transferring it to a glass bottle.
This base syrup is the secret to balancing the natural bitterness of cold brew or iced espresso. Store your finished batch in the refrigerator for up to one month to ensure your morning coffee routine remains efficient and professional every single day.
Homemade Vanilla Syrup Tutorial
The most popular request for DIY Starbucks beverages is undoubtedly the Vanilla Syrup, which serves as the foundation for lattes and macchiatos. To create this at home, begin with a standard simple syrup base of one cup water and one cup white sugar.
Heat the mixture until the sugar dissolves, then remove it from the stove. The critical step for authentic flavor is adding two teaspoons of high-quality pure vanilla extract or the seeds from a fresh vanilla bean once the liquid has slightly cooled.
Adding the extract while the liquid is boiling can cause the delicate alcohol-based aromatics to evaporate, leaving you with a duller taste. For a richer, gourmet experience, consider using vanilla bean paste, which provides those iconic black specks seen in premium desserts.
This homemade version is superior to store-bought options because it lacks artificial preservatives and thickeners. Keep your syrup in a sealed airtight container to maintain its floral aroma and use it to sweeten your iced coffee to your exact preference.
Tips for Infusing Custom Flavors
Once you have mastered the basics, you can elevate your home barista skills by infusing custom flavors into your simple syrups. To create seasonal favorites like cinnamon, caramel, or brown sugar syrup, add your aromatics directly to the water and sugar during the heating process.
For a warm spice profile, simmer cinnamon sticks or whole cloves in the syrup for about ten minutes to allow the oils to fully extract. If you prefer a nutty profile, stir in a drop of almond extract after the cooling process.
It is vital to strain out any solid ingredients using a fine-mesh sieve or cheesecloth before bottling to prevent the syrup from becoming bitter or cloudy over time.
To ensure the longest shelf life, always use sterilized glass jars and consider adding a teaspoon of vodka as a natural preservative to prevent mold growth.
Experimenting with these infusions allows you to customize your iced coffee intensity, ensuring your home-brewed beverages rival the complex flavor profiles found at your local coffee shop.
Secrets to Getting the Starbucks Flavor Profile
Using Filtered Water for Better Taste
One of the most overlooked secrets to achieving that clean Starbucks flavor profile is the quality of your water. Since coffee is over ninety-eight percent water, any impurities, minerals, or chlorine found in tap water will fundamentally alter the final taste of your iced beverage.
Starbucks utilizes a sophisticated multi-stage filtration system to ensure consistency across all locations, so you should strive to replicate this at home by using a high-quality charcoal filter or a specialized water pitcher.
Avoid using distilled water, as it lacks the essential minerals needed to extract the coffee’s natural oils, but definitely stay away from hard tap water which can lead to a metallic or bitter aftertaste.
By starting with pure, filtered water, you provide a neutral canvas that allows the complex notes of your medium or dark roast beans to shine through without any chemical interference. This simple adjustment ensures your homemade iced coffee has that crisp, refreshing finish that defines the professional cafe experience.
The Double-Strength Brewing Method
To prevent your iced coffee from becoming watery and bland, you must master the double-strength brewing technique used by professional baristas. When you pour hot coffee over ice, the immediate melting process significantly dilutes the liquid, which is why a standard brew often tastes weak.
To counteract this, you should double the amount of ground coffee relative to the amount of water used during the brewing cycle. For example, if you typically use two tablespoons of grounds for six ounces of water, increase it to four tablespoons.
This creates a highly concentrated extraction that maintains its bold flavor profile and caffeine kick even after the ice begins to melt into the glass.
Using a dark roast, such as the Starbucks Espresso Roast or Caffe Verona, helps provide those signature notes of cocoa and toasted nuts that hold up well against dilution. This method ensures your first sip is just as flavorful as the last one at the bottom of the cup.
How to Properly Chill Your Coffee
The transition from hot brew to cold refreshment is a critical step where many home brewers fail by letting the coffee sit out at room temperature for too long.
To preserve the bright acidity and prevent the development of a stale, oxidized taste, you need to chill your concentrated coffee rapidly.
Once your double-strength brew is finished, transfer it to a heat-safe glass carafe and allow it to sit for only a few minutes before placing it in the refrigerator.
For the best results, Starbucks enthusiasts often recommend pre-chilling your serving glass and using large, solid ice cubes which melt much slower than small or crushed ice.
If you want to take it to the next level, consider making coffee ice cubes by freezing leftover brew in a tray; this ensures that as the cubes melt, they add more coffee flavor instead of water.
Properly managing the temperature prevents the bitter compounds from dominating the palate, resulting in a smooth, professional-grade iced coffee that rivals any store-bought version.
How to Make Starbucks Cold Foam at Home
The Vanilla Sweet Cream Recipe
To replicate the signature Starbucks flavor, you must start with the perfect ratio of ingredients for their famous vanilla sweet cream. Combine two parts heavy whipping cream, one part 2% milk, and two tablespoons of vanilla syrup in a small pitcher or glass jar.
The heavy cream provides the necessary fat content for a velvety texture, while the 2% milk thins the mixture just enough to prevent it from turning into whipped cream. For an authentic taste, use a high-quality vanilla syrup rather than extract to ensure the sweetness is evenly distributed.
Gently stir the mixture until it is fully incorporated before chilling it in the refrigerator. Cold ingredients are essential because fat globules emulsify better at lower temperatures, resulting in a stable foam that sits beautifully on top of your iced coffee.
By preparing a larger batch of this sweet cream base in advance, you can quickly froth individual servings whenever you need a caffeine boost throughout the week.
Best Milk Types for Thick Foam
The secret to achieving that dense, cloud-like consistency lies in the protein and fat content of your milk selection. While Starbucks uses a specific blend, you can experiment at home to find your preferred thickness.
Heavy whipping cream is the gold standard for structural integrity, as its high fat content creates a sturdy microfoam that resists melting into the coffee.
If you are looking for a dairy-free alternative, oat milk is the superior plant-based choice due to its creamy density and natural sugars that mimic the behavior of dairy fats. Almond milk and soy milk can be used, but they often produce a thinner, more bubbly foam that dissipates quickly.
Regardless of the type you choose, ensure the milk is fresh and ice-cold before you begin the frothing process.
Maintaining a high fat-to-liquid ratio is the most effective way to ensure your cold foam remains floating on top of your iced brew, providing that luxurious mouthfeel with every single sip you take.
Using a Hand Frother vs. Blender
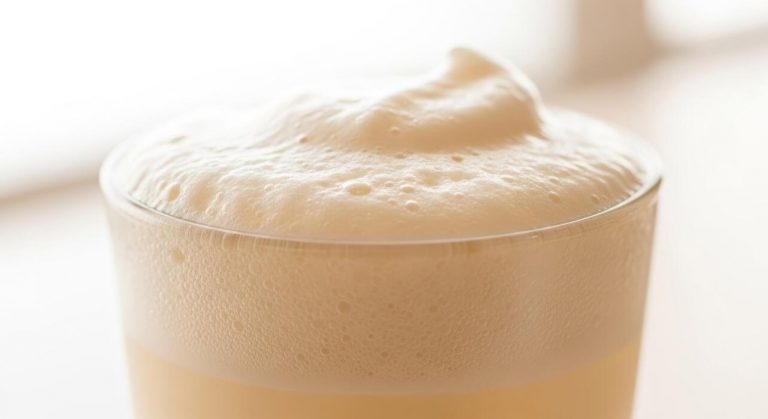
Choosing the right tool is the final step in mastering the art of homemade cold foam. A battery-operated handheld milk frother is the most convenient and popular method for daily use.
Simply submerge the whisk head just below the surface of the liquid and tilt the glass at a slight angle to incorporate air. This process usually takes about thirty seconds to reach a thick, pourable consistency that resembles melted ice cream.
Alternatively, using a high-speed blender or a specialized aerating container can produce a more uniform and stiff foam, which is ideal if you are making multiple servings at once. Pulse the mixture on a medium setting for fifteen seconds to avoid over-mixing.
The goal is to create tiny micro-bubbles rather than large, soapy suds. Once your foam has reached the desired volume, slowly pour it over the back of a spoon onto your iced coffee.
This technique prevents the foam from sinking immediately, allowing it to create a distinct, beautiful layer that rivals any professional barista’s creation.
Popular Starbucks Iced Coffee Variations
Iced Caramel Macchiato Instructions
To recreate this fan favorite, start by filling a tall glass with plenty of ice. Pour in one cup of your preferred milk and stir in two tablespoons of vanilla syrup to provide that signature sweet base.
The key to the ‘marked’ look is the order of operations; you must pour two shots of hot, concentrated espresso or very strong brewed coffee directly over the cold milk. This creates the beautiful layered effect seen in cafes.
Finally, generously drizzle caramel sauce in a crosshatch pattern over the top. The espresso will slowly meld with the vanilla milk as you sip, offering a complex flavor profile that balances the bitterness of the bean with creamy sweetness.
For the most authentic taste, use a dark roast coffee and ensure your caramel is thick enough to sit on the surface momentarily before sinking. This method ensures every sip contains a perfect ratio of bold coffee and velvety smooth milk.
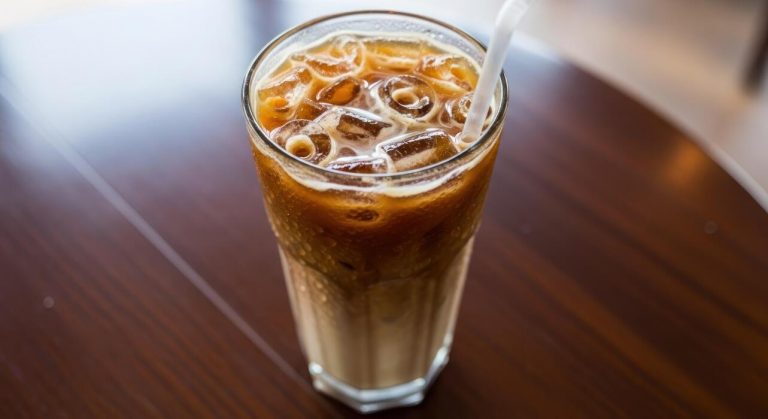
Iced Toasted Vanilla Oatmilk Shaken Espresso
This modern classic relies on aeration to achieve its unique, frothy texture. Begin by adding two shots of espresso, a splash of toasted vanilla syrup, and a generous scoop of ice into a mason jar or cocktail shaker.
Shake vigorously for at least twenty seconds until the coffee becomes light and foamy; this step is crucial for mimicking the Starbucks mouthfeel. Strain the mixture into a fresh glass filled with ice, then top it off with creamy oatmilk.
The toasted vanilla notes pair exceptionally well with the nuttiness of the oats, creating a sophisticated, dairy-free treat. If you do not have toasted vanilla syrup, a drop of almond extract mixed with standard vanilla can provide a similar depth.
By shaking the espresso while hot, you create a microfoam that holds the flavor beautifully throughout the drink. This technique highlights the bright notes of a blonde roast, which is the traditional choice for this specific beverage.
Copycat Iced Caffè Mocha
For a decadent chocolate-forward beverage, start by whisking two tablespoons of high-quality cocoa powder or chocolate syrup with two shots of hot espresso until completely dissolved. This creates a rich mocha base that prevents grittiness.
Fill a glass with ice and pour the chocolate-espresso mixture over it, followed by one cup of cold milk. Stir well to ensure the chocolate is fully integrated with the liquid.
To achieve that professional Starbucks finish, top your drink with a mountain of whipped cream and an extra drizzle of chocolate sauce. If you prefer a less sweet version, use dark chocolate and a pinch of sea salt to enhance the natural richness of the coffee beans.
This drink is perfect for those who enjoy a dessert-like caffeine kick. Using a full-bodied roast helps the coffee flavor stand up against the heavy chocolate, ensuring a balanced drink that tastes exactly like it came from the local barista’s counter.
Common Mistakes When Making Iced Coffee
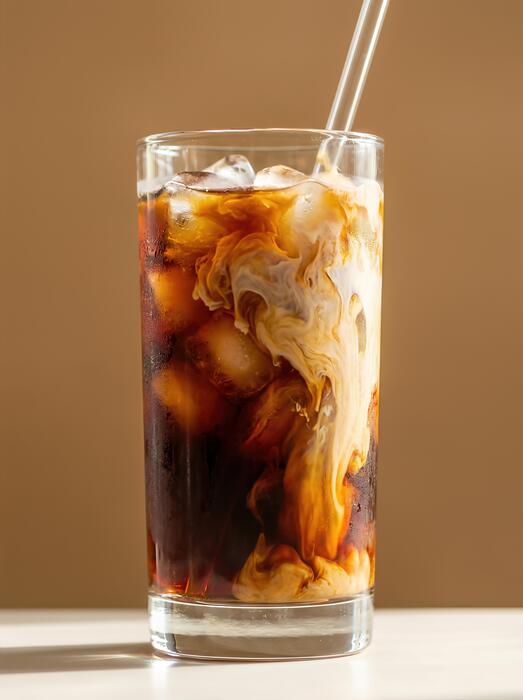
How to Avoid Watery or Diluted Coffee
The most frequent error when replicating Starbucks at home is using a standard hot-coffee ratio, which inevitably results in a weak, translucent mess once ice is added. To achieve that signature bold profile, you must double the coffee grounds to create a concentrated base that stands up to melting ice.
Alternatively, a pro tip is to brew coffee ice cubes ahead of time; as they melt, they release more flavor rather than diluting your drink with extra water. Many beginners also fail to let their coffee cool slightly before pouring it over ice, causing immediate melting and a watery consistency.
For the best results, use a dark roast like Starbucks Espresso Roast and brew it at double strength. This ensures that even as the ice begins to dissolve during your commute, the texture remains velvety and the caffeine kick stays potent.
Always measure your water-to-coffee ratio precisely to maintain a consistent, coffee-forward flavor profile every single time.
Fixing Bitter or Sour Brews
If your homemade iced coffee tastes overly harsh or metallic, you are likely dealing with over-extraction or poor water quality. Bitterness often stems from using boiling water directly on the grounds, which burns them; instead, let your water sit for thirty seconds after boiling to reach the ideal 200°F range.
Conversely, a sour or salty taste indicates under-extraction, usually caused by a grind that is too coarse or water that is too cool. To mirror the smooth Starbucks finish, ensure you are using filtered water to remove impurities that can skew the chemical balance of your brew.
Additionally, check your grind size; a medium-coarse setting is optimal for drip methods intended for icing. If you find the acidity is still too high, adding a tiny pinch of salt to the grounds before brewing can chemically neutralize the bitterness.
Balancing these variables ensures your drink is smooth, balanced, and naturally sweet without needing excessive amounts of heavy syrups or creamers.
The Right Way to Store Leftover Coffee
Leaving a carafe of coffee on a hot burner or sitting out at room temperature is a recipe for oxidation, which creates a stale, vinegar-like aftertaste.
To maintain the integrity of your Starbucks-style brew, you should transfer fresh coffee to an airtight glass pitcher as soon as it reaches room temperature. Plastic containers can leach odors and flavors into the liquid, so glass is always the superior choice for preserving those delicate aromatic notes.
Store your concentrate in the back of the refrigerator where the temperature is most stable, and try to consume it within 48 to 72 hours for peak freshness.
If you have a large amount of leftover coffee that you cannot finish, freeze it in silicone molds to use for future blended drinks or as flavored ice cubes. Avoid keeping coffee in an open container, as it will quickly absorb the scents of other foods in your fridge.
Proper storage ensures every glass tastes as crisp and refreshing as the first pour.
Frequently Asked Questions
What is the best coffee blend for Starbucks-style iced coffee?
Starbucks typically uses their Terraza Blend for iced coffee, which is a medium roast. At home, you can achieve a similar flavor profile using Starbucks Kenya or any medium-roast African coffee that features crisp acidity and citrus notes.
How do I brew coffee that doesn’t taste watered down when iced?
The key is to brew your coffee at double strength to account for the melting ice. Use two tablespoons of ground coffee for every six ounces of water, then pour the hot coffee directly over a full glass of ice to chill it instantly.
What kind of sweetener does Starbucks use in their iced coffee?
Starbucks uses ‘Classic Syrup,’ which is a simple liquid sweetener made of sugar and water. You can recreate this at home by simmering equal parts granulated sugar and water until dissolved, then cooling it before adding to your drink.
Should I use a drip brewer or a pour-over for iced coffee?
Both methods work well as long as you use the double-strength rule. A pour-over allows for more control over the extraction, while a standard drip machine is more convenient for making larger batches to keep in the refrigerator.
How long can I store homemade iced coffee in the fridge?
You can store brewed coffee in a sealed pitcher in the refrigerator for up to 8 hours for peak freshness. After that, the coffee may begin to taste oxidized or bitter, so it is best to make fresh batches daily.
Can I use Cold Brew instead of iced coffee?
While iced coffee is brewed hot and chilled, cold brew is steeped in cold water for 12-20 hours. Cold brew is less acidic and smoother, so while it isn’t the ‘standard’ iced coffee recipe, many people prefer it as a DIY Starbucks alternative.
Conclusion
Mastering the art of Starbucks iced coffee at home is both simple and rewarding. By selecting high-quality beans, using the double-strength brewing method, and experimenting with your favorite syrups, you can replicate that signature cafe experience in your own kitchen. Not only will you save money, but you also gain full control over every ingredient. Now that you have the secrets, grab your brewer and start crafting your perfect, refreshing glass of homemade bliss today.