How To Prepare Cold Brew Coffee
Making smooth, café-quality cold brew at home is surprisingly simple and requires no fancy equipment. If you are tired of bitter iced coffee, this guide shows you exactly how to prepare cold brew coffee using a straightforward ratio of coarse grounds to filtered water. Get ready to master this foolproof method and save money on your daily caffeine fix.
What is Cold Brew Coffee?
The Difference Between Cold Brew and Iced Coffee
To prepare cold brew coffee correctly, you must understand that it is a brewing method rather than a serving temperature.
While iced coffee is typically made by brewing hot coffee at double strength and pouring it over ice, cold brew is created by steeping coarse grounds in room temperature or cold water for 12 to 24 hours.
This slow extraction process relies on time instead of heat to pull flavors from the beans, resulting in a concentrated syrup that is meant to be diluted with water or milk.
Because there is no heat involved during the initial phase, the chemical breakdown of the coffee oils happens differently, which is the primary reason why the flavor profile remains so distinct.
When you prepare cold brew at home, ensure you use a coarse grind size similar to sea salt to prevent over-extraction and bitterness. This method produces a beverage that is naturally sweeter and heavier in body compared to the watery profile often found in traditional iced coffee.
Why Cold Brew Tastes Less Acidic
The science behind preparing cold brew coffee explains its signature smoothness, which is a direct result of avoiding high temperatures. When coffee grounds are exposed to boiling water, the heat rapidly extracts acidic compounds and bitter oils that can be harsh on the stomach.
By using the cold immersion technique, you extract significantly fewer of these acidic solubles, typically resulting in a beverage that is 60% less acidic than hot-brewed alternatives. This makes cold brew an ideal solution for coffee lovers with sensitive stomachs or acid reflux.
To achieve the best results, focus on the steeping duration; letting the grounds sit for at least 16 hours ensures that you capture the chocolatey and nutty notes without the sharp bite of citric or acetic acids.
The lack of heat also prevents the oxidation of coffee oils, which means your cold brew will stay fresh in the refrigerator for up to two weeks, maintaining its mellow flavor profile and low-acid characteristics throughout its shelf life.
Caffeine Content in Cold Brew vs Drip Coffee
When you prepare cold brew coffee, the resulting concentrate is significantly more potent than standard drip coffee due to the high coffee-to-water ratio. Most recipes suggest a ratio of one part coffee to four parts water, creating a dense liquid that packs a heavy caffeine punch per ounce.
However, because cold brew is usually diluted before consumption, the final caffeine intake depends entirely on your mixing preference.
On average, a cup of diluted cold brew contains more caffeine than a standard cup of drip coffee because the extended contact time between the water and the grounds allows for maximum caffeine solubility, even without heat.
To manage your caffeine intake effectively, treat the cold brew as a base ingredient and experiment with adding equal parts water, milk, or dairy alternatives. This flexibility allows you to customize the strength to your liking.
Remember that using light roast beans in your cold brew preparation will generally yield a slightly higher caffeine concentration than dark roasts, providing a clean and powerful energy boost.
Essential Equipment for Making Cold Brew at Home
Best Containers and Brewing Vessels
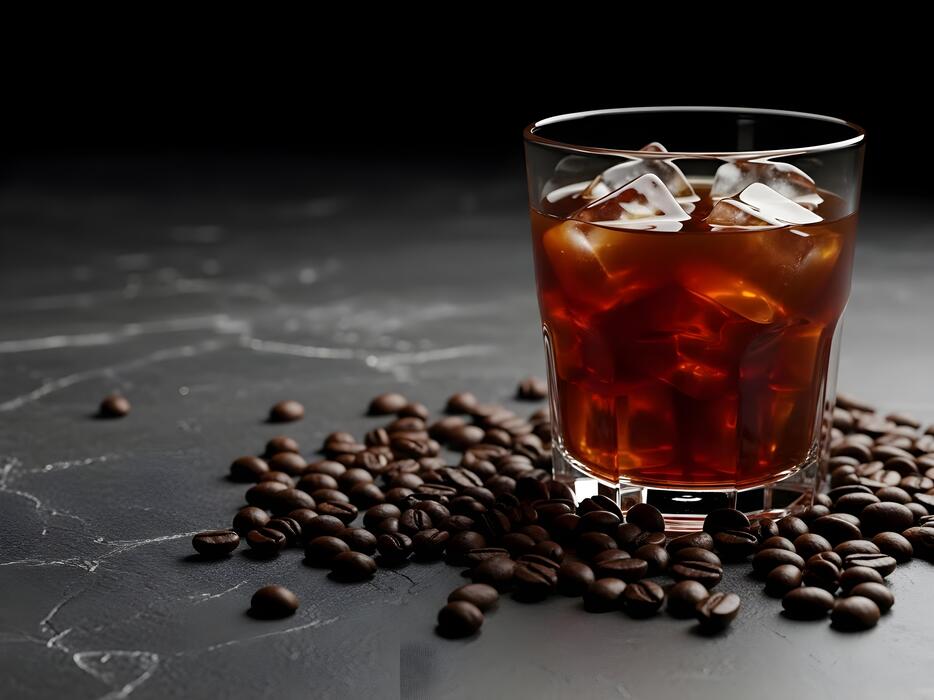
Selecting the right vessel is the foundational step in mastering the cold brew process at home. While specialized cold brew makers with built-in filtration systems offer the most convenience, you can achieve professional results using simple household items like a large glass Mason jar or a clean French press.
Glass is generally the preferred material because it is non-porous and will not absorb old coffee oils or impart metallic flavors into your concentrate during the long 12 to 24-hour steep time.
If you are brewing in large batches, a dedicated beverage dispenser with a spigot can simplify the decanting process significantly. Regardless of the container type, ensure it has an airtight seal to protect the liquid from absorbing unwanted odors from your refrigerator.
Choosing a vessel with a wide mouth is also beneficial, as it allows for easier stirring of the grounds and simplifies the cleaning process once the brewing cycle is complete.
Filtering Tools: Paper vs Metal vs Mesh
The filtration method you choose directly dictates the mouthfeel and clarity of your final cup. Paper filters are excellent for those who prefer a crisp, clean profile, as they effectively trap fine particulates and clarify the natural oils that can lead to bitterness.
In contrast, stainless steel mesh filters allow more of the coffee’s natural oils and micro-sediment to pass through, resulting in a bolder, fuller body similar to traditional French press coffee.
If you are looking for a middle ground, reusable cloth filters or nut milk bags offer a sustainable solution that provides great clarity without stripping away all the richness.
Many enthusiasts prefer a dual-filtration approach, initially using a coarse mesh to remove the bulk of the grounds and finishing with a secondary pass through a paper pour-over filter.
This ensures a sediment-free concentrate that remains fresh for up to two weeks when stored properly in the fridge, providing a consistent and smooth experience every time.
Why a Quality Burr Grinder Matters
Precision is paramount when preparing the coarse grounds required for a successful cold brew extraction. A quality burr grinder is indispensable because it produces uniform particles, which prevents the over-extraction and bitterness caused by the ‘fines’ often produced by cheap blade grinders.
For cold brew, you need a consistent extra-coarse grind, resembling sea salt or peppercorns, to allow water to flow freely around the particles during the long immersion period. Using an inconsistent grind size leads to an uneven flavor profile where small dust-like particles over-extract while larger chunks remain under-extracted.
Investing in a manual or electric burr mill ensures that your coffee bed remains porous, facilitating a smooth filtration process and a balanced flavor. Furthermore, grinding your beans freshly before brewing preserves the volatile aromatics and delicate flavor notes that define high-quality specialty coffee.
This attention to grind consistency is the single most important factor in transitioning from a muddy, bitter drink to a bright, refreshing, and cafe-quality cold brew concentrate.
Choosing the Best Coffee Beans and Water

Ideal Roast Profiles for Cold Extraction
When selecting coffee beans for cold brew, the roast profile significantly dictates the final flavor profile of your concentrate. While you can technically use any bean, medium to dark roasts are generally preferred because they possess the solubility required for the long, cold steeping process.
Darker roasts offer chocolatey, nutty, and smoky notes that hold up well when diluted with milk or ice. Conversely, if you prefer a brighter, more floral cup, a light roast can work, but it often requires a longer extraction time to pull out the subtle nuances.
Many experts recommend single-origin beans from regions like Brazil or Sumatra for their natural low acidity and heavy body. Regardless of the roast you choose, the most critical factor is using freshly roasted beans rather than pre-ground bags.
Fresh beans retain the volatile oils and aromatic compounds that define the character of your brew, ensuring that your cold beverage tastes vibrant and complex rather than stale or flat after sitting in the refrigerator for several days.
The Importance of a Coarse Grind Size
Achieving the perfect cold brew depends heavily on the texture of your coffee grounds. Unlike espresso which requires a fine powder, cold brew necessitates a consistent coarse grind, similar in texture to sea salt or breadcrumbs.
This specific size is vital because the coffee sits in water for twelve to twenty-four hours; a fine grind would over-extract, resulting in a bitter and astringent liquid that is unpleasant to drink.
Furthermore, coarse grounds are much easier to filter out once the steeping process is complete, leading to a cleaner, sediment-free cup. If you use a fine grind, the particles may clog your filter or pass through entirely, creating a muddy texture.
For the best results, use a burr grinder rather than a blade grinder to ensure uniformity. Uniform particles allow the water to saturate the coffee evenly, which prevents the sourness associated with under-extraction and the bitterness of over-extraction.
Investing in the right grind size is the simplest way to elevate your home brewing game and achieve professional-quality results every single time.
Using Filtered Water for Better Flavor
Since cold brew is composed of approximately 98% water, the quality of your water source is just as important as the beans themselves. Tap water often contains minerals like chlorine, fluoride, or metallic traces that can introduce off-flavors and chemical aftertastes to your coffee.
To ensure a crisp and clean profile, always use filtered or bottled spring water. Filtered water removes impurities while retaining the essential minerals that help extract the flavorful compounds from the coffee grounds.
Avoid using distilled water, as the total lack of minerals can result in a flat, dull, and lifeless brew that lacks the necessary depth.
The chemistry of the water facilitates the extraction of sweetness and oils, so starting with a neutral, clean base allows the natural characteristics of the bean to shine through without interference.
Additionally, starting with room temperature or cool water is standard, as hot water would change the chemical reaction and increase acidity. By prioritizing high-quality water, you guarantee that every sip of your cold brew concentrate is smooth, refreshing, and free from any unwanted environmental contaminants.
Step-by-Step Guide to Making Cold Brew
Measuring Your Coffee-to-Water Ratio
To begin your cold brew journey, you must first master the essential coffee-to-water ratio, which dictates the strength and body of your final beverage. For a versatile concentrate that can be diluted later, a 1:4 ratio is highly recommended by experts.
This means using one cup of coarsely ground coffee for every four cups of filtered water. If you prefer a milder, ready-to-drink version, you might opt for a 1:8 ratio instead.
Always ensure you are using coarse grounds that resemble sea salt, as fine grounds will result in a muddy, over-extracted liquid. Using a digital scale is the most accurate way to measure your ingredients, but standard measuring cups will suffice for beginners.
Remember that the quality of your water is just as important as the beans; always use filtered water to ensure that no chlorine or mineral off-flavors interfere with the delicate, chocolatey notes typically found in a well-prepared cold brew batch.
The Mixing and Steeping Process
Once your ingredients are measured, place the coarse grounds into a large glass jar or a dedicated cold brew maker. Slowly pour your filtered water over the grounds, ensuring they are fully saturated to facilitate even extraction.
Use a long spoon to gently stir the mixture, but avoid over-agitating the coffee, which can lead to bitterness. Secure the lid tightly and let the mixture sit at room temperature or in the refrigerator. The ideal steeping time for a balanced flavor profile is between 12 and 18 hours.
Shorter times may leave the brew tasting weak and acidic, while steeping for longer than 24 hours can extract unwanted tannins and woody flavors.
Because cold brew does not use heat, this extended slow-extraction process creates a much lower acidity level than traditional hot coffee, making it significantly smoother on the stomach.
Keep the vessel away from direct sunlight during this period to maintain a consistent temperature and protect the flavor integrity of the beans.
How to Properly Strain Your Concentrate
After the steeping time is complete, the final critical step is to strain the mixture to remove all silt and sediment. If you are using a French press, simply push the plunger down slowly.
For other vessels, set a fine-mesh sieve over a clean carafe and line it with a paper coffee filter or a double layer of cheesecloth.
Pour the liquid through the filter slowly; do not squeeze or press the grounds, as this will force fine particles and bitter oils into your clean concentrate. This filtration process ensures a crisp, clean mouthfeel and a clear appearance.
Once strained, your cold brew concentrate can be stored in a sealed glass bottle in the refrigerator for up to two weeks. When you are ready to serve, remember that this is a concentrate; dilute it by mixing equal parts coffee and water or milk over ice.
This customization allows you to control the caffeine kick and flavor intensity to perfectly match your personal preference every single morning.
How Long to Steep Cold Brew for Maximum Flavor
Recommended Brewing Times at Room Temperature
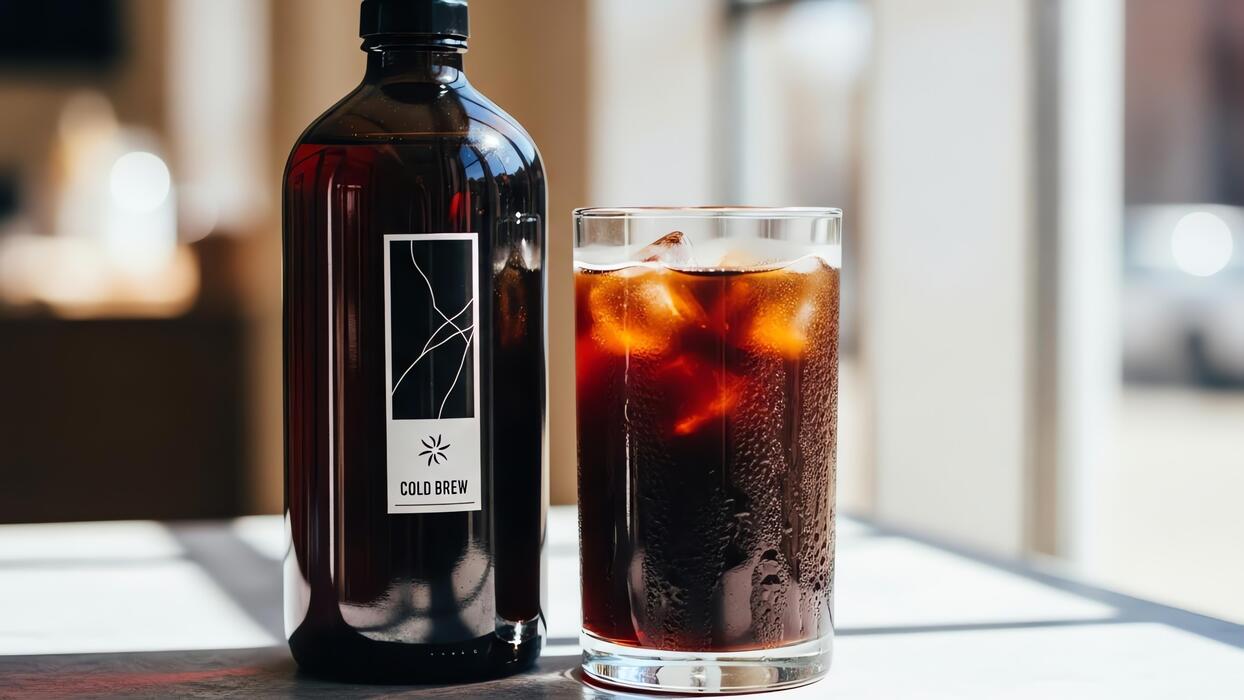
When preparing cold brew coffee at room temperature, the extraction process occurs significantly faster than it does in a chilled environment. For maximum flavor and a smooth, chocolatey profile, you should aim for a steeping window of 12 to 16 hours.
Starting with a coarse grind size is essential to prevent the water from pulling out harsh tannins too quickly. If you leave the grounds to sit for less than 12 hours, the resulting concentrate may taste weak, acidic, or underdeveloped.
Conversely, exceeding the 16-hour mark at room temperature often leads to a heavy, woody flavor that masks the delicate notes of the bean. To achieve the best results, place your brewing vessel in a cool, dark spot away from direct sunlight to maintain a consistent thermal environment.
Once the timer hits the sweet spot, use a dual-filtration method with a metal mesh and a paper filter to ensure a clean, sediment-free finish that highlights the natural sweetness of your chosen coffee roast.
Steeping in the Refrigerator vs Countertop
The location where you choose to steep your cold brew drastically alters the total preparation time and the final taste profile. If you prefer the countertop method, the warmth accelerates the chemical breakdown of the grounds, requiring only 12 to 18 hours to reach full strength.
This method typically produces a bolder, more robust body. However, many enthusiasts prefer refrigerator steeping, which slows down extraction and results in a much brighter, cleaner, and more nuanced cup.
Because the cold temperature inhibits the release of oils and acids, you must extend the brewing time to 20 to 24 hours to compensate. Regardless of the location, you must ensure the container is tightly sealed to prevent the coffee from absorbing odors from other foods.
Choosing between these methods depends on your patience and flavor preference; the fridge offers a milder acidity, while the countertop provides a faster turnaround with a deeper, more traditional cold brew punch that stands up well to heavy milk or creamers.
Signs of Over-Extracted or Bitter Coffee
Understanding when to stop the brewing process is the most critical step in learning how to prepare cold brew coffee perfectly. If you let the grounds steep for too long—typically over 24 hours at room temperature or 30 hours in the fridge—you will encounter over-extraction.
The primary indicator of this is a sharp, bitter aftertaste that lingers on the tongue, often accompanied by a dry or astringent mouthfeel. You might also notice a muddy or dusty aroma instead of the fresh, nutty scent characteristic of high-quality cold brew.
Another sign is a dark, opaque appearance that lacks the vibrant clarity of a well-timed steep. If your batch tastes like charcoal or burnt wood, it is a clear signal that the solubles have broken down too far.
To fix a slightly over-extracted batch, you can try diluting the concentrate with extra water or milk, but for maximum flavor, it is always better to monitor your timer closely and strain the grounds immediately once the recommended duration has been reached.
Tips for Serving and Diluting Cold Brew Concentrate
Finding Your Perfect Dilution Ratio
When learning how to prepare cold brew coffee, mastering the dilution process is the most critical step for a balanced flavor profile. Cold brew concentrate is highly potent and intended to be mixed with liquid before consumption.
A standard starting point is a 1:1 ratio, combining equal parts concentrate and water for a robust, full-bodied cup. If you prefer a lighter, more refreshing beverage similar to traditional iced coffee, try a 1:2 or 1:3 ratio instead.
Always pour the concentrate over ice first, then add your diluent to ensure even mixing and immediate chilling. Because every batch varies based on the bean origin and steeping time, it is wise to taste-test your brew before finishing the pour.
Adjusting the strength allows you to customize the caffeine kick and acidity levels to your personal preference. Keep in mind that melting ice will further dilute the drink, so starting with a slightly stronger concentrate mix often yields the best long-term results.
Milk and Sweetener Options for Cold Brew
The low acidity of cold brew makes it an excellent canvas for various additives that enhance its naturally chocolatey and nutty notes. For a creamy texture, dairy milks or heavy cream provide a classic richness that cuts through the intensity of the concentrate.
If you prefer plant-based alternatives, oat milk and almond milk are popular choices because they froth well and add a subtle sweetness without overpowering the coffee. When it comes to sweetening your drink, avoid using granulated sugar, which often fails to dissolve in cold liquids.
Instead, opt for liquid simple syrups, agave nectar, or honey, which integrate seamlessly into the chilled beverage. You can also experiment with flavored syrups like vanilla or caramel to create a cafe-style experience at home.
To keep the drink smooth, always stir your sweeteners thoroughly into the concentrate before adding ice or cold milk. This ensures a consistent flavor from the first sip to the very last drop of your homemade preparation.
Creative Ways to Use Coffee Ice Cubes
One of the most effective professional secrets for maintaining the integrity of your cold brew is the use of specialized coffee ice cubes. Standard water-based ice cubes eventually melt, watering down your carefully prepared concentrate and ruining the flavor balance.
To prevent this, simply pour some of your extra cold brew concentrate into a silicone ice tray and freeze it overnight. As these caffeine-infused cubes melt, they actually release more coffee flavor into your glass, keeping the strength consistent until the end.
For a gourmet twist, you can freeze small amounts of vanilla extract or cinnamon within the coffee cubes to slowly infuse your drink with aromatics as you sip. This technique is particularly helpful if you enjoy drinking your coffee slowly over a long morning or during a hot afternoon.
Using coffee cubes ensures that your last sip is just as bold and flavorful as your first, providing a premium drinking experience that eliminates the common problem of a watery, diluted beverage.
How to Store Cold Brew and Keep it Fresh
Best Storage Containers for the Fridge
To preserve the integrity of your cold brew, selecting the right vessel is the most critical first step. You should prioritize using airtight glass containers, such as Mason jars or specialized glass carafes, because glass is non-porous and will not leach unwanted chemical flavors into your coffee.
Avoid plastic containers whenever possible, as they can retain odors from previous contents and may allow oxygen to seep in over time. Ensure the lid creates a complete hermetic seal to prevent the coffee from absorbing odors from other foods in your refrigerator, like onions or leftovers.
If you have prepared a large batch, consider transferring the liquid into smaller bottles to minimize the headspace of oxygen inside each container. Reducing the surface area exposed to air significantly slows down the oxidation process, which is the primary culprit behind stale-tasting coffee.
Keeping the container clean and dedicated solely to coffee will ensure that every glass you pour tastes as crisp and clean as the moment it was first strained.
How Long Homemade Cold Brew Lasts
Understanding the shelf life of your brew is essential for both safety and flavor quality. Generally, a undiluted cold brew concentrate will remain fresh and delicious for up to two weeks when stored properly in the refrigerator.
However, for the peak flavor experience, many baristas recommend consuming the batch within the first seven to ten days.
If you have already diluted the concentrate with water or milk, the lifespan drops significantly; diluted cold brew should be consumed within two to three days to avoid a watery or flat profile.
It is important to perform a quick sensory check before drinking; if you notice any visible mold, a sour or vinegary smell, or an unusually cloudy appearance, it is time to discard the batch.
The high concentration of caffeine and oils acts as a slight preservative, but because homemade versions lack the stabilizers or pasteurization found in commercial products, strict adherence to these timelines ensures you always enjoy a safe and high-quality beverage without any degradation in the complex flavor notes.
Tips for Maintaining Freshness and Aroma
To keep your cold brew tasting vibrant, you must protect it from light, heat, and air exposure. Always store your coffee in the back of the refrigerator where the temperature is most consistent, rather than in the door where frequent opening causes temperature fluctuations.
If you find yourself with excess coffee that you cannot finish in time, try freezing the liquid into cold brew ice cubes. This prevents waste and ensures that your next iced coffee won’t be watered down as the cubes melt.
Another professional tip is to avoid adding sweeteners or dairy directly into the main storage pitcher; only add these enhancements to your individual serving glass to keep the bulk of the batch stable.
Maintaining a strict filtration process during preparation is also vital, as removing all fine sediment prevents the coffee from continuing to over-extract and turning bitter while it sits.
By following these simple maintenance steps, you can ensure that the chocolatey, smooth characteristics of your cold brew remain intact from the first pour to the very last drop.
Frequently Asked Questions
What is the best coffee-to-water ratio for cold brew?
A standard ratio is 1:4 or 1:5 for a cold brew concentrate, which can later be diluted. If you prefer a ready-to-drink brew, use a ratio of 1:8 or 1:10 for a smoother, less intense flavor.
What grind size should I use for cold brew coffee?
You should use an extra-coarse grind, similar to the texture of sea salt or breadcrumbs. A coarse grind ensures a clean extraction and makes it much easier to filter out the sediment after steeping.
How long should cold brew coffee steep?
Cold brew typically needs to steep for 12 to 24 hours at room temperature or in the refrigerator. Steeping for less than 12 hours may result in a weak brew, while going beyond 24 hours can lead to over-extraction and bitterness.
Do I need a special coffee maker to make cold brew?
No special equipment is required; you can simply use a large glass jar or a French press. After steeping, you just need a way to filter the grounds, such as a fine-mesh sieve, cheesecloth, or a standard paper coffee filter.
Should I steep cold brew in the fridge or on the counter?
Both methods work, but they produce slightly different results. Room temperature brewing is faster and tends to extract more floral notes, while refrigerated brewing takes longer but results in a very clean, crisp flavor profile.
How do I serve cold brew once it is finished?
If you made a concentrate, dilute it with equal parts water or milk and serve over ice. You can also customize your drink with simple syrup, cream, or cold foam to suit your taste preferences.
How long does homemade cold brew stay fresh?
Stored in an airtight container in the refrigerator, cold brew concentrate can stay fresh for up to two weeks. If you have already diluted the coffee with water, it is best consumed within 2 to 3 days for optimal flavor.
Conclusion
Mastering cold brew coffee at home is a simple yet rewarding process that requires patience rather than expensive equipment. By selecting quality beans, using a coarse grind, and allowing ample steeping time, you can achieve a smooth, low-acid concentrate that lasts for days. Now that you understand the fundamentals, feel free to experiment with different ratios and origins. Start your first batch tonight and enjoy the refreshing, bold flavors of professional-grade coffee right from your kitchen.