How To Make Really Good Cold Brew
If you’re searching for how to make really good cold brew, you probably already know that weak, bitter, or watery results are the biggest letdowns. The secret isn’t just time—it’s the right coffee-to-water ratio, coarse grind, and steeping technique. You’ve come to the right place. This guide cuts through the noise to give you a smooth, concentrated brew that’s bold, not harsh, every single time.
What Makes Cold Brew Different from Iced Coffee
The cold brewing process explained
Unlike iced coffee, which is simply hot-brewed coffee poured over ice, cold brew is made by steeping coarsely ground coffee beans in cold or room-temperature water for 12-24 hours. This slow extraction process uses time, not heat, to pull flavors from the grounds.
To make really good cold brew, start with a 1:4 or 1:5 coffee-to-water ratio (by weight) for a concentrate. Use filtered water and a clean glass jar or French press. After steeping, filter the mixture through a fine-mesh sieve or cheesecloth to remove grounds.
The result is a smooth, concentrated base that you dilute with water or milk. Key tips: grind your beans coarsely (like sea salt) to avoid over-extraction, and never use hot water—even a little heat can introduce bitterness.
Store your concentrate in the fridge for up to two weeks for consistent quality.
Flavor profile: smooth vs. bitter
The most noticeable difference between cold brew and iced coffee is taste. Hot brewing extracts oils and acids that create bright, sometimes bitter notes, which are then diluted by ice.
Cold brew, however, extracts fewer bitter compounds and oils due to the lack of heat, resulting in a naturally sweeter, smoother, and less acidic flavor. To make really good cold brew, choose a medium or dark roast with chocolatey or nutty notes—these shine in cold extraction.
Avoid light roasts with floral or citrus notes, as they can taste flat. The long steep time also brings out subtle sweetness and low bitterness, making cold brew ideal for those who find iced coffee too harsh.
For best results, taste your concentrate after 12 hours; if it’s too weak, steep longer. Remember: over-steeping (over 24 hours) can introduce unpleasant flavors, so stick to the sweet spot.
Caffeine content differences
Cold brew typically has more caffeine per ounce than iced coffee due to its higher coffee-to-water ratio. A standard 8-ounce serving of cold brew concentrate (diluted 1:1) can contain 150-200 mg of caffeine, compared to iced coffee’s 100-150 mg.
However, because cold brew is often served as a concentrate, you control the strength. To make really good cold brew with desired caffeine, adjust your ratio: use 1:4 for a strong concentrate or 1:8 for a ready-to-drink brew. For less caffeine, dilute more with water or milk.
Note that steeping time doesn’t significantly boost caffeine after 12 hours, so focus on grind size and ratio. If you’re sensitive to caffeine, use decaf beans—cold brew works great with them, too. Always start with a small test batch to find your perfect strength without waste.
Best Coffee Beans for Cold Brew

Single-origin vs. blends for cold brew
Choosing between a single-origin and a blend depends on your flavor goal. Single-origin beans, like a washed Ethiopian Yirgacheffe, can produce a bright, fruity, and tea-like cold brew with delicate floral notes. However, they may lack the body needed for a rich, concentrated drink.
Blends, especially those crafted for cold brew, are designed to balance acidity, sweetness, and body. A good cold brew blend often combines beans from Brazil (chocolate, nutty) with a touch of Sumatra (earthy, spicy) for depth.
For a truly smooth and balanced result, start with a medium-roast blend that highlights chocolate and caramel notes. If you want to explore unique flavor profiles, try a single-origin from Central America for a clean, crisp brew.
Remember, cold brew mutes acidity, so a blend that’s slightly more acidic in hot brew becomes perfectly balanced when steeped. Experiment with small batches to find your preference—buy 4 oz of each and compare side-by-side. Ultimately, a well-constructed blend often yields the most crowd-pleasing, consistent cold brew.
Roast level: light, medium, or dark
Roast level dramatically impacts cold brew’s flavor. Dark roasts are the most popular choice because they produce a bold, chocolatey, and low-acid brew with a heavy body. The roasting process breaks down acids, so the result is smooth and rich—ideal for iced coffee or with milk.
However, over-roasted dark beans can taste ashy or burnt when cold-steeped. Medium roasts offer the best of both worlds: a balanced sweetness with notes of caramel, nuts, and a hint of fruit. They maintain enough acidity for complexity without being sharp, making them versatile for straight cold brew or lattes.
Light roasts are tricky—they often yield a thin, sour, or grassy cold brew because cold extraction doesn’t fully develop their delicate flavors. If you love light roasts, try a longer steep time (20-24 hours) and a finer grind to coax out sweetness.
For most home brewers, a medium-dark roast is the sweet spot: it’s forgiving, smooth, and rich. Avoid very dark roasts with an oily surface, as they can clog filters and taste bitter. Test one roast at a time and note the flavor profile.
Grind size and why it matters
Grind size is critical for cold brew success—it controls extraction and clarity. Use a coarse grind, similar to breadcrumbs or sea salt. Why? Cold water extracts slowly, so a coarse grind prevents over-extraction of bitter compounds while allowing enough surface area for flavor.
A too-fine grind (like espresso) leads to muddy, over-extracted, and bitter cold brew because the fine particles release tannins and harsh flavors. It also makes filtering a nightmare—clogged filters and sludge. A too-coarse grind (like whole peppercorns) results in weak, watery brew because water can’t penetrate the beans fully.
For a standard 12-16 hour steep, a consistent coarse grind is ideal. Use a burr grinder for uniform particles; blade grinders produce uneven sizes, causing some over-extraction and some under-extraction. If you don’t have a grinder, buy whole beans and ask the roaster to grind for cold brew.
Pro tip: after grinding, check for powder—if you see dust, sift it out. A clean, coarse grind gives you silky-smooth, full-flavored cold brew every time. Adjust grind size if your brew is too bitter (go coarser) or too weak (go slightly finer).
How to Make Cold Brew at Home: Step-by-Step
Basic ratio of coffee to water
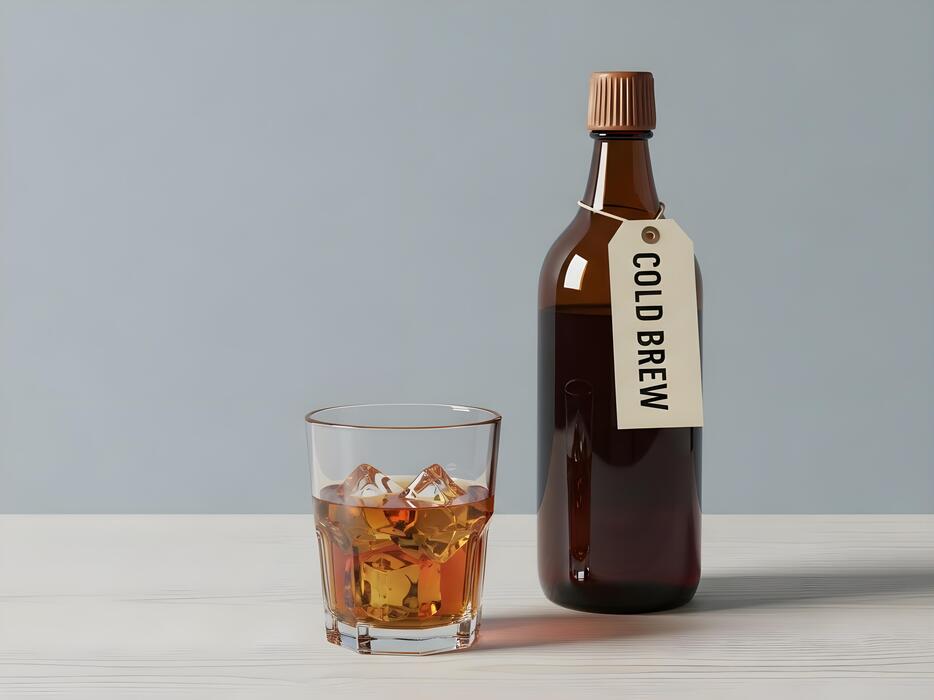
For truly excellent cold brew, start with a 1:8 coffee-to-water ratio by weight (e.g., 100g coffee to 800g water). This yields a balanced concentrate that you can dilute later. Use coarsely ground beans—like breadcrumbs—to prevent over-extraction and bitterness.
A medium roast works best; dark roasts can turn harsh, while light roasts may taste too acidic. If you prefer a ready-to-drink strength, try a 1:15 ratio (100g coffee to 1500g water) and skip diluting. Always use filtered water for clean flavor.
Weigh your ingredients for consistency; volume measures (cups) are less precise. For a richer body, experiment with a 1:7 ratio, but steep for less time. Remember, the grind size is crucial: too fine creates sludge, too coarse yields weak brew.
Start with these ratios, then adjust based on your taste preference.
Steeping time and temperature tips
Steep cold brew at room temperature (68–72°F) for 12–24 hours for optimal extraction without bitterness. Refrigerator steeping (35–40°F) requires 24–48 hours but yields a smoother, milder brew. For a quick method, steep for 8–12 hours at room temp, but expect lighter flavor.
Avoid steeping longer than 24 hours at room temp to prevent off-flavors. Use a clean, sealed container (like a mason jar) to minimize oxidation. Stir the grounds once after 6 hours to ensure even extraction. If you want maximum caffeine, steep 18–20 hours at room temp.
For a sweeter, less acidic brew, stick to 12–14 hours. Always taste after 12 hours—your preference is the final guide. Remember, colder temps slow extraction, so adjust time accordingly. A consistent temperature yields the best results, so avoid placing the container in direct sunlight or near a heat source.
Straining methods for a clean brew
Strain your cold brew through a fine-mesh sieve lined with a damp paper towel or a nut milk bag for a silky, grit-free result. Avoid using only a sieve—it lets fine particles through, causing sludge.
For large batches, a French press works well: press the plunger slowly, then pour through a paper filter for clarity. A cold brew-specific filter bag (like a reusable cotton sack) simplifies cleanup and reduces sediment. If using a cheesecloth, double-layer it for best results.
For the cleanest brew, strain twice: first through a sieve, then through a paper coffee filter (wet it first to avoid paper taste). This removes even micro-fines, giving a tea-like clarity. Let the strained brew sit for 10 minutes, then pour off the top to avoid sediment at the bottom.
Store your finished concentrate in a sealed glass jar in the fridge for up to two weeks—shake gently before use, as oils may separate.
Tips for Getting the Best Flavor
Using filtered water for better taste
Since cold brew is a concentrate, water quality directly impacts the final flavor. Tap water often contains chlorine, minerals, or off-putting tastes that can mute the coffee’s natural sweetness. For the cleanest, smoothest brew, use filtered or bottled water.
This allows the subtle notes of your beans—like chocolate, caramel, or fruit—to shine through without interference. If you’re using a standard fridge filter, run the water for a few seconds first to clear any stagnant taste.
The ideal water temperature for cold brew is room temperature (around 68–72°F), as cold water from the tap can slow extraction unevenly. Pro tip: if you want to boost flavor complexity, try using a spring water brand with balanced mineral content.
Avoid distilled water, as it lacks the minerals that help extract coffee oils properly. Remember, cold brew is a blank canvas; the better your water, the richer and more vibrant your final concentrate will taste.
How to avoid over-extraction
Over-extraction is the culprit behind bitter, harsh cold brew. To prevent this, focus on two factors: grind size and steep time. Use a coarse grind, similar to breadcrumbs or kosher salt—finer grinds release too many bitter compounds quickly.
For a balanced brew, steep at room temperature for 12–18 hours; longer than 24 hours often extracts unwanted tannins. If you prefer a stronger concentrate, increase the coffee-to-water ratio instead of steeping longer.
Another key tip is to stir your grounds at the halfway point (around 6–9 hours) to ensure even extraction, but avoid agitating them excessively. After steeping, pour the mixture through a fine-mesh sieve lined with a coffee filter or a nut milk bag to remove all sediment.
Pressing the grounds releases bitter oils, so let gravity do the work. Finally, taste your concentrate before diluting—if it’s slightly astringent, you can always cut it with water or milk to soften the edge.
Adding flavors like vanilla or cinnamon
Elevate your cold brew with simple, complementary flavors that enhance without overpowering. For a vanilla twist, split a vanilla bean and steep it with the coffee grounds during the 12–18 hour brew cycle, or add 1–2 teaspoons of pure vanilla extract directly to the finished concentrate.
For cinnamon, break a cinnamon stick into pieces and add it to the grounds; ground cinnamon can create a muddy texture, so stick to whole sticks. Other excellent options include a strip of orange zest, a few cardamom pods, or a pinch of sea salt to reduce bitterness.
If you prefer a sweetened version, stir in a simple syrup (equal parts sugar and water, simmered) after brewing, as sugar dissolves poorly in cold liquid. For a seasonal twist, try a dash of nutmeg or a split star anise. Always strain your added spices thoroughly to avoid grit.
Start with small amounts—flavors intensify as they steep—and adjust to your taste. The goal is to create a nuanced, aromatic cold brew that feels custom-crafted.
How to Store and Serve Cold Brew
Best containers for refrigeration
The container you choose for storing your cold brew is critical for preserving its flavor and freshness. Always opt for airtight, non-reactive containers like glass carafes, mason jars, or BPA-free plastic pitchers. Avoid metal containers, as they can impart a metallic taste over time.
A glass container with a tight-sealing lid is ideal because it won’t absorb odors and allows you to see the brew’s clarity. Store your cold brew in the refrigerator immediately after filtering to slow oxidation and bacterial growth.
For easy pouring and portion control, consider using a container with a spigot or a flip-top bottle. Never leave cold brew at room temperature for more than two hours, as this accelerates spoilage.
If you’re making a large batch, divide it into smaller, individual servings to minimize air exposure each time you open a container. This simple step ensures your brew stays smooth, bold, and free from off-flavors for days.
Shelf life and freshness tips
Properly stored cold brew can stay fresh for 7 to 10 days in the refrigerator, though its peak flavor is within the first 3-4 days. Always keep it chilled and avoid leaving it out; warmth speeds up oxidation and dulls the bright, clean taste.
To maximize shelf life, filter your cold brew thoroughly through a fine-mesh sieve or coffee filter to remove all coffee grounds, which can turn bitter over time. Never add milk or sweeteners to the entire batch; instead, add them per serving to prevent spoilage.
If you notice a sour or flat taste, it’s likely past its prime. For longer storage, freeze cold brew in ice cube trays for use in iced drinks without dilution. Label your container with the brew date, and aim to consume within a week for the most vibrant, low-acid flavor.
Regularly check for any off-smells, and discard if the aroma seems stale or fermented.
Serving suggestions: over ice, with milk, or black
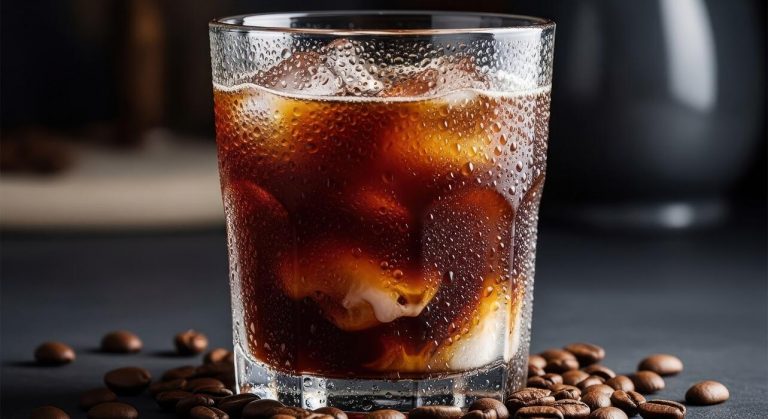
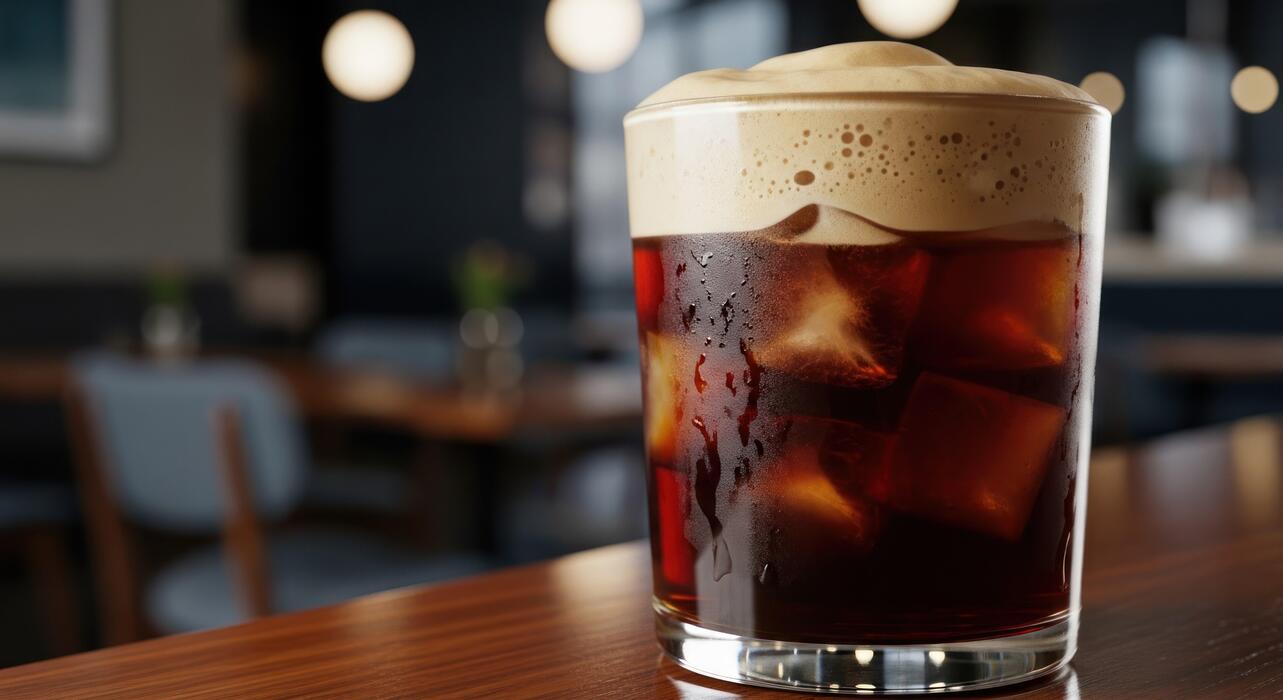
The beauty of cold brew is its versatility. For a classic black serving, pour over a glass filled with large ice cubes to minimize dilution. The smooth, naturally sweet flavor shines without any additions.
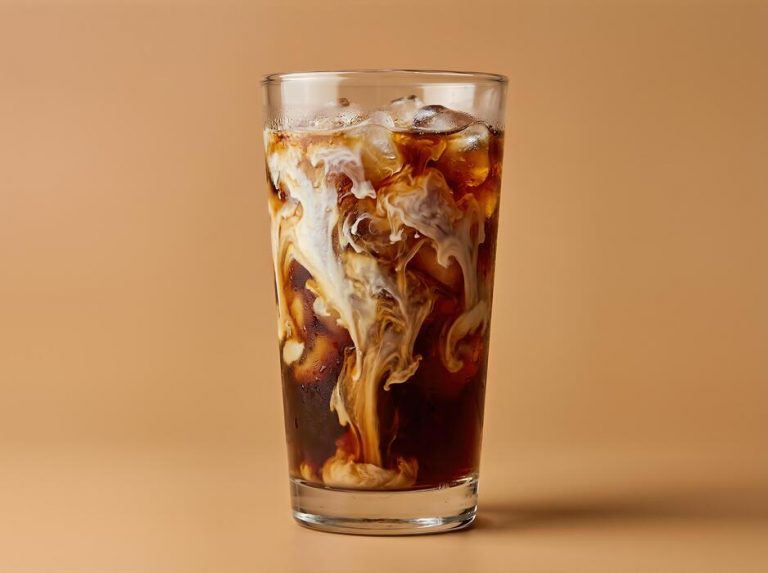
For a creamy version, use whole milk or oat milk for richness; add a splash of vanilla or a pinch of salt to enhance the chocolatey notes. When serving over ice, always chill the glass first and use coffee ice cubes (made from leftover brew) to keep it strong.
For a lighter, refreshing drink, dilute with water or sparkling water and a squeeze of lemon. If you prefer sweetness, add simple syrup or flavored syrups to taste—it dissolves easily in cold liquid.
Experiment with ratios: start with a 1:1 coffee-to-milk ratio for a latte-like drink, or 2:1 for a bolder taste. Serve immediately after pouring to enjoy the full aroma and texture, and garnish with cinnamon or cocoa for an extra touch.
Common Mistakes to Avoid When Making Cold Brew
Using the wrong grind size
The most common mistake is using a grind that’s too fine, similar to espresso. This leads to over-extraction and bitter, muddy cold brew. Instead, aim for a coarse, uniform grind, like raw sugar or breadcrumbs. A coarse grind allows water to flow through slowly without releasing harsh tannins.
If your brew tastes bitter or gritty, your grind is likely too fine. Conversely, if it’s weak and watery, you might be grinding too coarsely, though this is less common. Invest in a quality burr grinder for consistency. For pre-ground coffee, ask for a ‘French press’ or ‘cold brew’ grind.
Remember, the goal is a smooth, rich concentrate, so start coarse and adjust based on taste. A simple test: your grounds should look like coarse sea salt, not powder.
Not straining properly
Skipping a proper straining step leaves your cold brew with a gritty, unpleasant sediment. Even with coarse grounds, fines (tiny particles) can pass through. The solution: double strain your brew. First, pour through a fine-mesh sieve lined with a coffee filter or a nut milk bag.
Let it drip naturally; don’t press or squeeze the grounds, as that forces bitter oils into the liquid. For extra clarity, strain again through a paper filter or a clean cloth. If you use a French press, pour through a fine-mesh strainer afterward.
A clean, sediment-free cold brew is smoother and stays fresh longer. Always strain into a clean container. This simple step transforms a cloudy brew into a crisp, restaurant-quality concentrate.
Steeping too long or too short
Steeping time is crucial for balanced flavor. Too short (under 12 hours) yields a weak, sour brew. Too long (over 24 hours) extracts bitter, woody compounds. The sweet spot is 16-18 hours at room temperature or 18-24 hours in the fridge.
Room temp steeping extracts faster, so check at 16 hours. Refrigerator steeping is more forgiving but takes longer. Taste-test after 18 hours: it should be smooth, sweet, and concentrated, not harsh or acidic. If it’s bitter, you steeped too long; if watery, too short.
Set a timer and resist the urge to stir or check frequently. Once done, strain immediately. Remember, cold brew is a concentrate, so it’s normal to be strong. Adjust steeping time based on your grind and water temperature for perfect results every time.
How to Scale Up Cold Brew for a Crowd
Large batch ratios and equipment
To scale up for a crowd, stick with a 1:8 coffee-to-water ratio by weight for a balanced concentrate that dilutes well. For a 1-gallon batch, that’s about 1 pound (454 grams) of coarse-ground coffee to 1 gallon (3.8 liters) of cold, filtered water.
Use a food-grade 5-gallon bucket or a large glass jar with a spigot for easy serving. Line the bucket with a large nut milk bag or fine-mesh brewing bag to contain grounds, making cleanup simple.
Stir the coffee and water thoroughly, then cover and steep in the refrigerator for 18–24 hours. After steeping, lift the bag and let it drain fully, or pour through a fine-mesh strainer lined with cheesecloth.
For even larger batches, scale linearly: for 5 gallons, use 5 pounds of coffee and 19 liters of water. Pre-measure your coffee and water in separate containers before combining to ensure accuracy. A cold brew toddy system or commercial-grade filter can handle 2–3 gallons at once, saving space and effort.
Making concentrate vs. ready-to-drink
Decide between concentrate and ready-to-drink based on your serving style and storage. Concentrate uses a 1:4 to 1:5 ratio (e.g., 1 cup coffee to 4 cups water), yielding a strong brew that you dilute 1:1 with water, milk, or ice.
This is ideal for a crowd because it saves fridge space and lets guests customize strength. For ready-to-drink, use a 1:8 to 1:10 ratio and skip dilution—perfect for self-serve pitchers. To make concentrate, steep 1 pound of coffee with 4–5 cups of water for 18–24 hours, then strain.
For ready-to-drink, use the same 1:8 ratio as above. Pro tip: Always test your concentrate strength by diluting a small sample; adjust the dilution ratio for your crowd’s taste.
If serving immediately, you can also make a batch of ready-to-drink and offer extra water or milk on the side for those who prefer a lighter brew.
Cost-saving tips for bulk brewing
Bulk brewing is inherently cost-effective, but you can save more by buying coffee in bulk from wholesale clubs or local roasters—look for whole beans to grind yourself, as pre-ground costs more and loses freshness. Use a coarse grind to maximize extraction and avoid waste; a burr grinder ensures consistency.
Opt for commercial-grade cold brew bags (reusable) instead of disposable filters to cut long-term costs. Stretch your concentrate by diluting it with filtered water or oat milk at a 1:1 or 1:2 ratio, depending on taste.
For a large event, make a double-strength concentrate (1:4 ratio) and dilute on-site—this uses less coffee per serving than ready-to-drink. Also, buy coffee in 5-pound bags and store it in an airtight container in a cool, dark place.
Finally, reuse your coffee grounds for compost or body scrubs, reducing waste and adding value to your bulk brewing process.
Frequently Asked Questions
What is the best coffee-to-water ratio for cold brew?
For a strong, flavorful concentrate, use a 1:4 ratio (1 cup coffee to 4 cups water). For a milder ready-to-drink brew, use 1:8. Adjust to taste, but start with 1:4 for a rich base.
Should I use coarse or fine ground coffee for cold brew?
Always use coarse ground coffee, similar to sea salt. Fine grounds over-extract during the long steeping time, leading to bitterness and sludge. Coarse grounds produce a smooth, clean brew.
How long should I steep cold brew for the best flavor?
Steep for 12 to 24 hours at room temperature or in the refrigerator. 18 hours is a sweet spot for most beans—longer than 24 hours can cause over-extraction and bitterness.
What type of coffee beans make the best cold brew?
Use medium to dark roast beans with chocolate, nutty, or caramel notes. Light roasts can taste sour or acidic. Single-origin beans like Colombian or Brazilian work well for a smooth finish.
Do I need special equipment to make cold brew?
No, you can use a large jar or pitcher and a fine-mesh strainer or cheesecloth. A French press also works. For convenience, a cold brew maker with a built-in filter simplifies the process.
How do I filter cold brew to remove all sediment?
Strain through a fine-mesh sieve lined with a coffee filter or cheesecloth. For extra clarity, double-filter by pouring through a paper filter after the initial strain. Avoid pressing the grounds.
Can I make cold brew with flavored or pre-ground coffee?
Yes, but avoid finely ground coffee as it will be bitter. Flavored beans can add nice notes, but check that the grind is coarse. Pre-ground drip coffee is too fine and will result in a muddy brew.
How should I store cold brew and how long does it last?
Store cold brew concentrate in an airtight container in the refrigerator. It stays fresh for up to 2 weeks. Dilute with water or milk before drinking, and never leave it at room temperature after filtering.
Conclusion
To make really good cold brew, remember the golden ratio of coarse grounds to cool water, steep for 12-24 hours, and always filter twice for a silky finish. The result is a smooth, low-acid concentrate that transforms your mornings. Don’t be intimidated by the wait—this simple, rewarding process unlocks coffee’s sweetest potential. Brew a batch tonight and elevate your daily ritual tomorrow.