How To Make Perfect Cold Brew
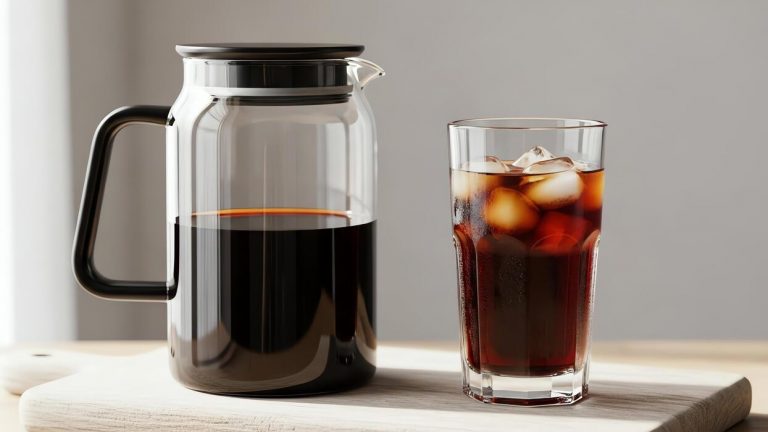
Mastering how to make perfect cold brew comes down to nailing the ratio, grind, and steep time to avoid bitter or weak results. You’ve likely tried it before—only to end up with something acidic or watery. That ends here. We’ll walk you through the precise formula for a smooth, naturally sweet concentrate that highlights your beans’ best flavors, every single time. No guesswork needed.
What Is Cold Brew Coffee?
Cold brew vs. iced coffee: key differences
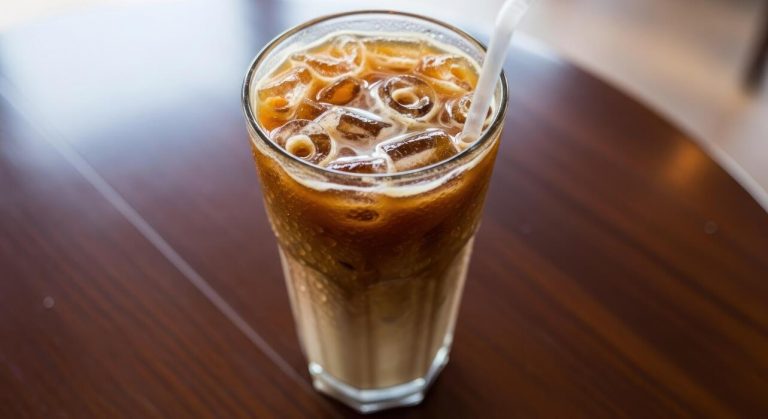
Understanding the difference is your first step to perfection. Iced coffee is simply hot-brewed coffee that’s been cooled down and poured over ice. This quick method often results in a more acidic, bitter taste because heat extracts those compounds rapidly.
Cold brew, on the other hand, involves steeping coarsely ground coffee in cold or room-temperature water for 12-24 hours. This slow, gentle extraction never exposes the grounds to heat, which dramatically reduces the release of bitter oils and acids.
The result is a concentrated coffee base that you dilute with water or milk. For perfect cold brew, remember: time and temperature are your tools, not heat. Use a ratio of 1:4 (coffee to water) for a strong concentrate, then dilute to taste (usually 1:1 or 1:2).
This method yields a smoother, sweeter, and less acidic final cup that stays fresh in the fridge for up to two weeks—perfect for busy mornings.
Why cold brew tastes smoother and less acidic
The science behind cold brew’s signature smoothness lies in its extraction chemistry.
Hot water aggressively pulls out organic acids (like chlorogenic acid) and bitter compounds (like caffeine’s harsh edges) from coffee grounds. Cold water, being less energetic, selectively extracts the sweeter, more aromatic flavor compounds—such as sugars and oils—while leaving behind up to 66% of the acids that cause bitterness and stomach irritation.
This lower acidity is why cold brew feels silky and mellow on your palate, with a natural sweetness and chocolatey finish. To maximize smoothness, always use a coarse grind (like sea salt) to avoid over-extraction, which can introduce astringency.
Steep for 16-18 hours at room temperature or 20-24 hours in the fridge. Filter twice through a fine-mesh sieve and a paper filter or cheesecloth to remove all fine particles. The result? A concentrate that tastes like liquid velvet, perfect for sipping black or over ice.
Best coffee beans for cold brew
Choosing the right beans is critical for a perfect brew. Opt for single-origin beans with low acidity and bold flavor profiles, like those from Brazil, Sumatra, or Colombia. These regions produce beans with natural chocolate, nutty, and caramel notes that shine in cold brew.
Avoid bright, fruity, or floral African beans (like Ethiopian Yirgacheffe), as their high acidity can become harsh when concentrated. Dark roasts are generally best because the roasting process further reduces acidity and brings out deep, smoky-sweet flavors. However, a medium roast can also work if it’s balanced.
Grind your beans coarsely just before brewing—pre-ground coffee is too fine and will over-extract, causing bitterness. Use a ratio of 1 cup (about 85 grams) of coffee to 4 cups (950 ml) of water for a standard concentrate. For a bolder, richer taste, try a 1:3 ratio.
Store your beans in an airtight container away from light and heat to preserve freshness. Experiment with different origins to find your perfect smooth cup.
Essential Equipment for Cold Brew
Cold brew makers vs. DIY setups
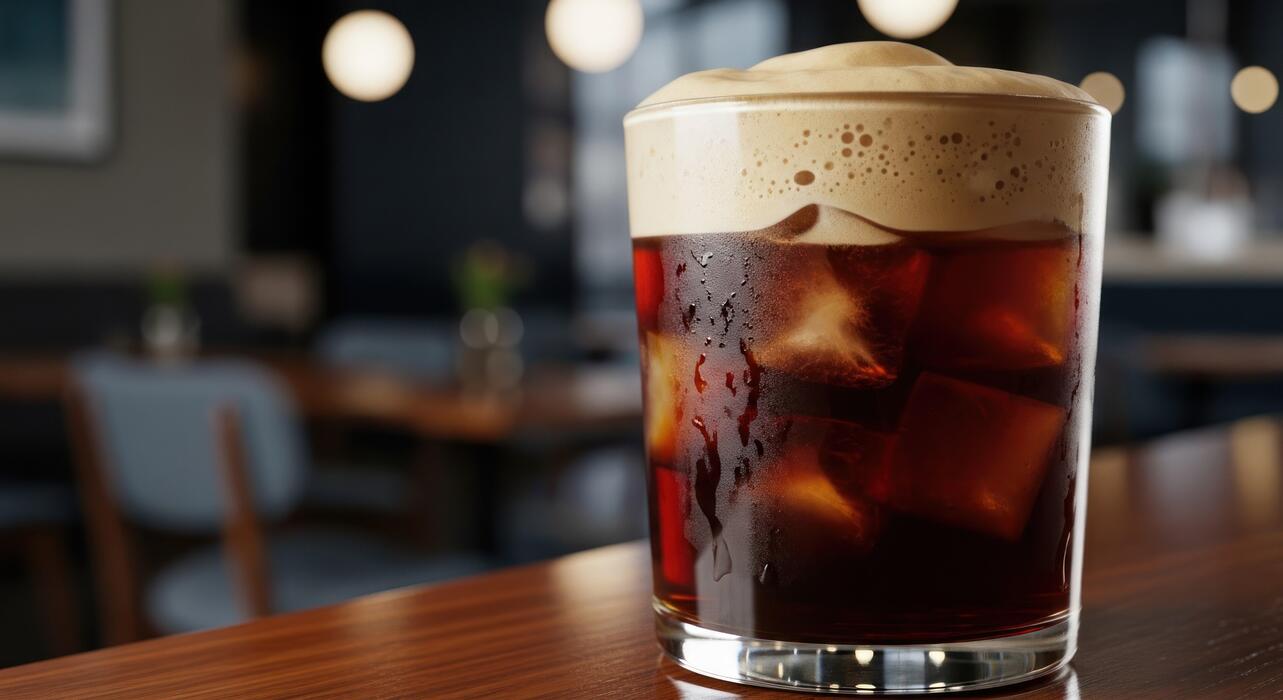
When deciding between a dedicated cold brew maker and a DIY setup, focus on convenience versus control. Commercial makers like the Toddy or OXO offer built-in filters and easy dispensing, making cleanup straightforward. They often come with a reusable filter that catches fine sediment, producing a clean concentrate.
However, DIY setups—a simple mason jar, French press, or even a pitcher with a nut milk bag—give you total freedom over batch size and strength. For example, a large Mason jar with a cheesecloth-lined funnel costs under $10 and yields the same quality as a $50 maker.
The key trade-off is that DIY requires more careful filtering and decanting. If you make cold brew weekly, a dedicated system saves time; if you’re experimenting, start with a jar and a fine-mesh strainer.
Pro tip: Always choose a setup that allows easy separation of grounds to avoid over-extraction, which leads to bitterness.
Choosing the right container and filter
Your container must be food-grade and non-reactive, like glass or BPA-free plastic. Avoid metal containers that can impart a metallic taste during the long steep. A wide-mouth Mason jar or a dedicated cold brew pitcher works best because it allows easy stirring and removal of grounds.
For the filter, use a fine-mesh filter or a reusable cold brew bag (like a nut milk bag) to trap even tiny coffee particles. Paper filters are an option but can absorb some oils, reducing body.
A practical choice is a stainless steel mesh filter that fits your container—it’s reusable and provides a clean cup. Key detail: Ensure the filter is large enough to allow water to flow through freely; a clogged filter slows extraction and creates sludge.
Rinse the filter before use to remove any dust, and always check that the container lid seals tightly to keep out fridge odors.
Grinder settings for coarse grounds
For perfect cold brew, use a coarse grind similar to breadcrumbs or raw sugar. A fine grind leads to over-extraction, making the brew bitter and muddy, while too coarse results in weak, watery coffee.
If you have a burr grinder, set it to the coarsest setting (around 20-25 on a scale of 1-40). For blade grinders, pulse briefly in short bursts to avoid creating powder. The goal is uniform, chunky particles that allow water to extract flavors slowly over 12-24 hours.
To test your grind: press a pinch between your fingers—it should feel gritty, not like sand. If you don’t have a grinder, buy pre-ground coffee labeled for cold brew or French press. Critical tip: Always grind just before brewing; stale grounds lose aromatic oils.
For best results, use a burr grinder for consistency, and adjust coarseness based on your brew time—longer steeps benefit from slightly coarser grinds to avoid bitterness.
How to Make Cold Brew at Home
Step-by-step cold brew recipe
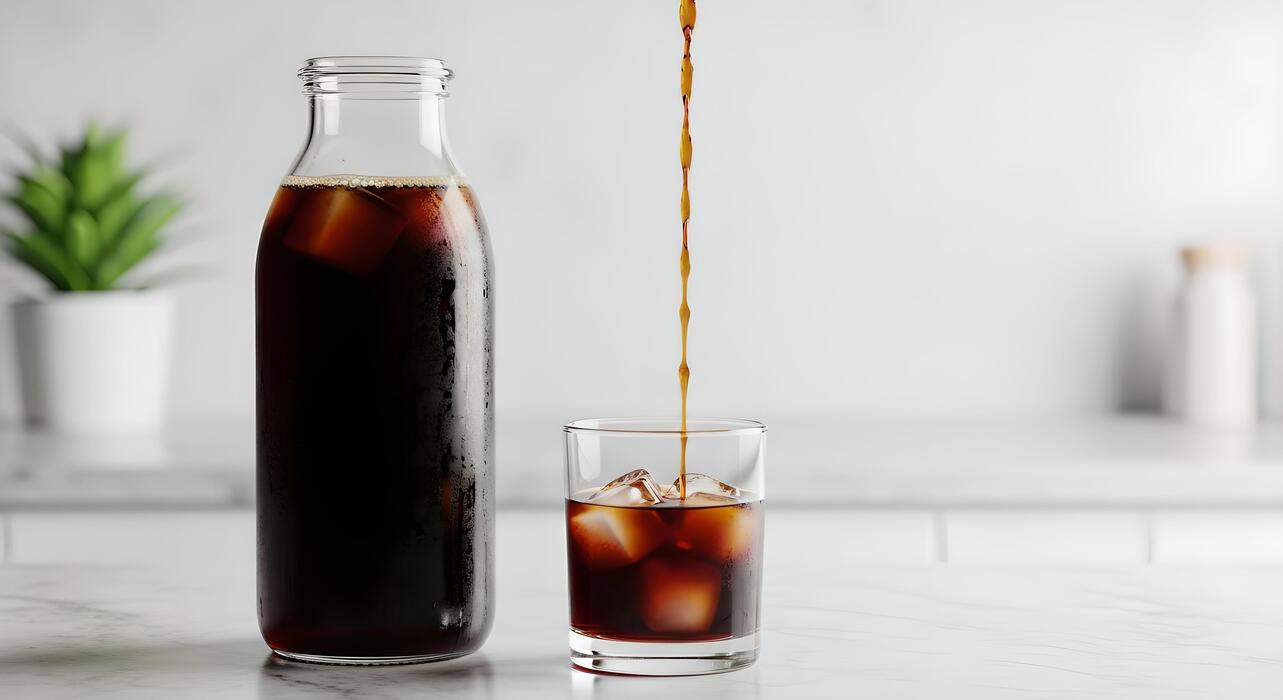
Start with coarse ground coffee—a burr grinder on the coarsest setting is ideal. Combine 1 cup of grounds with 4 cups of cold, filtered water in a large jar or pitcher. Stir gently to ensure all grounds are saturated.
Cover with a lid or plastic wrap, then steep at room temperature for 12 to 24 hours. For a cleaner brew, line a fine-mesh sieve with a coffee filter or cheesecloth and strain into a clean container. Avoid pressing or squeezing the grounds to prevent bitterness.
The result is a smooth, concentrated coffee that stores well in the fridge for up to two weeks. For a ready-to-drink version, dilute the concentrate with equal parts water or milk. Serve over ice, and add sweetener or flavorings like vanilla or cinnamon if desired.
This simple method ensures a rich, low-acid coffee that’s perfect for hot days.
Perfect coffee-to-water ratio for strength
The ideal ratio for cold brew concentrate is 1 part coffee to 4 parts water by weight (e.g., 100 grams coffee to 400 grams water). This yields a strong, balanced concentrate that you can dilute to taste.
For a milder, ready-to-drink brew, use a 1:8 ratio (e.g., 100 grams coffee to 800 grams water). If you prefer a bolder flavor, try a 1:3 ratio, but note this may require longer steeping and careful straining. Always use coarse grounds to avoid over-extraction and sediment.
For precise results, weigh your coffee and water with a kitchen scale. Adjust the ratio based on your preferred strength: more coffee means a stronger concentrate, while more water yields a smoother cup. Remember that steeping time also affects strength, so experiment to find your perfect balance.
This ratio ensures a consistent, flavorful cold brew every time.
How long to steep for best flavor
Steep your cold brew for 12 to 24 hours at room temperature for optimal flavor. 12 hours yields a lighter, tea-like brew with subtle coffee notes, while 18 to 20 hours produces a smooth, balanced concentrate with rich chocolate and nutty flavors.
Steeping beyond 24 hours can lead to bitterness and over-extraction, especially if your grind is too fine. For a cleaner taste, refrigerate the brew during the last few hours to slow extraction. Always use coarse grounds to prevent a muddy or harsh result.
If you prefer a stronger, more intense flavor, aim for the upper end of the range but taste-test at 18 hours. Remember that steeping time interacts with your coffee-to-water ratio: a higher coffee ratio may need less time, while a lower ratio can steep longer.
Experiment with your favorite beans to discover the perfect duration for your palate.
Tips for the Perfect Cold Brew Concentrate
Water quality and temperature tips
The foundation of any great cold brew is high-quality, filtered water, as coffee is over 98% water. Tap water with heavy chlorine or mineral content can impart off-flavors and dull the bright notes of your beans.
Use cold or room-temperature filtered water—never hot water, as that would extract bitter compounds and ruin the cold brew process. The ideal water temperature for cold brew is between 68°F and 72°F (20°C to 22°C).
This range allows for a slow, gentle extraction that pulls out sweet, chocolatey flavors without acidity. If your tap water is hard, consider using distilled water with added minerals or a simple Brita filter.
Avoid using ice-cold water straight from the fridge, as it slows extraction too much, leading to weak concentrate. For best results, let your filtered water sit out for a few minutes to reach room temperature before combining with coarse grounds. This small step ensures a balanced, smooth brew every time.
Avoiding bitterness and over-extraction
Bitterness in cold brew typically stems from over-extraction—leaving the grounds in water too long or using too fine a grind. To prevent this, always use a coarse grind resembling breadcrumbs, not powder. Fine grinds release tannins and harsh flavors quickly, even in cold water.
Stick to a steep time of 12 to 18 hours at room temperature; longer than 24 hours often yields a muddy, bitter concentrate. If you prefer a milder taste, steep for 12 hours; for a bolder profile, aim for 18 hours.
Another key tip: stir the grounds and water once after the first hour to ensure even saturation, but avoid agitating later, which can extract bitter notes. Use a ratio of 1:4 or 1:5 (coffee to water by weight) for a strong concentrate that dilutes well.
Finally, always filter through a paper filter after steeping to remove fine sediment that causes lingering bitterness. Taste test at 12 hours and stop when it’s smooth and sweet.
Storing concentrate for freshness
Proper storage preserves your cold brew’s vibrant flavor and prevents spoilage. After filtering, transfer the concentrate into a clean, airtight glass container—avoid plastic, which can absorb odors and alter taste.
Store it in the refrigerator at 35°F to 40°F (2°C to 4°C) immediately; never leave it at room temperature for more than two hours. For maximum freshness, consume within 7 to 10 days, though the best flavor is in the first 5 days.
To extend shelf life, leave a small headspace in the container to minimize oxidation, and keep it away from strong-smelling foods like onions. If you notice a sour or flat taste, it’s likely past its prime.
For longer storage, freeze concentrate in ice cube trays—these cubes can be added directly to milk or water for quick iced coffee. Always label your container with the brew date to track freshness. Avoid adding milk or sweeteners until serving, as these reduce shelf life and alter the concentrate’s stability.
Best Ways to Serve Cold Brew
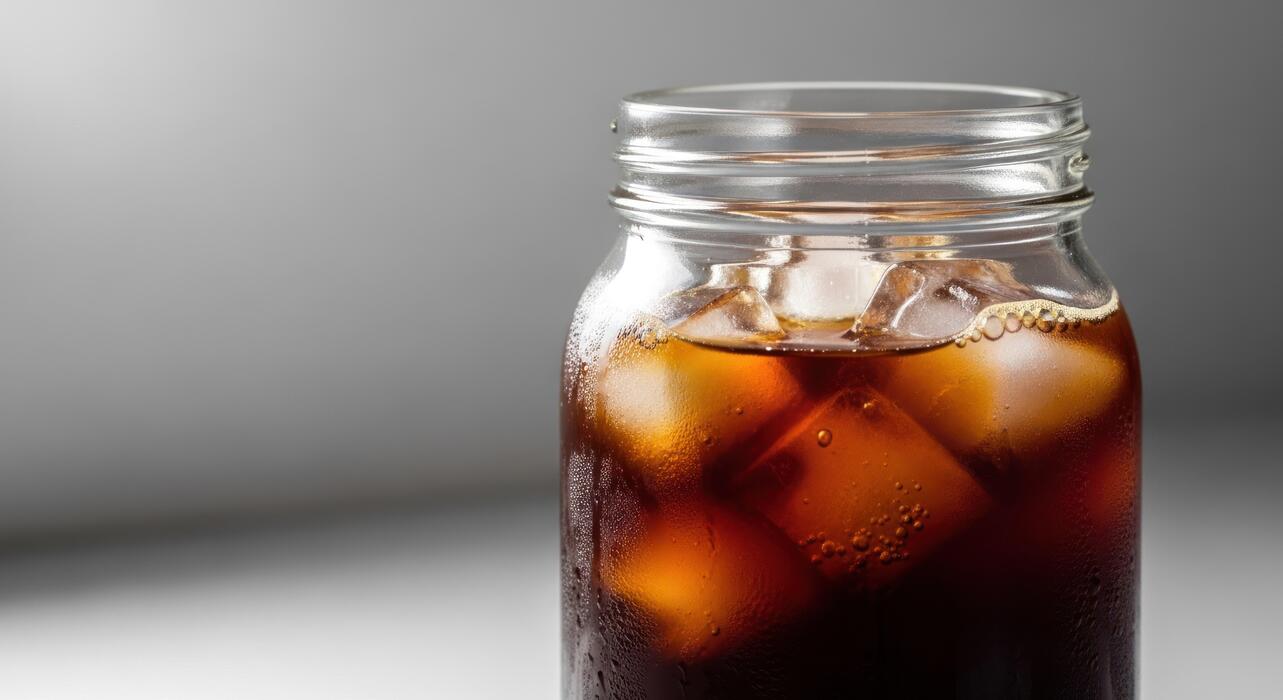
Diluting concentrate for drinking
Cold brew concentrate is strong and potent, typically brewed at a 1:4 or 1:5 coffee-to-water ratio, so diluting it properly is key to a perfect cup. For a standard serving, mix one part concentrate with one to two parts water (or milk) over ice.
Start with a 1:1 ratio for a bold, intense flavor, or go 1:2 for a smoother, more approachable taste. Use filtered cold water to avoid off-flavors and stir gently to combine.
If you prefer a less acidic brew, let the diluted coffee sit for 30 seconds before drinking to allow flavors to meld. For a ready-to-drink option, pre-dilute a batch in a pitcher—just remember it won’t keep as long as pure concentrate.
Always taste test: adjust the ratio based on your coffee bean’s roast level (darker roasts can handle less dilution). Pro tip: Pour concentrate over ice first, then add water to control strength without over-diluting. This method preserves the smooth, chocolatey notes of cold brew.
Adding milk, cream, or sweeteners
Enhance your cold brew by customizing with dairy or plant-based options. For a creamy texture, use whole milk, oat milk, or heavy cream—add 2-4 tablespoons per 8 oz of diluted coffee. Start with a splash, then adjust to your preference.
Sweeteners dissolve best when mixed into the concentrate before diluting: try simple syrup, honey, or maple syrup (1-2 teaspoons per serving). For a zero-calorie option, use stevia or monk fruit, but stir thoroughly. Avoid granulated sugar as it won’t dissolve in cold liquid.
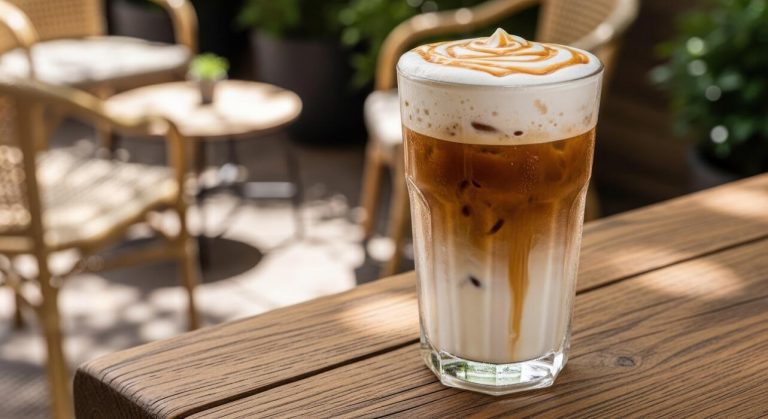
For a flavored twist, add vanilla extract, cinnamon, or a pinch of salt to balance bitterness. If using cream, pour it slowly over the back of a spoon to create a layered effect.
Pro tip: Make a batch of vanilla simple syrup by simmering equal parts sugar, water, and vanilla bean—store in the fridge for up to two weeks. This ensures consistent sweetness without graininess.
Cold brew cocktails and recipes
Elevate your cold brew into sophisticated cocktails or refreshing treats. For a classic Cold Brew Old Fashioned, mix 2 oz cold brew concentrate, 1.5 oz bourbon, 1 tsp simple syrup, and 2 dashes of orange bitters over a large ice cube—garnish with an orange peel.
For a creamy espresso martini, shake 1.5 oz vodka, 1 oz Kahlúa, and 2 oz cold brew concentrate with ice, then strain into a chilled glass.
Non-alcoholic options shine too: blend 1 cup cold brew with 1 frozen banana, 1/2 cup oat milk, and 1 tbsp cocoa powder for a mocha smoothie. For a cold brew float, scoop vanilla ice cream into a glass of diluted cold brew and top with whipped cream.
Pro tip: Freeze leftover concentrate into ice cubes to avoid dilution in cocktails. Always use fresh, high-quality ingredients to let the coffee’s natural sweetness complement spirits. Experiment with spices like nutmeg or cardamom for seasonal variations.
Common Cold Brew Mistakes to Avoid
Using the wrong grind size
One of the most common cold brew mistakes is using a grind size that’s either too fine or too coarse. A medium-coarse grind is ideal because it allows for proper extraction without over-extracting bitter compounds.
If you grind too fine, like for espresso, the water will extract too quickly, resulting in a muddy, overly bitter brew. On the other hand, a grind that’s too coarse, like for French press, may lead to a weak, under-extracted coffee that lacks flavor and body.
To achieve perfection, aim for a grind that resembles coarse sea salt—chunky but consistent. This ensures the water can slowly and evenly extract the coffee’s natural sweetness and oils over the long steeping time.
Invest in a quality burr grinder to get a uniform grind, as blade grinders produce uneven particles that lead to inconsistent extraction. Remember, the goal is a smooth, rich concentrate, so adjust your grind until you find the sweet spot for your taste.
A simple test: after steeping, your grounds should feel like wet sand, not mud or gravel.
Steeping too long or too short
Timing is critical for perfect cold brew, and steeping for the wrong duration can ruin your batch. The ideal steep time is 12 to 24 hours at room temperature, with 18 hours being a sweet spot for balanced flavor.
Steeping too short (under 12 hours) results in a weak, sour brew because the water hasn’t had enough time to extract the coffee’s full profile. Conversely, steeping too long (over 24 hours) can lead to over-extraction, pulling out bitter, harsh notes that mask the natural sweetness.
Use a timer and stick to a consistent schedule to avoid guesswork. For best results, start tasting your cold brew at the 12-hour mark and continue every few hours until it reaches your preferred strength—this helps you dial in your personal preference.
Also, remember that the steeping environment matters: keep it in a cool, dark place, as heat can accelerate extraction. If you’re making a large batch, consider using a mason jar or a dedicated cold brew maker with a built-in filter for easier monitoring.
With practice, you’ll learn to recognize the perfect balance of smoothness and richness.
Skipping the filtration step
Neglecting proper filtration is a mistake that turns your smooth cold brew into a gritty, unpleasant drink. Always filter your cold brew after steeping, even if you used a coarse grind, because fine particles and coffee oils can still pass through.
A simple pour through a fine-mesh strainer removes larger grounds, but for a truly clean cup, use a paper filter or a cheesecloth-lined sieve. This step eliminates sediment and reduces bitterness, leaving you with a silky, full-bodied concentrate.
Don’t rely solely on the filter in your cold brew maker—many are too coarse and let sludge through. For best results, double-filter: first through a strainer, then through a paper filter.
Store your filtered concentrate in a sealed container in the fridge for up to two weeks, but note that sediment may settle over time, so give it a gentle swirl before each use. Skipping filtration not only affects texture but can also cause off-flavors as leftover grounds continue to extract.
By taking this extra step, you ensure every sip is as smooth and enjoyable as intended.
How to Scale Cold Brew for a Crowd
Large batch ratios and containers
For a crowd, scaling cold brew requires maintaining the 1:8 coffee-to-water ratio by weight. For a gallon (128 oz), use 1 pound (454g) of coarse-ground coffee and 1 gallon of cold, filtered water.
Choose a food-grade bucket, large mason jar, or a dedicated cold brew maker with at least 1.5 gallons capacity to allow for grounds expansion. Steep at room temperature for 12-24 hours; longer steeping extracts more caffeine but can become bitter.
Stir the grounds gently after 6 hours to ensure even saturation. After steeping, strain through a fine-mesh sieve lined with cheesecloth or a nut milk bag. For ultra-clear brew, double-strain. Store the concentrate in a sealed glass container in the fridge; it stays fresh for up to two weeks.
This method yields a concentrate you can dilute 1:1 with water or milk, serving about 16-20 people per gallon of concentrate.
Making cold brew in a French press
A French press is perfect for small-batch scaling for 4-6 people. Use a standard 8-cup (32 oz) press and a 1:4 coffee-to-water ratio for a concentrate. Add 1 cup (120g) coarse-ground coffee and 4 cups cold water.
Stir gently, then press the plunger down just below the water surface to keep grounds submerged. Steep for 12-18 hours at room temperature. To serve, press the plunger fully down, then pour the concentrate into a separate container to stop extraction.
Dilute 1:1 with water, milk, or ice for a balanced cup. This method avoids paper filters, retaining natural oils for a smoother, richer flavor. For a party, make multiple presses in advance and store the concentrate in the fridge.
Rinse the press immediately after use to prevent coffee oils from sticking. The French press is also easy to transport and requires no special equipment.
Storing and serving at parties
Store cold brew concentrate in airtight glass bottles or pitchers in the fridge for up to two weeks. For a party, pre-dilute the concentrate to a 1:1 ratio with water or milk to avoid confusion. Serve in a large dispenser with a spigot over ice for self-service.
Add simple syrup, vanilla extract, or cinnamon sticks to the dispenser for flavor. Offer a toppings bar with cream, oat milk, chocolate shavings, and flavored syrups. Keep a separate pitcher of cold water or milk for guests who prefer a lighter brew. For hot coffee, microwave individual servings.
Use insulated carafes to keep the brew cold without diluting from melting ice. Label the dispenser clearly as ‘Cold Brew’ and note the caffeine strength. To reduce waste, provide compostable cups and stir sticks. This setup lets guests customize their drink while you enjoy the party without constant refilling.
Frequently Asked Questions
What is the ideal coffee-to-water ratio for cold brew?
For a concentrate, use a 1:4 ratio (1 part coffee to 4 parts water by weight). For a ready-to-drink brew, use 1:8. Adjust to taste, but 1:4 is standard for a strong, smooth concentrate.
Should I use coarse or fine ground coffee for cold brew?
Always use coarse ground coffee, similar to breadcrumbs. Fine grounds over-extract and make the brew bitter and muddy. Coarse grounds allow for a smooth, clean extraction over the long steeping time.
How long should I steep cold brew for the best flavor?
Steep for 12 to 24 hours at room temperature or in the fridge. 12-18 hours yields a milder flavor, while 18-24 hours gives a bolder concentrate. Avoid steeping longer than 24 hours to prevent bitterness.
Do I need to use filtered water for cold brew?
Yes, filtered or bottled water is highly recommended. Tap water can contain chlorine or minerals that alter the flavor. Since cold brew extracts slowly, water quality directly impacts the final taste.
What’s the best way to filter cold brew to avoid sludge?
Use a fine-mesh sieve lined with a paper coffee filter, a nut milk bag, or a dedicated cold brew filter. For best results, pour through a paper filter after the initial straining to remove fine sediment.
Can I make cold brew with any type of coffee bean?
Yes, but medium to dark roasts with chocolatey or nutty notes work best. Light roasts can taste sour or grassy. Choose single-origin beans for unique flavors or a blend for balanced smoothness.
How should I store cold brew and how long does it last?
Store cold brew concentrate in an airtight container in the fridge for up to 2 weeks. Dilute it with water or milk when serving. It retains flavor best when not exposed to air or light.
Why is my cold brew bitter or weak, and how can I fix it?
Bitterness usually comes from over-steeping (over 24 hours) or too fine a grind. Weakness is from too little coffee or too short a steep. Fix by adjusting grind size, ratio, or steep time—try 1:4 ratio for 18 hours.
Conclusion
Mastering cold brew is simple: use coarse grounds, a 1:8 coffee-to-water ratio, and steep for 12-24 hours at room temperature or in the fridge. Filter through a fine sieve or cloth for a smooth, low-acid concentrate. Dilute with water or milk to taste. The result is a silky, bold coffee that’s worth the patience. Now, grab your beans and start steeping—your perfect, refreshing summer brew awaits.