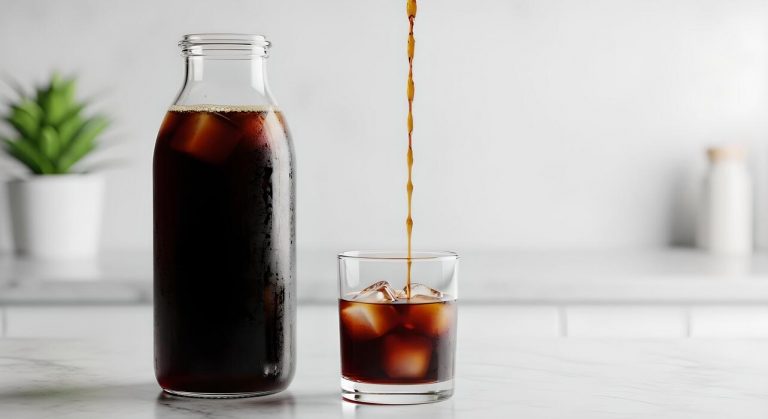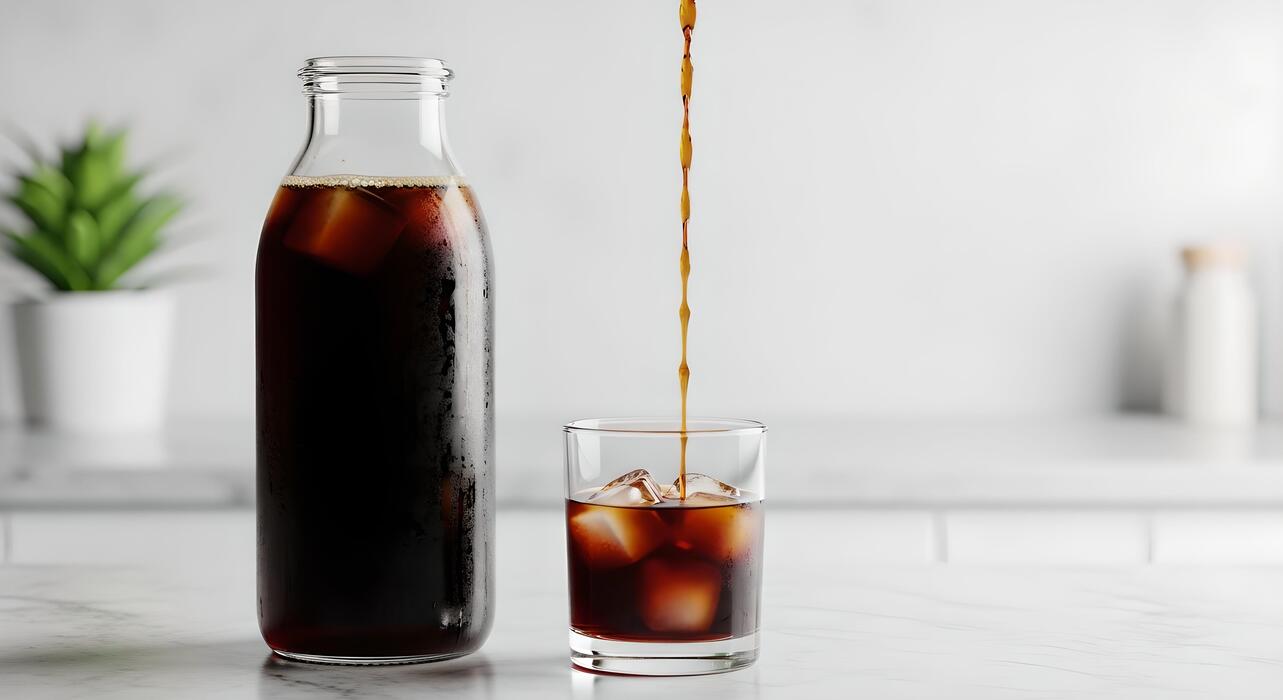
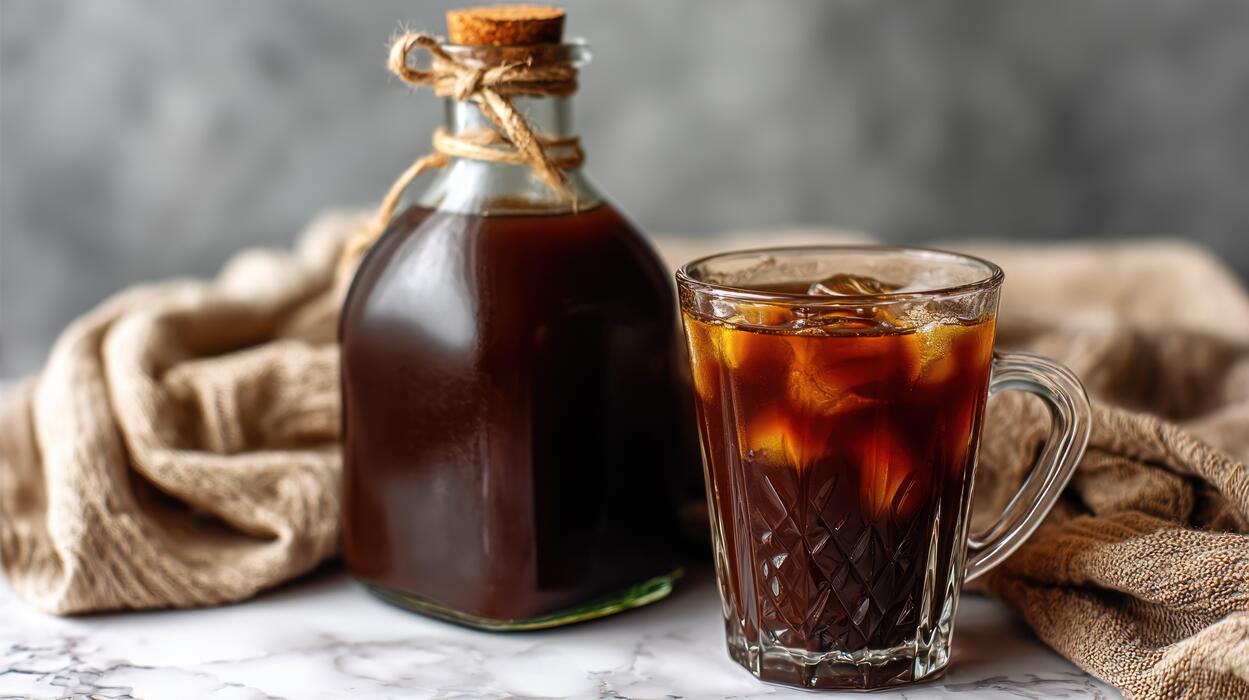
How To Make Homemade Cold Brew Concentrate
Making how to make homemade cold brew concentrate is simpler than you think, but getting that smooth, non-bitter, highly caffeinated base requires the right ratio and steep time. You’re here because store-bought concentrate is expensive or too weak. This guide cuts through the noise: you’ll learn the exact coarse grind, 1:4 coffee-to-water ratio, and 12- to 24-hour steep to create a silky concentrate that lasts for weeks. No special gear needed—just a jar, filter, and patience.
What Is Cold Brew Concentrate and Why Make It at Home
Cold brew vs. iced coffee: key differences
Understanding the difference is crucial for making the perfect concentrate. Iced coffee is simply hot-brewed coffee poured over ice, which can dilute flavor and introduce bitterness. In contrast, cold brew concentrate is made by steeping coarse-ground coffee in cold water for 12–24 hours, then filtering.
This slow extraction yields a smooth, low-acidity base that’s 3–4 times stronger than regular coffee. To enjoy, simply dilute 1 part concentrate with 1–2 parts water or milk. The result is a naturally sweet, full-bodied beverage without the sharp, acidic notes of hot-brewed coffee.
This method also preserves delicate flavor compounds that heat can destroy. For the best homemade concentrate, use a 1:4 coffee-to-water ratio and a fine-mesh filter or cheesecloth. The key difference is that cold brew’s extraction process eliminates bitterness, making it ideal for large batches and custom dilutions.
Benefits of homemade cold brew concentrate
Making your own concentrate at home gives you complete control over flavor and strength. You can choose your favorite beans—light, medium, or dark roast—and adjust the grind size for optimal extraction. Homemade versions avoid additives and preservatives found in store-bought options, letting you tailor sweetness or creaminess to your taste.
The process is cost-effective: a pound of quality coffee yields about 8 cups of concentrate, costing roughly $0.50 per serving compared to $4–$6 at cafes. Additionally, cold brew’s lower acidity is gentler on teeth and stomach, making it a healthier daily choice.
You can also experiment with flavors like vanilla, cinnamon, or cocoa during steeping. The biggest benefit is the convenience of a ready-to-use base—just store it in the fridge for up to two weeks. This approach eliminates morning brewing time and ensures consistent, café-quality results every time.
How concentrate saves time and money
Homemade cold brew concentrate is a time-saving investment that pays off immediately. With a single batch, you have a versatile base for iced lattes, smoothies, or even baking—no daily brewing required. The active prep time is under 10 minutes: grind coffee, combine with water, and let it steep overnight.
After filtering, you’ll have a week’s worth of coffee ready to dilute in seconds. This reduces morning rush and eliminates the need for expensive café runs. Cost savings are significant: a 32-ounce store-bought bottle costs $8–$12, while homemade concentrate costs under $3 for the same volume.
You also avoid single-use packaging and can adjust dilution ratios to stretch servings further. For busy individuals, this method frees up time while delivering superior flavor and freshness. The key is to batch-prep on weekends—just store in a sealed glass container and enjoy hassle-free coffee all week.
Best Coffee Beans for Cold Brew Concentrate

Roast level: light, medium, or dark
For a rich, smooth cold brew concentrate, medium to dark roasts are your best bet. Dark roasts bring bold, chocolatey, and low-acid notes that shine when steeped cold, while medium roasts offer a balanced flavor with subtle sweetness.
Avoid light roasts—they tend to taste sour or grassy in cold brew due to under-extraction. Choose a dark roast for maximum body and low acidity, or a medium roast if you prefer a slightly brighter but still smooth cup.
Experiment with a single batch to see which level pleases your palate.
Single origin vs. blend for smooth flavor
Blends are often preferred for cold brew concentrate because they’re crafted to deliver consistent, balanced flavor. Look for blends labeled ‘cold brew’ or ‘low acid’—they typically combine beans from different origins to mellow out sharp notes. Single origin beans can work, but they may produce a one-note taste.
For a truly smooth concentrate, try a blend with chocolate or nutty notes from Central or South America. If you want complexity, a single origin from Ethiopia or Kenya can add fruity hints, but it’s riskier. Start with a blend for reliable results.
Grind size and why it matters
Grind size is crucial for cold brew concentrate—use a coarse grind, similar to breadcrumbs or sea salt. A fine grind over-extracts, making your concentrate bitter and muddy, while an overly coarse grind under-extracts, leaving it weak.
A consistent coarse grind allows water to flow evenly through the grounds during the 12-24 hour steep, extracting smooth flavors without bitterness. Invest in a burr grinder for uniform particles; blade grinders create uneven sizes. If using pre-ground coffee, check for a coarse grind labeled for cold brew.
Adjust grind size slightly finer if your brew tastes watery, or coarser if bitter.
Equipment You Need for Homemade Cold Brew
Basic tools: jar, filter, and strainer
Start with a large glass jar (like a 64-ounce Mason jar) for brewing. You’ll also need a fine-mesh strainer and a coffee filter or cheesecloth. Simply combine coarsely ground coffee with cold water in the jar, stir, and steep for 12-24 hours.
After steeping, pour the mixture through the strainer lined with a filter into another container. This DIY setup is budget-friendly and uses items you likely already own. For the best results, use cold-filtered water and a tight-sealing lid to prevent odors.
This method yields a smooth concentrate that’s ready to dilute with milk or water. Remember, a clean, dry jar is essential to avoid off-flavors. If you don’t have a cheesecloth, a paper coffee filter works well, but be patient as it may drip slowly.
This simple toolkit empowers you to make café-quality cold brew at home without specialized gear.
Specialized cold brew makers vs. DIY setups
Specialized cold brew makers, like the Toddy system or OXO brewer, offer built-in filters and larger capacities, reducing cleanup time. They often include a reusable mesh filter that eliminates the need for disposable paper filters. While these can cost $30-$60, they provide consistent results and easier pouring.
In contrast, a DIY setup using a jar and strainer is virtually free and allows you to control every variable—from coffee grind size to steeping time. However, DIY requires more manual filtering and can be messier. If you brew frequently, a specialized maker’s convenience might justify the investment.
For occasional batches, the jar method is perfectly effective. Both approaches yield a rich concentrate; the choice depends on your budget and preference for ease versus flexibility. Always opt for coarse ground coffee to avoid sediment, regardless of your setup.
Cleaning and storing your gear
Proper cleaning prevents bitter residues and extends your equipment’s life. After each use, disassemble all parts and rinse with hot water immediately to remove oils. For glass jars, use a bottle brush with mild soap, avoiding harsh detergents that leave odors. Specialized brewers often have dishwasher-safe components—check the manual.
For filters, rinse thoroughly and air-dry completely to prevent mold. Store your gear in a dry, ventilated area away from sunlight. For the cold brew concentrate itself, keep it in a sealed glass container in the fridge for up to two weeks.
Never freeze the concentrate, as it alters the flavor. To maintain freshness, only filter what you’ll use within a week, and store the remaining grounds in the fridge. Label your containers with the brew date.
Regular cleaning ensures consistent taste and hygienic brewing, making your homemade cold brew a reliable, delicious staple.
Step-by-Step Guide to Making Cold Brew Concentrate
Coffee-to-water ratio for strong concentrate
The golden ratio for a robust cold brew concentrate is 1:4 (one part coffee to four parts water by weight). For example, use 1 cup (about 85 grams) of coarsely ground coffee for every 4 cups (about 680 grams) of cold, filtered water.
This yields a potent concentrate that you’ll dilute with water or milk later (typically 1:1 or 1:2). Avoid using pre-ground coffee; opt for a coarse grind resembling breadcrumbs to prevent over-extraction and bitterness.
If you prefer a milder concentrate, adjust to a 1:5 ratio, but never go below 1:3, as it becomes overly strong and difficult to filter. Weighing your ingredients with a kitchen scale ensures precision and consistent results every batch.
Remember, the goal is a smooth, non-acidic base, so resist the urge to use a finer grind—coarse is key.
Steeping time and temperature tips
Steep your cold brew at room temperature (68-72°F) for 12 to 18 hours—the sweet spot for maximum flavor without bitterness. Steeping longer than 24 hours can extract undesirable compounds, making the brew taste harsh.
Always use cold or room-temperature water; never hot, as heat extracts acidity and oils that compromise the smooth profile. Place your container in a cool, dark spot away from direct sunlight, which can accelerate spoilage.
For a cleaner taste, stir the grounds and water gently at the start, then let it sit undisturbed. If your kitchen is warm (above 75°F), reduce steeping time to 12 hours to avoid over-extraction. Refrigeration is an option but slows extraction, so steep for 18-24 hours instead.
Pro tip: taste after 12 hours using a spoon—if it’s strong enough, strain; if not, wait up to 18 hours. Patience yields a silky, low-acid concentrate.
How to filter and store the concentrate
After steeping, filter the concentrate using a fine-mesh sieve lined with a coffee filter or a nut milk bag placed over a large pitcher. Pour the mixture slowly, allowing gravity to do the work—avoid pressing or squeezing the grounds, as this releases bitter sediment.
For ultra-clear coffee, double-filter through a paper filter or use a dedicated cold brew filter system. Once filtered, transfer the concentrate to a clean, airtight glass jar or bottle (avoid plastic, which can absorb flavors).
Store in the refrigerator for up to 10-14 days; the cool temperature preserves freshness and prevents mold. Label the container with the date and dilution ratio (e.g., 1:1 for strong, 1:2 for mild) for easy use. Never leave concentrate at room temperature—it spoils quickly.
For longer storage, freeze in ice cube trays and use as needed. Enjoy your smooth, homemade concentrate!
How to Dilute and Serve Cold Brew Concentrate

Standard dilution ratios for drinking
The key to enjoying your homemade cold brew concentrate is getting the dilution right, as it’s typically much stronger than regular coffee. A standard starting ratio is 1:1 (one part concentrate to one part water, milk, or ice). This yields a balanced cup similar to a traditional iced coffee.
For a bolder, more intense flavor that stands up to milk or cream, try a 2:1 ratio (two parts concentrate to one part mixer). If you prefer a milder brew or are sensitive to caffeine, a 1:2 ratio (one part concentrate to two parts mixer) works well.
Always add your mixer first, then pour the concentrate over it to ensure even mixing. Taste and adjust—the perfect ratio depends on your personal preference and the strength of your specific batch.
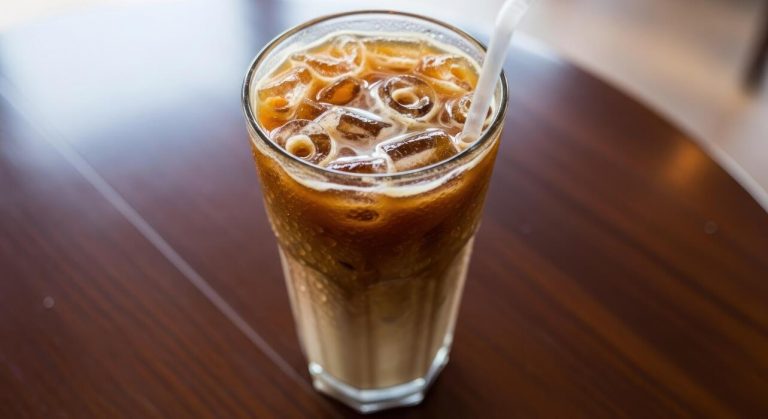
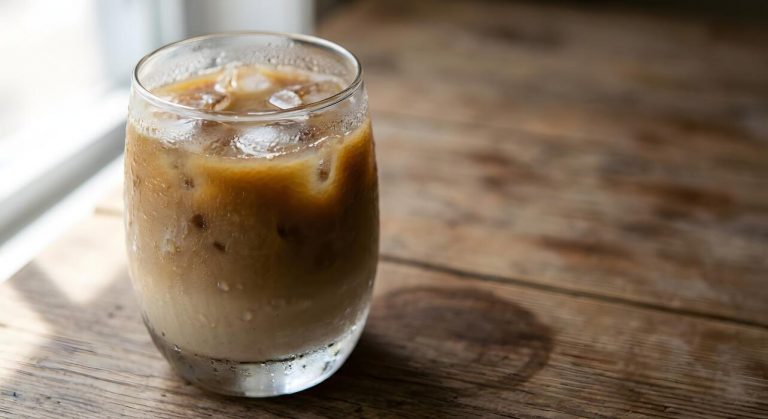
Mixing with milk, water, or ice
Your choice of mixer transforms the concentrate into a personalized beverage. For a classic iced coffee, dilute with cold, filtered water and serve over a full glass of ice. For a creamier, latte-like drink, use whole milk, oat milk, or almond milk—start with a 1:1 ratio and adjust to taste.
If using ice, remember that large ice cubes melt slower, preventing quick dilution. For a refreshing twist, try sparkling water or tonic water for a bubbly cold brew. To avoid a watery drink, consider making coffee ice cubes by freezing leftover regular brew.
Always pour the concentrate over the ice or milk, then stir thoroughly to integrate the flavors before sipping.
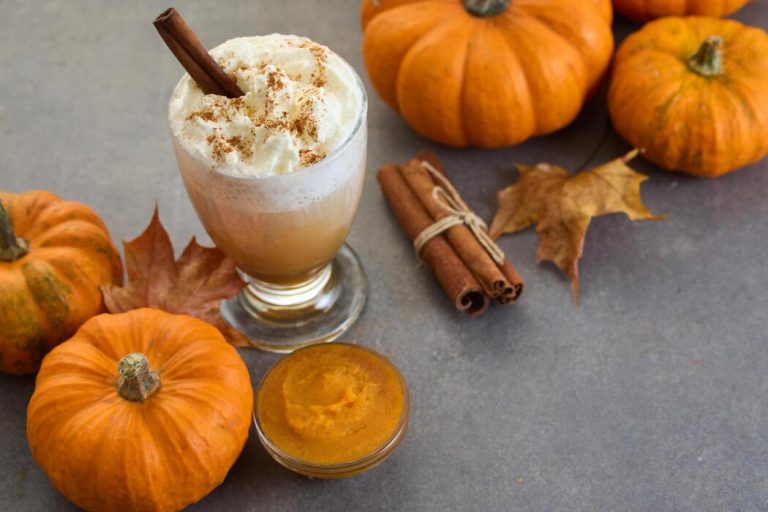
Flavor add-ins: syrups, spices, and creamers
Elevate your cold brew with simple add-ins that complement its smooth profile. Vanilla or caramel syrup adds sweetness without overpowering the coffee. Stir in cinnamon, nutmeg, or a pinch of sea salt for warmth and depth.
For a dairy-free option, try coconut creamer or oat milk creamer—they add richness and subtle flavor. Experiment with chocolate syrup or a dash of cocoa powder for a mocha twist. If you enjoy a hint of spice, add a drop of peppermint extract or a sprinkle of pumpkin pie spice.
For a healthier touch, use maple syrup or honey instead of refined sugar. Start with small amounts, taste, and adjust to avoid masking the coffee’s natural notes.
Tips for Perfecting Your Cold Brew Every Time
Avoiding bitterness and over-extraction
To avoid bitterness, use a coarse grind similar to breadcrumbs, as fine grinds extract too quickly and lead to harsh flavors. Steep for 12-18 hours at room temperature or in the fridge; longer times increase bitterness.
Use a 1:4 to 1:5 coffee-to-water ratio by weight for concentrate—too much coffee or water imbalance causes over-extraction. Filter with a fine-mesh sieve and cheesecloth or a paper filter to remove all grounds, which can continue steeping. Use filtered water to prevent off-flavors from tap water.
Stir the grounds after 30 minutes to ensure even saturation, then let it sit undisturbed. Taste test at 12 hours and stop steeping once it’s smooth and balanced. Avoid using hot water—cold brew relies on time, not heat, for extraction.
Store in an airtight container in the fridge to maintain freshness and prevent oxidation.
Adjusting strength to your taste
To adjust strength, start with a 1:4 coffee-to-water ratio for a classic concentrate, then tweak. For a milder brew, use a 1:5 or 1:6 ratio; for a bolder concentrate, go 1:3.
Steep for 12 hours first, then test—longer steeping (up to 24 hours) extracts more caffeine and body, but can become bitter. Dilute your concentrate with water, milk, or ice to taste: start with 1 part concentrate to 1 part liquid, then adjust.
Use a kitchen scale for precise coffee measurements, as volume varies. Grind slightly coarser if the brew is too strong and bitter, or slightly finer if weak and watery. Try a 1:8 ratio for ready-to-drink cold brew, steeping 18-20 hours for a smoother sip.
Keep a brewing journal to note ratios, times, and results. Experiment with steeping temperature—fridge steeping yields cleaner flavors, while room temp extracts faster.
Common mistakes and how to fix them
Mistake: Using fine ground coffee—fix by switching to a coarse grind (like sea salt) to prevent sludge and bitterness. Mistake: Over-steeping—if bitter, reduce steep time to 12-14 hours and use a timer. Mistake: Wrong coffee-to-water ratio—if weak, increase coffee; if too strong, add water or reduce coffee.
Mistake: Not filtering properly—use a double filter (cheesecloth + paper) for clarity. Mistake: Using stale coffee—buy fresh, whole beans and grind just before brewing. Mistake: Brewing at too high a temperature—always use cold or room temperature water; never hot.
Mistake: Stirring too late—stir grounds within the first hour to ensure even extraction. Mistake: Storing concentrate too long—use within 7-10 days in a sealed container. Mistake: Skipping the taste test—sample at 12 hours to catch over-extraction early.
Mistake: Not adjusting grind size for brew time—coarser for longer steeps, finer for shorter.
How to Store Cold Brew Concentrate for Maximum Freshness
Best containers for long-term storage
To maximize the shelf life of your homemade cold brew concentrate, choose airtight glass containers like mason jars or swing-top bottles. Glass is non-porous and won’t absorb odors or flavors, unlike plastic, which can degrade over time and impart a stale taste.
Avoid metal containers, as the acidic coffee can react with certain metals, causing off-flavors. For optimal freshness, use dark-colored or opaque bottles to block light, which accelerates oxidation. If using clear glass, store the container in a dark cupboard.
Always fill the container to the brim to minimize oxygen exposure—less air means slower staling. For smaller batches, consider using 16-ounce mason jars with tight-fitting lids. Before sealing, ensure the concentrate is completely cooled to prevent condensation, which can introduce bacteria.
Label each container with the brew date so you can track freshness. A clean, sterilized container is crucial—wash with hot soapy water and rinse thoroughly to avoid any residual contaminants that could spoil your concentrate.
Shelf life in the fridge vs. freezer
Homemade cold brew concentrate lasts up to two weeks in the refrigerator when stored in an airtight container, though it’s best consumed within the first week for peak flavor. The cold temperature slows down oxidation and microbial growth, but the concentrate remains perishable due to its lack of preservatives.
For longer storage, freezing is an excellent option. Pour the concentrate into ice cube trays or silicone molds for easy portioning, then transfer the frozen cubes to a freezer-safe bag or container. Frozen concentrate stays fresh for up to three months without significant flavor loss.
Thaw cubes overnight in the fridge or microwave them briefly for quick use. Avoid refreezing thawed concentrate, as this can degrade texture and taste. If you plan to use the concentrate daily, keep a small jar in the fridge and freeze the rest.
This dual approach ensures you always have fresh concentrate on hand while preventing waste from spoilage.
Signs your concentrate has gone bad
Even with proper storage, cold brew concentrate can spoil. Watch for visible mold growth—any fuzzy spots, greenish patches, or slimy film on the surface or container edges mean it’s time to discard the entire batch.
A sour, vinegary, or off-putting smell is another clear indicator, as fresh concentrate should have a rich, smooth coffee aroma. If the taste becomes unpleasantly acidic, bitter, or flat, oxidation or bacterial contamination has occurred.
Texture changes, such as cloudiness, sediment settling unevenly, or a syrupy consistency (unless your recipe naturally produces this), also signal spoilage. Check for gas buildup—if the container lid bulges or hisses when opened, fermentation may have started, producing carbon dioxide.
When in doubt, remember the golden rule: if it looks, smells, or tastes wrong, toss it. Drinking spoiled concentrate can cause digestive upset. To minimize waste, always use clean utensils when handling the concentrate and store it in small batches to reduce exposure to air and contaminants.
Frequently Asked Questions
What is cold brew concentrate?
Cold brew concentrate is a strong, undiluted coffee made by steeping coarse-ground coffee in cold water for 12-24 hours. It’s typically mixed with water, milk, or ice before drinking, resulting in a smoother, less acidic coffee compared to hot-brewed methods.
What coffee-to-water ratio should I use for cold brew concentrate?
A standard ratio for concentrate is 1 part coffee to 4 parts water by weight (e.g., 1 cup coffee grounds to 4 cups water). For a stronger concentrate, use a 1:3 ratio; for a milder one, try 1:5. Always use coarse grounds to avoid over-extraction and bitterness.
How long should I steep cold brew concentrate?
Steep the coffee grounds in cold water for 12 to 24 hours at room temperature or in the refrigerator. A 12-hour steep yields a lighter flavor, while 18-24 hours produces a bolder, richer concentrate. Avoid steeping longer than 24 hours to prevent bitterness.
Do I need special equipment to make cold brew concentrate at home?
No, you can use a large jar, pitcher, or bowl with a fine-mesh strainer, cheesecloth, or a coffee filter. For easier filtering, a French press or a dedicated cold brew maker works well, but a simple setup with a cloth or paper filter is sufficient.
How do I filter cold brew concentrate without a fancy filter?
After steeping, pour the mixture through a fine-mesh strainer lined with cheesecloth, a nut milk bag, or a coffee filter into a clean container. You may need to filter twice for a clearer concentrate. Gently press the grounds to extract all liquid without forcing sediment through.
How should I store homemade cold brew concentrate and how long does it last?
Store the concentrate in an airtight container in the refrigerator. It stays fresh for up to 2 weeks, though flavor is best within the first week. Avoid leaving it at room temperature for extended periods to prevent spoilage.
How do I serve cold brew concentrate?
Dilute the concentrate with equal parts water, milk, or a milk alternative (e.g., 1:1 ratio) over ice. Adjust to taste—use less water for a stronger drink or more for a milder one. Add sweeteners or flavors like vanilla syrup if desired.
Can I use regular coffee grounds for cold brew concentrate?
Yes, but use a coarse grind to avoid over-extraction and muddy texture. Fine grounds can make the concentrate bitter and difficult to filter. If you only have pre-ground coffee, opt for a coarser grind size if available, or use a medium grind and reduce steeping time to 12 hours.
Conclusion
Making homemade cold brew concentrate is simple, cost-effective, and yields a smoother, less acidic coffee than hot brewing. Key takeaways: use a coarse grind, steep 12-24 hours in cold water, and strain thoroughly. The resulting concentrate, diluted with water or milk, keeps for weeks in the fridge. Experiment with ratios to find your perfect strength. Ditch store-bought versions and enjoy the rewarding taste of your own creation.