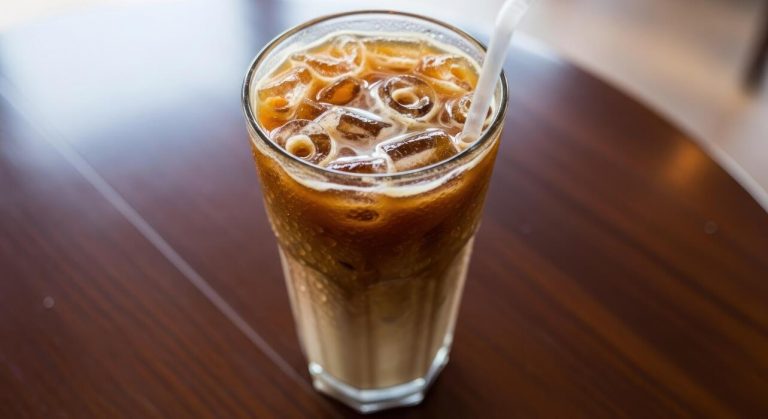
How To Make Cream Cold Brew
How to make cream cold brew isn’t just about mixing milk and coffee—it’s about achieving a silky, rich texture that doesn’t water down or curdle. You want that creamy sweetness without bitterness or separation. You’ve come to the right place: I’ll show you the exact steeping method, cream-to-coffee ratio, and pouring technique to nail a smooth, velvety cold brew every time.
What Is Cream Cold Brew and Why Make It at Home
Key differences between cream cold brew and iced coffee
Cream cold brew and iced coffee differ primarily in brewing method and flavor profile. Cold brew is made by steeping coarse coffee grounds in cold water for 12-24 hours, resulting in a smooth, low-acid concentrate. Iced coffee is hot-brewed coffee poured over ice, which can dilute it and increase bitterness.
For cream cold brew, you combine the concentrate with heavy cream or milk, creating a rich, velvety texture that balances the coffee’s natural sweetness. Unlike iced coffee, cream cold brew doesn’t require hot water or instant chilling, so it avoids the watery taste from melting ice.
To make it at home, start with a strong cold brew concentrate (use a 1:4 coffee-to-water ratio steeped for 16 hours). Then, mix equal parts concentrate and heavy cream—or adjust to your preference—and serve over ice.
This method yields a smooth, indulgent drink without bitterness, making it a superior choice for cream lovers.
Why homemade cream cold brew tastes better
Homemade cream cold brew tastes better because you control every ingredient and ratio to suit your palate. Store-bought versions often use lower-quality beans, preservatives, or excess sugar to mask bitterness.
At home, you can select fresh, high-quality coffee beans—like a light or medium roast for fruity notes—and grind them coarsely for optimal extraction. The long, cold steeping process (12-24 hours) reduces acidity by up to 67% compared to hot brewing, resulting in a smooth, naturally sweet concentrate.
You also customize the cream: use heavy cream for decadence, oat milk for a dairy-free option, or sweetened condensed milk for a dessert-like treat. For best results, strain the concentrate through a fine-mesh sieve or cheesecloth to remove grit, then chill it for at least 4 hours.
This personalized approach eliminates stale or artificial flavors, giving you a fresher, richer taste that store-bought versions can’t match.
Cost savings from making your own cream cold brew
Making cream cold brew at home saves significant money compared to café purchases. A single 16-ounce café cream cold brew costs $5–$7, while homemade versions cost roughly $0.50–$1.00 per serving.
For example, a 12-ounce bag of quality coffee beans ($12–$15) yields about 8–10 servings of concentrate, and a pint of heavy cream ($3–$5) covers 6–8 drinks. That’s $2–$3 per drink total, versus $5+ at shops.
Over a month, daily café visits could cost $150–$210, while homemade is just $30–$60—a savings of 60–80%. To maximize savings, buy coffee beans in bulk (like a 2-pound bag for $25) and use a reusable cold brew pitcher or mason jar.
You also avoid add-on fees for extras like vanilla syrup or oat milk. Plus, you control the strength, so you can dilute with water or milk to stretch servings further, making it a budget-friendly, luxurious habit.
Best Coffee Beans for Cream Cold Brew

Roast level recommendations for a smooth brew
For a smooth, rich cream cold brew, choose a medium to dark roast coffee. These roasts have oils on the bean surface that extract easily in cold water, yielding a full-bodied, low-acid brew that pairs perfectly with cream.
Avoid light roasts, as they can taste overly acidic or grassy when steeped cold. A medium roast offers a balanced profile with subtle chocolate or nutty notes, while a dark roast provides deep, smoky sweetness that stands up to milk or cream.
For best results, select a single-origin bean from Brazil, Colombia, or Sumatra for natural sweetness and a smooth finish. Experiment with blends labeled ‘cold brew’ or ‘espresso’—they are often crafted for bold, creamy results. Always grind the beans coarsely (like sea salt) to avoid over-extraction and bitterness.
Remember: the roast level directly impacts how the cream melds with the coffee, so prioritize beans that are oily, aromatic, and medium-dark for a velvety, satisfying drink every time.
Whole bean vs. pre-ground: what works best
For the freshest, most flavorful cream cold brew, always choose whole beans over pre-ground. Whole beans retain their aromatic oils and complexity, which are crucial for a smooth, rich extraction over 12–24 hours. Pre-ground coffee quickly loses its volatile compounds, leading to a stale, flat brew that cream can’t rescue.
When you grind whole beans at home, you control the coarse, uniform grind needed for cold brew—too fine and you’ll get sludge; too coarse and the flavor will be weak. Invest in a burr grinder (blade grinders create uneven particles).
If you must buy pre-ground, look for cold brew-specific grinds sold by reputable roasters, but use them within a week of opening. Whole beans also let you adjust grind size for different steep times or cream ratios.
For maximum freshness, store beans in an airtight, opaque container away from heat and light. Ultimately, whole beans give you the flexibility and quality to craft a cream cold brew that tastes like it came from a café.
Where to buy quality beans for cold brew
For the best cream cold brew, source beans from specialty roasters known for cold brew-friendly profiles. Start with local coffee shops or roasters—they often sell fresh, single-origin beans roasted within days. Ask for a medium-dark roast with tasting notes of chocolate, caramel, or nuts.
Online, try Trade Coffee or Driftaway, which match beans to your taste and ship fresh. Stumptown’s Hair Bender or Counter Culture’s Big Trouble are popular for their smooth, sweet cold brew. For budget-friendly options, Lavazza Super Crema (whole bean) works well, but prioritize freshness over price.
Check roast dates—buy beans roasted within two weeks for peak flavor. Subscription services like Atlas Coffee Club deliver curated beans from around the world. For cream cold brew, avoid grocery store brands with vague roast dates; they’re often stale.
Directly support small roasters for beans harvested ethically and roasted with care. Always buy whole beans in small batches to maintain freshness, and store them properly. With quality beans, your cream cold brew will be smooth, rich, and crave-worthy every time.
Essential Equipment for Making Cream Cold Brew

Cold brew makers and simple jar methods
You don’t need a fancy machine to make excellent cream cold brew. The simplest and most affordable method is a large mason jar or a French press.
For a jar, use a 1:4 coffee-to-water ratio (e.g., 1 cup coarse-ground coffee to 4 cups cold water), stir, cover, and steep for 12-24 hours. A French press offers built-in filtering with its plunger, making it a great all-in-one option.
If you prefer a dedicated cold brew maker, look for ones with a fine-mesh filter or a removable brewing chamber, like the Takeya or OXO models. These simplify the process and reduce cleanup. Regardless of your choice, always use coarse-ground coffee to prevent over-extraction and bitterness.
The key is a long, cold steep—never use hot water. This method extracts smooth, low-acid coffee concentrate, which is the perfect base for creamy additions. Start with a jar; it’s cheap and effective, and you can upgrade later if you make cold brew often.
Tools for filtering and straining
Proper filtering is crucial for a silky, sediment-free cream cold brew. After steeping, you need to separate the grounds from the liquid. A fine-mesh sieve lined with a coffee filter or cheesecloth works perfectly for jar methods. Simply pour the concentrate through the lined sieve into a clean container.
For a French press, pressing the plunger down slowly filters out most grounds, but you may still get some fine sediment; for a cleaner cup, pour through a paper filter afterward. Nut milk bags are another excellent reusable option—they catch even the smallest particles and are easy to clean.
Avoid using only a coarse strainer, as it will let through gritty bits that ruin the creamy texture. Double filtering is a pro tip: strain once through a mesh sieve, then again through a paper filter.
This yields a crystal-clear concentrate that blends smoothly with cream, ensuring your final drink is velvety, not gritty.
Choosing the right cream and sweeteners
The cream and sweetener you choose define your cream cold brew’s flavor and texture. For the creamiest results, use heavy cream or half-and-half; they add rich body and balance the coffee’s bitterness. If you prefer lighter options, whole milk or oat milk work well—oat milk’s natural sweetness complements cold brew.
Avoid skim milk, as it can taste watery. Sweeteners should be liquid to dissolve easily in cold liquid. Simple syrup (equal parts sugar and water, heated until dissolved) is the classic choice. For a twist, try vanilla syrup, caramel syrup, or a dash of maple syrup.
You can also use condensed milk for a Vietnamese-style cream cold brew—it adds both sweetness and creaminess. Start with 1-2 tablespoons of syrup or cream per 8 ounces of cold brew, then adjust to taste. Remember, the concentrate is strong, so a little cream goes a long way.
Experiment with ratios to find your perfect creamy, sweet balance.
Step-by-Step Guide to Brew the Cold Coffee Base
How to measure coffee grounds and water
Start with a 1:4 coffee-to-water ratio for a strong concentrate that stands up to cream and milk. For a single batch, measure 1 cup (100 grams) of coarsely ground coffee into a large jar or pitcher.
Use 4 cups (950 ml) of cold, filtered water—never hot water, as that extracts bitterness. A coarse grind is essential; it resembles breadcrumbs, not fine powder. This prevents over-extraction and keeps the brew smooth.
If you prefer a milder base, scale back to a 1:6 ratio (e.g., ¾ cup coffee to 4 cups water). Use a kitchen scale for accuracy: 100 grams of coffee per 400 grams of water ensures consistency. Stir gently after adding water to ensure all grounds are saturated.
This precise measurement creates a rich, creamy concentrate that blends perfectly with milk or cream for a balanced cold brew.
Steeping time and temperature tips
Cold brew requires time, not heat, to extract flavors smoothly. Steep your coffee-water mixture at room temperature (68–72°F) for 12 to 18 hours. Avoid refrigeration during steeping, as cold slows extraction and can lead to a weak, sour result.
For a bold, full-bodied base that pairs well with cream, aim for 16 hours. If you prefer a lighter, tea-like brew, stick to 12 hours. Cover the jar with a lid or plastic wrap to keep out dust. Stir once halfway through to ensure even extraction.
Temperature control is key: consistent room temperature prevents bitterness. If your kitchen runs warm (above 75°F), reduce steeping to 14 hours to avoid over-extraction. This slow, cool process yields a smooth, low-acid concentrate that’s the perfect foundation for a creamy, indulgent cold brew drink.
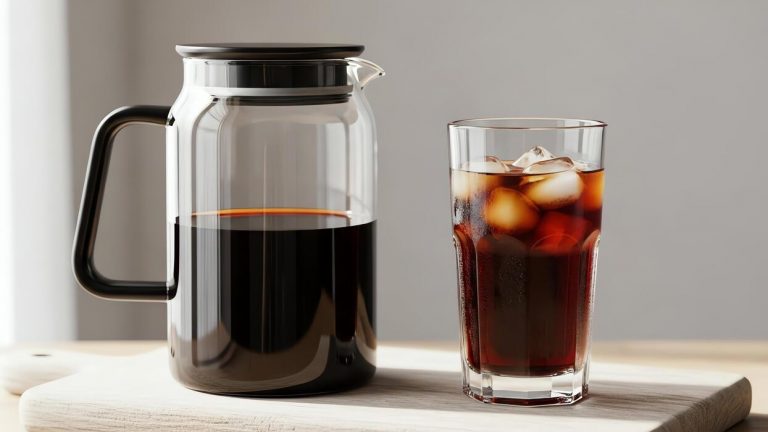
Straining and storing your cold brew concentrate
After steeping, strain the concentrate through a fine-mesh sieve lined with cheesecloth or a dedicated cold brew filter bag. Pour slowly over a large bowl or pitcher to catch the grounds.
For the clearest result, strain twice: first through the sieve, then through a paper coffee filter or a nut milk bag. Press gently on the grounds to extract every drop, but avoid squeezing too hard, as this can release bitter sediment.
Store your cold brew concentrate in a sealed glass jar or airtight container in the refrigerator. It stays fresh for up to 2 weeks, but flavor is best within 5–7 days. For a creamy drink, mix 1 part concentrate with 1 part milk or cream over ice.
Never dilute with hot water, as this alters the smooth profile. This concentrated base is your ready-to-use solution for quick, café-quality cream cold brews at home.
How to Make the Cream Layer for Cold Brew
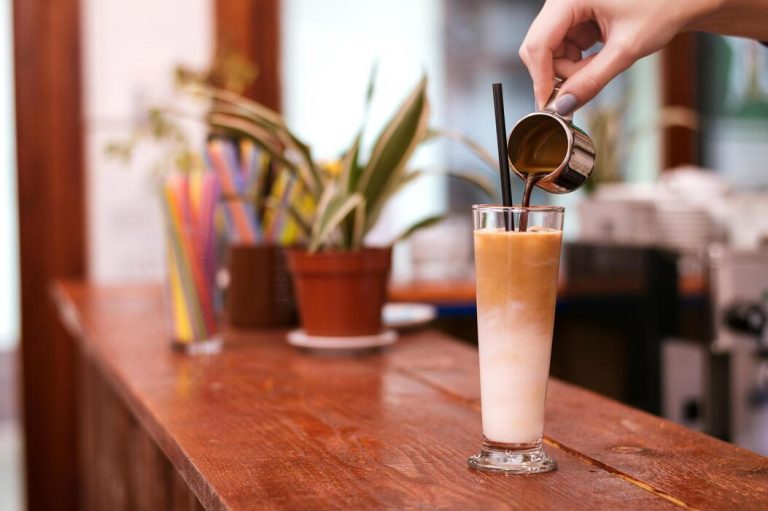
Simple cream mixture with milk and sweetener
For a classic cream layer that’s easy to make, start with equal parts whole milk and heavy cream for balanced richness. In a small bowl or jar, combine 1/4 cup of each, then add 1 to 2 tablespoons of sweetener like simple syrup, honey, or maple syrup.
Whisk vigorously until the sweetener fully dissolves and the mixture is smooth. To get that signature layered look, slowly pour the cream over the back of a spoon onto your cold brew, allowing it to float on top.
For best results, use cold ingredients to prevent the cream from curdling when hitting the coffee. Stir gently before drinking if you prefer a blended sweetness. This method works with any milk—oat or almond—but whole milk gives the best body without being too heavy.
Adjust sweetness to your taste; start with less and add more if needed. This simple base is perfect for everyday enjoyment and takes under 2 minutes to prepare.
Using heavy cream for a thicker texture
If you crave a luxuriously thick cream layer that sits proudly on top of your cold brew, heavy cream is your go-to.
Use 1/4 cup of cold heavy cream (36% or higher fat content) and whip it lightly with a fork or small whisk for about 30 seconds until it thickens slightly but is still pourable. Avoid over-whipping; you want a velvety, spoonable consistency, not stiff peaks.
Add 1 tablespoon of powdered sugar or maple syrup for sweetness, and a pinch of salt to cut richness. Pour this slowly over the center of your cold brew—it will cascade beautifully and hold its layer for minutes.
This version is ideal for a dessert-like treat or when you want a creamy sip without dilution. For extra indulgence, use vanilla bean paste instead of extract for flecks of flavor. Remember, heavy cream is calorie-dense, so a little goes a long way. Serve immediately for the best texture.
Flavor variations: vanilla, caramel, or chocolate
Elevate your cream layer with simple flavor infusions that turn your cold brew into a café-style drink. For vanilla, add 1/2 teaspoon of pure vanilla extract or vanilla bean paste to your cream mixture before whisking.
For caramel, stir in 1 tablespoon of homemade or store-bought caramel sauce—use a thick sauce for better layering. For chocolate, mix 1 tablespoon of unsweetened cocoa powder with your sweetener and a splash of hot water to form a paste, then blend into the cream.
Always taste and adjust sweetness, as flavored syrups add sugar. For a salted caramel twist, add a pinch of flaky sea salt. To keep the layer intact, let the flavored cream rest for 1 minute before pouring. These variations work with both simple milk blends and heavy cream.
Experiment with pumpkin spice in fall or peppermint in winter—just substitute extract for equal parts. Store leftover flavored cream in the fridge for up to 3 days, shaking well before use.
Tips for Assembling and Serving Cream Cold Brew
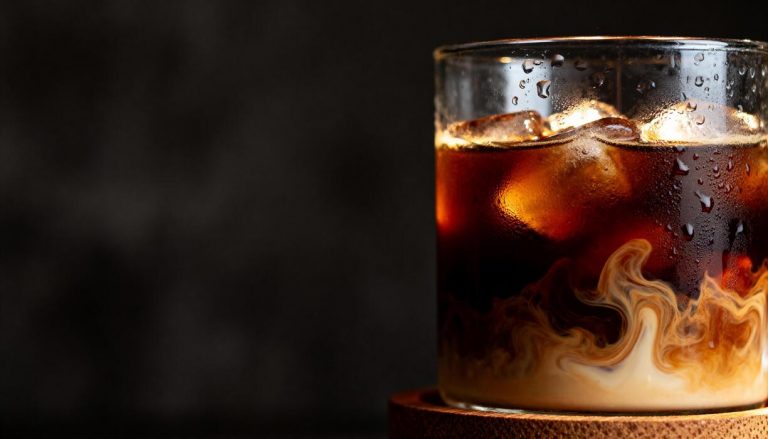
Layering the cream over ice and coffee
To achieve that signature layered look, start by filling a tall glass with large ice cubes; they melt slower and prevent dilution. Pour your chilled cold brew over the ice, leaving about an inch of space at the top. The key to a perfect cream layer is slow, gentle pouring.
Use a spoon held upside down just above the coffee’s surface, and slowly pour the cold heavy cream over the back of the spoon. This technique breaks the fall of the cream, allowing it to float gracefully on top rather than mixing immediately.
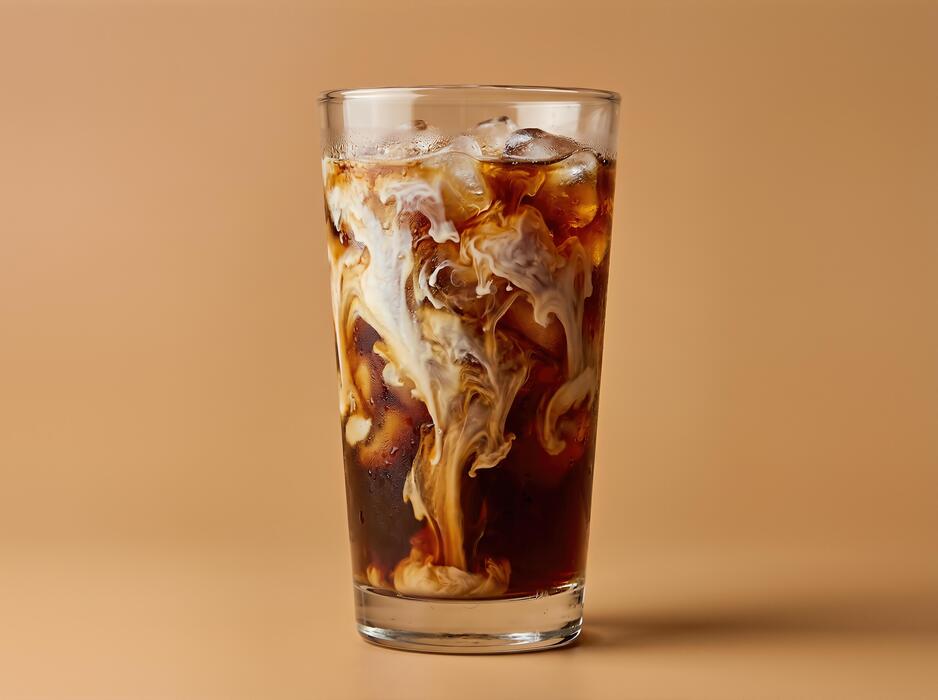
For the best visual effect, ensure your cream is very cold and your coffee is at room temperature or slightly colder. If you want a more integrated drink, you can skip the spoon and pour the cream directly into the center, which will create a beautiful marbled swirl.
Let the glass sit for 30 seconds before serving to allow the layers to settle distinctly. The result is a stunning, two-tone beverage that tastes as good as it looks.
Adjusting sweetness and creaminess to taste
The beauty of cream cold brew is its customizability. Start with a base of unsweetened cold brew and adjust from there. For sweetness, you can stir in simple syrup, vanilla syrup, or maple syrup directly into the coffee before adding the cream.
If you prefer a sugar-free option, a few drops of liquid stevia or monk fruit work beautifully. For the cream layer, heavy cream (35% milk fat) offers the richest, most decadent texture, but you can lighten it by mixing equal parts heavy cream and whole milk.
For a dairy-free version, use coconut cream (chilled and scooped from a can) or a barista-style oat milk that froths well. If you want a flavored cream, whisk in a pinch of cinnamon, vanilla extract, or a drop of almond extract before pouring.
Remember, the cream will slowly sink and sweeten the coffee as you drink, so you may need less sweetener in the coffee itself. Taste and adjust each component separately for perfect balance.
Garnish ideas and serving suggestions
Elevate your cream cold brew with simple yet elegant garnishes that add visual appeal and a hint of flavor. A light dusting of cocoa powder, cinnamon, or nutmeg over the cream layer creates a beautiful, aromatic finish.
For a more decadent touch, shave some dark chocolate on top or add a single coffee bean floating on the cream. You can also rim the glass with cinnamon sugar or crushed vanilla wafers for extra texture.
When serving, pair your drink with a buttery shortbread cookie or a chocolate croissant to complement the rich coffee notes. For a brunch presentation, serve in a clear glass to show off the layers, and add a wide straw for sipping through the cream.
If you’re hosting, prepare a pitcher of cold brew and let guests add their own cream and garnishes from a small bar setup. This makes the experience interactive and ensures everyone gets their perfect cup. Serve immediately after layering for the best temperature and texture contrast.
Common Mistakes to Avoid When Making Cream Cold Brew
Over-extracting or under-steeping the coffee
Achieving perfect cream cold brew starts with steeping time. Over-extracting, often by steeping for more than 24 hours at room temperature, pulls out bitter, harsh compounds, leaving your coffee acrid and unbalanced.
Conversely, under-steeping (less than 12 hours) results in a weak, sour brew that lacks the smooth richness you want. Aim for a 16-20 hour steep in the refrigerator for a balanced, mellow concentrate. Use a coarse grind—like sea salt—to avoid over-extraction from fine particles.
If your cold brew tastes overly bitter or burnt, reduce steep time by 2-3 hours next batch. For sourness, increase steep time slightly. Always taste your concentrate before mixing with cream; it should be smooth, chocolatey, and free of sharp notes.
This foundation determines your final drink’s quality, so adjust based on your coffee beans’ roast level—darker roasts need less time, lighter roasts may need more. Consistency is key: use a timer and refrigerate promptly to control extraction.
Using the wrong cream-to-coffee ratio
The cream-to-coffee ratio can make or break your cream cold brew. Too much cream drowns the coffee’s nuanced flavors, resulting in a milky, bland drink; too little creates a thin, watery texture that lacks the velvety mouthfeel you’re after.
Start with a 1:4 ratio of cream to cold brew concentrate (e.g., 1/4 cup cream to 1 cup concentrate). Adjust based on your preference: for a richer, dessert-like drink, increase to 1:3; for a stronger coffee kick, try 1:5.
Use heavy cream or half-and-half for best results—avoid skim milk, which won’t provide the same creamy body. Always pour the cream slowly into the coffee over ice, stirring gently to combine.
If you prefer a sweeter version, add a touch of vanilla syrup or simple syrup to the cream before mixing. Test ratios with small batches to find your perfect balance, and remember that cream’s fat content affects flavor: higher fat cream softens bitterness more effectively.
Skipping the straining step
Straining is non-negotiable for a smooth, sediment-free cream cold brew. Skipping this step leaves fine coffee grounds and silt in your concentrate, creating a gritty texture that ruins the creamy experience.
Always strain your steeped coffee through a fine-mesh sieve lined with a coffee filter or cheesecloth to catch all particles. For best results, strain twice: first through a sieve to remove large grounds, then through a paper filter or nut milk bag for a silky finish.
If you’re using a French press, press slowly and avoid disturbing the grounds at the bottom. Alternatively, pre-filter by using a cold brew bag or a dedicated cold brew maker.
Strained concentrate keeps well in the fridge for up to two weeks, but unstrained coffee will develop bitter, muddy flavors over time. Invest in a reusable metal filter or pour-over cone with paper filters—your cream cold brew will taste cleaner, brighter, and more enjoyable.
A quick tip: let the strained concentrate settle for 10 minutes, then pour again to remove any residual sediment.
Frequently Asked Questions
What is cream cold brew?
Cream cold brew is a coffee drink made by combining cold brew coffee with a sweet, creamy layer, often made from heavy cream, milk, and vanilla syrup. Unlike regular iced coffee, it features a slow-brewed, less acidic coffee base topped with a rich cream layer that slowly mixes in.
How do I make cold brew coffee at home for cream cold brew?
To make cold brew, coarsely grind 1 cup of coffee beans and steep them in 4 cups of cold, filtered water for 12-24 hours in the refrigerator. Strain the grounds using a fine-mesh sieve or cheesecloth, and you’ll have a smooth, concentrated coffee base.
What ingredients do I need for the cream topping?
You’ll need 1/2 cup of heavy cream, 1/4 cup of milk (or half-and-half), and 2 tablespoons of vanilla syrup or sweetened condensed milk. Adjust sweetness to taste by adding more or less syrup.
How do I layer the cream on top of the cold brew?
First, fill a glass with ice and pour in the cold brew concentrate (about 1/2 to 2/3 full). In a separate bowl, whisk the heavy cream, milk, and vanilla syrup until slightly thickened but still pourable. Slowly pour the cream mixture over the back of a spoon onto the coffee to create a distinct layer.
Can I use store-bought cold brew instead of making my own?
Yes, store-bought cold brew works perfectly. Choose an unsweetened or lightly sweetened concentrate to control the final flavor. Just pour it over ice and add your homemade cream layer on top.
How do I make a dairy-free version of cream cold brew?
Use full-fat coconut cream or oat cream as a substitute for heavy cream, and a plant-based milk like almond or oat milk. Sweeten with maple syrup or agave, and whisk until creamy for a similar layered effect.
Why is my cream sinking instead of floating on the cold brew?
The cream sinks if it’s too thin or if the cold brew is too watery. Ensure the cream mixture is thick enough (whisk it to soft peaks) and use a strong, concentrated cold brew. Pouring slowly over a spoon also helps maintain the layer.
Conclusion
Making cream cold brew is simple: steep coarse grounds in cold water for 12-24 hours, strain, then top with a velvety cream layer made from heavy cream, milk, and sweetener. The result is a smooth, less acidic coffee that’s endlessly customizable. Experiment with flavors like vanilla or cinnamon to make it your own. Give it a try—your morning routine deserves this refreshing, indulgent upgrade.