How To Make Cold Brew Drip Coffee
If you are craving a smooth, low-acid caffeine fix without the long wait of traditional immersion methods, you have come to the right place. Making cold brew drip coffee, also known as Dutch coffee, is a surprisingly simple way to elevate your morning routine. This guide will show you exactly how to set up your dripper and master the precise water-to-coffee ratio for a perfect concentrate. You will be sipping a refreshing, barista-quality glass of cold brew in no time.
What is cold brew drip coffee?
The difference between immersion and drip methods
To understand how to make cold brew drip coffee, you must first distinguish it from the standard immersion method.
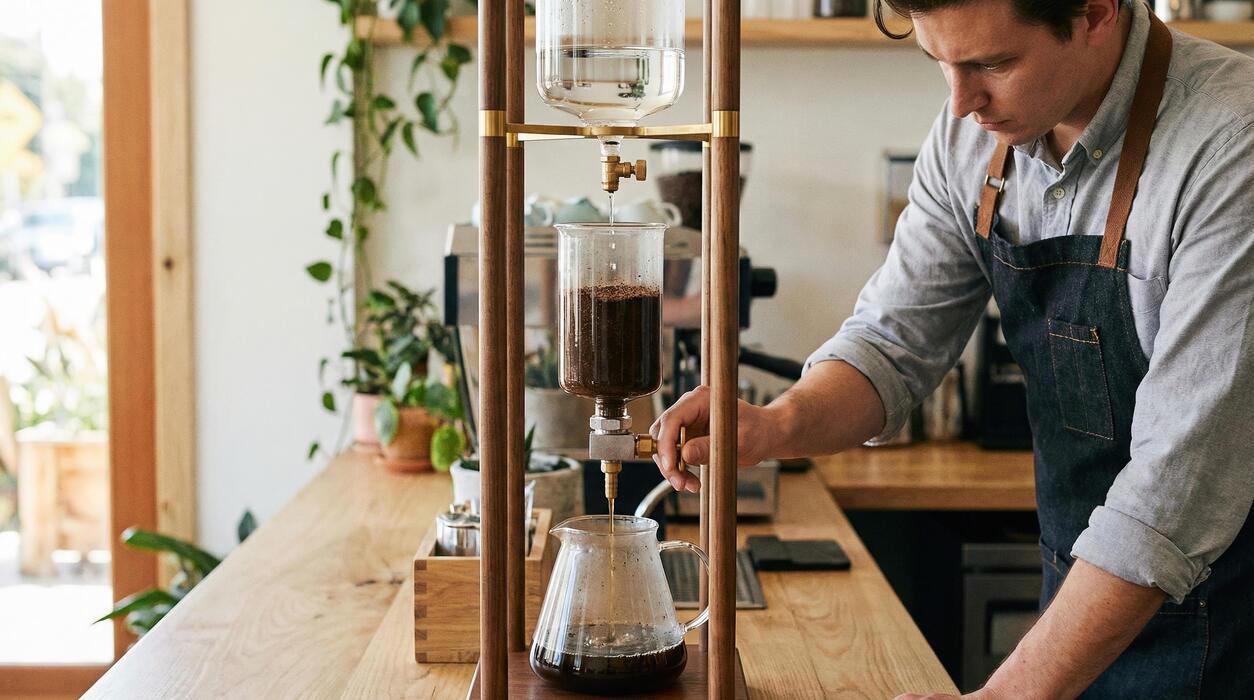
While immersion involves soaking grounds in water for up to twenty-four hours, the drip method—often called Kyoto-style—uses a specialized tower to pass individual water droplets through a bed of coffee over a period of three to twelve hours.
This technique ensures that the water is constantly moving and filtering through the grounds, rather than sitting stagnant. Because the water is not in contact with the coffee for nearly as long, it prevents the over-extraction of heavy tannins that can sometimes make immersion brews taste muddy or overly earthy.
By focusing on a precise drip rate of one drop per second, you can achieve a much cleaner profile.
This method requires a specific glass apparatus or a dedicated dripper, allowing for a highly controlled extraction process that highlights the delicate, nuanced notes of your beans that are often lost in a traditional immersion soak.
Why cold drip tastes better than regular iced coffee
The primary reason enthusiasts prefer cold brew drip over regular iced coffee lies in the chemistry of temperature and oxidation.
Regular iced coffee is brewed hot and then cooled, which often triggers the release of bitter oils and acidic compounds that can sour the flavor profile as the liquid hits the ice.
In contrast, cold drip coffee never touches hot water, meaning those acidic oils are never extracted in the first place. This results in a beverage that is naturally sweeter and significantly less acidic, making it easier on the stomach and more flavorful on the palate.
By utilizing a slow, cold extraction, you preserve the volatile aromatic compounds that give high-quality beans their unique character. The final result is a concentrated, silky-smooth liquid that maintains its integrity even when diluted.
Unlike watered-down iced coffee, cold drip provides a rich, full-bodied experience that showcases the bright floral and fruity undertones of the specialty beans without any of the harsh bitterness found in heat-brewed alternatives.
Key benefits of the slow drip process
Mastering the slow drip process offers several functional benefits beyond just superior taste and aroma. One major advantage is the shorter brewing window compared to immersion; while immersion takes a full day, a high-quality cold drip can be ready in as little as four hours.
Additionally, the setup allows for visual precision and aesthetic appeal, as the slow descent of water through the glass chambers is as much an art form as it is a culinary science.
This method also produces a very clear, sediment-free concentrate that can be stored in the refrigerator for up to two weeks without losing its flavor profile.
Because the process is so efficient at extracting solubles, you often need less coffee ground volume to achieve a potent, caffeinated result compared to other cold methods.
By focusing on a slow, gravity-fed filtration, you ensure that every drop of water is fully saturated with flavor, resulting in a consistently crisp and refreshing beverage that serves as the perfect base for creative coffee cocktails or a simple, sophisticated black coffee.
Essential equipment for cold drip brewing
Choosing a dedicated cold drip tower
To master how to make cold brew drip coffee, investing in a dedicated cold drip tower is the gold standard for both aesthetics and functionality. These towers typically feature three glass chambers suspended in a wooden or metal frame, allowing for a mesmerizing, gravity-fed extraction process.
When selecting a tower, look for models made from borosilicate glass, which offers superior durability and resistance to temperature fluctuations. A high-quality tower ensures that the water path remains consistent, preventing channeling in the coffee bed.
You should also consider the capacity of the reservoir, as most domestic towers produce between 600ml and 1000ml per batch. A built-in permanent stainless steel filter or a ceramic distribution plate at the top of the coffee chamber is essential for ensuring the water disperses evenly over the grounds.
This specialized equipment not only serves as a centerpiece for your kitchen but also provides the structural stability needed for a successful ten-hour slow drip extraction.
Budget-friendly DIY drip setups
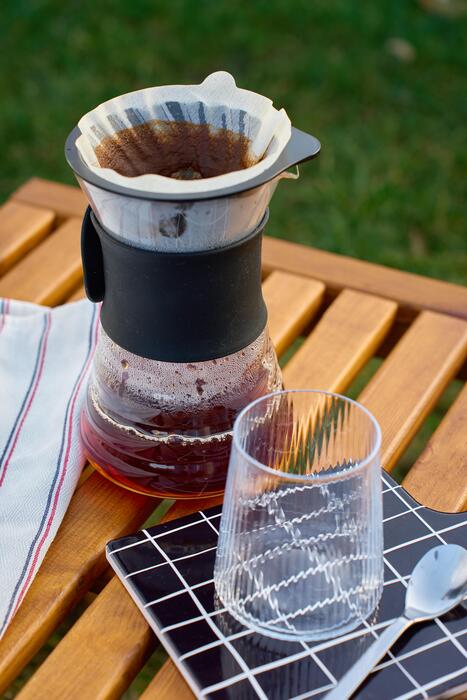
If you are learning how to make cold brew drip coffee without committing to an expensive tower, you can assemble budget-friendly DIY drip setups using common household items. The primary requirement is a mechanism to suspend a water source above a filtration vessel.
You can use a plastic gallon jug with a pinhole or a medical-grade IV bag to mimic the slow release of water droplets. For the filtration stage, a standard Aeropress or a pour-over dripper works exceptionally well to hold the coffee grounds.
Place a paper filter both at the bottom of the grounds and on the very top surface; the top filter is crucial for even water distribution across the coffee bed. This prevents the water from carving a single path through the center.
While these improvised rigs may lack the visual elegance of a glass tower, they allow you to experiment with the drip-rate methodology and flavor profiles at a fraction of the cost, proving that precision brewing is more about physics than price tags.
The importance of precision water valves
The most critical component in any setup is the precision water valve, which dictates the exact speed of the extraction. To achieve the signature bright and clean flavor of cold drip, you must maintain a consistent rate of approximately one drop every 1.5 seconds.
Lower-quality valves may clog or speed up as the water level in the reservoir drops, leading to inconsistent results. Look for a needle valve made from brass or high-grade stainless steel, as these offer the finest control over the flow rate.
If your equipment uses a plastic stopcock, ensure it is cleaned regularly to prevent mineral buildup from affecting the drip speed.
Adjusting this valve allows you to fine-tune the contact time between the water and the grounds; a faster drip yields a lighter body, while a slower drip results in a more syrupy, concentrated brew.
Mastering this single piece of hardware is the secret to moving from basic immersion brewing to professional-grade cold drip coffee that highlights complex floral and fruity notes.
Best coffee beans and grind size for cold drip
Selecting the right roast profile
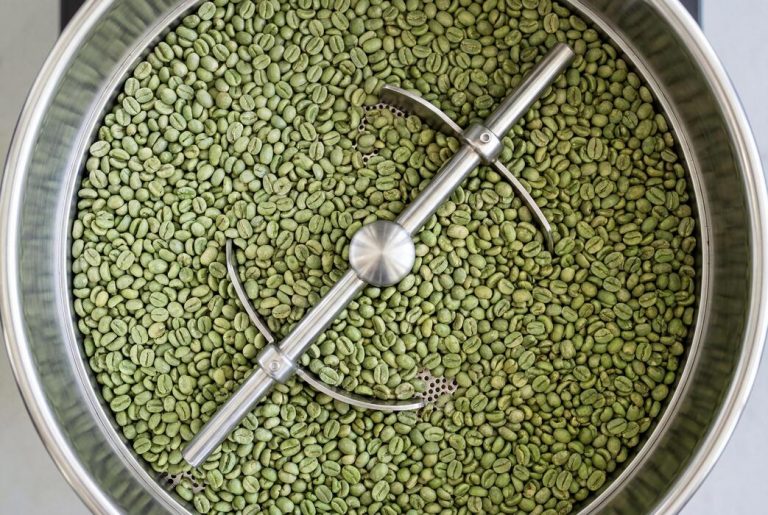
To master how to make cold brew drip coffee, start by choosing a medium to dark roast profile to ensure a robust flavor that can withstand the slow extraction process.
While light roasts offer delicate floral notes, they often lack the body required for a satisfying cold drip experience and may taste overly acidic. Darker roasts excel here because the cold water naturally limits the extraction of bitter oils, leaving you with a smooth, chocolatey, and low-acid beverage.
Many enthusiasts prefer single-origin beans from regions like Brazil or Sumatra, which provide nutty and earthy undertones that pair perfectly with the icy temperature. Using a specialty-grade Arabica bean is highly recommended to avoid the harshness found in lower-quality blends.
By selecting a roast with naturally sweet characteristics, you minimize the need for added sweeteners later. This foundational step ensures that every drop falling through your tower carries a rich, complex profile that defines high-quality slow-drip coffee.
Why a coarse grind is necessary
Achieving the perfect extraction in a cold drip tower depends entirely on your particle size; specifically, you must use a consistent coarse grind similar to sea salt. Unlike immersion methods, cold drip relies on gravity to pull water through a bed of grounds.
If your grind is too fine, the water will pool at the top, leading to over-extraction and a muddy, bitter taste that ruins the clarity of the brew. A coarse setting allows the water to saturate each layer evenly without causing blockages or channeling.
You should aim for a uniform consistency using a burr grinder, as blade grinders produce uneven shards that lead to inconsistent flavors.
When the water drips at a rate of roughly one drop per second, a coarse grind ensures that the contact time is just right to pull out the sugars and oils without the astringency.
This physical structure allows the water to travel efficiently through the coffee bed for a clean finish.
Freshness and storage tips for your beans
The secret to a vibrant cold drip lies in the freshness of your ingredients; therefore, you should always grind your beans immediately before brewing.
Coffee begins to oxidize and lose its aromatic compounds within minutes of being ground, which can lead to a flat or stale flavor profile in the final carafe.
To maintain peak quality, store your whole beans in an opaque, airtight container kept in a cool, dark place rather than the refrigerator or freezer. Exposure to light, heat, and moisture are the primary enemies of coffee oils, which are essential for that signature cold brew mouthfeel.
When learning how to make cold brew drip coffee, remember that freshly roasted beans (ideally within two weeks of the roast date) will produce a much more nuanced and fragrant result.
If you notice a lack of ‘bloom’ or aroma when the first drops hit the grounds, your beans may be past their prime. Prioritizing freshness ensures that the slow, methodical dripping process captures the best possible essence.
How to make cold brew drip coffee step-by-step
Preparing the coffee bed and filter
To begin your cold brew drip journey, start by selecting a medium-coarse grind similar to sea salt to ensure optimal water flow. Place your ground coffee into the middle chamber of the dripper, ensuring the surface is perfectly level to prevent channeling.
It is critical to pre-wet the paper filter placed atop the grounds; this helps distribute the water evenly across the entire coffee bed from the very first drop.
Use a small amount of room-temperature water to dampen the grounds slightly before starting the drip, a process known as pre-infusion, which helps to release trapped gases and improves flavor clarity. Ensure that the filter sits flush against the glass to avoid bypass.
By carefully managing the density of the coffee bed, you create the necessary resistance for the water to extract deep chocolate and nutty notes without the bitterness associated with immersion methods. This foundational step dictates the overall balance and body of your final concentrated brew.
Setting the perfect drip rate
Once your coffee bed is prepared, fill the top reservoir with a mixture of filtered water and ice to maintain a consistent, chilled temperature throughout the process. The most vital aspect of cold drip coffee is the adjustable valve control, which dictates the speed of extraction.
You should aim for a precise rate of one drop every 1.5 to 2 seconds. If the drip rate is too fast, the water will rush through the grounds, resulting in a weak, sour, and under-extracted beverage.
Conversely, a rate that is too slow can lead to over-extraction and a harsh, metallic aftertaste. Regularly check the valve during the first hour, as the water pressure changes as the reservoir empties, often requiring slight manual adjustments to keep the pace steady.
Mastering this flow rate ensures that the water has enough contact time with the coffee to pull out the delicate oils and aromatics that define a high-quality cold drip experience.
Monitoring the extraction process
Unlike immersion cold brew which sits for half a day, the cold drip method typically takes between three to five hours to complete.
During this time, it is essential to monitor the saturation of the coffee grounds to ensure no dry spots remain, as these can lead to uneven flavor profiles.
If you notice the water pooling at the top of the coffee bed, your grind may be too fine; if it disappears instantly, it might be too coarse. As the carafe fills with the dark coffee concentrate, you will see the layers of extraction forming.
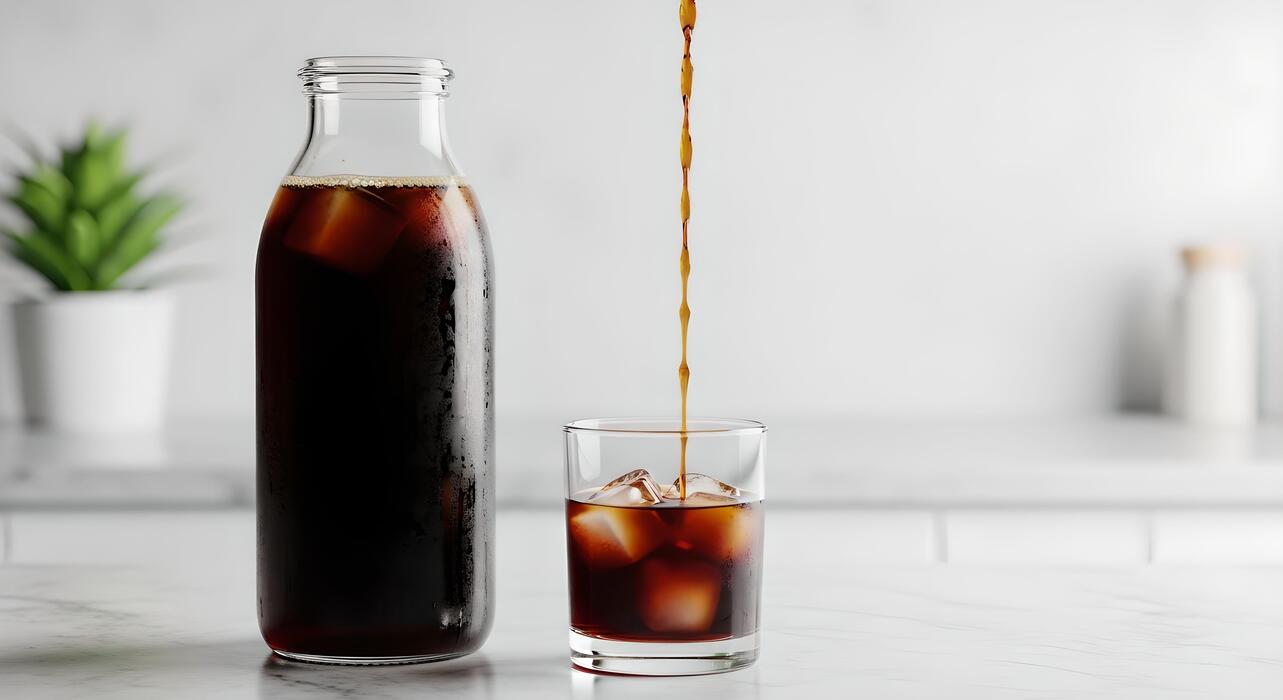
Once the water reservoir is empty, remove the carafe immediately to prevent any stray, over-extracted drops from diluting the batch. For the best sensory results, transfer the brewed coffee into an airtight glass bottle and let it rest in the refrigerator for a few hours.
This resting period allows the flavors to mellow and integrate, resulting in a silky, complex cup that highlights the bean’s unique origin.
The ideal water-to-coffee ratio
Standard ratios for a balanced brew
To achieve a smooth and refreshing cup of cold brew drip coffee, the industry standard is a 1:10 or 1:12 ratio of coffee to water.
Unlike immersion methods that soak grounds for a day, the slow-drip technique relies on gravity and precision, requiring a slightly coarser grind and a steady flow. For a standard batch, measure 100 grams of coarsely ground beans for every 1000 milliliters of water.
This balance ensures that the water extracts the bright, fruity notes without pulling out the bitter tannins that can ruin the profile. When you use this ratio, the resulting beverage is ready to drink immediately over ice without needing further dilution.
It is essential to level the coffee bed perfectly before starting the drip to ensure the water saturates every grain evenly. This prevents channeling, where water bypasses the grounds, leading to a weak and underdeveloped flavor profile that lacks the characteristic body found in high-quality slow-drip preparations.
How to adjust strength for concentrates
If you prefer a more versatile liquid that can be mixed with milk or heavy cream, you should aim for a 1:5 or 1:7 ratio to create a potent concentrate.
Because drip cold brew is more efficient at extraction than immersion, a tighter ratio produces a syrupy, intense flavor profile that holds up well against dilutants. When preparing a concentrate, ensure your grind size is consistent and slightly finer than sea salt to slow the water transit time.
If the drip rate is too fast, the water will pass through the dense bed of coffee too quickly, resulting in a sour and under-extracted mess. Aim for a speed of one drip every 1.5 seconds to maximize contact time.
Using a concentrate allows you to save fridge space and gives you the flexibility to customize individual servings based on personal preference. Always remember to store your concentrate in a sealed glass carafe to maintain its aromatic integrity and prevent it from absorbing unwanted refrigerator odors over several days.
Using filtered water vs. tap water
The quality of your water is just as important as the beans themselves, as coffee is over 98% water. For the best results, always use filtered or bottled spring water rather than straight tap water.
Tap water often contains chlorine, fluoride, and heavy minerals that can create a metallic aftertaste or mute the delicate floral notes of your specialty beans. Using a charcoal filter or a dedicated water pitcher removes these impurities while maintaining the essential minerals needed for proper extraction.
If your water is too soft, the coffee may taste flat; if it is too hard, the brew can become chalky and dull. Maintaining a neutral pH level ensures that the natural acidity of the coffee shines through without being overpowered by chemical additives.
Since the cold brew drip process happens at room temperature or inside a refrigerator, the water does not have heat to help mask imperfections, making the purity of your base liquid a critical factor in the final clarity and sweetness of the beverage.
Common cold drip mistakes and how to fix them
What to do if the dripping stops
One of the most frequent frustrations when learning how to make cold brew drip coffee is the water flow suddenly halting mid-cycle. This typically occurs because the water pressure decreases as the reservoir empties, or the coffee grounds have settled into a compacted layer that resists penetration.
To fix this, you should first adjust the needle valve to a slightly faster setting to compensate for the loss of gravitational pressure. If the flow remains stuck, check your filter placement; a paper filter that is too large can create an airtight seal that prevents dripping.
Another pro tip is to pre-wet the coffee grounds with a small amount of room temperature water before starting the drip process. This eliminates air pockets and ensures the water can pass through the bed consistently.
Always ensure your setup is perfectly level, as a slight tilt can cause water to pool on one side, leading to an uneven distribution that eventually blocks the drip path entirely.
Fixing weak or watery coffee
If your final carafe of cold drip lacks body or tastes disappointingly thin, the primary culprit is usually an incorrect grind size or a drip rate that is moving far too quickly.
For the perfect cold drip, you must use a medium-coarse grind similar to sea salt; if the particles are too large, the water passes through without extracting the necessary oils and flavor compounds. To solve this, try slowing your drip rate to approximately one drop every two seconds.
This extended contact time allows the cold water to properly saturate the grounds and pull out the rich, chocolatey notes characteristic of this brewing method. Additionally, ensure you are using a proper coffee-to-water ratio, typically around 1:10 or 1:12 for a concentrate.
If the result is still weak, check for ‘channeling,’ where water finds a single path through the grounds. You can prevent this by using a top paper filter to distribute the water drops evenly across the entire surface of the coffee bed.
Preventing bitter over-extraction
While cold brew is known for low acidity, cold drip can turn surprisingly bitter if the extraction process is not carefully managed. This bitterness often stems from using a grind that is too fine, which mimics an espresso-style extraction and pulls out harsh tannins.
To fix this, coarsen your grind setting immediately to ensure a cleaner profile. Another common mistake is leaving the coffee to drip for longer than eight hours at room temperature; heat and time combined can lead to oxidation and off-flavors.
To keep the brew crisp, use an ice-water slurry in the top reservoir rather than just plain tap water. This keeps the temperature consistently low throughout the duration of the brew. Finally, ensure your equipment is meticulously cleaned between uses.
Old coffee oils trapped in the valve or the permanent filter can go rancid and impart a sharp, metallic bitterness to your fresh batch. By maintaining a cold environment and a steady, controlled drip, you will achieve a smooth and sweet finish every time.
Tips for serving and storing your cold drip
How long cold drip stays fresh in the fridge
Once you have successfully finished the slow extraction process, the longevity of your cold drip coffee is one of its greatest advantages compared to traditional hot-brewed methods. To maintain the highest quality and flavor profile, you should store your concentrate in an airtight glass bottle or carafe immediately after brewing.
When kept properly sealed in the refrigerator, cold drip coffee typically stays fresh and vibrant for up to two weeks. Unlike hot coffee that oxidizes and becomes bitter within minutes, the cold extraction method creates a stable chemical structure that resists rapid degradation.
However, for the absolute best tasting experience, aim to consume your batch within the first seven days to enjoy the nuanced floral and fruity notes at their peak.
If you notice any sourness or a significant loss of aroma after the ten-day mark, it is likely time to brew a fresh batch. Always remember to keep the container towards the back of the fridge where the temperature is most consistent.
Best ways to dilute and serve over ice
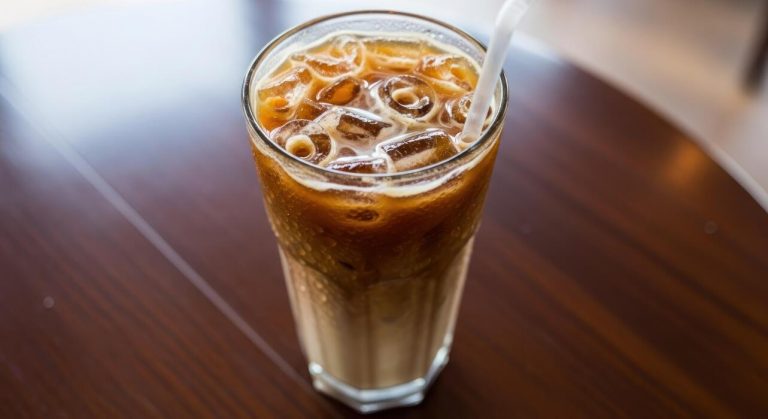
Because the cold drip method produces a highly concentrated liquid, learning the art of dilution is essential for a balanced cup. Most enthusiasts find that a ratio of one part coffee to two parts water or milk creates the perfect intensity.
If you prefer a bold, robust flavor, you might opt for a 1:1 ratio instead. When serving, always start by filling a glass with large, dense ice cubes which melt slower than smaller shards, preventing your drink from becoming watery too quickly.
Pour your measured concentrate over the ice first, followed by your choice of filtered water or a creamy alternative like oat or almond milk. For a sophisticated touch, stir gently to incorporate the layers without aerating the coffee too much.
If you want to enhance the natural sweetness without adding sugar, try adding a small pinch of sea salt or a twist of orange peel. This highlights the complex acidity and chocolate undertones inherent in slow-dripped beans while providing a refreshing, clean finish.
Creative ways to use cold drip in recipes
Your cold drip concentrate is a versatile ingredient that extends far beyond the standard morning glass. Due to its low acidity and intense flavor, it serves as an excellent base for a refined Espresso Martini or other coffee-based cocktails, providing a smooth texture that balances well with spirits.
In the kitchen, you can use the concentrate to create a rich coffee glaze for roasted meats or incorporate it into dessert recipes like tiramisu or mocha-flavored brownies.
For a refreshing summer treat, consider freezing the concentrate into coffee ice cubes; this ensures that as they melt in your iced coffee, the drink actually gets stronger rather than diluted. You can also whisk the concentrate into a homemade vinaigrette to add an earthy depth to savory salads.
For a quick energy-boosting snack, blend the cold drip into a morning smoothie with frozen bananas and almond butter. The concentrated nature of the drip means you get a potent caffeine kick and deep flavor without adding excess liquid volume to your culinary creations.
Frequently Asked Questions
What is cold brew drip coffee?
Cold brew drip coffee, also known as Dutch coffee or Kyoto-style brew, is made by dripping cold water over a bed of coffee grounds over several hours. Unlike immersion cold brew, this method uses a gravity-fed valve to control the drip rate, resulting in a lighter and more aromatic profile.
What equipment do I need for cold brew drip coffee?
You need a cold drip tower or a specialized dripper that includes a water reservoir, a dripper valve, a coffee chamber, and a carafe. You will also need a paper or metal filter to place on top of the coffee grounds to ensure even water distribution.
What is the ideal grind size for cold drip coffee?
A medium-coarse grind, similar to sea salt, is ideal for cold drip coffee. If the grind is too fine, the water will pool and overflow; if it is too coarse, the water will pass through too quickly without extracting enough flavor.
What is the recommended coffee-to-water ratio for cold drip?
A common ratio for cold drip coffee is 1:10 or 1:12. For example, use 60 grams of coffee for every 600ml of ice water to produce a concentrated yet smooth brew that can be enjoyed over ice.
How do I set the drip rate for the best flavor?
Aim for a drip rate of approximately one drop every 1 to 1.5 seconds. You should check the valve periodically during the process, as the water pressure changes as the reservoir empties, which can slow down the drip rate.
How long does the cold drip process take?
Depending on the volume of coffee and the drip speed, the process typically takes between 3 and 8 hours. Once finished, it is recommended to let the coffee rest in the refrigerator for 24 hours to allow the flavors to mellow and develop.
Why should I put a filter on top of the coffee grounds?
Placing a pre-moistened paper filter on top of the grounds is crucial for even distribution. It prevents the dripping water from creating a single hole in the coffee bed, ensuring that all grounds are saturated equally for a balanced extraction.
Conclusion
Mastering the art of cold brew drip coffee allows you to enjoy a sophisticated, low-acid beverage from the comfort of your home. By focusing on the right grind size, ice-to-water ratio, and a steady drip rate, you can unlock complex floral and fruity notes in your favorite beans. While the process requires patience, the smooth and refreshing results are well worth the wait. Start experimenting with your setup today and elevate your caffeine routine.