How Do You Make Brewed Coffee
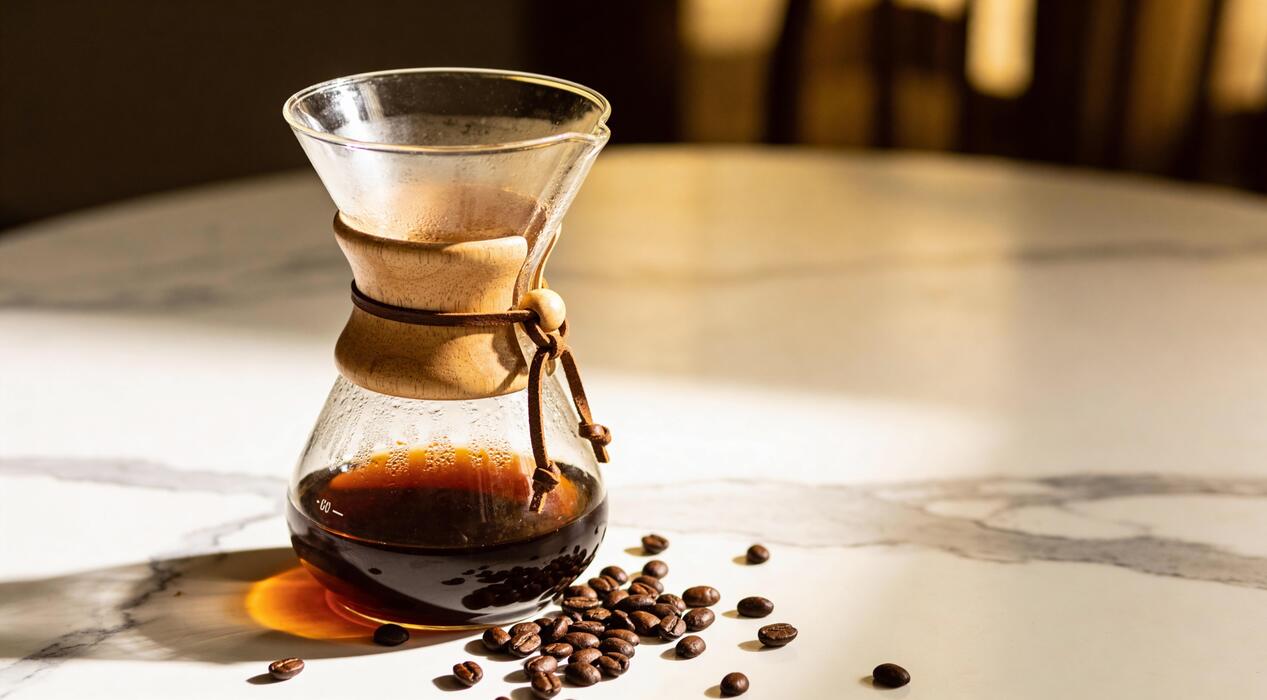
Making a perfect cup of brewed coffee at home is simpler than you might think. Whether you are using a standard drip machine or a simple pour-over, the secret lies in the right coffee-to-water ratio and fresh grounds. In this guide, we will show you exactly how to make brewed coffee that tastes like it came from your favorite cafe.
Essential tools for brewing coffee at home
Choosing the right coffee maker
Selecting the perfect brewing device is the first step in learning how to make brewed coffee that suits your palate. For a clean, vibrant cup, a pour-over dripper like a Hario V60 allows for maximum control over extraction variables.
If you prefer a full-bodied, robust flavor, the French Press uses immersion brewing to highlight natural oils. Those seeking convenience without sacrificing quality should look for SCAA-certified drip machines, which ensure the water reaches the optimal temperature of 195-205 degrees Fahrenheit.
Each method requires a specific technique, but the foundation remains the same: choosing a vessel that matches your desired flavor profile and lifestyle.
Experimenting with different brewers will help you understand how immersion versus percolation affects the final taste, allowing you to master the art of home brewing with confidence and consistency.
Why a burr grinder matters
The secret to café-quality coffee at home lies in the consistency of your grind, making a burr grinder an essential investment. Unlike blade grinders that shatter beans into uneven shards, burr grinders use two revolving surfaces to crush beans into uniform particle sizes.
This uniformity is critical because it ensures that every coffee ground extracts at the same rate, preventing a mix of sour under-extracted and bitter over-extracted flavors.
When learning how to make brewed coffee, you must match your grind size to your brew method: coarse for French Press, medium for drip, and fine for pour-over.
Using freshly ground beans within fifteen minutes of brewing also preserves the volatile aromatics and oils that provide coffee its complex character, vastly improving the overall sensory experience of your morning routine.
Using a digital scale for precision
To eliminate guesswork and achieve a repeatable, delicious result, a digital scale is a non-negotiable tool for home baristas. Measuring coffee by volume using scoops is notoriously inaccurate because bean density varies by roast level and origin.
By weighing your coffee and water in grams, you can maintain a precise golden ratio, typically 1:16 or 1:17 (one part coffee to sixteen parts water).
This level of precision allows you to troubleshoot your brew; if the coffee tastes too strong, you can easily adjust the ratio for the next cup.
A scale with a built-in timer is even more effective, as it helps you monitor the contact time between water and grounds, ensuring you don’t over-steep your brew. Precision leads to consistency, turning a lucky great cup of coffee into a daily standard.
Water kettles and filters
Since coffee is approximately 98% water, the quality and delivery of your water are paramount. A gooseneck kettle is vital for manual brewing methods, as its slender spout provides the precision flow control needed to saturate grounds evenly without causing channeling.
Controlling the speed and placement of your pour ensures a balanced extraction. Equally important is the water itself; using a high-quality water filter removes chlorine and impurities that can cause metallic or chemical off-tastes. Avoid using distilled water, as coffee needs some mineral content to extract flavor properly.
If you are using a pour-over method, remember to rinse your paper filter with hot water before adding coffee to remove any papery taste and to preheat your vessel. These small adjustments in water management significantly elevate the clarity and sweetness of your final brew.
How to select the best coffee beans
Light vs. dark roast profiles
Understanding roast profiles is the first step in mastering how you make brewed coffee that suits your palate. Light roasts are typically toasted for a shorter duration, preserving the unique characteristics of the bean’s origin.
These beans often feature bright acidity and complex floral or fruity notes, making them ideal for pour-over methods where clarity is prized. Conversely, dark roasts are heated longer until the natural oils surface, resulting in a bold, smoky flavor with significantly lower acidity.
These are excellent for those who prefer a heavy body and notes of dark chocolate or caramel in their morning cup. Medium roasts offer a balanced middle ground, providing a traditional coffee taste with a smooth finish.
When selecting beans, consider that lighter roasts generally contain slightly more caffeine and a thinner body, while darker roasts provide a robust, intense experience that stands up well to the addition of milk or cream.
Choosing the right profile ensures your brewing technique highlights the optimal flavor characteristics you enjoy most.
The importance of roast dates
Freshness is the most critical factor when determining how you make brewed coffee taste professional rather than stale. Coffee is a perishable agricultural product that begins to lose its aromatic compounds and complex flavors immediately after roasting due to oxidation.
When shopping for beans, always look for a specific roast date printed on the bag rather than an expiration date. For the best results, aim to use beans that are between seven and twenty-one days past their roast date.
During this window, the beans have finished degassing carbon dioxide but still retain their peak volatile oils. If the coffee is too fresh, the excess gas can interfere with water extraction, leading to uneven flavors. If it is too old, the coffee will taste flat, woody, or even rancid.
By prioritizing freshly roasted beans and purchasing in smaller quantities that you can consume within two weeks, you ensure that every cup you brew maximizes the vibrant potential of the high-quality coffee cherry.
Single origin vs. blends
Deciding between single origin beans and blends significantly impacts the final profile of your brewed coffee. Single origin beans come from a specific farm or geographic region, offering a unique ‘sense of place’ or terroir.
These beans are perfect for enthusiasts who want to explore distinctive flavor profiles, such as the citrusy notes of Ethiopian Yirgacheffe or the nutty undertones of Colombian varieties. Because their flavors are so specific, they are best enjoyed black to appreciate their nuances.
On the other hand, coffee blends are curated combinations of beans from various regions designed to create a consistent, well-rounded flavor profile. Roasters create blends to achieve a specific balance of acidity, body, and sweetness that remains stable throughout the year.
Blends are often more forgiving during the brewing process and are highly recommended for espresso or traditional drip machines. Whether you prefer the adventurous complexity of a single origin or the reliable, harmonious taste of a signature blend, understanding this distinction helps you customize your home brewing experience.
The golden ratio for coffee and water

Standard measurements for beginners
To achieve a balanced cup of coffee, the industry standard is often referred to as the Golden Ratio, which suggests using one to two tablespoons of ground coffee for every six ounces of water.
For those using the metric system, this translates to a ratio of approximately 1:17, meaning one gram of coffee for every seventeen grams of water.
This specific balance ensures that the water can effectively extract the desired flavors, oils, and caffeine without over-saturating the grounds or leaving the final brew tasting weak and watery.
When you are just starting out, following these precise measurements provides a reliable baseline that mimics the quality of a professional cafe. It is important to remember that most coffee carobs use five-ounce or six-ounce markings rather than standard eight-ounce cups, so always check your equipment before pouring.
Establishing this consistent foundation allows you to understand how variables like grind size and temperature affect the outcome of your morning ritual.
Adjusting strength for your taste
While the 1:17 ratio is the traditional starting point, brewing the perfect cup is ultimately a matter of personal preference. If you find your coffee feels a bit thin or lacks punch, you should increase the coffee-to-water ratio to 1:15, which creates a more concentrated and intense flavor profile.
Conversely, if the brew tastes too bold or bitter for your palate, you can add more water to move toward a 1:18 or 1:19 ratio, resulting in a lighter and more delicate cup.
Making these small adjustments allows you to highlight different tasting notes, such as the bright acidity in African beans or the deep chocolate tones in South American varieties. Always make one change at a time so you can accurately track how the flavor shifts.
By documenting your favorite ratios, you can customize every brew to match your mood, whether you need a heavy caffeine kick to start the day or a smooth, mellow drink to enjoy during a quiet afternoon break.
Why weight is better than volume
For the most consistent results, professional baristas recommend using a digital kitchen scale rather than relying on scoops or measuring spoons.
The primary reason for this is that different coffee beans have varying densities based on their roast level and origin; for instance, dark roasted beans are puffier and take up more space than dense light roasts.
If you measure by volume, you might end up with a significant discrepancy in the actual mass of coffee being used, leading to an inconsistent taste from day to day. Measuring by weight in grams ensures that your ratio remains exact regardless of the bean type or grind size.
Furthermore, water volume can be tricky to judge by eye due to surface tension and steam, but weighing the water as you pour provides absolute precision.
Switching to a weight-based workflow eliminates the guesswork, reduces waste, and is the single most effective way to improve the quality of your home-brewed coffee while ensuring every single cup is just as delicious as the last one.
Step-by-step guide to drip coffee
Preparing the filter and machine
To begin your drip coffee journey, start by ensuring your machine is positioned on a flat, stable surface near a power outlet.
Open the reservoir lid and pour in fresh, cold filtered water to the desired cup level marked on the side of the unit; using filtered water is essential as it prevents mineral buildup and allows the coffee’s natural nuances to shine.
Next, place a high-quality paper or reusable metal filter into the brew basket.
If you are using a paper filter, a professional tip is to rinse the filter with hot water before adding coffee; this small step removes any lingering papery taste and preheats the carafe, ensuring your final beverage stays hot for a longer duration.
Check that the brew basket is seated firmly in its housing and that the carafe is properly aligned on the warming plate. Having everything aligned and prepped ensures an even extraction process, preventing overflows or messy spills while the machine cycles through the brewing phase.
The correct grind size for drip
Achieving the perfect cup of brewed coffee depends heavily on your grind consistency, which should ideally resemble medium-coarse sea salt. If your grind is too fine, the water will struggle to pass through, resulting in a bitter, over-extracted flavor.
Conversely, if the grind is too coarse, the water will rush through the grounds too quickly, leaving you with a sour, watery, and under-developed brew.
For a standard automatic drip machine, aim for a ratio of two tablespoons of ground coffee for every six ounces of water, though you can adjust this based on your personal strength preference.
It is highly recommended to grind your beans immediately before brewing to preserve the volatile oils and aromatic compounds that dissipate quickly after the bean’s surface area is exposed to oxygen.
Using a burr grinder rather than a blade grinder will provide the necessary uniformity to ensure that every particle of coffee contributes equally to the rich, balanced profile of your morning cup.
Cleaning your machine for better flavor
A common mistake that ruins the flavor of brewed coffee is neglecting regular maintenance, which leads to the accumulation of bitter coffee oils and mineral scale.
After every use, make it a habit to discard the spent grounds and wash the brew basket and glass carafe with warm, soapy water to prevent residue buildup.
Once a month, you should perform a deep descaling process by running a mixture of equal parts white vinegar and water through a full brewing cycle. This acidic solution effectively breaks down the calcium and magnesium deposits that can clog internal heating elements and slow down the water flow.
After the vinegar cycle, run two or three cycles of plain cold water to thoroughly flush out any remaining vinegar scent or taste.
Keeping the internal components of your machine pristine ensures that the heating element reaches the optimal temperature for extraction, which is typically between 195 and 205 degrees Fahrenheit, resulting in a consistently delicious and professional-quality cup of coffee every single time.
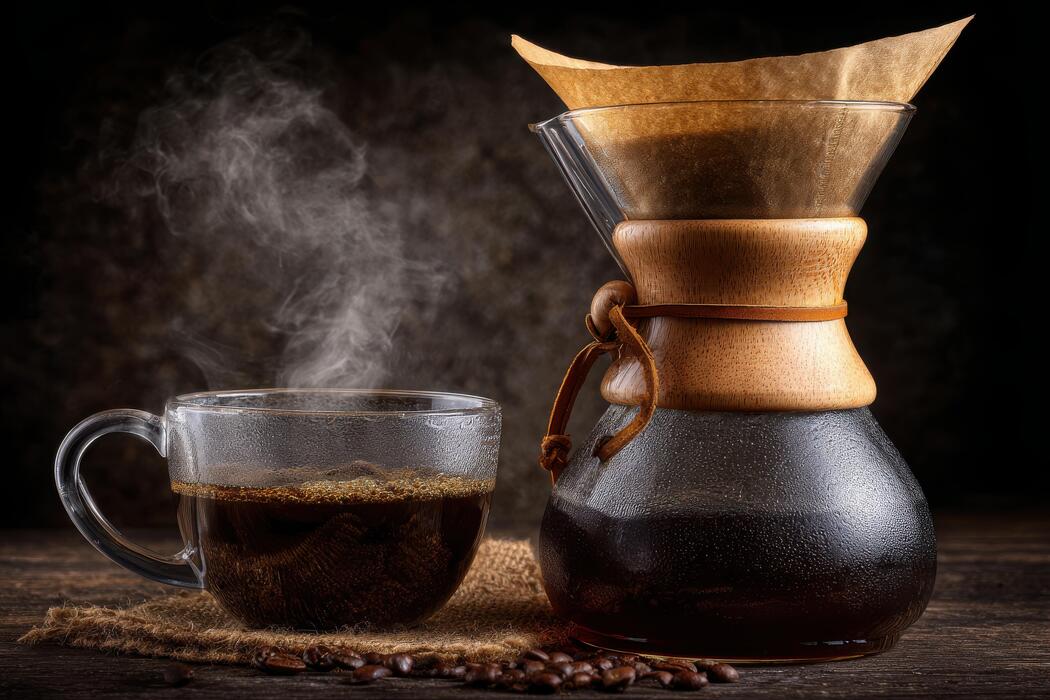
How to make pour-over coffee

The blooming process explained
The initial stage of crafting a perfect pour-over involves a critical step known as the bloom. After placing your medium-fine grounds into the filter, you should gently saturate them with a small amount of water, typically double the weight of the coffee.
This process triggers the release of trapped carbon dioxide, which prevents the water from properly extracting the flavorful oils within the bean. You will notice the grounds bubbling and expanding; this is a clear indicator that the gas is escaping.
Allowing the coffee to bloom for approximately thirty to forty-five seconds ensures that the water can eventually penetrate the grounds evenly. If you skip this step, the gas can act as a barrier, leading to an uneven extraction and a sour or metallic taste profile.
By mastering the bloom, you create a stable foundation for the rest of the brewing cycle, ensuring that every drop of water contributes to a balanced and aromatic final cup of coffee that highlights the unique characteristics of your specific roast.
Pouring techniques and patterns
Once the bloom is complete, the way you introduce the remaining water determines the clarity and body of your brew. Use a gooseneck kettle for precise flow control and begin pouring in steady, concentric circles starting from the center and moving outward.
Avoid pouring directly onto the side of the filter, as this causes water to bypass the grounds entirely, resulting in a weak and watery extraction. Maintaining a consistent and slow pour rate helps keep the coffee bed agitated without causing excessive turbulence that might clog the filter.
Many baristas prefer a pulse-pouring method, where you add water in several small stages to keep the water level consistent. This technique ensures that the grounds remain fully submerged and evenly saturated throughout the process.
By focusing on a steady hand and a rhythmic pattern, you encourage a uniform extraction that brings out the complex sweetness and acidity of the beans, transforming a simple routine into a professional-grade brewing experience right in your own kitchen.
Managing brew time and temperature
To achieve a cafe-quality result, you must monitor the relationship between extraction time and water heat. The ideal water temperature for pour-over coffee generally falls between 195 and 205 degrees Fahrenheit, as boiling water can scorch the delicate grounds and produce a bitter aftertaste.
If you do not have a thermometer, simply let the kettle sit for one minute after it reaches a boil. Simultaneously, you should aim for a total brew time of three to four minutes, depending on the specific grind size and coffee volume.
If the water drains too quickly, your coffee may taste weak; if it takes too long, it may become unpleasantly bitter. Adjusting your grind size is the most effective way to control the flow rate and fine-tune the duration of the brew.
By carefully balancing these variables, you ensure that the chemical compounds within the coffee are extracted at the perfect rate, resulting in a clean, vibrant, and satisfying cup that showcases the true potential of your high-quality coffee beans.
Best ways to use a French Press
Coarse grind requirements
To achieve the perfect brew, you must start with the correct particle size. Unlike drip machines that use fine grounds, a French Press requires a consistent coarse grind that resembles sea salt or cracked peppercorns.
Using a fine grind will cause the mesh filter to clog, making it difficult to plunge and resulting in a muddy, over-extracted cup of coffee. By utilizing a high-quality burr grinder, you ensure that the coffee particles are uniform, which allows for an even extraction of oils and flavors.
This specific texture is vital because the immersion method involves long contact between water and coffee; if the surface area is too large, the water cannot penetrate efficiently, but if it is too small, the coffee becomes bitter.
Aim for a one-to-fifteen ratio of coffee to water to maintain a robust body. Starting with freshly roasted beans and grinding them immediately before brewing will significantly enhance the aromatic profile and overall depth of your morning beverage.
Steeping time for maximum extraction
Precision timing is the secret to balancing acidity and sweetness in your French Press. Once you have added your hot water—ideally between 195 and 205 degrees Fahrenheit—start a timer for exactly four minutes.
Begin by pouring just enough water to saturate the grounds and let them bloom for thirty seconds; this process releases trapped carbon dioxide and prepares the coffee for full extraction. After the bloom, pour the remaining water and gently stir the top layer to ensure all grounds are submerged.
The total four-minute steeping window allows the water to pull the complex sugars and essential oils from the coarse grounds without extracting the harsh tannins found in the woody structure of the bean.
If you plunge too early, the coffee will taste weak and sour; if you wait too long, it will become unpleasantly astringent. Consistency in your timing ensures that every carafe you brew provides a reliable, professional-grade experience that highlights the unique characteristics of your chosen coffee origin.
Tips for a sediment-free cup
While the French Press is known for its heavy body, many users struggle with the silt that settles at the bottom of the mug. To minimize this, use a gentle, steady pressure when pressing the plunger down at the end of the brew cycle.
If you feel significant resistance, stop for a second and then continue; forcing the filter down can cause grounds to bypass the mesh seal. A professional trick is to skim the floating foam and remaining grounds off the top with two spoons after the four-minute mark but before plunging.
This simple step removes the majority of the fine particulates that contribute to muddiness. Once the plunger reaches the bottom, decant the coffee immediately into a carafe or mug. Leaving the liquid in the press allows the coffee to continue brewing, which leads to over-extraction and bitterness.
By following these refined pouring techniques, you can enjoy a rich, full-bodied cup that remains clean and smooth from the first sip to the very last drop.
Common brewing mistakes to avoid
Using water that is too hot
One of the most frequent errors when learning how to make brewed coffee is using boiling water directly from the kettle.
Water that has reached a full boil, specifically 212 degrees Fahrenheit, will instantly scorch the delicate coffee grounds and result in a bitter, ashy flavor profile that masks the bean’s natural acidity. To achieve the perfect extraction, you must aim for a temperature range between 195 and 205 degrees Fahrenheit.
If you do not own a digital thermometer or a temperature-controlled gooseneck kettle, simply let your boiling water rest for approximately thirty to sixty seconds before pouring. This brief waiting period allows the heat to dissipate slightly, ensuring that you preserve the aromatic oils and complex sugars within the coffee.
Mastering temperature control is the fastest way to eliminate harshness and ensure that your morning cup remains smooth and well-balanced every single time you brew a fresh pot at home.
Storing beans in the wrong place
Keeping your coffee beans in the refrigerator or freezer is a common mistake that can significantly degrade the quality of your brew.
While it might seem like a good way to maintain freshness, the frequent temperature fluctuations every time you open the door cause moisture and condensation to build up inside the packaging. This moisture prematurely ages the beans and compromises their essential oils, leading to a flat and stale taste.
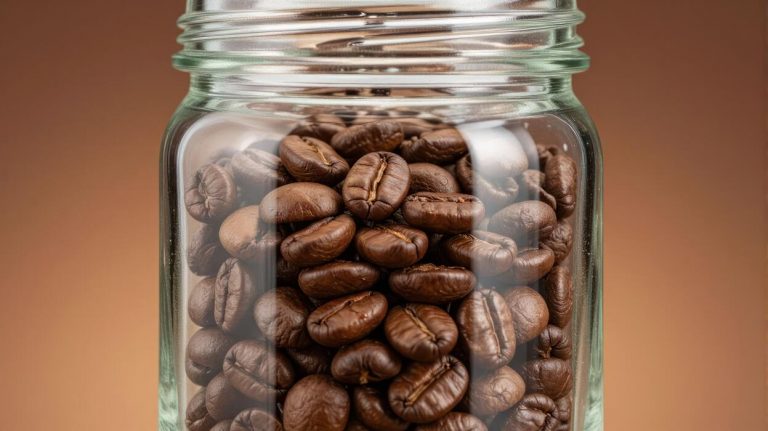
Furthermore, coffee is porous and will easily absorb unwanted odors from other foods like onions or leftovers stored nearby. To protect your investment, you should always store your whole beans in an opaque, airtight container kept in a cool, dark, and dry pantry.
By shielding your coffee from light, heat, and oxygen, you ensure that the chemical compounds responsible for that rich, vibrant flavor remain intact, allowing you to enjoy a much more flavorful and aromatic experience with every extraction.
Ignoring equipment maintenance
Even the highest quality beans cannot overcome the negative impact of a dirty machine or a clogged filter. Over time, coffee oils and mineral deposits from water build up inside your brewer, creating a rancid residue that will eventually impart a sour or metallic taste to your beverage.
To prevent this, you should clean your carafe and brew basket with mild soap after every single use to remove oily buildup.
Additionally, it is vital to descale your coffee maker every few months using a vinegar solution or a specialized descaling agent to remove calcium and lime scale from the internal heating elements.
Neglecting this maintenance not only ruins the flavor of your coffee but also forces your machine to work harder, which can lead to inconsistent water temperatures and a shorter lifespan for the appliance.
Keeping your gear in pristine condition is essential for ensuring that the true, clean characteristics of your coffee beans shine through in every cup.
Frequently Asked Questions
What is the basic ratio for brewing coffee?
The standard ‘Golden Ratio’ for brewing coffee is 1 to 2 tablespoons of ground coffee for every 6 ounces of water. You can adjust this ratio based on your personal preference for strength and the specific roast of the beans.
What water temperature is best for brewing coffee?
The ideal water temperature for extraction is between 195°F and 205°F (90°C to 96°C). If you don’t have a thermometer, bring the water to a boil and then let it sit for about 30 to 60 seconds before pouring.
How do I choose the right grind size?
The grind size depends on your brewing method; use a coarse grind for a French Press, a medium grind for standard drip coffee makers, and a fine grind for espresso. Matching the grind to the contact time ensures you don’t end up with bitter or sour coffee.
What are the steps for making drip brewed coffee?
To make drip coffee, place a filter in the basket, add your medium-ground coffee, and fill the reservoir with fresh, filtered water. Turn the machine on to allow the water to heat and drip through the grounds into the carafe.
Can I make brewed coffee without a machine?
Yes, you can use manual methods like a pour-over dripper, a French Press, or even the ‘cowboy coffee’ method where grounds are boiled in a pot. These manual methods often allow for more control over the flavor profile and strength of your brew.
How long should coffee brew for the best flavor?
For a standard drip machine, the contact time should be about 5 minutes, while a French Press typically requires 4 minutes of steeping. If the brew time is too short, the coffee will taste weak, while brewing for too long can result in a bitter taste.
Conclusion
Masterfully brewing coffee at home is a rewarding journey that balances high-quality beans, precise water temperature, and the right grind size. Whether you prefer a French press or a classic drip, the key lies in consistency and experimentation. Embrace the process, refine your technique, and enjoy the rich, aromatic rewards of your very own home-brewed masterpiece today.