How To Make Decaf Cold Brew At Home
how to make decaf cold brew at home is surprisingly simple, but the core problem is getting that same rich, smooth flavor without the caffeine jitters. You need the right decaf beans and a patient steeping method to avoid a weak or bitter brew. You are in the right place—this guide cuts through the guesswork, giving you a foolproof, barista-worthy concentrate that’s bold, low-acid, and ready for your morning glass.
What Is Decaf Cold Brew and Why Make It at Home
How decaf cold brew differs from regular cold brew
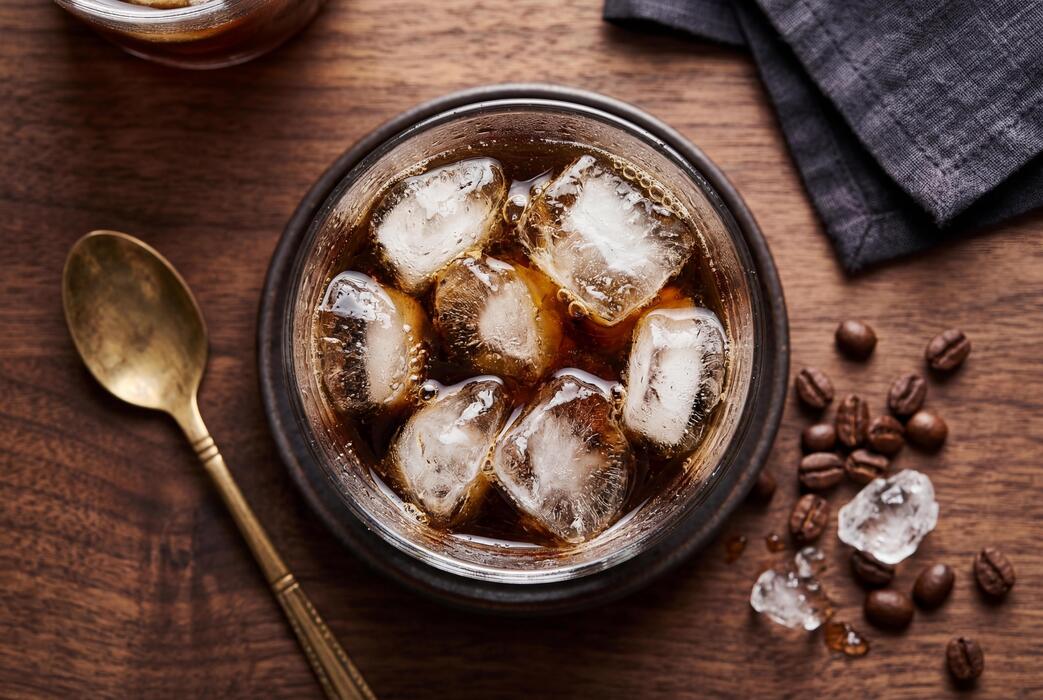
Decaf cold brew starts with decaffeinated coffee beans instead of regular beans. The decaffeination process—typically using the Swiss Water Process or carbon dioxide method—removes about 97% or more of the caffeine while preserving the bean’s flavor compounds.
When you steep these beans in cold water for 12–24 hours, you extract a smooth, low-acid concentrate that is almost caffeine-free. In contrast, regular cold brew retains full caffeine content, which can be high due to the longer steeping time.
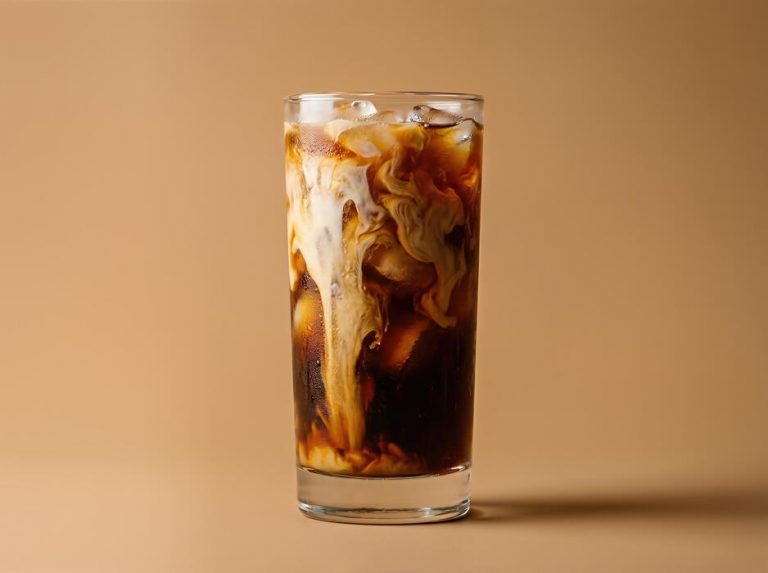
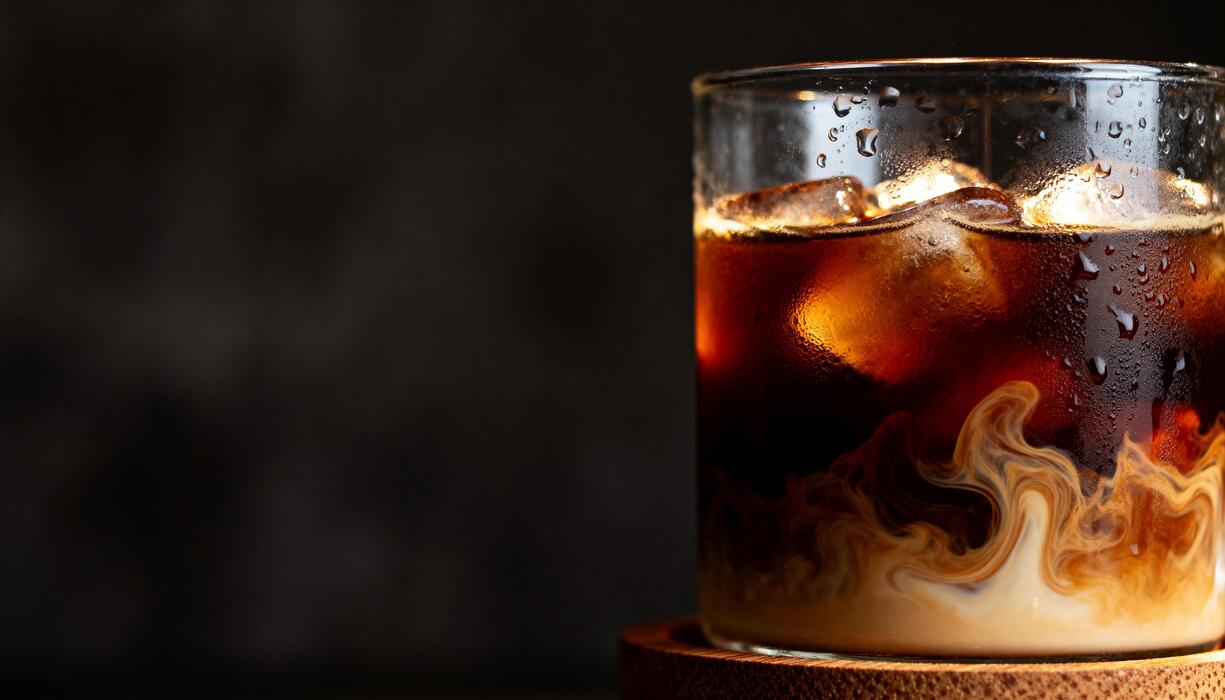
The taste difference is subtle: decaf cold brew may have slightly milder or nuttier notes depending on the bean origin, but a quality decaf bean yields a rich, chocolatey brew without the jitters.
For home brewing, you use the same ratio of 1 cup coarse-ground decaf beans to 4 cups filtered water, steeped in the fridge. The result is a versatile concentrate you can dilute with water or milk, perfect for evening enjoyment or for those sensitive to caffeine.
Always choose freshly roasted decaf beans for the best flavor profile.
Benefits of brewing decaf cold brew yourself
Making decaf cold brew at home gives you total control over strength and flavor. You can select high-quality, single-origin decaf beans and adjust the steeping time (12–24 hours) to your taste preference—shorter for a lighter brew, longer for a bolder concentrate.
This avoids the preservatives and added sugars often found in store-bought decaf cold brew, which can be costly and less fresh. Homemade versions are also significantly cheaper: a pound of decaf beans yields about 8–10 servings of concentrate, costing roughly $1–$2 per serving versus $4–$6 at a café.
You can customize by adding natural flavors like vanilla extract or cinnamon during steeping. Additionally, brewing at home reduces waste from single-use bottles and packaging.
The low-acid nature of cold brew makes it gentle on digestion, and since you control the caffeine level, you can enjoy a cup anytime without disrupting sleep. Simply store your concentrate in a sealed glass jar in the fridge for up to two weeks.
Common myths about decaf coffee and cold brew
One myth is that decaf coffee has no caffeine, but it actually contains about 2–5 mg per 8-ounce cup compared to 95 mg in regular. For cold brew, the long steeping time extracts slightly more caffeine, but still minimal—making it safe for most people avoiding stimulants.
Another myth is that decaf tastes weaker or bitter. In reality, high-quality decaf beans, when cold-brewed, produce a smooth, rich flavor with chocolate or caramel notes, often less acidic than regular cold brew.
Some believe cold brew must be made with hot water first—false; the entire process uses cold water for 12–24 hours, which extracts flavor without bitterness. Lastly, a common misconception is that decaf cold brew is less healthy.
Actually, it retains antioxidants and polyphenols similar to regular coffee, with the added benefit of lower acidity. For home brewers, using fresh, whole decaf beans and grinding them coarse ensures optimal extraction. Don’t let these myths stop you from enjoying a delicious, customized decaf cold brew that fits your lifestyle.
Best Decaf Coffee Beans for Cold Brew
Types of decaf beans: Swiss Water vs. chemical process
For the best decaf cold brew, choose Swiss Water Process decaf beans for a clean, chemical-free flavor. Unlike traditional methods that use methylene chloride or ethyl acetate, Swiss Water Process uses only water and osmosis to remove 99.9% of caffeine while preserving the bean’s natural oils and subtle flavor notes.
This results in a smoother, less acidic cold brew that won’t have any lingering chemical aftertaste. Cold brew extraction is very gentle, so it relies heavily on the bean’s inherent quality—making Swiss Water decaf ideal because it maintains more of the original coffee’s complexity.
If you’re sensitive to residual chemicals or want a truly pure cup, this is your best bet. Chemical-process decaf can work, but often yields a flatter, more one-dimensional cold brew. For home brewing, look for beans labeled “Swiss Water” or “natural decaffeination” and avoid any with vague processing descriptions.
The extra cost is worth it for a vibrant, full-bodied decaf cold brew that tastes like real coffee.
Whole bean vs. pre-ground decaf for cold brew
Always buy whole bean decaf for cold brew—pre-ground decaf loses freshness and flavor faster due to increased surface area and the delicate nature of decaffeinated beans. Cold brew requires a coarse grind to avoid over-extraction and bitterness, and pre-ground coffee is typically ground for drip machines, which is too fine.
Grinding your own beans right before brewing ensures maximum flavor, aroma, and control over particle size. A burr grinder set to a coarse, sea-salt-like consistency is ideal for a smooth, sediment-free cold brew.
Pre-ground decaf is often stale, as decaf beans age more quickly, and you can’t adjust the grind for your specific brewer or taste preferences. Whole beans also allow you to store them in an airtight, dark container until you’re ready to brew, preserving their delicate notes.
While it takes a few extra seconds, grinding fresh decaf beans is the single easiest way to elevate your cold brew from mediocre to café-quality.
Top roasts for smooth decaf cold brew flavor
For a smooth, rich decaf cold brew, opt for a medium to medium-dark roast—these roasts provide the best balance of body, sweetness, and low acidity. Light roasts can taste overly tart or grassy when cold-brewed, especially with decaf beans that already have a milder profile.
Medium roasts bring out chocolatey, nutty, or caramel notes that shine in cold brew, while medium-dark roasts add a deeper, almost creamy mouthfeel without harsh bitterness. Avoid dark roasts labeled “espresso” or “French”, as they can become ashy or burnt-tasting after the long cold steep.
Look for origin-specific decaf beans from Colombia, Brazil, or Sumatra, which naturally have low acidity and smooth, full bodies. If you want a brighter cup, try a washed Ethiopian decaf with a medium roast—it will yield a clean, fruity cold brew.
Always check the roast date; beans roasted within the last two weeks will produce the most vibrant and smooth decaf cold brew.
Equipment You Need for Decaf Cold Brew
Simple tools: jars, filters, and strainers
For a no-fuss decaf cold brew, you likely already have the essentials. Start with a large glass jar (like a 32-ounce mason jar) for steeping, and a fine-mesh strainer or cheesecloth for filtering. Use unbleached paper filters or a nut milk bag to catch fine coffee particles.
Simply combine coarsely ground decaf beans with cold, filtered water in the jar, stir, cover, and steep for 12-24 hours. After steeping, pour through the strainer lined with a paper filter or cheesecloth into another container.
This DIY method yields a smooth concentrate that you can dilute with water or milk. It’s budget-friendly, easy to clean, and requires no special equipment—just a bit of patience. For best results, avoid metal strainers alone, as they let through silt.
A dedicated cold brew filter bag can simplify cleanup, but a simple setup works perfectly for beginners.
Specialty cold brew makers vs. DIY setups
If you brew decaf cold brew often, a specialty maker like the Toddy or OXO Cold Brew System offers convenience with built-in filters and easy dispensing. These systems often include a reusable filter and a carafe, making the process mess-free and consistent.
They’re ideal for larger batches and produce a smoother concentrate. However, a DIY setup using a French press, mason jar, or even a large pitcher works just as well and costs less. The key difference is cleanup: specialty makers often have fewer parts to wash.
For decaf beans, which are more delicate, a controlled steep time matters more than the vessel. If you value simplicity, stick with a jar and filter. If you brew weekly, invest in a system with a removable filter for easier rinsing.
Both approaches yield delicious results—choose based on your budget and counter space.
How to choose the right grind size for decaf beans
For decaf cold brew, a coarse, consistent grind is crucial to avoid over-extraction and bitterness. Decaf beans are more porous due to the decaffeination process, so they extract flavors faster. Use a burr grinder set to a coarse setting—similar to breadcrumbs or sea salt.
Avoid fine grinds, as they can turn your brew muddy and harsh. If you buy pre-ground decaf, look for cold brew-specific grinds or ask your local roaster to grind coarsely. A consistent grind ensures even extraction, producing a smooth, low-acid concentrate.
For best results, grind just before brewing to preserve freshness. If you don’t have a grinder, opt for whole decaf beans and use a mortar and pestle for small batches, but invest in a burr grinder for regular brewing.
The right grind size transforms your decaf cold brew from bitter to balanced.
Step-by-Step Guide to Make Decaf Cold Brew
How to measure coffee and water for the perfect ratio
Start with a 1:8 coffee-to-water ratio by weight for a balanced decaf cold brew. For a standard 1-liter batch, measure 125 grams of coarsely ground decaf beans and combine with 1 liter (1000 grams) of filtered water. Use a kitchen scale for precision, as volume measurements can vary.
If you prefer a stronger concentrate, adjust to 1:5 ratio (e.g., 200 grams coffee to 1 liter water), but decaf beans are more delicate and can turn bitter with over-extraction. Grind beans on the coarsest setting, similar to breadcrumbs, to avoid silt and ensure smooth flavor.
Stir the grounds and water gently in a glass jar or pitcher until fully saturated. Room-temperature water works best—hot water extracts bitter compounds, while cold water slowly releases the mild, chocolatey notes of decaf. Let the mixture sit for a moment before sealing to confirm all grounds are wet.
Steeping time and temperature for decaf cold brew
Steep your decaf cold brew at room temperature (68–72°F) for 14–18 hours for optimal flavor. Decaf beans have a different chemical structure after caffeine removal, so they require shorter steeping than regular beans to avoid over-extraction and bitterness.
Place the sealed container in a cool, dark cabinet—avoid the refrigerator, as cold temperatures slow extraction and can produce a weak, sour brew. Check the brew at 14 hours by tasting a small amount; it should be smooth with subtle sweetness and no harshness.
If it tastes weak, steep for up to 18 hours, but no longer. For a milder flavor, aim for 12 hours. Always use a timer and label your container to track time accurately. Consistent temperature is key—avoid drafts or direct sunlight, which can cause uneven extraction.
Stir gently once halfway through to redistribute grounds.
Filtering and storing your decaf cold brew
After steeping, strain the brew through a fine-mesh sieve lined with cheesecloth or a nut milk bag into a clean pitcher. For extra clarity, pour the strained liquid through a paper coffee filter or a dedicated cold brew filter bag.
Press the grounds gently to extract remaining liquid, but avoid squeezing too hard to prevent bitterness. Transfer the filtered cold brew into an airtight glass bottle or jar and refrigerate immediately. Decaf cold brew stays fresh for 7–10 days in the fridge when sealed.
To serve, dilute the concentrate with equal parts water or milk (or adjust to taste) over ice. For a ready-to-drink version, use a 1:8 ratio and skip dilution. Never leave it at room temperature after filtering, as this encourages bacterial growth.
Label your container with the date and ratio for easy reference.
Tips for the Best Tasting Decaf Cold Brew
How to avoid bitterness in decaf cold brew
Bitterness in decaf cold brew often comes from over-extraction or using the wrong grind size. To avoid this, start with a coarse grind—similar to breadcrumbs—since fine grounds extract too quickly and can turn bitter.
Use a ratio of 1:8 coffee to water (e.g., 1 cup coffee to 8 cups water) for a balanced brew. Steep for 12 to 18 hours at room temperature or in the fridge; longer steeping increases bitterness, so stick to the lower end if your beans are dark roast.
Always use filtered water heated to 195-205°F before cooling, as tap water minerals can alter flavor. After steeping, strain through a fine-mesh sieve or a cold brew filter bag, then pour through a paper filter to remove fine sediment.
Store your concentrate in a glass container in the fridge and consume within a week for the freshest taste. For an extra smooth finish, rinse your filter with hot water before brewing to remove papery notes.
Flavor additions: vanilla, cinnamon, or chocolate
Elevate your decaf cold brew with simple, natural flavor additions that complement its smooth profile. For a vanilla twist, add 1-2 teaspoons of pure vanilla extract or a split vanilla bean directly to the grounds before steeping—this infuses a sweet, aromatic note without added sugar.
For a spicy warmth, stir in 1 cinnamon stick or 1/2 teaspoon of ground cinnamon during the steep; it pairs beautifully with the mildness of decaf beans.
Chocolate lovers can mix in 1 tablespoon of unsweetened cocoa powder or a few cacao nibs with the grounds for a rich, mocha-like undertone.
If you prefer a flavored syrup, combine 1/4 cup of honey or maple syrup with 1 teaspoon of vanilla extract and a pinch of salt, then stir into your finished brew.
Always start with small amounts—taste as you go—and remember that these additions are best added after brewing to avoid altering extraction. For a creamy finish, top with oat milk or a dash of cinnamon.
Adjusting strength for your taste preferences
Customizing your decaf cold brew strength is easy by tweaking the coffee-to-water ratio and steep time. For a milder brew, use a 1:10 ratio (e.g., 1 cup coffee to 10 cups water) and steep for 12 hours—this yields a lighter body with subtle notes.
For a stronger concentrate, go with 1:6 or 1:7 and steep up to 18 hours, producing a bold flavor perfect for mixing with milk or ice. If you prefer a medium strength, the standard 1:8 ratio with a 14-hour steep works well.
You can also adjust post-brew: dilute your concentrate with water or milk to taste, or add more grounds next time for extra kick.
Test your brew by sipping a small amount after straining; if it’s too weak, steep the grounds again for 2-4 hours, or add a pinch of salt to enhance perception of strength.
Store your concentrate in the fridge and note that it will slightly mellow over time, so plan your ratios accordingly for consistent results.
How to Serve and Store Decaf Cold Brew
Best ways to serve decaf cold brew hot or iced
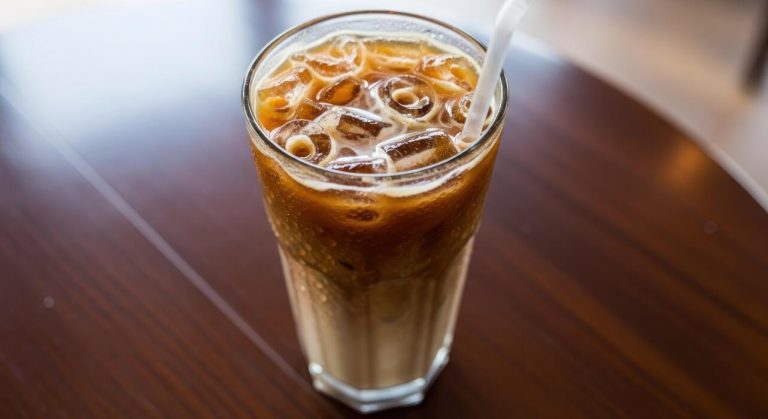
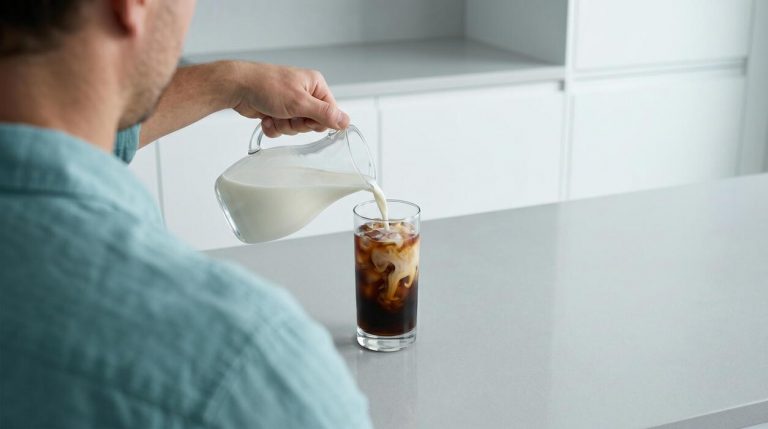
Decaf cold brew is incredibly versatile. For an iced coffee, fill a glass with ice, pour one part concentrate to two parts water or milk, and stir.
For a hot coffee, dilute the concentrate with hot water at a 1:1 ratio, then microwave for 30 seconds or heat on the stove. Avoid boiling to prevent bitterness. Add flavor with vanilla syrup, cinnamon, or oat milk for a creamy texture.
For a refreshing twist, mix with sparkling water and a squeeze of lemon. Always start with a 1:4 ratio of coffee to water for balanced strength. Serve immediately after diluting to preserve the smooth, low-acid taste. For a stronger brew, use less water; for a milder cup, add more.
Experiment with sweeteners like maple syrup or agave. Store leftover diluted coffee in the fridge for up to 3 days. This method keeps your decaf cold brew deliciously flexible, whether hot or iced.
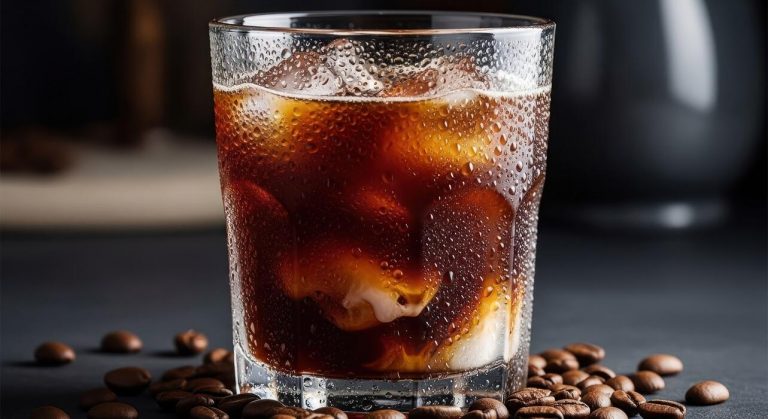
Storage containers and shelf life tips
Store your decaf cold brew in an airtight glass container to maintain freshness and prevent absorbing fridge odors. Mason jars or swing-top bottles work perfectly. Keep it refrigerated at all times. Undiluted concentrate lasts up to 2 weeks when sealed, while diluted coffee should be consumed within 3-5 days.
Never leave it at room temperature for more than 2 hours. Label the container with the brewing date to track freshness. Avoid plastic containers, as they can retain flavors and degrade over time.
For longer storage, freeze concentrate in ice cube trays—these cubes can be used directly in iced coffee without watering it down. Thaw frozen cubes in the fridge overnight. If you notice any off smells or mold, discard immediately.
Proper storage ensures your decaf cold brew stays smooth and flavorful, ready for serving anytime.
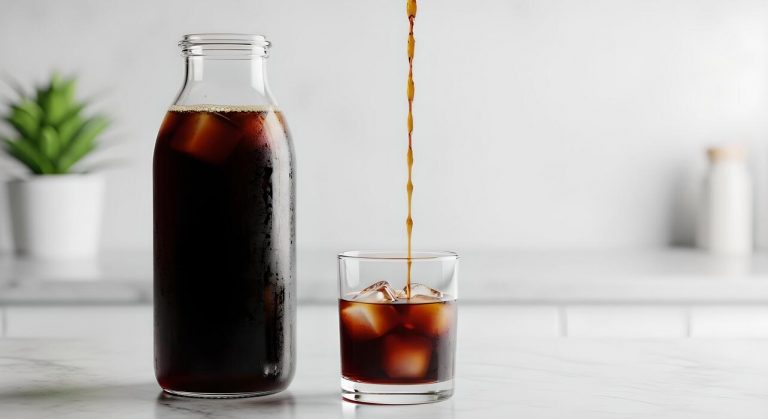
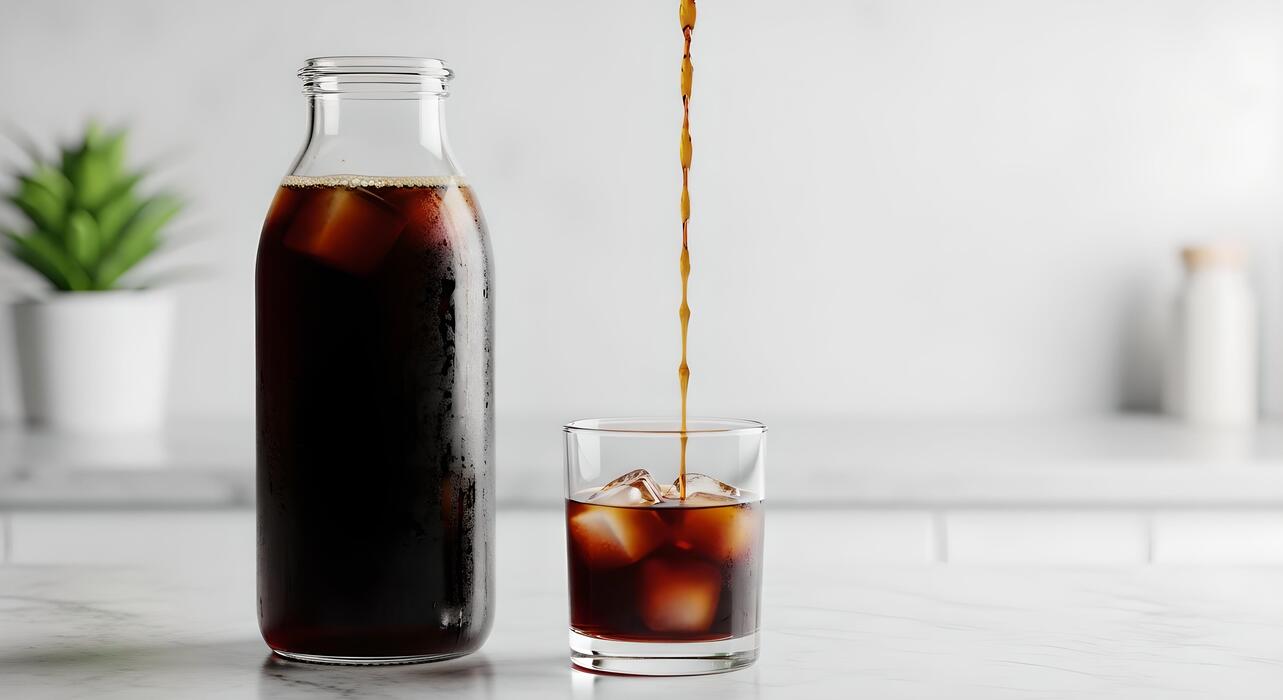
How to make decaf cold brew concentrate
To make decaf cold brew concentrate, use coarsely ground decaf coffee beans and cold, filtered water. Combine 1 cup of grounds with 4 cups of water in a large jar or French press. Stir gently to ensure all grounds are saturated.
Cover and steep at room temperature for 12-24 hours—longer for a stronger concentrate. After steeping, strain through a fine-mesh sieve lined with a cheesecloth or use a paper coffee filter to remove sediment. Squeeze the cloth to extract all liquid. The resulting concentrate is smooth, low-acid, and highly concentrated.
Store in the fridge for up to 2 weeks. This method yields a base that can be diluted to taste, perfect for iced or hot drinks. Adjust the ratio to your preference: more coffee for a bolder brew, less for a milder one.
This simple process gives you full control over flavor and strength.
Common Mistakes When Making Decaf Cold Brew
Using the wrong grind size for decaf beans
A common pitfall is treating decaf beans exactly like regular beans when it comes to grind size. Decaf beans are structurally more brittle and porous due to the decaffeination process, which means they extract flavor more quickly.
If you use a coarse grind that is too fine, you will over-extract the coffee, leading to a bitter and muddy brew. Instead, aim for a slightly coarser grind than you would for regular cold brew.
A good rule of thumb is to set your burr grinder to a setting that produces particles the size of raw sugar or sea salt. This larger surface area prevents the water from pulling out too many bitter compounds during the long steep.
If you don’t have a grinder, ask your local roaster to grind the decaf beans specifically for cold brew using a very coarse setting. Always inspect the grounds before brewing; they should look like small pebbles, not sand.
Over-steeping or under-steeping decaf coffee
Because decaf beans are more porous, they extract flavor faster than caffeinated beans, so the standard 12-24 hour steep time can be too long. Over-steeping for more than 18 hours will result in a harsh, over-extracted taste with excessive bitterness and a hollow finish.
Conversely, under-steeping for less than 8 hours will produce a weak, sour, and watery brew that lacks the rich, chocolatey notes you want. The optimal steep time for decaf cold brew is 12 to 16 hours at room temperature or in the refrigerator.
Start checking the flavor at the 12-hour mark by tasting a small spoonful; it should be smooth and not acidic. If it tastes weak, let it steep for another 2-4 hours. Using a tightly sealed mason jar and keeping the grounds fully submerged helps ensure even extraction.
Remember, decaf benefits from a slightly shorter steep to preserve its delicate, nutty profile.
Skipping the filtration step and ending with sludge
Decaf beans break down more easily during steeping, producing more fine particles (fines) than regular coffee. If you simply pour the brew through a standard mesh strainer, you’ll be left with a gritty, sludgy cup that feels unpleasant to drink.
To get that clean, restaurant-quality finish, you need a two-step filtration process. First, pour the steeped mixture through a fine-mesh sieve lined with a nut milk bag or cheesecloth to catch the large grounds.
Then, for the final pour, filter the liquid through a paper coffee filter (like a V60 or Chemex filter) or a metal filter with a tight micron rating. This second pass removes the microscopic silt that makes decaf cold brew cloudy.
For best results, let the filtered brew sit for 10 minutes to allow any remaining fines to settle, then carefully pour off the clear liquid. Your reward is a crystal-clear, smooth concentrate without any gritty residue.
Frequently Asked Questions
What is the best ratio of coffee to water for decaf cold brew?
A good starting ratio is 1:8 (coffee to water by weight), such as 1 cup of coarse-ground decaf coffee to 8 cups of filtered water. Adjust to your taste preference, using more coffee for a stronger brew or more water for a milder one.
Do I need a special grinder or can I use pre-ground decaf coffee?
You can use pre-ground decaf coffee, but for best results, grind whole decaf beans coarsely (like sea salt) just before brewing. Pre-ground coffee is often too fine, which can make the cold brew bitter and cloudy.
How long should I steep decaf cold brew at room temperature?
Steep decaf cold brew for 12 to 24 hours at room temperature. The exact time depends on your taste; start checking at 12 hours for a milder flavor, and up to 24 hours for a stronger concentrate.
Can I use hot water to speed up the decaf cold brew process?
No, cold brew relies on cold or room-temperature water to extract flavor slowly and avoid bitterness. Using hot water would make it a hot brew, not cold brew, and could over-extract the decaf coffee.
How do I filter the decaf cold brew after steeping?
Pour the steeped mixture through a fine-mesh sieve lined with a coffee filter or cheesecloth into a clean container. Alternatively, use a dedicated cold brew maker with a built-in filter for easier straining.
Does decaf cold brew taste different from regular cold brew?
Decaf cold brew has a slightly milder flavor profile with less bitterness and acidity, but it still retains the smooth, rich characteristics of cold brew. The taste difference is subtle and often preferred by those sensitive to caffeine.
How should I store decaf cold brew and how long does it last?
Store decaf cold brew concentrate in an airtight container in the refrigerator for up to 7-10 days. For best flavor, consume within the first week, and dilute with water or milk as desired when serving.
Conclusion
Making decaf cold brew at home is simple, cost-effective, and yields a smooth, low-acid coffee. Remember to use coarse-ground decaf beans, steep them in cold water for 12-24 hours, and strain through a fine filter. The result is a concentrate that stays fresh for up to two weeks. Embrace this easy process—you’ll enjoy a delicious, caffeine-free refreshment anytime, perfectly tailored to your taste. Happy brewing