How To Make Creamy Cold Brew
How to make creamy cold brew is the question if you love smooth, rich coffee but hate the bitterness or watery texture of regular iced coffee. The core problem is achieving that velvety mouthfeel without dairy separating or diluting your brew. You’re in the right place: the secret lies in a coarse grind, a long steep at room temperature, and a splash of heavy cream or oat milk blended in after filtering. No heat, no fuss—just silky perfection.
What Makes Cold Brew Creamy vs. Regular Cold Brew
Key differences in texture and flavor
The primary difference between creamy cold brew and regular cold brew lies in mouthfeel and taste profile. Regular cold brew is made by steeping coarse-ground coffee in cold water for 12-24 hours, resulting in a smooth, full-bodied concentrate that is naturally less acidic and bitter than hot coffee.
Its texture is clean and silky, but not thick or rich. Creamy cold brew, in contrast, introduces a velvety, luxurious texture by incorporating fats from dairy or plant-based milks. This addition transforms the beverage into a satiating, dessert-like drink with a rounder, softer flavor.
The fats in cream or milk coat the tongue, muting any slight bitterness and enhancing the coffee’s natural sweetness and chocolate or nutty notes. Without cream, cold brew can have a crisp, almost tea-like finish; with it, the finish is lingering and smooth.
To achieve this, simply add a splash of heavy cream, whole milk, or a barista-style oat milk to your finished cold brew concentrate, stirring gently to integrate without over-diluting. The result is a decadent upgrade that feels more substantial and satisfying than standard cold brew.
Why milk and cream change the mouthfeel
Milk and cream transform cold brew’s mouthfeel through their fat content and emulsification properties. Fats, such as those in whole milk (3-4% fat) or heavy cream (36-40% fat), create a coating effect on your palate, which adds a slick, creamy sensation that lingers after each sip.
This contrasts with the watery or thin mouthfeel of black cold brew, where water is the primary carrier. The casein proteins in dairy also interact with coffee’s polyphenols, softening astringency and reducing any harsh edge.
For a plant-based option, oat milk works exceptionally well due to its beta-glucans, which mimic dairy’s viscosity. To maximize creaminess, always add milk or cream to the cold brew concentrate rather than diluting with water first; this preserves the rich, concentrated flavor.
Stir vigorously to emulsify the fat evenly, preventing separation. For an extra-luxurious texture, froth the milk before adding it, introducing air bubbles that create a cappuccino-like foam on top. This simple step elevates the drink from merely diluted coffee to a barista-quality treat at home.
Best coffee beans for a creamy cold brew
Choosing the right coffee beans is crucial for a creamy cold brew because the base flavor must complement the added fats. Opt for medium to dark roast beans, as these develop caramel, chocolate, and nutty notes that harmonize beautifully with milk or cream.
Light roasts, with their bright, fruity acidity, can clash with dairy, creating a sour or metallic taste. Single-origin beans from Brazil, Colombia, or Sumatra are excellent choices due to their natural low acidity and heavy body.
For a more indulgent profile, try a Vienna or French roast, which offers deep, smoky sweetness that stands up to rich cream. Grind the beans coarsely to prevent over-extraction, which can introduce bitterness.
A 1:4 coffee-to-water ratio (e.g., 1 cup coffee to 4 cups water) yields a concentrate that remains bold even after adding milk. Experiment with a blend of beans, such as 70% Colombian for smoothness and 30% Sumatran for earthy depth.
Always use filtered water and steep for 18-24 hours at room temperature or in the fridge to extract the creamy, full-bodied essence that forms the perfect canvas for your creamy additions.
How to Choose the Right Coffee Beans for Creamy Cold Brew
Roast level: dark vs. medium for richness
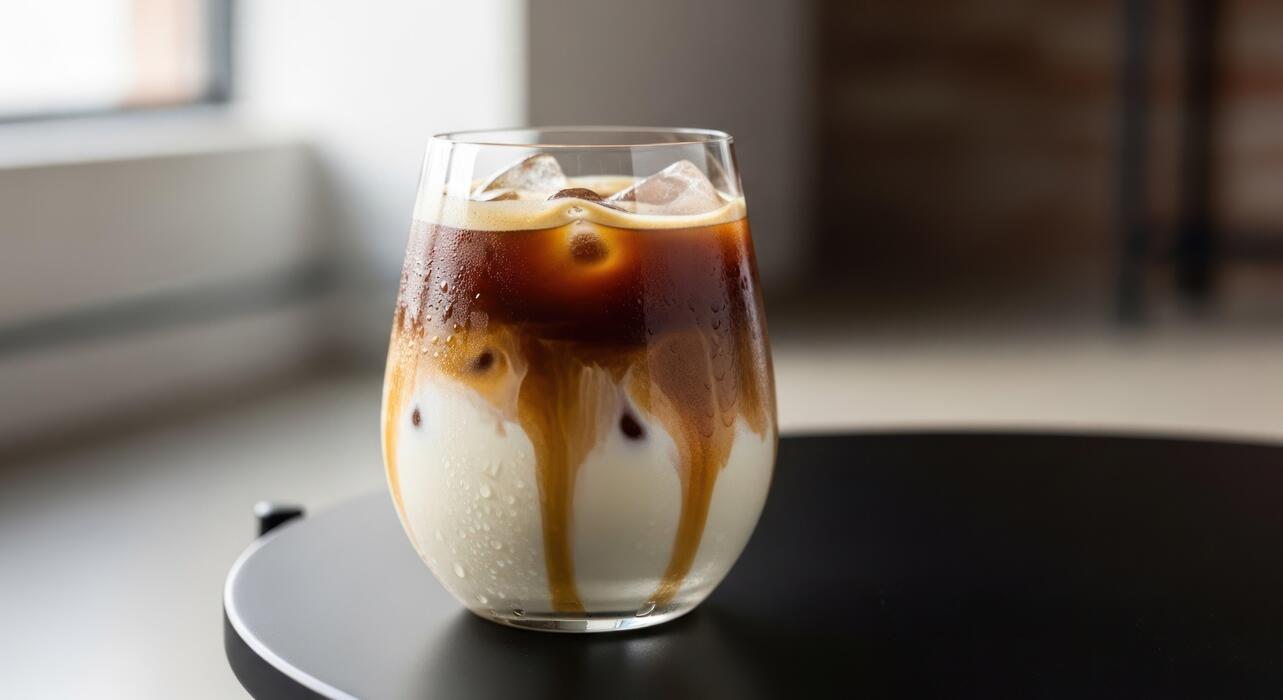
For a creamy cold brew, dark roast beans are your best bet because their longer roasting process reduces acidity and brings out deep, chocolatey, and nutty flavors that mimic the richness of dairy.
The oils on dark roast beans also emulsify better with water during the long steep, creating a velvety mouthfeel. Medium roasts offer a brighter, more acidic profile with floral or fruity notes—great if you want a lighter body, but they won’t deliver the same creamy texture.
Avoid light roasts entirely, as their high acidity can turn bitter when cold-brewed. For maximum creaminess, choose beans labeled ‘French,’ ‘Italian,’ or ‘Vienna’ roast. If you prefer a balance, try a 70/30 dark-to-medium blend to retain richness while adding subtle complexity.
Always buy whole beans and grind just before brewing to preserve the oils that contribute to creaminess. Remember: the darker the roast, the smoother and more full-bodied your cold brew will be.
Single origin vs. blends for smoothness
For a creamy cold brew, single-origin beans from regions like Brazil, Colombia, or Sumatra are ideal because they naturally offer low acidity, heavy body, and notes of chocolate or caramel that enhance creaminess. For example, a Brazilian single-origin can produce a silky, nutty brew without bitterness.
Blends, on the other hand, are designed for consistency and balance—roasters often combine beans to create a smooth, round flavor that works well for cold brew. Look for blends marketed as ‘cold brew’ or ‘low acid,’ as they typically include high-body beans.
Avoid bright, fruity single origins from Ethiopia or Kenya, as their acidity can clash with creaminess. A good rule: choose single origins for a distinct, luxurious texture, or blends for a reliable, mellow result.
To test, brew small batches with each and note the mouthfeel—creamy should feel thick and coating on your tongue. Ultimately, Brazilian or Sumatran single origins are top picks for maximum smoothness.
Grind size tips for maximum extraction
For creamy cold brew, coarse grind is non-negotiable—think sea salt or coarse sand texture. A fine grind over-extracts quickly, leading to bitter, muddy flavors that ruin creaminess, while too coarse under-extracts, resulting in weak, watery brew.
Use a burr grinder for uniform particles; blade grinders create fines that clog filters and cause sludge. Aim for a grind that allows water to flow through slowly but steadily during a 12-24 hour steep at room temperature or in the fridge.
Pro tip: if your cold brew tastes harsh, grind slightly coarser; if it’s flat or sour, grind a touch finer. For extra creaminess, try a double-grind method: pulse the beans coarsely, then sift out any fine dust with a mesh strainer before brewing.
This reduces sediment and yields a cleaner, silkier final cup. Remember: consistency is key—evenly coarse grounds ensure balanced extraction of oils and solids, giving you that lush, creamy texture you want.
Step-by-Step Guide to Making Creamy Cold Brew at Home
Equipment you need: jars, filters, and grinders
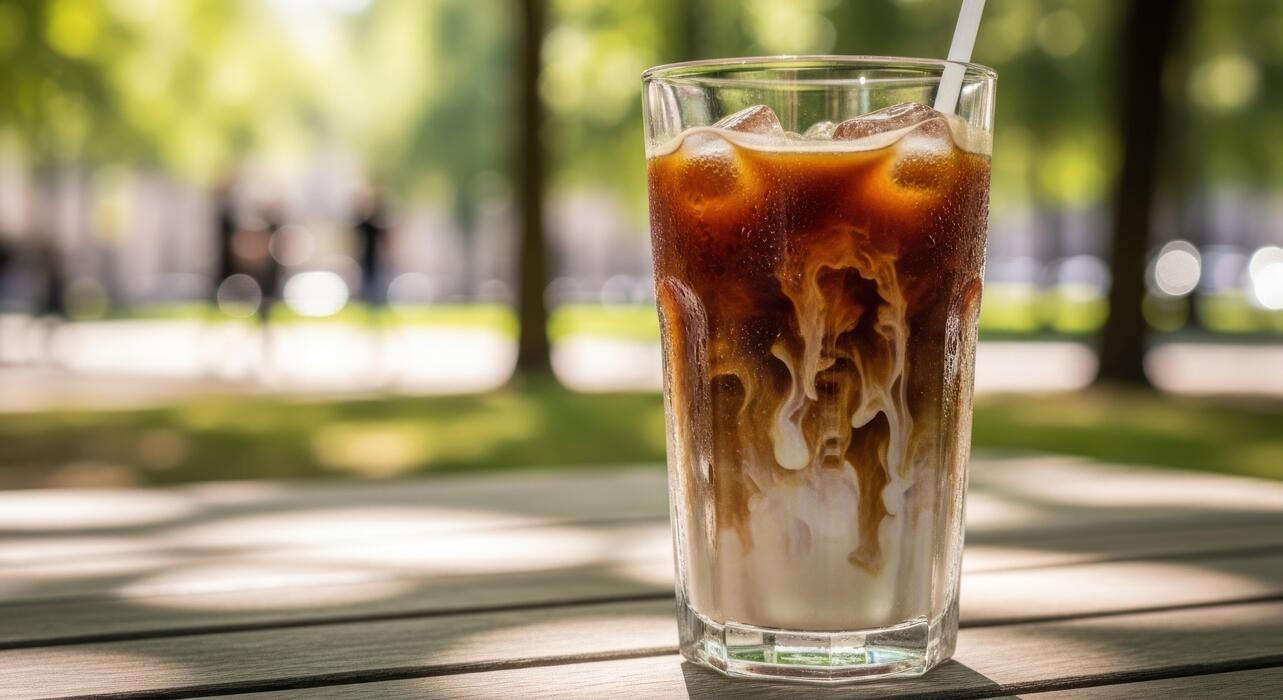
To craft creamy cold brew at home, start with a large glass jar (like a 64-ounce mason jar) for steeping, ensuring easy cleaning and no plastic aftertaste. You’ll need a fine-mesh strainer or a nut milk bag for filtering, plus a coffee grinder (burr grinder is best for consistent grounds).
A wooden spoon helps stir, and a pitcher or second jar stores the final concentrate. For extra creaminess, consider a French press (use as a steeping vessel then press) or a cold brew maker with a built-in filter.
Cheesecloth or paper coffee filters work if you lack a nut milk bag. Scale (digital) ensures precise measurements. Pro tip: grind beans coarsely (like sea salt) to avoid over-extraction and silt. Filtered water is key—tap water can add off-flavors. Large bowl catches drips during filtering. Funnel helps transfer without spills.
With these tools, you’ll produce a smooth, creamy concentrate that mixes perfectly with milk or cream.
Coffee-to-water ratio for a creamy base
The secret to creamy cold brew lies in a bold coffee-to-water ratio that extracts rich oils and body. Start with a 1:4 ratio (1 cup coffee to 4 cups water) for a concentrate that yields a velvety texture when diluted.
For a ready-to-drink creaminess, use 1:8 (1 cup coffee to 8 cups water) but steep longer. Weigh your coffee for accuracy: 100 grams coffee to 400 grams water for concentrate. Medium-to-dark roasts with chocolate or nutty notes enhance creaminess. Avoid pre-ground coffee—grind whole beans coarsely right before brewing.
If using a coarse grind, the 1:4 ratio creates a syrupy base that blends luxuriously with milk or oat milk. For extra creaminess, add a pinch of salt or a teaspoon of cocoa powder to the grounds. Stir well to saturate all grounds.
This ratio ensures no bitterness and a smooth, full-bodied mouthfeel that mimics dairy richness.
Steeping time and temperature for best results
Steeping at room temperature (68–72°F) for 12–24 hours yields the creamiest cold brew. Avoid refrigeration during steeping—cold slows extraction, leading to weak, watery results. For maximum creaminess, steep 18–20 hours; this draws out natural oils and smooth compounds without bitterness.
Cover your jar with a lid or plastic wrap to prevent dust and oxidation. Stir halfway through to ensure even extraction. If your kitchen is warm (above 75°F), reduce time to 14–16 hours to avoid over-extraction. Taste test after 12 hours: if weak, steep longer.
Filter immediately after steeping—leaving grounds in water turns brew bitter. Use room temperature filtered water; hot water extracts harsh flavors. Pro tip: For a creamier texture, steep 20 hours with a 1:4 ratio and add 1 tablespoon of heavy cream or coconut cream to the final brew.
Strain twice through a fine sieve then a paper filter for silky smoothness. Store concentrate in fridge for up to 2 weeks.
Best Ways to Add Creaminess to Your Cold Brew
Using whole milk, half-and-half, or heavy cream
For a rich and velvety texture, start with whole milk—it adds a natural creaminess without overwhelming the coffee’s flavor. If you want an even thicker, more indulgent consistency, swap in half-and-half or heavy cream. Pour slowly to avoid shocking the cold brew, then stir gently to blend.
A good ratio is 2 parts cold brew to 1 part dairy, but you can adjust to taste. For a lighter version, use whole milk; for a decadent treat, heavy cream works beautifully. Chill all ingredients beforehand to keep the drink cold without dilution.
This approach instantly elevates your cold brew into a smooth, café-style beverage that’s easy to customize at home.
Non-dairy options: oat milk, coconut cream, and almond milk
Oat milk is the top non-dairy choice for creaminess because its natural starches create a silky, full-bodied texture that mimics dairy. Coconut cream (from a chilled can) adds richness and a subtle sweetness—just scoop the solid top and whisk it smooth before adding.
Almond milk works, but opt for unsweetened, barista-style versions to avoid separation and get a creamier mouthfeel. For best results, shake or froth your non-dairy milk before pouring to incorporate air, which enhances the creamy sensation. Start with a 2:1 ratio of cold brew to milk, then adjust.
These options let you achieve a lush, satisfying cold brew without any dairy, perfect for vegan or lactose-sensitive lifestyles.
Sweeteners and flavorings that enhance creaminess
Boost creaminess by stirring in sweetened condensed milk—it adds both thick texture and caramel-like sweetness without extra steps. Simple syrup or vanilla syrup can smooth out bitterness, but for a richer feel, use maple syrup or honey, which coat the palate.
Spices like cinnamon or nutmeg subtly thicken and warm the flavor profile. For a luxurious twist, add a splash of heavy cream or coconut cream alongside your sweetener—this combination creates a silky, dessert-like cold brew.
Always mix sweeteners into a small amount of hot water first to dissolve completely before adding to cold brew, ensuring an even, creamy consistency throughout your drink.
Tips for Making Creamy Cold Brew Without a Fancy Machine
Simple mason jar method for beginners
Start with a clean, large mason jar—a quart-sized one works perfectly. Use coarse ground coffee (like sea salt texture) to avoid a muddy brew. A 1:4 coffee-to-water ratio by volume creates a strong, creamy base. Add room-temperature filtered water, stir gently, and seal the jar.
Let it steep at room temperature for 12-16 hours; this slow extraction reduces bitterness. After steeping, strain through a fine-mesh sieve lined with a paper towel or a nut milk bag into another jar.
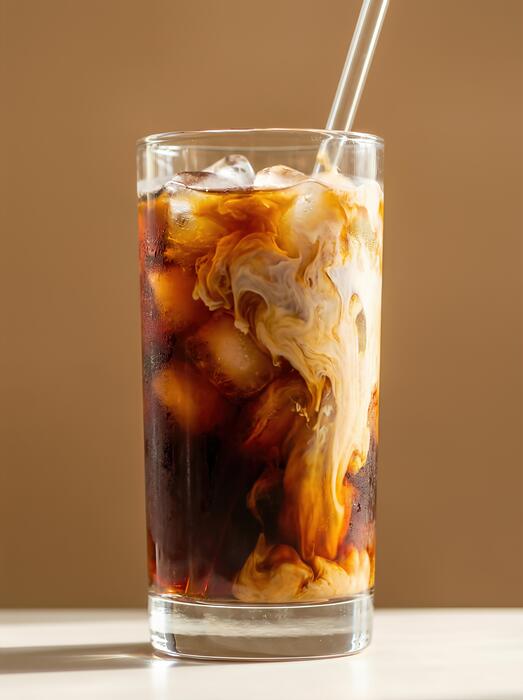
For creaminess, add a splash of full-fat oat milk or a teaspoon of coconut oil before serving over ice. This method yields a smooth, rich cold brew without any special gear, and you can scale it up easily by using a larger jar.
The key is patience—rushing the steep time can make it acidic. Adjust the ratio to 1:5 if you prefer a milder taste, and always use fresh, quality beans for the best flavor.
Using a French press for easy filtering
A French press simplifies cold brew with its built-in filter. Use coarse grounds and a 1:4 coffee-to-water ratio. Add grounds to the press, pour in cold water, and stir. Do not plunge yet—just cover the top with plastic wrap or the lid (without pressing).
Steep at room temperature for 12-16 hours. After steeping, slowly press the plunger down to separate grounds. The mesh filter catches most sediment, but for extra creaminess, pour through a fine strainer or cheesecloth afterward. This removes fine particles that can cause grit.
For a silky texture, add a pinch of salt to balance acidity and enhance sweetness. Serve over ice with your choice of milk or cream—full-fat dairy or barista-style oat milk froths beautifully. The French press method is mess-free and requires no additional straining gear, making it ideal for beginners.
Rinse the press immediately after use to prevent coffee oils from staining the glass.
Cold brew concentrate vs. ready-to-drink
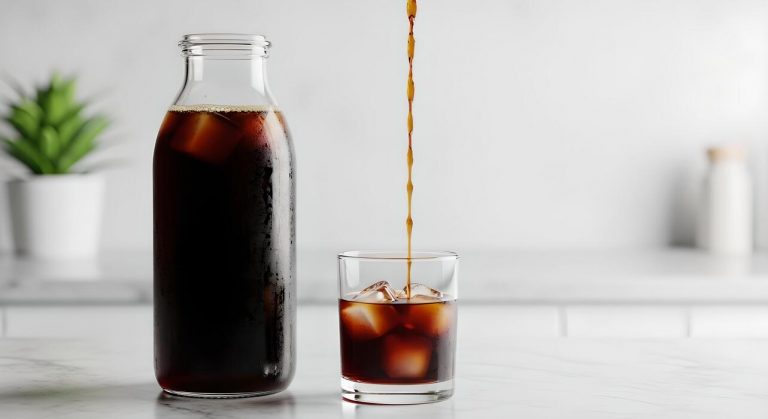
Understanding the difference helps you customize creaminess. Cold brew concentrate uses a higher coffee-to-water ratio (like 1:3 or 1:4) and is meant to be diluted with milk, water, or ice. This gives you control over strength and texture—add more milk for a creamier drink.
Ready-to-drink cold brew uses a 1:8 or 1:10 ratio, so it’s less intense and can be enjoyed straight. For ultimate creaminess, start with concentrate: mix equal parts concentrate and milk (or a non-dairy alternative) over ice.
To enhance richness, add a tablespoon of condensed milk or a splash of heavy cream. If using ready-to-drink, choose a full-fat milk and shake or stir vigorously to incorporate air. Remember, concentrate lasts up to two weeks in the fridge, while ready-to-drink is best within a few days.
Experiment with ratios to find your perfect creamy balance—dilute gradually to avoid a watery result.
How to Fix Common Creamy Cold Brew Problems
Why your cold brew tastes bitter or watery
If your cold brew tastes bitter, you likely over-extracted the coffee. This happens when the grounds steep too long (over 24 hours) or the grind is too fine, releasing harsh compounds. To fix this, reduce steeping time to 12-18 hours and use a coarse grind (like sea salt).
For watery cold brew, the issue is under-extraction or too much water. Use a 1:4 coffee-to-water ratio for a concentrate, then dilute to taste. If it’s still weak, steep for a full 18 hours or increase the coffee amount by 10%.
Always filter through a fine-mesh sieve or cheesecloth to remove sediment, which can cause bitterness. For a creamier base, brew with a medium roast—it balances acidity and body, preventing that sharp edge. Finally, chill your brew before serving; temperature changes can affect perceived bitterness and thickness.
Solutions for separation or curdling with milk
Curdling or separation happens when the cold brew’s acidity clashes with milk proteins. Start by using full-fat milk or cream—higher fat content stabilizes the mixture. If you prefer plant-based milks, choose barista blends (like oat or soy) that are designed to resist curdling.
Slowly pour the milk into the cold brew while stirring gently, rather than dumping it all at once. This prevents sudden pH changes. Another fix is to chill both the cold brew and milk before combining—cold temperatures slow down protein denaturation.
For extra stability, add a pinch of baking soda to the cold brew before mixing; this neutralizes acidity without affecting flavor. If separation still occurs, shake the mixture vigorously in a sealed jar—it often re-emulsifies. Avoid using lemon or acidic flavors until after combining.
Lastly, use a fresher batch of cold brew (within 3 days) since older coffee becomes more acidic and prone to curdling.
Adjusting strength and creaminess to your taste
To control strength, start with a concentrate ratio of 1:3 (coffee to water) for intense flavor, then dilute with milk or water. For creaminess, blend your cold brew with ice and milk for 10 seconds—this creates a frothy, latte-like texture.
Add 1-2 tablespoons of heavy cream or coconut cream per cup for richness without overpowering the coffee. If you prefer a thicker mouthfeel, stir in a teaspoon of chia seeds or gelatin (dissolved in warm water) and refrigerate for 15 minutes.
For sweetness, use simple syrup or vanilla extract—powdered sugar dissolves poorly in cold liquid. Adjust creaminess by swapping water for whole milk, oat milk, or condensed milk (for a Vietnamese-style drink). Test in small batches: mix 2 ounces of concentrate with 1 ounce of milk, then tweak the ratio.
Record your perfect formula—once you find it, scale up for consistent results. Remember, fat carries flavor, so don’t skimp on the creamy element.
Creative Variations of Creamy Cold Brew to Try
Vanilla bean cream cold brew recipe
Elevate your morning ritual by making a vanilla bean cream cold brew that rivals any coffee shop version. Start by brewing a strong batch of cold brew concentrate using a 1:4 coffee-to-water ratio, steeping for 12-24 hours.
For the vanilla cream, combine 1/2 cup heavy cream, 2 tablespoons maple syrup or simple syrup, and the seeds scraped from one whole vanilla bean (or 1 teaspoon vanilla extract). Whisk until slightly thickened but still pourable—about 1-2 minutes.
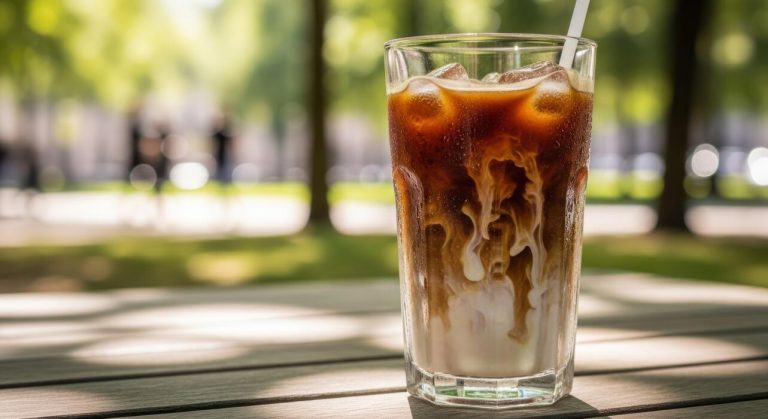
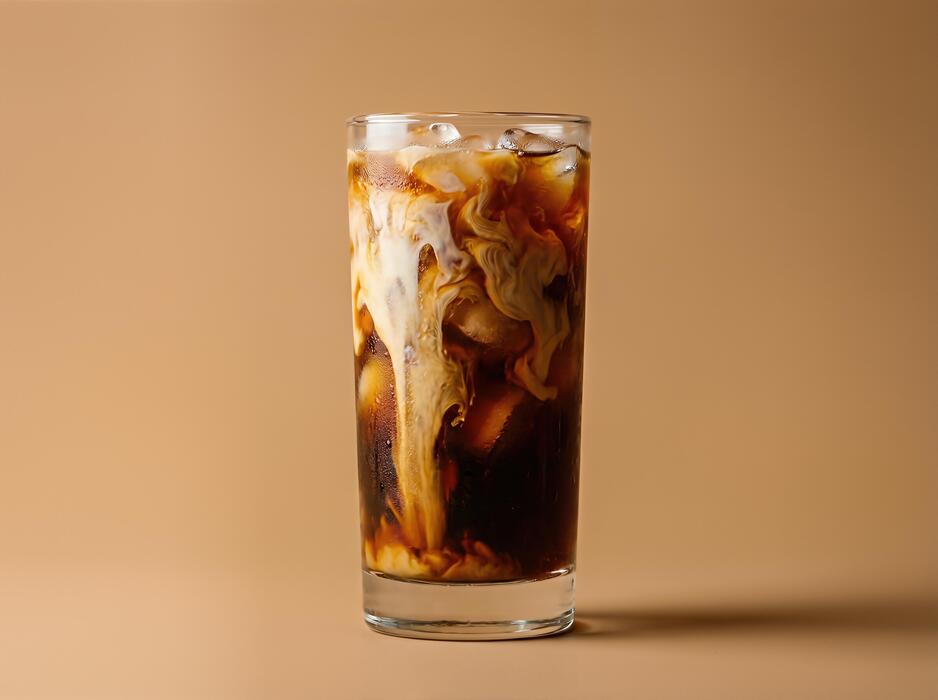
Fill a glass with ice, pour in 3/4 cup cold brew concentrate, then slowly top with 1/4 cup of the vanilla cream. The cream will gently cascade through the coffee, creating a visually stunning layered effect. For a dairy-free twist, use coconut cream or oat milk blended with vanilla.
Stir gently before drinking to meld the rich, aromatic vanilla with the smooth cold brew.
Iced latte-style cold brew with foam
Transform your cold brew into a creamy, barista-style iced latte with a simple foam technique. Brew cold brew concentrate as usual, then pour 1 cup over ice in a tall glass.
For the foam, combine 1/4 cup heavy cream (or whole milk for lighter texture) with 1 tablespoon of the cold brew in a small jar. Secure the lid tightly and shake vigorously for 30-60 seconds until the mixture doubles in volume and becomes thick and frothy.
Alternatively, use a milk frother on the cold setting for 15-20 seconds. Gently spoon the foam over your cold brew, leaving a 1-inch gap at the top. For extra sweetness, add a pump of vanilla syrup or a drizzle of caramel before foaming.
This method creates a luscious, silky texture that slowly blends into the coffee as you sip, offering a rich mouthfeel without dilution.
Spiced or flavored creamy cold brew ideas
Infuse your creamy cold brew with warm spices or unexpected flavors for a seasonal twist. Start with your base cold brew, then add 1/4 teaspoon cinnamon and a pinch of nutmeg to the grounds before steeping for a spiced profile.
For serving, mix 1 cup spiced cold brew with 1/4 cup coconut milk and 1 tablespoon brown sugar syrup (simmer equal parts brown sugar and water for 5 minutes).
Another idea: blend cold brew with pumpkin spice cream (heavy cream, pumpkin purée, maple syrup, and pumpkin pie spice) for a fall favorite. For a chai-inspired version, steep 1 chai tea bag in the cold brew for 2 hours, then top with frothed oat milk and a dusting of cardamom.
Experiment with lavender honey cream (infuse cream with dried lavender and honey) or a mocha twist by adding cocoa powder to your cream. These variations let you customize sweetness and spice levels easily.
Frequently Asked Questions
What is the key to making creamy cold brew?
The key is using a higher coffee-to-water ratio (like 1:4 or 1:5) and a coarse grind to extract a rich, concentrated base. Then, blending in a creamy element like milk, oat milk, or a splash of heavy cream adds the desired texture.
How do I make creamy cold brew without dairy?
Use a full-fat plant-based milk like oat milk or coconut cream for richness. Blend the cold brew concentrate with the milk and a touch of maple syrup or vanilla extract for a smooth, non-dairy creamy result.
What is the best ratio of coffee to water for creamy cold brew?
A ratio of 1:4 (coffee to water by weight) creates a strong concentrate that blends well with milk or cream. For a less intense but still creamy brew, try 1:5.
Can I make creamy cold brew in a French press?
Yes. Add coarse-ground coffee and cold water at a 1:4 ratio, stir, and steep for 12-24 hours. Press the plunger slowly, then mix the concentrate with milk or cream for a creamy texture.
How do I make cold brew creamy without adding cream?
Blend the finished cold brew with a splash of oat milk or a small amount of condensed milk for natural creaminess. You can also shake it with ice and a bit of simple syrup to create a frothy texture.
Should I use whole beans or pre-ground coffee for creamy cold brew?
Use whole beans ground coarsely just before brewing for the freshest flavor and best extraction. Pre-ground coffee can be too fine, leading to bitterness, which can overpower the creamy taste.
How long should I steep cold brew for a creamy result?
Steep for 12 to 24 hours at room temperature or in the fridge. A shorter steep (12 hours) yields a milder, less acidic brew that pairs well with cream, while 24 hours gives a stronger concentrate for a richer creamy drink.
Conclusion
Mastering creamy cold brew is simpler than you think: use a coarse grind, steep for 12-24 hours, and filter through a fine sieve or cloth. The secret to velvety texture lies in adding a splash of heavy cream or a dollop of condensed milk after brewing. Experiment with ratios to suit your taste, and enjoy a smooth, rich coffee that rivals any café version. Your perfect, refreshing cup awaits—start brewing today