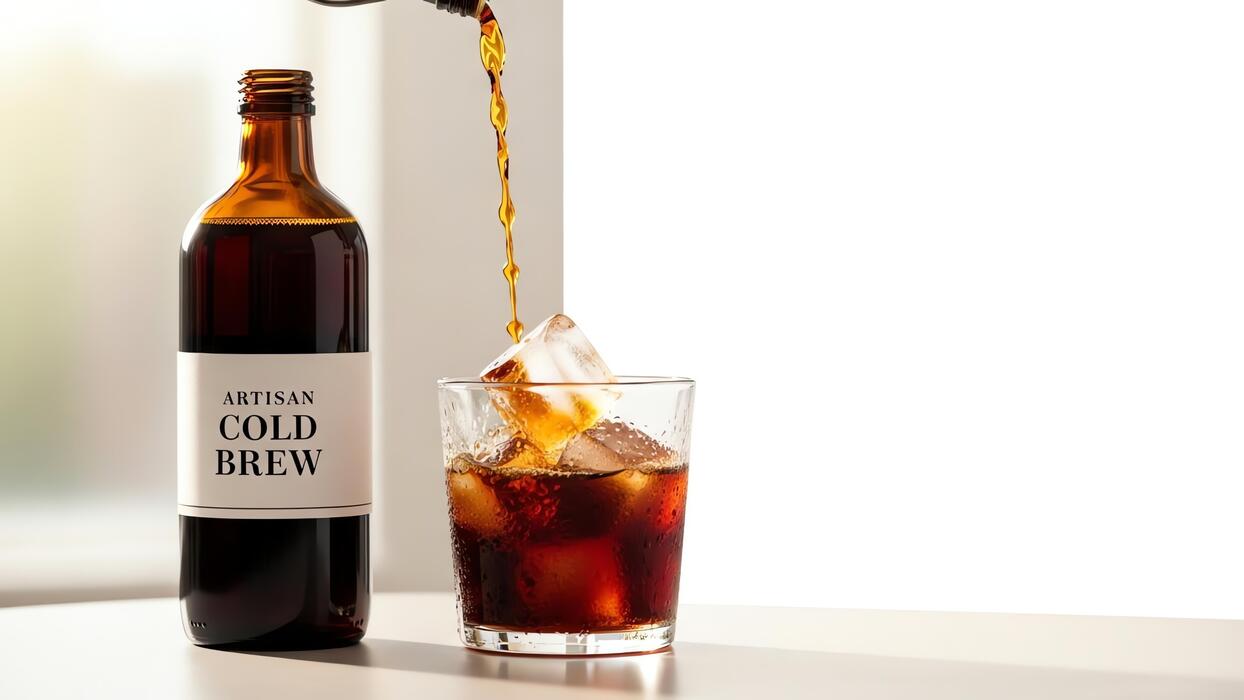
How To Make Cold Brew Concentrate At Home
Tired of spending five dollars a day at the coffee shop for your caffeine fix? Learning how to make cold brew concentrate at home is the ultimate game changer for your morning routine and your wallet. It is surprisingly simple, requires zero fancy equipment, and results in a smooth, low-acid brew that stays fresh for weeks.
What is cold brew concentrate?
The difference between cold brew and iced coffee
Understanding the distinction between these two beverages is essential for mastering your home barista skills. Iced coffee is essentially standard drip coffee brewed with hot water and then chilled or poured over ice, which often results in a thin body and increased acidity.
In contrast, cold brew concentrate is produced by steeping coarse coffee grounds in room temperature water for a period of 12 to 24 hours. This slow extraction process minimizes the release of bitter oils and acidic compounds, creating a remarkably smooth, chocolatey profile.
Because you are using a high coffee-to-water ratio, the resulting liquid is a potent concentrate rather than a diluted drink. This allows you greater control over the final strength of your cup.
While iced coffee provides a quick caffeine fix, cold brew offers a richer flavor experience that is much gentler on the stomach. By starting with a concentrate, you ensure that your beverage remains flavorful even as ice melts over time.
Why concentrate is better than ready-to-drink coffee
Opting to brew a concentrate at home offers significant advantages over purchasing pre-diluted, ready-to-drink bottles. First and foremost, concentrate is a space-saving solution for your refrigerator, as one small jar can produce several liters of coffee once diluted with water or milk.
This method also provides unmatched versatility in your daily routine; you can customize each serving to your exact preference, whether you desire a strong morning kick or a lighter afternoon refreshment.
Furthermore, making your own concentrate is a cost-effective strategy that slashes your monthly coffee expenses compared to buying individual servings at a cafe. By controlling the brewing variables yourself, you can select high-quality beans and adjust the steep time to avoid the stale taste often found in mass-produced options.
This DIY approach ensures that every glass is fresh, potent, and tailored to your specific palate. Having a batch of concentrate ready means you are always seconds away from a professional-quality drink without the premium price tag.
How long cold brew concentrate lasts in the fridge
One of the most practical benefits of making cold brew concentrate is its impressive shelf life compared to traditional hot-brewed coffee. When stored in an airtight glass container, your homemade concentrate will remain fresh and flavorful for up to two weeks in the refrigerator.
The key to maintaining this longevity is keeping the liquid in its concentrated form; once you add water or milk to a portion, that specific serving should be consumed immediately.
To ensure the highest quality and safety, always use clean equipment and filtered water during the brewing process to prevent bacterial growth. If you notice any sour smells or a significant loss of aroma, it is time to brew a fresh batch.
Many home brewers find that the flavor actually peaks after the first 48 hours of refrigeration as the profile stabilizes. This extended freshness window makes it the perfect solution for busy individuals who want to meal-prep their caffeine needs for the entire week ahead without sacrificing any taste or potency.
Best coffee beans for cold brew

Choosing between light, medium, and dark roasts
To craft a high-quality cold brew concentrate at home, selecting the right roast profile is the essential first step for flavor extraction. While light roasts offer bright acidity and floral notes, they often struggle to develop during the cold steeping process, sometimes resulting in a sour or underdeveloped profile.
Most enthusiasts agree that dark roasts are the gold standard for cold brew because the long immersion time highlights rich notes of chocolate, nuts, and molasses without extracting the harsh bitterness associated with high-heat brewing.
If you prefer a more balanced profile that retains some origin character, a medium roast provides a smooth compromise with a velvety mouthfeel. Because the cold water extraction process naturally reduces acidity by up to 60%, even those sensitive to acid can enjoy a bold, dark roast concentrate.
Ultimately, look for beans labeled with tasting notes like cacao or caramel to ensure your concentrate pairs perfectly with milk or water after the steeping period is complete.
Why a coarse grind size is non-negotiable
When learning how to make cold brew concentrate, the texture of your coffee grounds is just as important as the beans themselves. Achieving a coarse, sea salt-like grind is non-negotiable because it ensures a slow, even extraction during the twelve to twenty-four-hour steeping window.
If your grind is too fine, the water will over-extract the coffee, leading to a cloudy, unpleasantly bitter concentrate that is difficult to filter. A consistent coarse grind allows water to flow through the grounds easily, resulting in the clean, crisp finish that defines premium cold brew.
Furthermore, using a fine grind can clog your filtration system, whether you are using a French press, a nut milk bag, or a specialized cold brew dripper.
For the best results at home, invest in a quality burr grinder rather than a blade grinder, as it produces the uniform particle size necessary to prevent sediment from ruining your final batch of smooth, delicious caffeinated concentrate.
Freshly ground vs. pre-ground coffee beans
The debate between convenience and quality often comes down to when you grind your beans. For the most aromatic and flavorful cold brew concentrate, using freshly ground beans is superior because coffee oils begin to oxidize and lose their nuance immediately after being crushed.
When you grind right before steeping, you trap the maximum amount of flavor within the water, leading to a more vibrant and complex beverage. However, because cold brew requires a very large volume of coffee, high-quality pre-ground coarse coffee is a viable and time-saving alternative for many home brewers.
If you choose the pre-ground route, ensure the packaging is vacuum-sealed and used quickly to prevent staleness.
To truly elevate your home setup, prioritizing whole bean coffee allows you to adjust the grind size to your specific equipment, ensuring your concentrate remains bold and fresh for up to two weeks in the refrigerator.
Freshness remains the primary driver of a successful, cafe-quality result in every single glass you pour.
The perfect cold brew ratio and measurements
Standard water-to-coffee ratios for concentrate
To achieve a robust cold brew concentrate at home, the industry gold standard is a 1:4 ratio of coffee to water. This specific measurement ensures that you extract the maximum flavor and caffeine content from your beans without over-saturating the liquid.
For every one cup of coarsely ground coffee, you will need exactly four cups of filtered water. This ratio creates a dense, syrupy liquid that is far too strong to drink straight but serves as the perfect base for dilution later.
Because cold brewing relies on time rather than heat, this concentrated 1:4 formula allows for a 12 to 24-hour steep time, resulting in a low-acid profile with chocolatey and nutty undertones.
If you prefer an even bolder profile for heavy milk-based drinks, you can tighten the ratio to 1:3 for maximum intensity. Always remember that using a coarse grind is essential to prevent the concentrate from becoming muddy or overly bitter during the long immersion process.
How to scale the recipe for small or large batches
Scaling your cold brew concentrate is simple once you master the basic math of the 1:4 ratio. If you are using a standard 32-ounce French press, you should combine 1 cup of coffee grounds with 4 cups of water to fill the vessel efficiently.
For those looking to meal-prep a week’s worth of caffeine, a large gallon-sized glass jar works best. In this scenario, you would scale up to 4 cups of grounds and 16 cups of water, ensuring the container is airtight to maintain freshness.
It is vital to leave a small amount of headspace at the top of your container to allow the coffee grounds to ‘bloom’ and expand slightly as they absorb moisture.
Whether you are making a single serving or a massive batch, the consistency of the ratio remains the most important factor for flavor uniformity.
Once the steeping is complete and the grounds are filtered out, your finished concentrate will stay fresh and potent in the refrigerator for up to two weeks in a sealed carafe.
Measuring by weight vs. measuring by volume
While using measuring cups is convenient for beginners, the most accurate way to produce a professional-grade concentrate is by measuring ingredients by weight using a digital scale. Coffee beans vary significantly in density depending on their roast level; dark roasts are physically larger and lighter than dense light roasts.
Therefore, one cup of dark roast may weigh significantly less than one cup of light roast, leading to inconsistent results. For the most reliable brew, use a weight ratio of 1 gram of coffee to 4 grams of water.
For example, 250 grams of coffee grounds paired with 1,000 grams (one liter) of water will yield a perfect concentrate every time. If you do not own a scale, measuring by volume is acceptable, but you should level off your measuring cups carefully to avoid packing the grounds too tightly.
Precision in your measurements ensures that every batch has the same strength, allowing you to master the art of dilution with water or milk according to your personal taste preferences.
Step-by-step guide to making cold brew concentrate
Mixing your coffee grounds and filtered water
To begin the process of making a high-quality cold brew concentrate, start by selecting a coarse grind size similar to sea salt. This specific texture is essential because it prevents over-extraction and bitterness during the long soaking period.
For a true concentrate, use a ratio of 1:4 coffee to water, which generally means one cup of coffee grounds for every four cups of liquid.
Place your grounds into a large glass jar or specialized cold brew maker, then pour in freshly filtered water to ensure no mineral off-flavors interfere with the bean’s natural profile.
Use a long spoon to gently stir the mixture until every ground is fully saturated, avoiding any dry pockets that could lead to uneven extraction.
Once the mixture looks like dark sludge and is well-incorporated, cover the container tightly with a lid or plastic wrap to prevent the coffee from absorbing any ambient odors from your kitchen or refrigerator while it begins its transformation.
Steeping times for room temperature and refrigeration
The duration of your steep is the most critical factor in determining the final strength and flavor profile of your concentrate.
If you choose to leave your container on the kitchen counter at room temperature, the extraction happens more rapidly, and you should aim for a window of 12 to 15 hours. This method often highlights more of the bright, fruity notes of the bean.
Conversely, if you prefer a smoother, more mellow finish, place the mixture in the refrigerator. Cold extraction takes longer due to the lower temperature, requiring roughly 18 to 24 hours to reach peak flavor.
It is important not to exceed the 24-hour mark, as leaving the grounds in the water for too long can result in a woody or overly bitter taste that ruins the concentrate.
Set a timer to remind yourself when the process is complete so you can move immediately to the filtration stage for the best possible results.
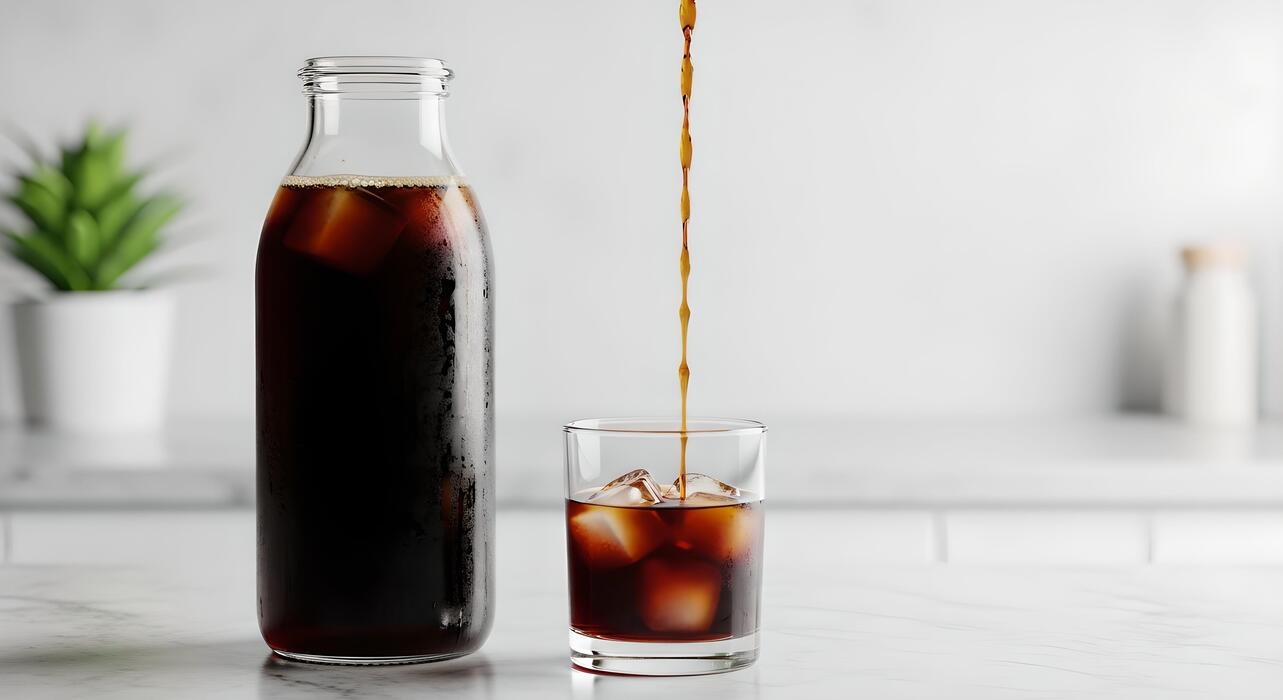
How to properly strain the concentrate for a clean cup
Achieving a professional, sediment-free result requires a careful two-step filtration process. First, pour the mixture through a fine-mesh sieve to remove the largest coffee grounds, collecting the liquid in a clean carafe.
To remove the remaining fine silt and oils for a crisp finish, perform a second pass by lining the sieve with a dampened paper coffee filter or a clean piece of cheesecloth. Wetting the filter beforehand is a pro tip that prevents the paper from absorbing your precious coffee concentrate.
Allow the liquid to drip through naturally without squeezing the filter, as pressing on the grounds can force bitter tannins and sediment into your final brew. Once the process is finished, you will be left with a rich, dark liquid.
Store this concentrate in an airtight glass bottle in the fridge for up to two weeks, and remember to dilute it with equal parts water or milk before serving over ice for the perfect drink.
Equipment you need for home brewing
Using a French press for easy cold brew
A standard French press is one of the most effective tools for crafting a smooth cold brew concentrate without buying specialized gear. To begin, simply add your coarsely ground coffee beans to the carafe using a one-to-four coffee-to-water ratio for a potent concentrate.
Pour filtered, room-temperature water over the grounds and stir gently with a wooden spoon to ensure every particle is saturated. Place the plunger lid on top but do not press it down yet; let the mixture steep on your counter or in the refrigerator for 12 to 24 hours.
Once the steeping process is complete, slowly depress the plunger to separate the grounds from the liquid. This built-in metal mesh filter is excellent for catching large particles, though you can pour the final liquid through a paper coffee filter if you prefer a sediment-free, ultra-clean profile.
This method is perfect for beginners because it utilizes a common kitchen staple to produce a rich, versatile base for iced lattes.
DIY methods with mason jars and cheesecloth
If you do not own a French press, the most accessible DIY setup involves using a large mason jar and a fine straining material like cheesecloth or a nut milk bag.
Start by combining your coarse grounds and water in a clean half-gallon glass jar, ensuring you leave a bit of headspace at the top. Seal the lid tightly and give it a quick shake to distribute the coffee.
After steeping for a full day, you will need to filter the concentrate into a second vessel. Drape a double layer of cheesecloth over a fine-mesh sieve and slowly pour the mixture through. This setup allows for maximum customization, as you can brew larger batches than most standard makers allow.
For the best results, ensure your cheesecloth is food-grade and rinsed beforehand to avoid any lint transfer. Using a mason jar is highly cost-effective and produces a professional-grade concentrate that stays fresh in the refrigerator for up to two weeks, making it a reliable solution for daily drinkers.
Dedicated cold brew makers worth the investment
For those who plan to make cold brew a permanent part of their morning routine, investing in a dedicated cold brew system like a Toddy or a specialized glass carafe with an integrated stainless steel infuser is highly recommended.
These tools are specifically engineered to optimize the extraction of low-acid flavors, resulting in a smoother finish than DIY methods. Most dedicated makers feature a fine-mesh filtration core that stays submerged in the water, allowing for consistent saturation without the mess of manual straining.
Some premium models even include a built-in dispensing tap, which minimizes oxygen exposure and keeps your concentrate fresher for longer periods. When choosing a device, look for models made from borosilicate glass or BPA-free plastics to ensure the flavor of your coffee remains untainted.
While these units require an upfront cost, they streamline the cleanup process significantly and provide a consistent, repeatable strength every time you brew, making the process of creating a high-quality concentrate virtually foolproof for any home barista.
How to dilute and serve your concentrate
Mixing with water for a classic black coffee
To achieve the perfect glass of classic black cold brew, the standard golden rule is a 1:1 dilution ratio. Start by pouring half a cup of your homemade concentrate into a glass and adding an equal amount of filtered water.
Because the concentrate is highly potent and acidic, using filtered water is crucial to maintain the smooth, chocolatey profile you worked hard to create. If you prefer a lighter, more tea-like consistency, you can increase the water ratio to 1:2.
Always remember to add ice after mixing the liquids to prevent premature dilution as the cubes melt. For the best flavor experience, give the mixture a gentle stir to ensure the dense concentrate fully integrates with the water.
If the result feels too strong, simply add a splash more water until it hits your palate perfectly. This method allows you to customize the strength of every single cup, ensuring that your morning caffeine kick is exactly how you like it every time you brew.
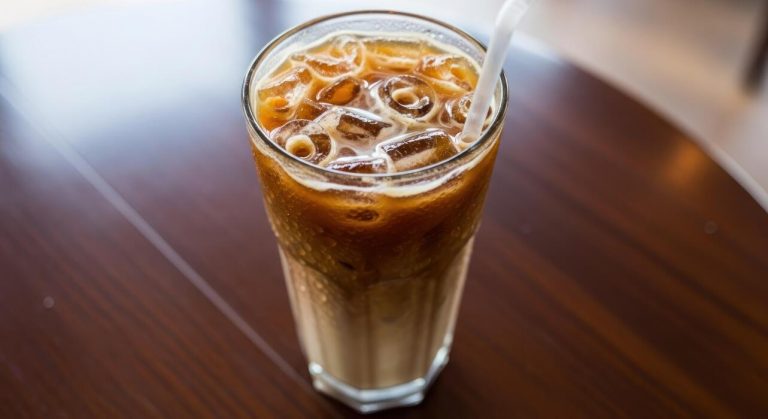
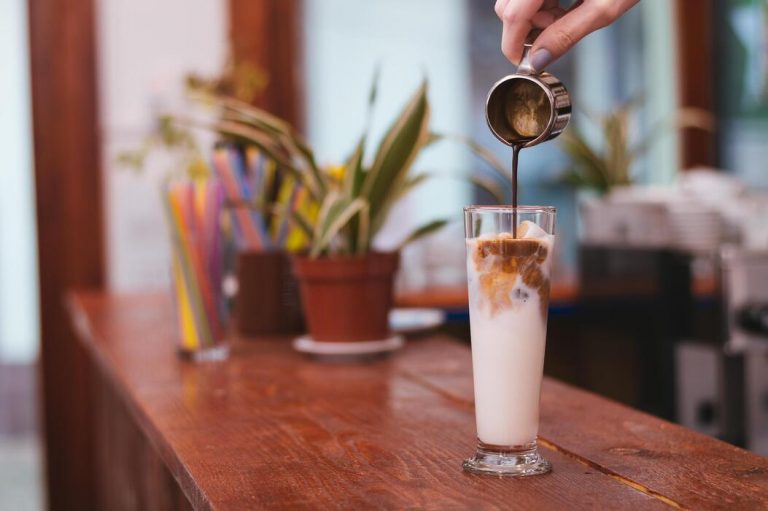
Making cold brew lattes with milk and creamers
Transforming your concentrate into a creamy latte is one of the best ways to enjoy cold brew at home. Since the concentrate is incredibly robust, it holds up beautifully against heavy dairy or plant-based milks without becoming watery.
For a standard latte, mix one part concentrate with two parts of your favorite milk, such as oat, almond, or whole milk. If you enjoy a sweeter treat, this is the stage to incorporate simple syrups or flavored creamers, as they dissolve easily into the cold liquid.
For a professional touch, try frothing your cold milk before pouring it over the concentrate to create a luxurious texture. The natural sweetness of the cold brewing process pairs exceptionally well with the fats in the milk, resulting in a velvety mouthfeel.
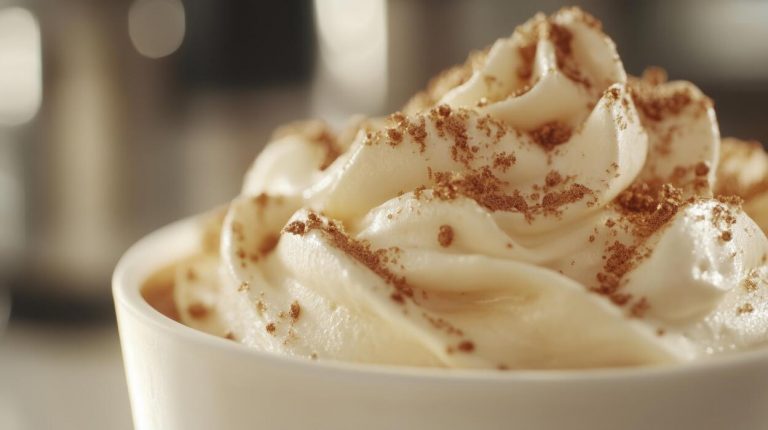
You can also experiment with a ‘cold foam’ topping by whisking a bit of heavy cream and sugar until thick. This creates a cafe-quality beverage in your own kitchen that is significantly more affordable and customizable than store-bought options.
Serving ideas for hot cold brew and coffee cocktails
Many people are surprised to learn that cold brew concentrate is an excellent base for steaming hot coffee. Simply combine your concentrate with boiling water in a 1:2 ratio for a hot cup that is remarkably smooth and low in acidity compared to traditional drip coffee.
This is a fantastic solution for those with sensitive stomachs who still crave a hot morning beverage. Beyond breakfast, the concentrate acts as a powerful ingredient for sophisticated coffee cocktails.
Use it as a replacement for espresso in a classic Espresso Martini to achieve a deeper, more nuanced flavor profile without the need for an expensive machine. For a refreshing non-alcoholic treat, try mixing the concentrate with tonic water and a twist of citrus over plenty of ice.
The carbonation highlights the bright notes of the coffee beans, creating a sophisticated mocktail. Whether you are warming up on a chilly morning or entertaining guests in the evening, the versatility of a well-made concentrate makes it a must-have staple in any modern kitchen pantry.
Tips for better tasting cold brew
The importance of using filtered water
When making cold brew concentrate at home, the quality of your water is just as critical as the quality of your coffee beans. Since coffee is roughly ninety-eight percent water, any impurities, minerals, or chemicals like chlorine found in tap water will be magnified during the long steeping process.
Using purified or filtered water ensures a clean, crisp canvas that allows the nuanced flavor notes of your specific roast to shine through without interference.
Hard water contains high levels of calcium and magnesium, which can lead to over-extraction and a chalky mouthfeel, while overly soft water may result in a flat, uninspiring brew.
By opting for a reliable filtration system or bottled spring water, you provide the optimal chemical balance for the oils and compounds to dissolve properly.
This simple step prevents off-flavors and ensures that your final concentrate remains consistent in taste and quality every single time you prepare a fresh batch for your morning routine.
How to avoid bitter or sour flavors
Achieving the perfect balance in your concentrate requires careful attention to the grind size and the total steeping duration.
To avoid a sour, under-extracted taste, ensure you are using a consistent extra-coarse grind that resembles sea salt; if the particles are too fine, the water will extract acids too quickly, leading to a sharp, unpleasant tang.
Conversely, bitterness is usually the result of over-steeping or using beans that are roasted too dark for the cold process. You should aim for a steeping window of 12 to 18 hours at room temperature or up to 24 hours if brewing in the refrigerator.
If you find the result too harsh, try shortening the brew time or slightly coarsening your grind for the next batch.
Additionally, always thoroughly filter the grounds through a fine mesh sieve followed by a paper filter to remove any sediment or silty fines that can continue to extract and cause bitterness over time in the fridge.
Storage containers that keep coffee fresh
Once you have successfully brewed your concentrate, the way you store it will determine how long it retains its vibrant flavor profile. Oxidation is the primary enemy of fresh coffee, so it is essential to use airtight glass containers such as mason jars or swing-top bottles.
Unlike plastic, glass is non-porous and will not absorb old coffee oils or leach chemical odors into your beverage, ensuring the purest taste possible.
To further protect the delicate aromatic compounds, choose dark or amber-tinted glass to shield the liquid from light exposure, which can cause the oils to go rancid prematurely. Always fill your container as close to the top as possible to minimize the amount of headspace and oxygen trapped inside.
When kept in the back of the refrigerator where the temperature is most stable, a well-sealed concentrate can stay fresh for up to two weeks, allowing you to enjoy a high-quality, convenient caffeine fix whenever you need it without any degradation in quality.
Frequently Asked Questions
What is the best coffee-to-water ratio for cold brew concentrate?
The most effective ratio for a strong concentrate is 1:4, which means one cup of coarsely ground coffee for every four cups of water. This creates a potent base that is meant to be diluted with water or milk before serving.
How long should I steep cold brew concentrate?
For a rich and smooth flavor profile, steep your coffee grounds at room temperature for 12 to 18 hours. Avoid steeping longer than 24 hours, as this can lead to over-extraction and a bitter, woody taste.
What grind size should I use for cold brew?
You should use an extra-coarse grind, similar in texture to sea salt or peppercorns. Using a fine grind will make the coffee over-extracted and bitter, and it will be much harder to filter out of the final concentrate.
Do I need special equipment to make cold brew concentrate at home?
No special equipment is required; you can simply use a large glass jar or pitcher and a fine-mesh strainer lined with a paper filter or cheesecloth. While dedicated cold brew makers exist, a French press also works exceptionally well for this process.
How long does homemade cold brew concentrate stay fresh?
When stored in an airtight container in the refrigerator, cold brew concentrate will stay fresh and flavorful for up to two weeks. For the best quality, keep it undiluted until you are ready to drink a serving.
How do I dilute cold brew concentrate when I’m ready to drink it?
The standard dilution is a 1:1 ratio, meaning you mix equal parts concentrate and water or milk. You can adjust this based on your personal preference for strength, adding more liquid for a lighter brew or less for a stronger caffeine kick.
Conclusion
Mastering cold brew concentrate at home is a simple way to elevate your coffee routine while saving money. By following the correct coffee-to-water ratio and allowing ample steeping time, you can create a smooth, low-acid base that lasts for weeks. Whether you prefer it iced, hot, or mixed into creative cocktails, the possibilities are endless. Grab your favorite beans today and start brewing your own custom batch for a refreshing, professional-quality experience right in your kitchen.