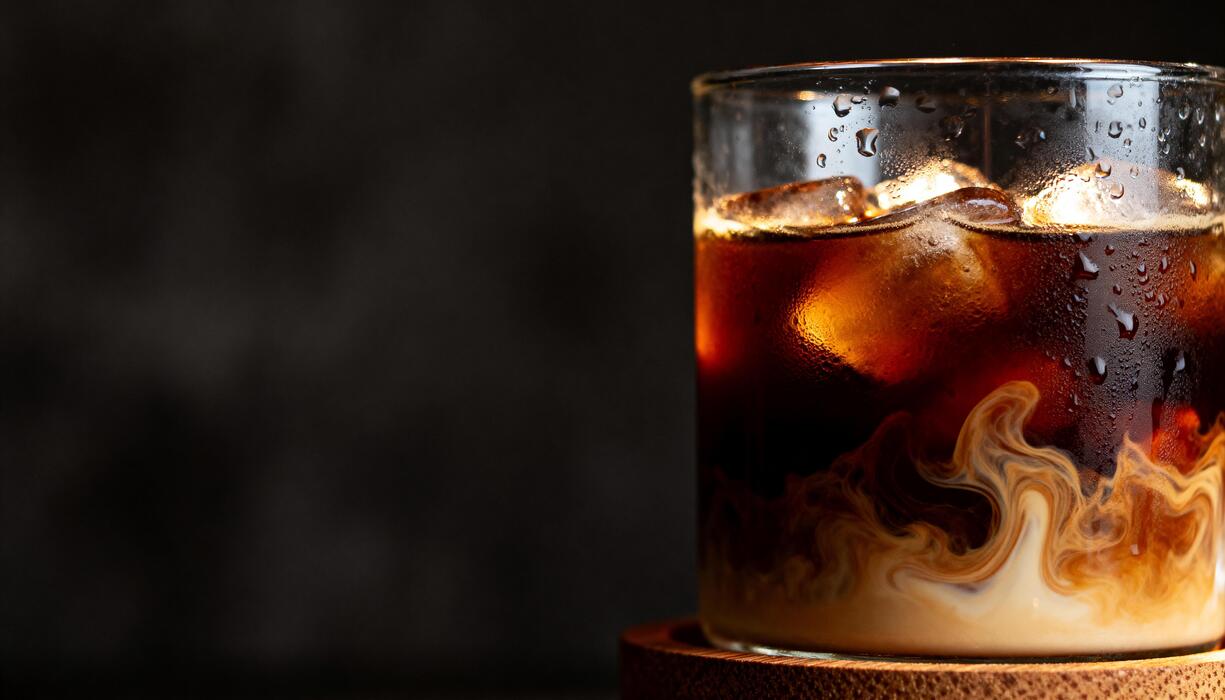
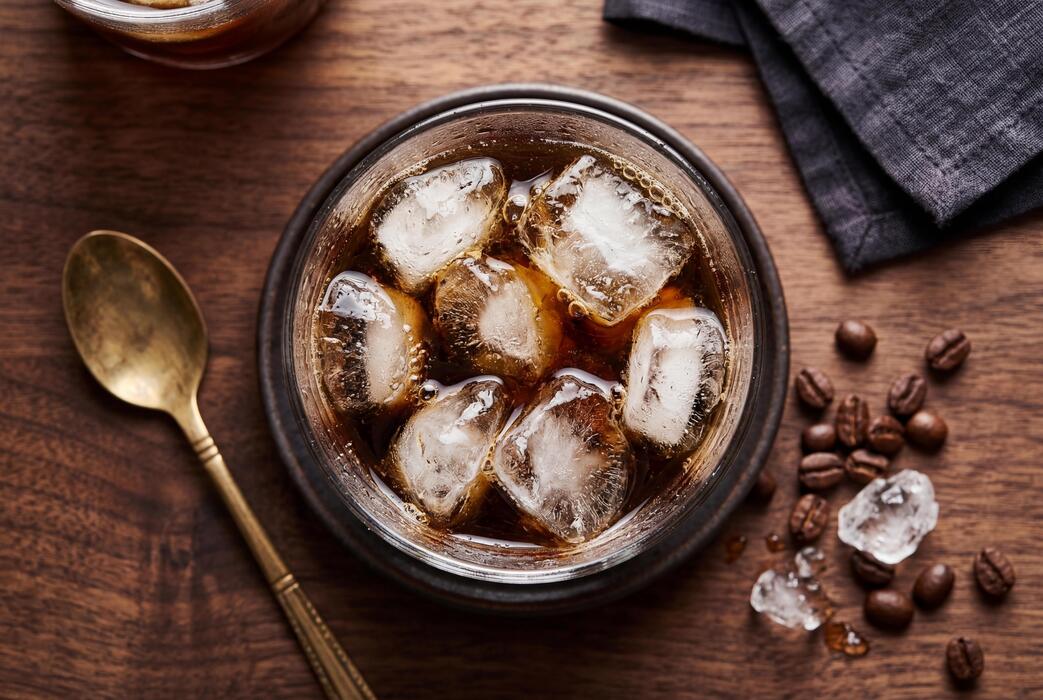
How To Make Cold Brew Concentrate Ratio
Making the perfect cold brew at home starts with mastering the concentrate ratio, and we have the quick solution you need. Whether you prefer a bold kick or a smooth finish, getting the balance of grounds to water right is the secret to café-quality results. In this guide, we will jump straight into the ideal ratios for cold brew concentrate, explain how to dilute it to your taste, and share simple tips to ensure every batch is flawless.
What is the best cold brew concentrate ratio?
The standard 1:4 ratio for strong concentrate
For most home baristas, the 1:4 ratio is the gold standard for creating a versatile and balanced cold brew concentrate. This specific measurement means you combine one part coarsely ground coffee with four parts filtered water by weight.
For example, using 250 grams of coffee and 1 liter of water ensures a consistent extraction over a 12 to 24-hour period. This ratio is highly recommended because it produces a robust liquid that maintains its flavor profile even after being diluted with milk or water.
To achieve the best results, always use a coarse grind size similar to sea salt, which prevents the final brew from becoming overly bitter or cloudy. Once the steeping process is complete, you will have a potent base that can be easily customized to your preferred strength.
By sticking to this reliable 1:4 baseline, you ensure that every batch provides a smooth, chocolatey, and low-acid caffeine kick that works perfectly for daily consumption.
Why 1:2 is the choice for extra bold coffee
If you are looking for an intense, espresso-like kick, the 1:2 ratio is the ultimate choice for an extra bold concentrate. This ratio involves using one part coffee to only two parts water, creating a syrupy and highly concentrated liquid that packs a significant punch.
It is particularly useful for those who enjoy iced lattes or blended coffee drinks, as the strength of the coffee can cut through heavy creams and sweeteners without losing its distinct character. Because this mixture is so dense, it requires a meticulous filtering process to remove all fine sediments.
When you use a 1:2 ratio, you are essentially creating a shelf-stable essence that takes up less space in your refrigerator. Keep in mind that this level of concentration is not meant to be drank straight; instead, you should treat it as a powerful ingredient.
It offers a deep, earthy complexity that satisfies even the most demanding coffee enthusiasts who crave a heavy mouthfeel and maximum caffeine density in every single pour.
How ratios change based on your brewing vessel
The specific equipment you use can significantly influence your choice of ratio, as different brewing vessels handle coffee saturation and filtration in unique ways.
For instance, if you are using a dedicated cold brew pitcher with a built-in mesh filter, you might find that a 1:5 ratio works better to allow for proper water circulation around the grounds.
Conversely, when brewing in a French press, a tighter 1:3 ratio is often preferred because the plunger mechanism allows you to compress the grounds and extract more liquid efficiently.
You must also consider the total volume capacity of your vessel; since coffee grounds absorb about twice their weight in water, you need to account for this loss to ensure you end up with enough finished concentrate.
Always measure your ingredients by weight rather than volume to maintain accuracy across different containers. Adjusting your ratio to fit the geometric constraints of your brewer helps prevent under-extraction and ensures that the water can fully penetrate the coffee bed for a clean, delicious finish.
How to calculate coffee and water measurements
Measuring by weight vs. volume
When learning how to make cold brew concentrate, understanding the difference between weight and volume is critical for a balanced extraction. Using a measuring cup for beans or grounds is often inaccurate because different roasts vary significantly in density; dark roasts are physically larger and lighter than dense light roasts.
To achieve a true concentrate ratio of 1:4 or 1:5, relying on volume can lead to a watery or overly bitter result. Professionals recommend measuring by weight in grams to ensure that every batch remains consistent regardless of the bean variety.
If you must use volume, a standard guideline is approximately one cup of coarsely ground coffee for every four cups of filtered water, but this is merely an estimate. For the most reliable intensity, using a kitchen scale eliminates the guesswork associated with how tightly coffee packs into a scoop.
This precision allows you to dilute the final product perfectly with milk or water later, ensuring your caffeine kick is exactly as expected every single morning.
Grams of coffee per cup of water
To master the cold brew concentrate ratio, you should target a specific amount of coffee mass relative to your total water volume.
A standard high-strength concentrate typically requires 250 grams of coffee per 1 liter of water, which translates to roughly 60 to 70 grams of coffee per standard 8-ounce cup of water.
This high concentration ensures that the long, cold steeping process extracts enough solubles to create a syrupy base that holds up when poured over ice. If you prefer a slightly more versatile concentrate, you can experiment with 80 grams of coffee per cup of water for a punchier flavor profile.
Remember that cold brew uses a coarse grind size similar to sea salt, which affects how much space the coffee occupies.
By focusing on the specific gram count per cup, you can easily scale your recipe up for a large batch or down for a single serving without losing the rich, chocolatey notes characteristic of a well-steeped cold brew concentrate.
Using a digital scale for consistency
The most effective way to maintain a perfect cold brew concentrate ratio is by incorporating a digital kitchen scale into your brewing routine. Precision is the enemy of bitterness, and a scale allows you to replicate your favorite results time after time.
Start by placing your brewing vessel on the scale and taring it to zero before adding your coarse grounds. Once you hit your target weight, tare the scale again and pour in your filtered water until you reach the calculated total mass.
This method ensures that you are following a strict 1:4 ratio by mass, which is the gold standard for concentrates meant to be diluted. Using a scale also helps you track exactly how much water the grounds absorb during the twelve to twenty-four hour steeping period.
By recording these metrics, you can fine-tune your recipe to suit your personal palate, whether you want a bolder kick or a smoother finish. Consistent measurements turn a simple kitchen project into a professional-grade beverage experience every time.
Steps to make cold brew concentrate at home
Choosing the right coarse grind size
To achieve the perfect cold brew concentrate, you must start with a coarse grind size that resembles sea salt or peppercorns. Using a fine grind will lead to over-extraction, resulting in a bitter, muddy flavor profile that is difficult to filter.
A high-quality burr grinder is recommended to ensure consistency, as uneven particles can lead to an unbalanced brew. Since cold brew relies on a slow immersion process rather than heat, the surface area of the beans plays a critical role in how the water absorbs oils and caffeine.
By keeping the grounds large, you allow for a cleaner filtration process and a smoother mouthfeel in the final product. Many home brewers make the mistake of using pre-ground coffee, which is typically too fine for this method.
Investing in whole beans and grinding them just before steeping ensures that the delicate aromatic compounds are preserved, providing a rich, chocolatey base that defines a premium concentrate intended for dilution with water or milk later.
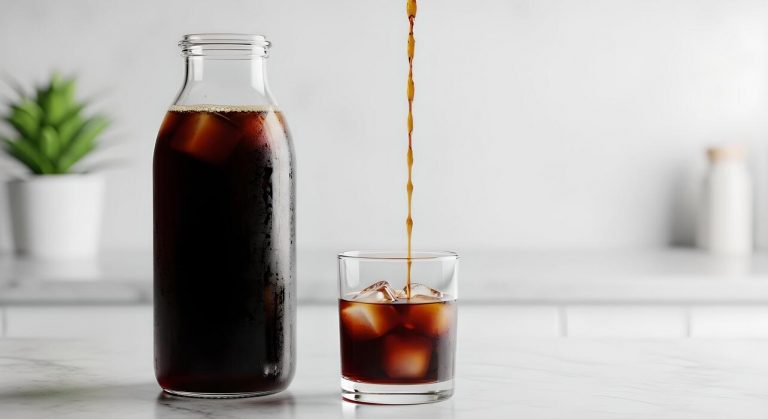
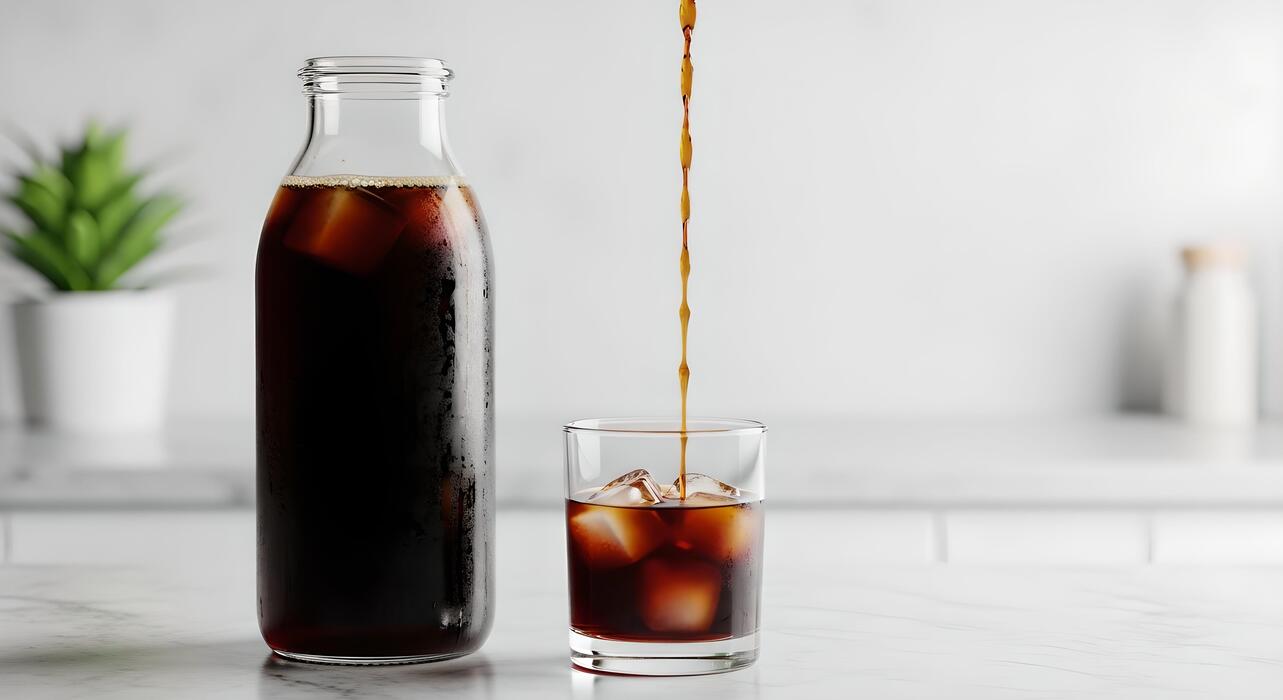
Mixing the grounds and filtered water
The most critical factor in this process is the cold brew concentrate ratio, which is typically 1:4 or 1:5 by weight.
For a standard batch, mix one cup of coarse coffee grounds with four cups of filtered water to ensure that impurities do not mask the natural tasting notes of the beans. Using filtered water is essential because tap water minerals can negatively impact the extraction chemistry.
When combining the ingredients in a glass jar or specialized brewer, ensure every ground is fully saturated. Use a long spoon to gently stir the mixture, but avoid aggressive agitation which can introduce unwanted bitterness.
This concentrated ratio creates a heavy, potent liquid that is designed to be diluted before consumption. By maintaining a strict ratio of coffee to water, you guarantee a consistent strength every time you brew.
This allows you to customize each individual cup by adding ice, cream, or extra water to suit your personal preference while maintaining a bold and robust flavor profile throughout the week.
Steeping times for maximum flavor extraction
Once your mixture is prepped, the cold brew concentrate requires a steeping time of 12 to 24 hours at room temperature or in the refrigerator.
Steeping on the counter typically accelerates the process, reaching peak flavor around the 12-to-15-hour mark, whereas refrigerated steeping is more forgiving and usually takes closer to 20 hours.
It is vital not to exceed the 24-hour limit, as prolonged exposure to water can start to pull out tannins and acidic notes that ruin the characteristic smoothness of the drink.
During this time, the cold water slowly dissolves the sugars and oils, creating a low-acid profile that is easy on the stomach. After the time has elapsed, use a fine-mesh sieve or paper filter to separate the concentrate from the spent grounds.
Patience is the key to this stage; rushing the process will result in a weak, underdeveloped liquid, while over-steeping leads to an unpleasant woody taste. Proper timing ensures a velvety texture and deep complexity that makes home-brewed cold brew superior to store-bought alternatives.
How to dilute cold brew concentrate correctly
The 1:1 dilution rule for iced coffee
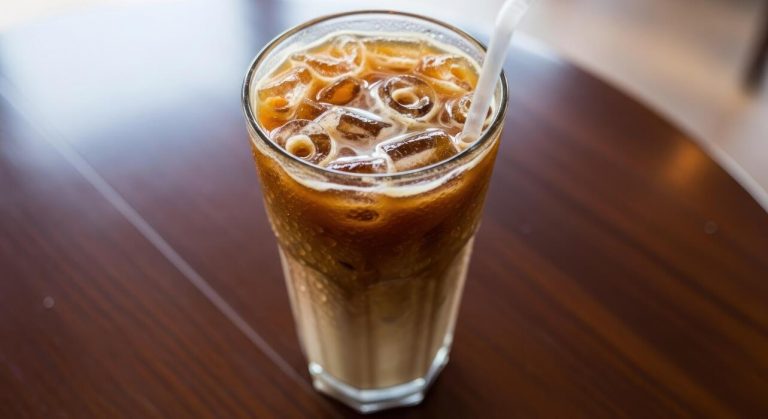
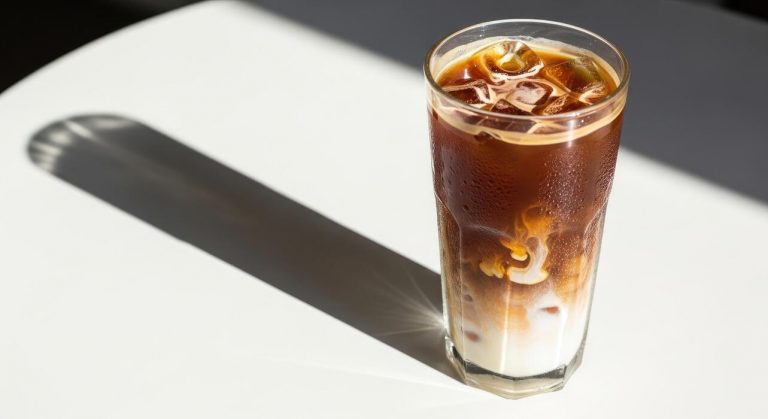
For most home brewers, the standard gold standard for diluting cold brew concentrate is a simple one-to-one ratio. This means you should combine equal parts of your coffee concentrate with filtered water or ice to achieve a balanced, ready-to-drink beverage.
Because concentrate is typically brewed at a high strength, drinking it straight can lead to an overwhelming caffeine intake and a bitter flavor profile. By using the 1:1 ratio, you preserve the smooth, chocolatey notes characteristic of cold brew while bringing the acidity and body down to a refreshing level.
Always start by pouring your concentrate over a glass filled with fresh ice cubes, then add an equal amount of cold water. This method ensures that as the ice melts, the coffee remains flavorful rather than becoming overly watery.
If you find the result too strong, you can gradually increase the water portion to a 1:2 ratio until it perfectly matches your personal preference for strength and clarity.
Making hot coffee from cold brew concentrate
Many people are surprised to learn that cold brew concentrate makes an excellent base for a steaming cup of hot coffee. To do this correctly, you should bypass the microwave and instead use near-boiling water to dilute your concentrate.
The ideal ratio remains approximately one part concentrate to two parts hot water, which quickly raises the temperature of the liquid without scorching the delicate oils. This method is particularly beneficial for those with sensitive stomachs, as the cold extraction process results in significantly lower acidity than traditional drip coffee.
Simply pour your measured concentrate into a sturdy mug and top it off with hot water from a kettle. This approach allows you to enjoy a smooth, low-acid hot beverage in seconds, making it a perfect solution for busy mornings.
Ensure you do not use rolling boiling water, as temperatures above 205 degrees Fahrenheit can introduce a burnt aftertaste to the otherwise mellow and sweet profile of the pre-made cold brew concentrate base.
Adding milk, cream, or water to taste
The beauty of cold brew concentrate lies in its extreme versatility, allowing you to customize each cup based on your cravings for dairy or plant-based mixers.
If you prefer a creamy, latte-style drink, try substituting the water entirely with whole milk, oat milk, or almond milk using a 1:2 concentrate-to-milk ratio. For those who enjoy a richer texture, adding a splash of heavy cream or half-and-half can elevate the drink into a decadent treat.
When experimenting with different dilutants, always remember that the ratio is a flexible guideline rather than a strict rule. You should taste the mixture as you go, adding small increments of liquid until the boldness of the coffee is perfectly complemented by the sweetness of the milk.
If you are using flavored syrups or sweeteners, add them after the initial dilution to ensure they incorporate fully into the liquid. This customized approach ensures that whether you want a light, hydrating water-based coffee or a thick, creamy morning fuel, your concentrate provides the perfect foundation every time.
Best coffee beans for high-ratio brewing
Why dark roasts work best for cold brew
When brewing a high-ratio concentrate, typically using a 1:4 or 1:5 ratio, selecting the right roast profile is essential for a balanced flavor.
Dark roasts are generally preferred because the extended roasting process breaks down the bean’s structure, making it more soluble and easier to extract during the long immersion period. These beans provide the classic chocolatey, nutty, and smoky notes that many enthusiasts look for in a cold brew base.
Because cold water extraction naturally minimizes acidity, the bitterness often associated with dark roasts is softened, resulting in a smooth, syrupy mouthfeel. Using a dark roast ensures that your concentrate remains bold and flavorful even after being diluted with large amounts of milk, water, or ice.
If you use a light roast at such a high concentration, you may end up with overwhelming vegetal or sour notes that clash with the intended profile. Therefore, sticking to dark roasts provides a consistent, reliable foundation for your DIY concentrate.
Single origin vs. blend options
Deciding between single origin and blends depends on whether you value complexity or consistency in your high-ratio concentrate. Blends are often the superior choice for beginners because they are specifically engineered to provide a balanced, well-rounded flavor profile that holds up well during the 12 to 24-hour steeping process.
A high-quality blend can combine the body of Brazilian beans with the sweetness of Central American varieties, ensuring your concentrate maintains a versatile flavor that works in various recipes. On the other hand, single origin beans from regions like Ethiopia or Colombia offer unique fruity and floral characteristics.
While these can produce a sophisticated drink, they are often more volatile and harder to dial in when using a thick 1:4 ratio. If you choose single origin, look for beans with lower natural acidity to avoid a tart finish.
Most professional brewers suggest starting with a house blend to achieve that iconic, rich cold brew depth before experimenting with more delicate, expensive single-origin crops.
Freshness and storage tips for beans
The quality of your cold brew concentrate is directly tied to the freshness of your raw ingredients. While cold brew is more forgiving than espresso, using freshly roasted beans within two to four weeks of their roast date will yield the best aromatic results.
To maintain the integrity of your beans, store them in an airtight container away from direct sunlight, heat, and moisture. Avoid the common mistake of storing beans in the freezer, as condensation can damage the delicate oils that provide flavor.
Furthermore, it is critical to grind your beans immediately before brewing to prevent oxidation. For a high-ratio concentrate, use a very coarse grind, similar to the texture of sea salt or breadcrumbs. This coarse texture allows for a slow, even extraction without clogging your filter.
By prioritizing fresh beans and proper storage, you ensure that your high-ratio brew remains vibrant and free from the stale, cardboard-like flavors that plague older coffee. Investing in a quality burr grinder will further enhance this process.
Common mistakes when brewing concentrate
Using a fine grind instead of coarse
One of the most frequent errors when calculating your cold brew concentrate ratio is using a grind size that is too small. While drip coffee or espresso requires a fine texture, cold brew necessitates a very coarse, pebble-like grind to ensure proper extraction over a long period.
When you use fine grounds, the surface area increases significantly, leading to an over-extracted and muddy flavor profile that ruins the smooth characteristics of a concentrate. Furthermore, fine particles are notoriously difficult to filter out, resulting in a cloudy, silty sediment at the bottom of your carafe.
To achieve the perfect 1:4 or 1:5 ratio, you must prioritize a consistent coarse grind that allows water to flow freely around the beans. This ensures that the natural oils and sugars are pulled out slowly without the harshness associated with fine dust.
Investing in a quality burr grinder is the best way to maintain this consistency and avoid a bitter, gritty finished product.
Over-steeping and bitterness issues
Timing is just as critical as your coffee-to-water ratio when crafting a high-quality cold brew concentrate. Many beginners assume that leaving the grounds to soak for 24 hours or longer will result in a stronger, better brew, but this often leads to excessive tannin extraction and a sharp, bitter aftertaste.
The ideal steeping window for a concentrated 1:4 ratio is generally between 12 and 18 hours at room temperature, or up to 24 hours if steeping in the refrigerator.
Once you pass the 24-hour mark, the delicate flavor notes of the bean are replaced by woody, medicinal, or overly acidic tones. To avoid this, you should set a precise timer and be ready to strain the concentrate immediately once the time is up.
If you find the concentrate is too strong for your palate, do not over-steep it to compensate; instead, simply dilute the final extract with more water or milk at the time of serving to reach your desired strength.
Using tap water vs. filtered water
Since cold brew concentrate is composed of roughly 80% water before dilution, the quality of your water source is paramount to the final taste.
A common mistake is using straight tap water, which often contains chlorine, minerals, and impurities that can react negatively with the coffee solubles during the long extraction process. These chemicals can produce a metallic or chemical tang that masks the nuanced chocolatey or fruity notes of your coffee beans.
To ensure your 1:4 ratio results in a professional-grade beverage, you should always use filtered or bottled spring water. Filtered water provides a clean canvas that allows the true profile of the roast to shine through without interference.
Additionally, avoid using distilled water, as it lacks the essential minerals needed to pull the flavors out of the coffee grounds effectively. Using high-quality, filtered water ensures that your concentrate remains fresh-tasting and vibrant, providing the perfect base for your morning iced coffee or specialty lattes every single time.
Tips for storing and serving your brew
How long concentrate stays fresh in the fridge
Once you have mastered your cold brew concentrate ratio, understanding its shelf life is vital for maintaining peak flavor profile. A standard batch will typically stay fresh for up to two weeks when kept refrigerated, provided it remains in its concentrated state.
Because the high coffee-to-water density acts as a minor preservative, the aromatic compounds are better protected than in diluted coffee. However, you should always perform a quick smell test after the ten-day mark to ensure no oxidation has occurred.
If you choose to dilute the entire batch with water immediately after brewing, the shelf life drops significantly to about three to five days. To maximize longevity, keep the liquid at the back of the fridge where the temperature is most consistent, rather than in the door.
Using freshly roasted beans and filtered water during the initial brewing process also helps prevent premature spoilage. Always keep the container tightly sealed to prevent the coffee from absorbing odors from pungent foods like onions or leftovers stored nearby.
Best airtight containers for storage
Selecting the right vessel is just as important as the cold brew concentrate ratio itself when it comes to preserving quality. Glass is the gold standard for storage because it is non-porous and will not leach metallic or plastic flavors into your brew over time.
Amber-colored glass growlers are particularly effective as they block out light, which can degrade the delicate oils in the coffee. Ensure your chosen container has a high-quality silicone gasket or airtight seal to prevent oxygen from entering, as oxidation is the primary enemy of fresh-tasting concentrate.
While plastic containers are convenient, they can harbor bacteria in microscopic scratches and may retain old coffee smells that affect future batches. If you are brewing in large quantities, consider using multiple smaller jars rather than one large one.
This strategy minimizes the amount of headspace and oxygen exposure every time you open the jar to pour a glass. Stainless steel carafes are a durable alternative, but always verify they are food-grade and specifically designed for acidic liquids like coffee.
Creative ways to use leftover concentrate
If you find yourself with extra liquid after perfecting your cold brew concentrate ratio, there are numerous ways to utilize it beyond a standard iced coffee. One of the most effective methods is freezing the concentrate into coffee ice cubes.
This ensures that as your drink melts, it stays strong rather than becoming watered down. You can also incorporate the concentrate into your culinary projects; it acts as a secret ingredient in chocolate cake batters or homemade tiramisu, adding a deep, earthy complexity that standard brewed coffee lacks.
For a refreshing twist, try mixing a splash of the concentrate with tonic water and a twist of lime for a caffeinated mocktail. The high density of the concentrate also makes it an excellent base for homemade coffee syrups or blended protein shakes.
If you enjoy savory cooking, a small amount of concentrate can be added to chili or steak rubs to enhance the richness of the meat. Experimenting with these versatile applications ensures that not a single drop of your carefully prepared brew goes to waste.
Frequently Asked Questions
What is the best coffee-to-water ratio for cold brew concentrate?
The standard ratio for a strong cold brew concentrate is 1:4, meaning one part coffee to four parts water by weight. This creates a potent base that is designed to be diluted with water or milk before serving.
How do I measure the ratio using cups instead of a scale?
If you don’t have a scale, a 1:4 ratio translates roughly to 1 cup of coarsely ground coffee to 4 cups of water. For a smaller, more concentrated batch, you can use 1 cup of coffee to 2 cups of water (a 1:2 ratio).
What is the difference between a 1:4 and a 1:8 cold brew ratio?
A 1:4 ratio produces a thick concentrate that must be diluted, whereas a 1:8 ratio is considered ‘ready-to-drink’ strength. Choosing the 1:4 ratio saves space in your refrigerator and allows you to customize the strength of each individual glass.
How much should I dilute cold brew concentrate after brewing?
Most people prefer a 1:1 dilution ratio, mixing equal parts cold brew concentrate and water or milk. If you prefer a lighter taste or are sensitive to caffeine, increase the water portion to a 1:2 dilution.
Does the grind size affect the cold brew concentrate ratio?
While the ratio remains the same, you must use a coarse, breadcrumb-like grind to ensure proper extraction over the long brewing period. Using fine grounds with a 1:4 ratio will result in over-extraction, making the concentrate taste bitter and muddy.
How much coffee do I need for a 1-quart jar of concentrate?
To make a 1:4 concentrate in a standard 32-ounce (1 quart) mason jar, use approximately 1.5 to 2 cups of coarse coffee grounds and fill the rest of the jar with filtered water. This leaves enough room for the grounds to expand while maintaining the correct strength.
Conclusion
Finding the perfect cold brew concentrate ratio is a simple way to elevate your home coffee game. By mastering the 1:4 or 1:5 balance, you gain the versatility to create a variety of delicious drinks tailored to your taste. Don’t be afraid to experiment with different beans and steeping times until you find your ideal brew. Grab your favorite roast, start steeping today, and enjoy the smooth, bold flavors of professional-quality cold brew at home.