How To Make Iced Coffee Like Starbucks
Stop spending five dollars every morning when you can master the art of the perfect brew at home. If you are wondering how to make iced coffee like Starbucks, you have come to the right place. We have cracked the code on their signature smooth flavor and iconic sweetness. Get ready to save money and sip your favorite chilled treat today.
The Starbucks Iced Coffee Secret: It Starts with the Blend
The best coffee beans for a Starbucks taste
To replicate the iconic flavor of Starbucks iced coffee at home, you must start with high-quality 100% Arabica beans. Starbucks specifically uses a signature blend of Latin American and East African beans to ensure a consistent profile that is both crisp and balanced.
When shopping for ingredients, look for beans labeled as multi-region blends with flavor notes of nuts or cocoa, as these provide the familiar depth that stands up well to ice.
Avoid oily, dark roasts if you want the classic ‘Iced Coffee’ taste; instead, focus on washed process beans which offer a cleaner finish. By choosing a blend that emphasizes low acidity and high body, you create a sturdy base that won’t taste watery once diluted.
Remember that the freshness of your beans is the most critical factor in achieving that professional coffeehouse aroma and a smooth, bittersweet chocolate aftertaste that defines the premium Starbucks experience in every single sip you take.
Why medium roast works best for cold drinks
While many people assume dark roasts are stronger, a medium roast is the secret weapon for a perfect Starbucks-style iced coffee. Medium roasts preserve the natural sweetness and nuanced flavors of the bean, which are often lost in the intense char of a dark roast.
When coffee is chilled, the cold temperature tends to mute certain flavors, but the balanced acidity and caramelization of a medium roast remain vibrant and refreshing. This roast level provides enough body to handle milk, cream, or flavored syrups without becoming overpowered, yet it remains smooth enough to drink black.
Starbucks often utilizes a medium roast for their iced blends because it prevents the beverage from tasting overly bitter or ‘burnt’ when served over ice.
By selecting a medium-bodied profile, you ensure a mellow finish that highlights subtle notes of toasted malt and brown sugar, creating a sophisticated drink that feels indulgent yet remains incredibly easy to drink throughout the day.
How to grind your beans for maximum flavor
The consistency of your coffee grounds is the final bridge to achieving professional results at home. For a standard iced coffee brewed with hot water and then cooled, a medium-coarse grind—similar to the texture of sea salt—is the gold standard.
This specific size allows for an even extraction that pulls out the rich oils and flavors without over-extracting the bitter tannins. If your grind is too fine, the coffee will taste harsh; if it is too coarse, it will result in a weak, sour beverage.
Using a burr grinder instead of a blade grinder is essential for maintaining uniform particle size, which ensures every drop of water interacts with the coffee at the same rate.
For those aiming for the ultimate Starbucks mimicry, try to grind your beans immediately before brewing to lock in the volatile aromatics.
This attention to detail ensures your iced coffee has a robust strength and a clean, sediment-free texture that mirrors the high-quality pour you would expect from a master barista.
How to Brew the Perfect Iced Coffee Base
The double-strength brewing method
To replicate the signature taste of a Starbucks iced coffee, you must master the double-strength brewing method. When hot coffee is poured directly over ice, the melting cubes immediately dilute the liquid, often resulting in a weak and watery beverage.
To prevent this, you should brew your coffee with twice the amount of grounds you would typically use for a standard hot cup while keeping the water volume the same. This concentrated extraction ensures that even as the ice melts and cools the drink, the flavor remains robust and intense.
Starbucks specifically uses this technique to maintain a consistent profile that stands up to added syrups and heavy splashes of milk.
By focusing on a high-concentration base, you create a foundation that mimics the professional depth and clarity of a cafe-quality drink, ensuring your homemade version never tastes like colored water but rather a bold, refreshing treat that lasts until the very last sip.
Using a drip machine vs. a pour-over
Choosing the right equipment is vital for achieving that specific Starbucks texture. A standard drip coffee machine is excellent for convenience and allows you to brew larger batches of concentrated base to store in the refrigerator.
Ensure your machine is clean to avoid bitter oils, and use a paper filter to achieve a crisp, sediment-free finish that allows the coffee’s brightness to shine.
Alternatively, using a pour-over method offers more control over the extraction process, allowing you to saturate the grounds evenly for a more nuanced flavor profile. The pour-over technique is ideal if you prefer a cleaner, more vibrant acidity in your iced coffee.
Regardless of the tool, the goal is to ensure the hot water extracts the oils efficiently before the liquid hits the ice.
Both methods work perfectly for the double-strength approach, but the pour-over generally provides a more artisanal result that mimics the premium hand-poured options found at high-end coffee house locations worldwide.
Water-to-coffee ratios for a bold finish
The secret to the perfect Starbucks-style iced coffee lies in the precise water-to-coffee ratio. For a standard hot brew, a common ratio is 1:16, but for a bold iced base, you should aim for a 1:8 ratio.
This means using approximately two tablespoons of ground coffee for every four ounces of water. Utilizing a dark or medium roast with low acidity will help you achieve that classic, toasted flavor profile that pairs so well with sweeteners.
If you find the result too strong, you can always adjust with more ice, but you cannot fix a weak brew once it is made. Precision is key, so using a digital kitchen scale to measure your coffee beans and water will provide the most consistent results every morning.
By adhering to these strict measurements, you guarantee a full-bodied finish that cuts through the creaminess of milk or half-and-half, delivering that iconic, energizing caffeine kick that coffee lovers expect from their favorite professional barista.
How to Make Starbucks Style Simple Syrup at Home

The classic liquid cane sugar recipe
To replicate the signature Starbucks iced coffee experience, you must master the classic liquid cane sugar base. Unlike granulated sugar, which often settles at the bottom of cold drinks, a homemade simple syrup ensures an even distribution of sweetness throughout your beverage.
To begin, combine exactly one cup of filtered water with one cup of high-quality granulated cane sugar in a small saucepan. Heat the mixture over a medium flame, stirring constantly until the sugar crystals fully dissolve and the liquid becomes perfectly transparent.
It is crucial to avoid bringing the mixture to a rolling boil, as over-reduction can lead to a thick, honey-like consistency that alters the mouthfeel of your iced coffee. Once the solution is clear, remove it from the heat immediately and allow it to reach room temperature.
This foundational syrup is the secret to achieving that smooth, professional finish found in premium cafe drinks, allowing you to customize the sweetness levels of your home-brewed caffeine without any gritty residue or inconsistent flavoring.
How to make DIY vanilla and caramel syrups
Once you have mastered the basic simple syrup, you can easily create the most popular Starbucks-style variations like vanilla and caramel infusions.
For a classic vanilla syrup, simply add two teaspoons of pure vanilla extract or one split vanilla bean to your warm sugar base after removing it from the heat.
If you prefer the rich, buttery notes of a caramel macchiato, you should first caramelize the dry sugar in a pan until it reaches a deep amber hue before carefully whisking in warm water.
These DIY flavorings allow you to skip the artificial preservatives found in store-bought bottles while maintaining the bold flavor profile of your favorite commercial drinks. Experimenting with these infusions at home provides the flexibility to adjust the intensity of the flavor to suit your personal palate.
By using high-quality extracts and fresh ingredients, your homemade iced coffee will rival the taste of any professional barista’s creation, providing a decadent and customized coffee house experience right in your own kitchen every single morning.
Tips for storing homemade coffee sweeteners
To ensure your homemade Starbucks-style syrups remain fresh and safe for consumption, proper storage techniques are essential. Always pour your finished syrup into a sterilized glass bottle or airtight jar once it has cooled completely.
Storing the syrup in the refrigerator is highly recommended, as the cool environment significantly extends the shelf life and prevents the growth of mold or bacteria. Typically, a standard simple syrup will remain fresh for up to four weeks when kept chilled.
If you notice any cloudiness or an unusual scent, it is time to discard the batch and start fresh. For those who enjoy making large quantities, adding a small teaspoon of vodka can act as a natural preservative without altering the final taste of your iced coffee.
Labeling your containers with the preparation date is a helpful habit to track freshness accurately. By following these simple maintenance steps, you can enjoy a consistent, high-quality sweetener that is ready to be swirled into your morning brew at a moment’s notice.
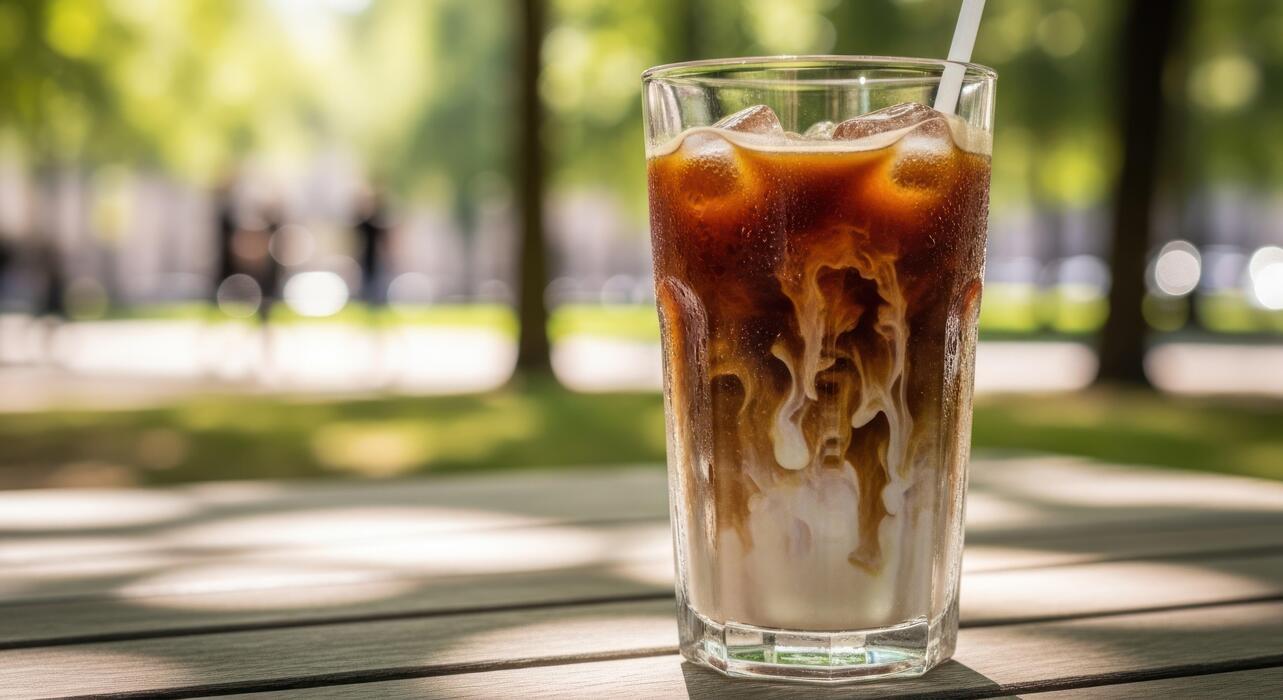
The Art of the Starbucks Iced Coffee Pour
Why you should never put hot coffee over ice
To achieve that signature Starbucks quality, you must avoid the common mistake of pouring piping hot coffee directly over a glass of ice. Doing so creates immediate thermal shock, which results in a watered-down, bitter brew that lacks the rich profile of a professional beverage.
When hot liquid hits ice, it melts the cubes instantly, diluting the concentration of the beans and washing away the nuanced notes of the roast. Instead, the secret lies in flash-chilling or cold brewing your coffee ahead of time.
Professional baristas often brew their coffee at double strength if they intend to serve it cold, ensuring that the inevitable minor melting actually brings the drink to its perfect balance rather than ruining it.
By allowing your coffee to reach at least room temperature before it meets the ice, you preserve the smooth mouthfeel and bold caffeine kick that customers expect from a premium coffeehouse experience every single morning.
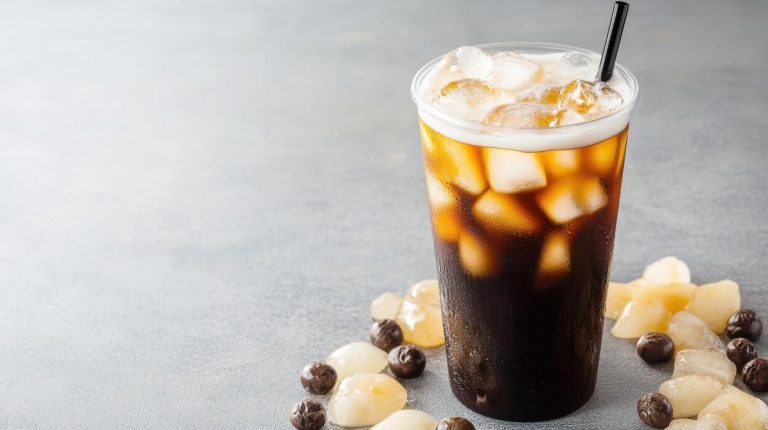
The best ice cube shapes for slow melting
The geometry of your ice is just as critical as the quality of your beans when recreating the Starbucks experience at home. Starbucks typically uses a specific type of dense, clear cube that minimizes surface area contact with the liquid to slow down the melting process.
For the best home results, you should opt for large square cubes or solid spheres rather than crushed or flake ice. Small fragments of ice have a high surface-area-to-volume ratio, meaning they melt rapidly and turn your handcrafted latte into a thin, flavorless mess within minutes.
Investing in silicone molds that produce large-format ice will significantly enhance your drink’s longevity, keeping it chilled without the dilution. Furthermore, using filtered water for your cubes ensures that no metallic or chlorine tastes interfere with the coffee.
By controlling the shape and density of your ice, you maintain the optimal temperature and flavor integrity from the very first sip until the final drop remains.
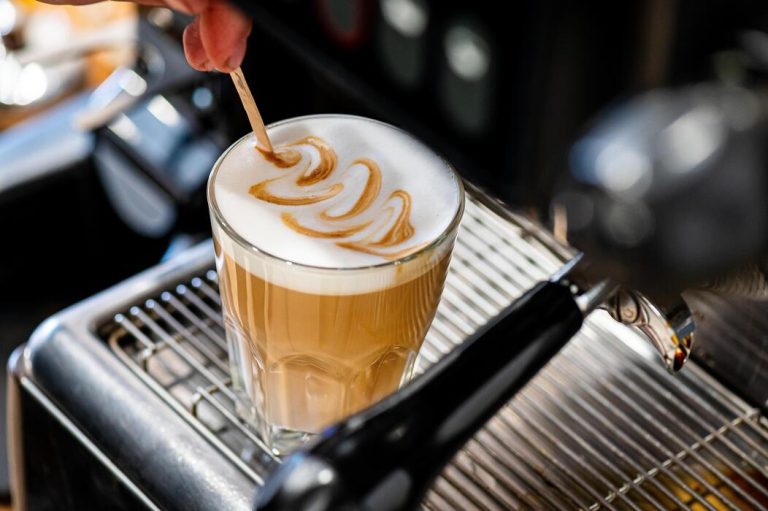
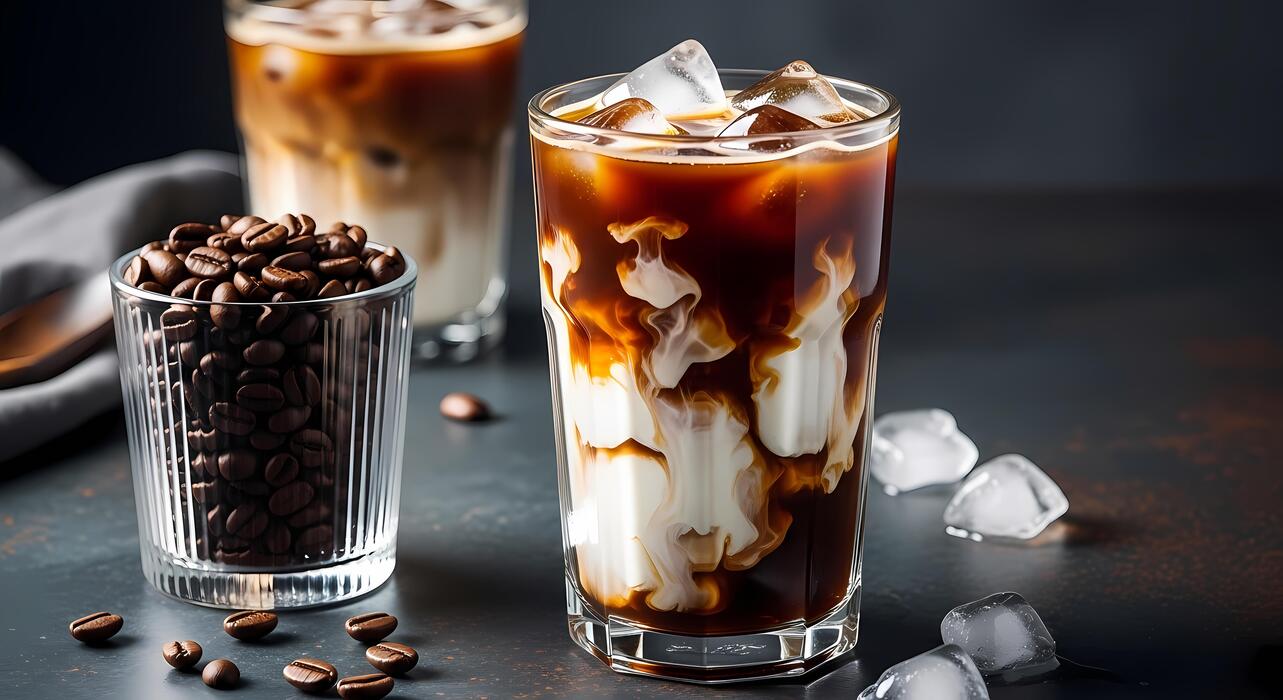
How to layer your drink like a professional barista
Mastering the aesthetic appeal of a Starbucks drink requires a specific pouring technique known as layering, which relies on the different densities of your ingredients. To get that perfect gradient effect, always start by filling your glass to the brim with your high-quality ice cubes first.
Next, pour in your sweeteners or syrups, followed by your chilled coffee concentrate, filling the glass about three-quarters of the way up. The final, most crucial step for that ‘Instagram-worthy’ look is the slow pour of milk or cream.
Gently pour your dairy over the back of a spoon or directly onto a large ice cube at the top of the glass. This technique breaks the fall of the liquid, allowing the heavy cream to cascade beautifully through the dark coffee without mixing instantly.
This creates a striking visual contrast and allows the drinker to control the flavor profile as they stir, ensuring a customizable and professional presentation that rivals any coffee shop.
How to Make Starbucks Cold Foam and Milk Toppings
The secret to thick vanilla sweet cream cold foam
To replicate the signature Starbucks texture, you must master the ratio of heavy cream, 2% milk, and vanilla syrup. The industry standard for that luxurious, pillowy topping is a 3:2:1 ratio, which ensures the foam is heavy enough to sit atop the coffee without immediately dissolving.
Use high-quality heavy whipping cream for the base, as the fat content is what allows the mixture to hold air bubbles and create that velvety micro-foam. Combine this with a splash of 2% milk to lighten the density and vanilla simple syrup for that iconic sweetness.
For the best results, ensure all ingredients are thoroughly chilled before you begin mixing. Cold molecules bond more effectively, resulting in a stable structure that mimics the professional grade blenders used in cafes.
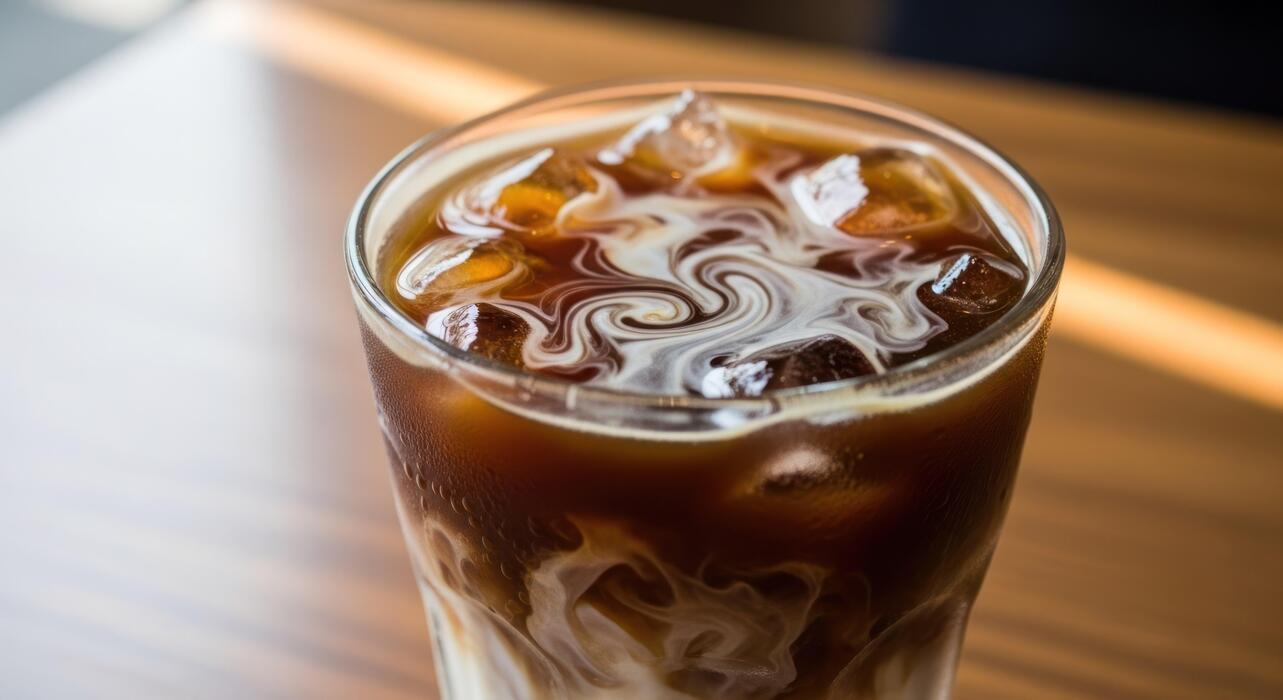
When poured correctly, this sweet cream should cascade slowly into your iced coffee, creating a beautiful marbled effect while maintaining a thick layer of sweetened foam on the very top of your glass.
Best milk alternatives for creamy iced coffee
If you are looking to avoid dairy while maintaining a professional Starbucks-style consistency, your choice of plant-based milk is critical. Oat milk is the gold standard for iced coffee enthusiasts because its natural fats and carbohydrates mimic the creaminess of cow’s milk better than any other alternative.
Look specifically for barista edition oat milk, which contains added stabilizers designed to prevent curdling when hitting acidic coffee and to produce a superior froth. Another excellent option is full-fat coconut milk, which adds a tropical sweetness and a rich mouthfeel that pairs perfectly with cold brew.
While almond milk is popular for its low calorie count, it often lacks the protein structure to hold a dense foam, so it is best used as a creamer base rather than a standing topping.
Always remember to shake your milk carton vigorously before pouring, as plant-based proteins often settle at the bottom. Using these high-fat alternatives ensures your homemade iced coffee remains indulgent and smooth throughout the entire drinking experience.
Using a handheld frother for the right texture
You do not need an expensive espresso machine to achieve professional results; a handheld electric milk frother is the most effective tool for home baristas.
To get the perfect cold foam, submerge the whisk head just below the surface of your chilled cream mixture and tilt the glass at a slight 45-degree angle. This creates a vortex that pulls air into the liquid, doubling the volume in about twenty to thirty seconds.
The key to the ‘Starbucks look’ is avoiding large, soapy bubbles; if you see big bubbles forming, lower the frother deeper into the liquid to incorporate the air more finely.
Once the mixture has thickened to the consistency of melted ice cream, gently tap the glass on the counter to pop any remaining large air pockets. This technique creates a uniform micro-foam that is dense enough to support garnishes like cinnamon or cocoa powder.
Using this method allows you to control the thickness precisely, ensuring your homemade iced coffee feels exactly like a premium handcrafted beverage from the store.
Popular Starbucks Iced Coffee Variations to Try
How to make an Iced Caramel Macchiato
To replicate the signature layered look of this Starbucks favorite, start by adding two tablespoons of vanilla syrup to the bottom of a tall glass. Fill the glass with ice cubes, then pour in one cup of your preferred milk, leaving about an inch of space at the top.
The secret to the ‘macchiato’ style is the pour order; you must add the espresso last to create that beautiful gradient effect. Brew two shots of strong espresso or concentrated coffee and slowly pour them over the back of a spoon onto the milk.
Finally, finish the drink with a generous crosshatch drizzle of caramel sauce over the top. Unlike a latte, you do not stir this drink; the flavors are meant to evolve as you sip through the layers from the bold coffee down to the sweet vanilla milk.
Using high-quality buttery caramel sauce is essential for achieving that authentic professional cafe flavor profile at home.
The DIY Iced Toasted Vanilla Oatmilk Shaken Espresso
This modern classic relies on aeration to create its smooth, velvety texture. Begin by making a toasted vanilla syrup by simmering sugar, water, and vanilla bean with a hint of almond extract for a nutty finish.
Add two shots of hot espresso and two tablespoons of the syrup into a cocktail shaker or a mason jar filled with ice. The most critical step is to shake vigorously for twenty seconds until the espresso becomes frothy and chilled.
Strain the mixture into a fresh glass filled with ice, making sure to include the golden foam created during the shaking process. Top off the drink with a splash of creamy oat milk, which complements the toasted notes better than traditional dairy.
By shaking the espresso instead of just stirring it, you mimic the Starbucks technique that mellows the bitterness of the beans while providing a luxurious mouthfeel that makes this specific iced coffee variation so popular among regular customers.
Copycat Iced White Chocolate Mocha recipe
Achieving the rich, dessert-like consistency of an Iced White Mocha requires the right base ingredients. Start by mixing two tablespoons of white chocolate sauce or high-quality melted white chocolate chips with two shots of hot espresso.
Stir these together immediately while the coffee is hot to ensure the thick sauce dissolves completely into a smooth syrup. Fill a large glass with ice and pour the white chocolate coffee mixture over it, followed by three-quarters of a cup of whole milk for maximum creaminess.
To make it truly like Starbucks, you must top the drink with a mountain of sweetened whipped cream. For an extra touch of indulgence, you can sprinkle white chocolate shavings or a dusting of cocoa powder on top.
This recipe works best with a dark roast espresso to balance the intense sweetness of the white chocolate. Using a sauce rather than a thin syrup is the key to getting that heavy, decadent body that fans of this iced beverage crave.
Tips for Saving Money and Improving Your Home Brew
Essential tools for your home coffee station
To replicate the Starbucks experience without the daily cost, investing in a few high-quality tools is essential for consistency. Start with a burr grinder, which ensures a uniform grind size, preventing the bitter or sour notes often found in pre-ground beans.
A digital scale is equally critical; it allows you to measure coffee and water by weight rather than volume, ensuring your ratios remain identical every single morning. For that signature smooth texture, a fine-mesh cold brew pitcher or a French press is ideal for steeping grounds without sediment.
If you prefer the standard iced coffee method, a pour-over dripper allows for precision brewing directly over ice. Don’t forget a long-handled stirring spoon and a set of reusable silicone straws to complete your station.
By making this initial investment in professional-grade gear, you eliminate the guesswork and save hundreds of dollars annually by avoiding the drive-thru and mastering the craft of artisanal brewing in your own kitchen.
How to prep iced coffee in large batches
Efficiency is the key to maintaining a daily habit, and batch brewing is the most cost-effective way to ensure you always have a cold caffeine fix ready. To begin, use a 1:4 coffee-to-water ratio to create a potent concentrate that stays fresh in the refrigerator for up to two weeks.
Coarsely grind your favorite medium-dark roast beans and submerge them in filtered water for twelve to eighteen hours. Once the steeping process is complete, use a dual-filtration method by passing the liquid through a metal mesh and then a paper filter to achieve that crystal-clear Starbucks clarity.
Store the resulting concentrate in an airtight glass carafe to prevent it from absorbing unwanted refrigerator odors. When you are ready to serve, simply dilute the concentrate with equal parts water or milk.
This method not only reduces daily cleanup time but also ensures that you are using your coffee beans more efficiently, ultimately lowering your total cost per cup while maintaining premium flavor profiles.
Common mistakes that ruin iced coffee flavor
The most frequent error home brewers make is using standard ice cubes made from tap water, which dilutes the beverage and introduces chlorine flavors as they melt.
To solve this, always use coffee ice cubes made from leftover brew to maintain the drink’s strength from the first sip to the last. Another major pitfall is brewing with water that is too hot; boiling water can scorch the grounds, leading to an unpleasant burnt aftertaste.
Aim for a temperature between 195 and 205 degrees Fahrenheit for the best extraction. Additionally, many people neglect the importance of proper storage; leaving brewed coffee in an open pitcher allows oxidation to occur, which quickly turns the flavor stale and acidic.
Finally, avoid adding granulated sugar directly to cold coffee, as it will not dissolve properly and will settle at the bottom. Instead, craft a simple syrup by heating equal parts water and sugar, ensuring a perfectly sweetened, professional-grade drink that rivals any high-end cafe offering without the premium price tag.
Frequently Asked Questions
What kind of coffee beans does Starbucks use for iced coffee?
Starbucks typically uses a medium-blend roast specifically designed for cold extraction, often featuring Latin American or African beans. To replicate the taste at home, look for beans with flavor notes of cocoa and caramel, such as the Starbucks Iced Coffee Blend or Pike Place Roast.
How do I brew coffee so it doesn’t taste watered down when I add ice?
The secret is to brew your coffee at double strength to account for the dilution that occurs as the ice melts. Use twice the amount of coffee grounds for the same amount of water you would normally use for a hot cup.
What is the best way to sweeten homemade iced coffee?
Starbucks uses liquid classic syrup because it dissolves instantly in cold liquids unlike granulated sugar. You can make your own simple syrup by boiling equal parts water and sugar until clear, then cooling it before adding to your drink.
How can I achieve the signature Starbucks creamy texture?
For a standard iced coffee, splash in heavy cream or half-and-half rather than regular milk to get that rich, velvety consistency. If you prefer the ‘Sweet Cream’ style, whisk together heavy cream, 2% milk, and vanilla syrup before pouring it over the coffee.
Should I use a coffee maker or cold brew method?
While Starbucks ‘Iced Coffee’ is brewed hot at double strength and then chilled, their ‘Cold Brew’ is steeped in room temperature water for 20 hours. For the most authentic ‘Iced Coffee’ menu item taste, brew it hot and strong, then immediately pour it over a large amount of ice.
How do I make the Starbucks Vanilla Sweet Cream Cold Foam at home?
Froth a mixture of 2 tablespoons of heavy cream, 1 tablespoon of 2% milk, and a pump of vanilla syrup using a handheld milk frother until it reaches a thick, pourable consistency. Gently layer this foam on top of your iced coffee for a professional finish.
Conclusion
Mastering the art of Starbucks-style iced coffee at home is both simple and rewarding. By selecting high-quality beans, perfecting your brew strength, and utilizing clever techniques like coffee ice cubes, you can replicate that signature professional taste. Don’t be afraid to experiment with different syrups and milk alternatives to find your perfect custom blend. Now that you have these expert tips, start brewing today and enjoy premium cafe-quality refreshment from the comfort of your own kitchen.