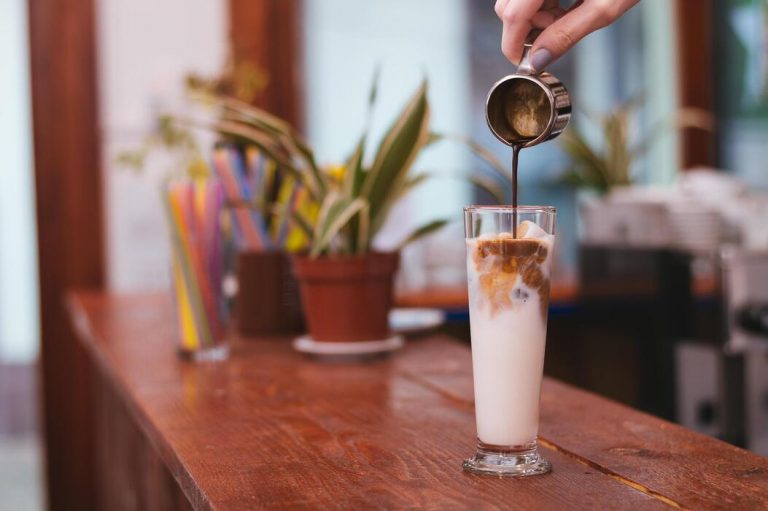
How To Make Cold Brew Overnight
If you are craving a smooth, jitter-free caffeine kick but do not want to wait days for a fix, you have come to the right place. Making cold brew coffee overnight is incredibly simple and much more affordable than hitting the local cafe. You just need a few basic pantry staples and about eight to twelve hours of patience.
How to make cold brew coffee overnight
The basic overnight cold brew ratio
Finding the perfect balance between coffee grounds and water is the secret to a smooth, non-bitter result when steeping your beans overnight.
For a standard concentrate that you can dilute later, the gold standard is a 1:4 ratio, which translates to one cup of coarsely ground coffee for every four cups of filtered water.
If you prefer a ready-to-drink beverage that requires no additional water or milk, a 1:8 ratio is often more suitable for a lighter profile. Using a coarse grind size is non-negotiable, as fine grounds will over-extract during the long soaking period and result in a muddy, bitter taste.
Because the coffee sits for many hours, using filtered water significantly improves the final flavor by removing impurities that might mask the natural notes of the beans.
Consistency is key when measuring, so using a kitchen scale for precise weight measurements will ensure that your morning caffeine fix tastes exactly the same every single time you brew.
Essential tools for home brewing
You do not need expensive machinery to create professional-quality cold brew in your own kitchen; in fact, the most effective tools are likely already in your cabinets.
A large glass jar or pitcher with a tight-sealing lid is the primary vessel needed to hold the mixture while it rests in the refrigerator.
To ensure the cleanest cup possible, you will need a reliable filtration method such as cheesecloth, a fine-mesh sieve, or a nut milk bag to separate the saturated grounds from the liquid.
Many enthusiasts prefer using a French press, as the built-in plunger makes the straining process incredibly simple and efficient. Additionally, investing in a quality burr grinder allows you to achieve the necessary coarse consistency that prevents sediment from passing through your filters.
Since temperature stability is vital, ensure your container is BPA-free and odor-resistant so that the coffee maintains its pure, chocolatey profile without absorbing any surrounding scents from the fridge while it develops its rich flavor overnight.
Step-by-step instructions for beginners
To start your overnight batch, begin by coarsely grinding your fresh coffee beans until they resemble the texture of sea salt or peppercorns. Place the grounds into your glass container and slowly pour in your cold, filtered water, ensuring all the coffee is fully saturated.
Use a long spoon to gently stir the mixture, breaking up any dry clumps to facilitate an even extraction process.
Once combined, cover the container tightly and place it in the refrigerator for 12 to 18 hours; this duration allows the cold water to slowly pull the oils and caffeine from the beans without the acidity associated with heat.
After the time has elapsed, carefully strain the liquid through your chosen filter into a clean carafe or bottle. If you find the resulting concentrate too strong, simply dilute with water or milk to your personal preference.
Store your fresh cold brew in the fridge, where it will remain delicious and ready to serve over ice for up to two weeks.
Best coffee beans for cold brew
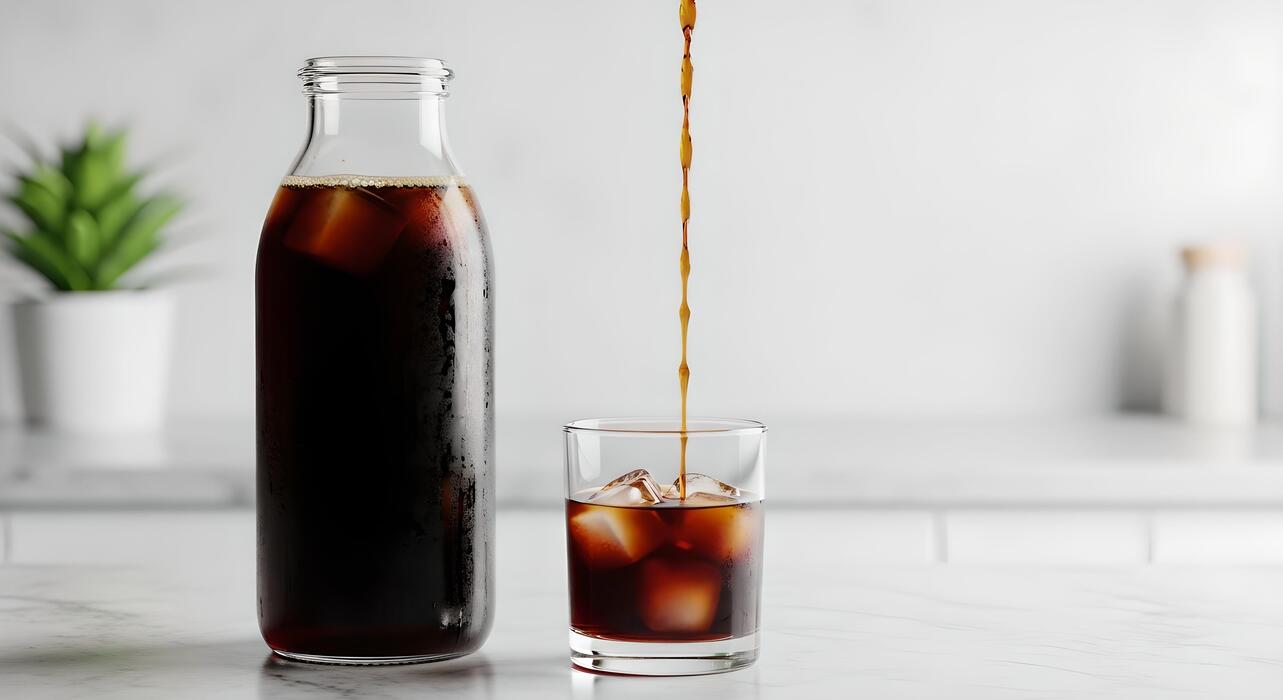
Why coarse grind size matters
To successfully make cold brew overnight, the most critical factor is using a coarse grind size that resembles sea salt or breadcrumbs. Unlike traditional hot drip coffee, cold brew relies on a slow immersion process where the water sits with the grounds for 12 to 24 hours.
If you use a fine grind, the water will over-extract the oils and acids, resulting in a cloudy, bitter, and overly intense concentrate that is difficult to filter. A coarse grind allows the cool water to gently pull out the chocolatey and nutty notes without the harsh acidity.
This texture also makes the filtration process much easier, ensuring that your final cup is smooth and sediment-free. When preparing your brew before bed, ensure your grinder is set to its highest setting.
Using the correct grind size ensures that by the time you wake up, you have a balanced, mellow coffee concentrate that is perfectly ready for diluting with ice, water, or your favorite dairy milk.
Light vs. dark roast profiles
Choosing the right roast profile is essential for achieving the flavor profile you desire when steeping your cold brew overnight. Most enthusiasts recommend a medium to dark roast because the low-acid brewing environment highlights the deep, caramelized sugars and smoky undertones inherent in darker beans.
These roasts provide that classic, rich body and chocolate-forward finish that cold brew is famous for. On the other hand, using a light roast can offer a completely different experience, showcasing bright, floral, and fruity notes that are often lost in high-heat brewing methods.
However, light roasts may require a slightly longer steeping time to fully develop their complex flavors. Regardless of your preference, selecting high-quality, specialty-grade beans is the best way to ensure your overnight infusion results in a premium beverage.
Experimenting with different origins, such as earthy Indonesian beans or citrusy Ethiopian varieties, will help you discover which roast profile best suits your personal palate for a refreshing morning glass of cold brew.
Freshness and storage tips
The quality of your overnight cold brew is directly tied to the freshness of your coffee beans. For the best results, always purchase whole beans and grind them immediately before you begin the steeping process. This preserves the volatile aromatic compounds that give coffee its distinct smell and taste.
Once you have opened a bag of beans, store them in an airtight container kept in a cool, dark place to prevent oxidation and moisture from degrading the flavor. Avoid keeping your beans in the freezer, as this can introduce unwanted moisture and odors.
When your cold brew has finished steeping in the refrigerator, be sure to remove the grounds promptly to prevent over-extraction. The resulting concentrate can be stored in a sealed glass jar in the fridge for up to two weeks, though it is tastiest within the first seven days.
Maintaining these storage habits ensures that every batch you make overnight is just as vibrant, flavorful, and energizing as the very first one you brewed.
Water quality and temperature
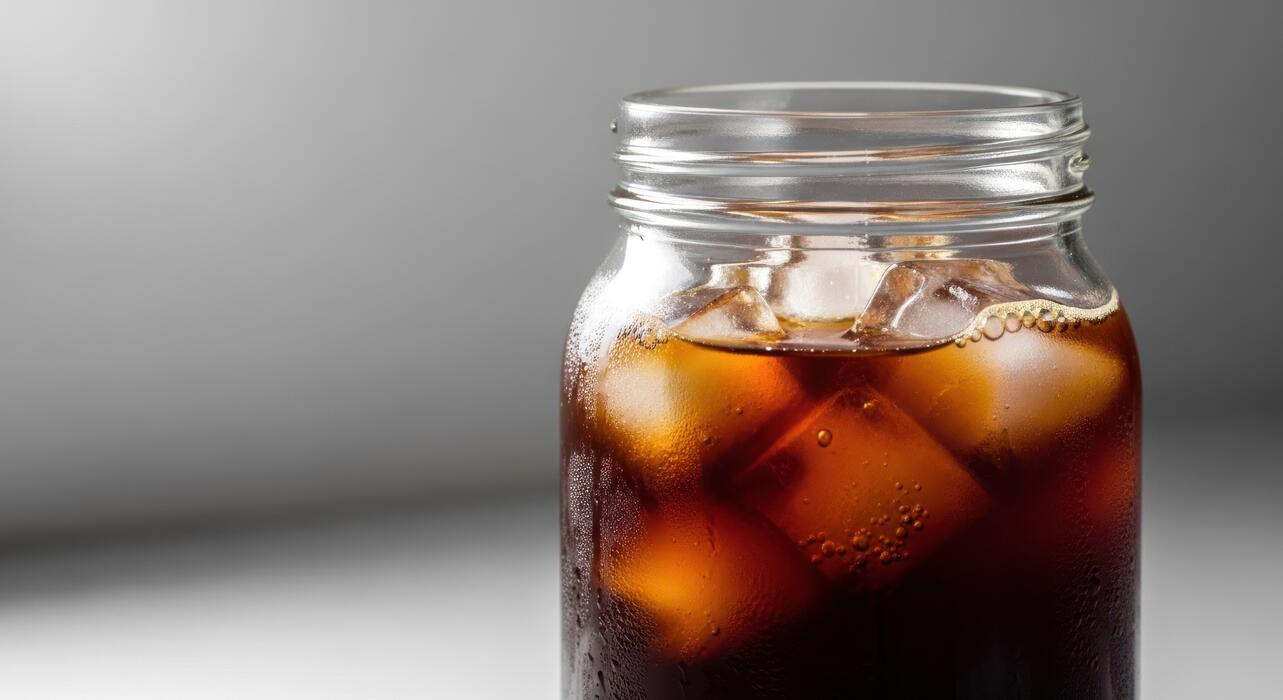
Filtered water vs. tap water
When preparing cold brew overnight, the quality of your water is just as critical as the beans themselves because water makes up nearly 98% of the final beverage. To achieve a clean and crisp profile, you should always prioritize filtered water over standard tap water.
Tap water often contains chlorine, fluoride, and various metallic trace elements that can introduce harsh, chemical-like off-flavors or a cloudy appearance to your concentrate. By using a basic charcoal filter or a specialized water pitcher, you effectively remove impurities that mask the delicate notes of your coffee beans.
This ensures that the long, slow extraction process captures only the intended sweetness and chocolatey undertones of the roast. Furthermore, filtered water prevents the buildup of unwanted sediment, leading to a much smoother mouthfeel once you strain the grounds the next morning.
Making this simple switch is the easiest way to elevate your home brewing results from mediocre to professional quality without requiring any expensive specialized equipment.
Starting with room temperature water
The hallmark of a successful overnight cold brew is the absence of heat, which prevents the extraction of bitter oils and acidic compounds. To get the best start, you should begin the steeping process with room temperature water rather than chilled or hot water.
Starting with water that is approximately 68 to 72 degrees Fahrenheit allows for a more efficient and consistent extraction of flavors over the typical 12 to 24-hour duration.
If the water is too cold initially, the extraction process may lag, resulting in a weak or underdeveloped flavor profile that tastes hollow. Conversely, using hot water would fundamentally change the chemical reaction, leading to the release of tannins that cause bitterness.
By maintaining a stable ambient temperature during the initial mixing stage, you ensure that the water molecules can effectively penetrate the coarse coffee grounds.
This steady, gentle immersion is what creates the signature mellow and low-acid characteristic that makes cold brew so popular among coffee enthusiasts looking for a refreshing and highly caffeinated beverage.
The impact of mineral content on flavor
While purity is important, using distilled or reverse osmosis water can actually lead to a flat and uninspiring cup of coffee. For a balanced overnight extraction, you need a specific balance of minerals like magnesium and calcium to act as flavor extractors.
These minerals bind to the flavor compounds within the coffee grounds, helping to pull out the complex sugars and aromatic oils that define a high-quality brew. If your water is ‘too soft’ or completely stripped of minerals, the coffee will often taste overly sour or sharp.
On the other hand, excessively hard water can lead to an over-extracted and chalky taste. Aiming for moderately hard water provides the ideal medium for a rich and full-bodied concentrate. You can achieve this by using spring water or adding a small amount of mineral drops to your filtered water.
Understanding this chemical synergy allows you to fine-tune your brewing environment, ensuring that the long overnight soak results in a perfectly balanced, vibrant, and naturally sweet coffee concentrate every single time.
Steeping times for the best flavor
The 12-hour countertop method
If you are looking for a quick and convenient way to enjoy your coffee first thing in the morning, the countertop method is an excellent choice. By leaving your grounds to steep at room temperature, the extraction process happens significantly faster than it does in the fridge.
For the best flavor profile, aim for a solid 12-hour steep time to ensure the water fully penetrates the coarse grounds without pulling out excessive bitterness. This method typically results in a bold, robust body with a slightly more pronounced acidity compared to colder methods.
To begin, simply combine your coffee and filtered water in a jar, give it a gentle stir to saturate all the grounds, and let it sit in a cool, dark corner of your kitchen.
Because the warmer environment accelerates chemical reactions, you must be diligent about timing; leaving it out for much longer than twelve hours can lead to a harsh, woody aftertaste that masks the delicate notes of your beans.
Refrigerated steeping for 18-24 hours
For those who prefer a mellow, chocolatey profile with almost no perceived acidity, steeping your cold brew inside the refrigerator is the gold standard. Because cold water is less efficient at extracting compounds than room-temperature water, you need to extend the brewing duration to between 18 and 24 hours.
This slow, gentle process allows the water to pull out the deep sugars and oils while leaving behind the heavy tannins that often cause digestive discomfort.
To execute this perfectly, place your brewing vessel in the main body of the fridge rather than the door to maintain a consistent, low temperature. The result of this patience is a silky, concentrated liquid that pairs beautifully with milk or cream.
Most enthusiasts find that the twenty-hour mark provides the perfect balance of strength and sweetness. If you prefer a lighter brew, pull it out at eighteen hours, but for a heavy concentrate intended for dilution, let it go the full twenty-four for maximum flavor depth and complexity.
Signs your coffee is over-extracted
While it might be tempting to let your cold brew sit indefinitely to get the most out of your beans, there is a definitive point of diminishing returns. Knowing how to identify over-extracted coffee is crucial for maintaining a high-quality home cafe experience.
The most obvious sign is a sharp, bitter bite that lingers on the back of your tongue, which indicates that the water has begun to dissolve the organic cellular structures of the coffee bean.
Additionally, if the liquid appears cloudy or murky rather than clear and dark, or if it develops a dry, sandpaper-like mouthfeel, you have likely steeped it for too long.
Another red flag is a distinct smell of tobacco or charcoal, which replaces the pleasant nutty or fruity aromas of fresh coffee. To avoid these issues, always use a coarse grind size similar to sea salt and set a timer.
If you realize you have over-steeped your batch, you can sometimes save it by diluting with extra water or milk to mask the intensity.
Filtering and straining your brew

Using paper filters for a clean cup
When finishing your overnight steep, using a paper filter is the most effective way to achieve a bright and crisp flavor profile. To start, place a high-quality paper filter inside a large dripper or a common kitchen funnel set over a clean carafe.
Before you begin pouring, it is essential to rinse the paper filter with fresh water to eliminate any lingering woody or papery taste that could ruin your concentrate.
Slowly pour your cold brew through the filter, being careful not to overfill it, as the saturated grounds can slow down the drainage significantly. This method is superior for those who prefer a light-bodied coffee without oily residue, as the fibers trap the microscopic particles that usually pass through metal.
If the flow slows to a drip, avoid the temptation to squeeze the filter, as this can tear the paper and release bitter silt into your final brew. Patience is key to ensuring your overnight concentrate remains perfectly clear and professional in quality.
French press and fine mesh methods
If you prepared your coffee in a French press, the straining process begins with a very slow, steady plunge to avoid agitating the settled grounds at the bottom.
For those using open jars, a dual-layer fine mesh strainer is an excellent alternative that preserves the natural oils for a richer mouthfeel. Set the strainer over a secondary vessel and pour the liquid through slowly to capture the coarse coffee particles.
If your mesh is not fine enough, you can line the metal sieve with cheesecloth to catch more debris while still maintaining a faster flow rate than paper. This technique is ideal for drinkers who enjoy a robust and full-bodied cold brew that stands up well to milk or cream.
Always stop pouring when you reach the thick sludge at the very bottom of your brewing container to keep the harshest flavors out of your cup. Using stainless steel tools ensures that no off-flavors are introduced during the critical separation phase of your morning routine.
How to remove fine sediment
Even with careful straining, a small amount of fine sediment, often called ‘fines,’ may remain at the bottom of your container. To achieve a truly polished result, allow your strained coffee to decant in the refrigerator for an additional hour after the initial filtration.
During this resting period, the heavy particles will naturally settle at the base of the pitcher due to gravity. Once the sediment has collected, carefully pour the top layer into a fresh bottle, leaving the last half-inch of cloudy liquid behind.
This simple decanting step ensures that your final glass is free of the chalky texture that can sometimes plague homemade batches. For those seeking absolute perfection, performing a secondary pass through a fine nylon bag can remove the last traces of silt without the slow speeds of paper.
By focusing on these finishing touches, you ensure your overnight effort results in a smooth and sediment-free beverage that looks as good as it tastes. Consistent filtration is the secret to a premium, café-style experience at home.
How to store and dilute cold brew concentrate
Shelf life in the refrigerator
Once you have successfully mastered how to make cold brew overnight, proper storage is the final step to maintaining that smooth, low-acid profile you worked hard to achieve.
Your fresh cold brew concentrate should be transferred into an airtight glass container, such as a mason jar or a dedicated carafe, to prevent it from absorbing odors from other foods in your fridge.
When stored correctly, the concentrate will remain delicious for up to two weeks, though the peak flavor profile is usually enjoyed within the first seven days. If you find that the flavor begins to turn slightly metallic or dull, it is a sign that oxidation has occurred.
To maximize longevity, always keep the container tightly sealed and avoid leaving it on the counter for extended periods during use.
Because the overnight steeping process creates a stable environment, the high concentration of caffeine and oils helps preserve the liquid, but chilled storage is mandatory to prevent any spoilage or unwanted bacterial growth over time.
Mixing with water or milk
The beauty of making cold brew overnight is the resulting concentrate, which is far too strong to drink straight. To achieve the perfect balance, the standard industry recommendation is a one-to-one ratio of concentrate to liquid.
If you prefer a classic iced coffee experience, dilute your concentrate with equal parts filtered cold water and pour it over fresh ice cubes to avoid immediate watering down.
For those who enjoy a creamier, latte-style beverage, swap the water for whole milk, oat milk, or almond milk, which complements the chocolatey notes typically found in cold brew beans.
If you find the brew is still too intense for your palate, do not hesitate to increase the mixer ratio to two parts liquid for every one part coffee. Always remember to add your sweeteners or syrups while the liquid is being mixed to ensure they incorporate fully.
This versatility allows you to customize every single cup based on your specific caffeine needs and taste preferences each morning.
Creative ways to use leftover concentrate
If you find yourself with extra liquid after learning how to make cold brew overnight, there are several innovative ways to ensure none of that caffeine goes to waste. One of the smartest tricks is to pour the concentrate into silicone ice cube trays and freeze them solid.
These coffee cubes can be dropped into future glasses of cold brew to keep the drink cold without diluting the strength as they melt.
Additionally, cold brew concentrate acts as a secret ingredient in the kitchen, adding depth to chocolate cake batters, brownie mixes, or even savory steak marinades and chili recipes. You can also whisk a splash into heavy cream to create a homemade coffee-flavored whipped cream for desserts.
For a refreshing evening treat, use the concentrate as a base for an espresso martini or a coffee soda by mixing it with sparkling water and a hint of vanilla.
By viewing your concentrate as a versatile kitchen staple rather than just a morning beverage, you can enjoy its rich flavor in various forms.
Common cold brew mistakes to avoid
Using the wrong grind size
When making cold brew overnight, the most critical error is using a grind that is too fine.
Because the coffee grounds sit in water for twelve to twenty-four hours, a fine grind will lead to over-extraction, resulting in a bitter and muddy flavor profile that ruins the smooth experience you expect.
To achieve the best results, you must use a consistent extra-coarse grind that resembles sea salt or peppercorns. This specific texture allows the water to flow freely around the particles, extracting the subtle chocolatey and nutty notes without pulling out the harsh tannins.
Additionally, using fine grounds makes the filtration process a nightmare, as they often clog paper filters or pass through metal mesh, leaving a gritty sediment at the bottom of your jar.
By investing in a quality burr grinder and selecting the coarsest setting possible, you ensure a clean, bright, and sediment-free concentrate that highlights the true quality of your chosen beans while maintaining a perfectly balanced acidity.
Incorrect coffee-to-water ratios
Many beginners struggle with the overnight process because they fail to measure their ingredients accurately, leading to a brew that is either watery or overwhelmingly strong. To master the art of the concentrate, you should aim for a standard ratio of 1:4 or 1:5 by weight.
For example, using one cup of coffee grounds to four cups of filtered water creates a versatile base that can be diluted later with milk or ice.
If you prefer a ready-to-drink version that does not require dilution, a 1:8 ratio is often ideal for a smoother finish right out of the fridge. Avoid the mistake of ‘eyeballing’ the measurements, as even a small discrepancy can throw off the balance of the final cup.
Using a digital kitchen scale is the most reliable way to ensure consistency every time you brew. Remember that cold water extracts flavors more slowly than hot water, so maintaining a high coffee-to-water density is essential to prevent a weak and underwhelming result that lacks body.
Ignoring equipment cleanliness
The long steeping window of an overnight cold brew makes it highly susceptible to off-flavors caused by old oils and bacteria lingering in your equipment. One of the most common mistakes is simply rinsing your glass jars or French press without a thorough scrubbing.
Coffee oils are stubborn and can turn rancid over time, which will impart a sour or metallic taste to your fresh batch regardless of how expensive your beans are.
Ensure that every component, including the silicone seals and mesh filters, is deep-cleaned with unscented soap or a dedicated coffee equipment cleaner before starting the process.
Furthermore, ensure your brewing vessel is airtight to prevent the coffee from absorbing odors from other foods in your refrigerator during the long steeping phase. By prioritizing a sterile brewing environment, you guarantee that the final product remains fresh and vibrant.
This attention to detail prevents spoilage and ensures that your homemade concentrate tastes just as professional as anything you would purchase at a high-end specialty coffee shop.
Frequently Asked Questions
What is the best ratio for making cold brew overnight?
A standard ratio for cold brew is 1 cup of coarsely ground coffee to 4 cups of filtered water. If you prefer a stronger concentrate to mix with milk or water later, use a 1:2 ratio instead.
How many hours should cold brew steep overnight?
For the best flavor, let your coffee steep for 12 to 18 hours at room temperature or up to 24 hours if kept in the refrigerator. Steeping for less than 12 hours may result in a weak, acidic brew.
Should I leave my cold brew on the counter or in the fridge overnight?
You can do either, but room temperature extraction is faster and often yields a more rounded flavor profile. If you steep it in the fridge, ensure it stays in for the full 18-24 hours to compensate for the slower extraction rate.
What grind size should I use for overnight cold brew?
Use an extra-coarse grind, similar in texture to sea salt or peppercorns. Fine grounds will over-extract during the long steeping process, leading to a bitter taste and making it difficult to filter.
How do I filter the cold brew after it finishes steeping?
Slowly pour the mixture through a fine-mesh sieve lined with a paper coffee filter, cheesecloth, or a nut milk bag. Avoid squeezing the grounds at the end, as this can release bitter tannins and fine sediment into your drink.
Does overnight cold brew contain more caffeine than hot coffee?
Yes, cold brew generally has a higher caffeine concentration because of the high coffee-to-water ratio and the extended contact time. However, the final caffeine content depends on whether you dilute the concentrate before drinking.
Conclusion
Making cold brew overnight is a simple, cost-effective way to enjoy premium coffee at home. By mastering the right coffee-to-water ratio and allowing the grounds to steep patiently, you unlock a smooth, low-acid flavor profile that beats any store-bought alternative. Now that you know the basics, feel free to experiment with different beans and steep times. Grab your favorite jar tonight, and you will wake up to a refreshing, handcrafted caffeine boost tomorrow morning.