How Do U Cold Brew Coffee
If you are wondering how do u cold brew coffee without any fancy equipment, you have come to the right place. Making smooth, low-acid coffee at home is surprisingly simple and much cheaper than the coffee shop version. All you need are coarse grounds, filtered water, and a bit of patience. Let’s dive into the foolproof method for DIY cold brew.
What is Cold Brew Coffee?
The Difference Between Cold Brew and Iced Coffee
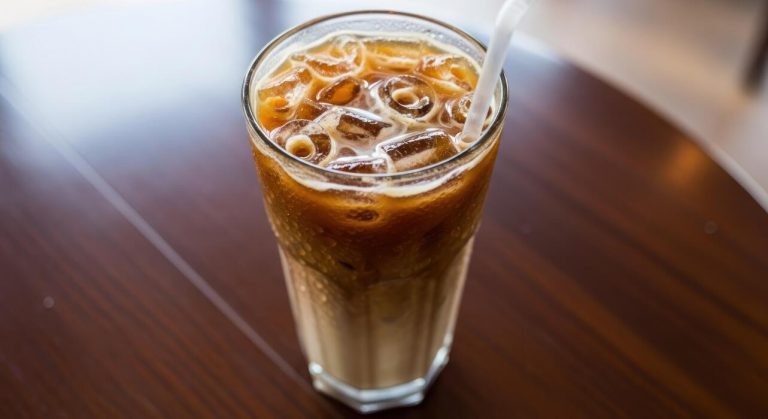
Understanding the fundamental distinction between these two beverages is essential for any home barista. To make iced coffee, you simply brew hot coffee using standard methods and pour it over ice, which often leads to a diluted flavor profile and increased bitterness due to the rapid temperature change.
In contrast, the process of how you cold brew coffee involves steeping coarsely ground beans in room temperature or cold water for an extended period, typically between 12 to 24 hours.
This immersion method relies on time rather than heat to extract flavor, resulting in a concentrated coffee syrup that maintains its integrity when diluted with water or milk. By avoiding high temperatures, you prevent the release of volatile oils that can create a sour aftertaste.
This slow extraction creates a silky, full-bodied texture that iced coffee simply cannot replicate. For the best results, always use a one-to-four ratio of coffee to water and strain the mixture thoroughly using a fine-mesh sieve or a paper filter to ensure a clean finish.
Why Cold Brew Tastes Less Acidic
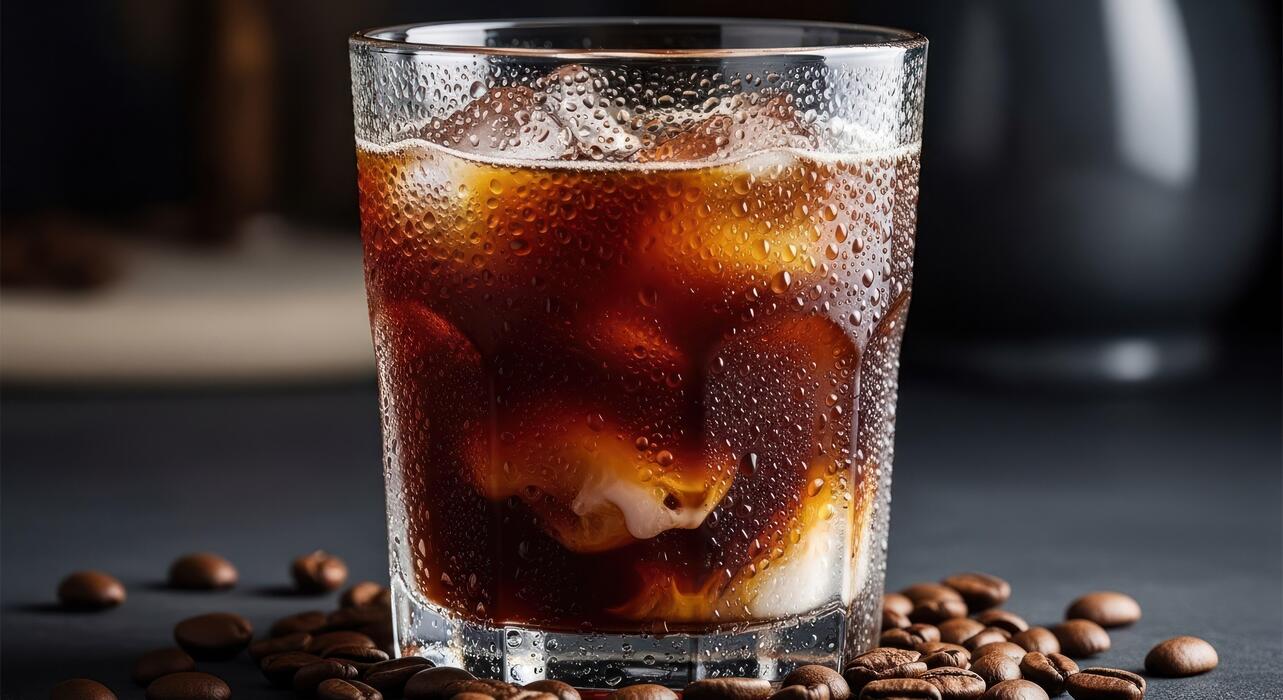
One of the most significant benefits of learning how to cold brew coffee is the dramatic reduction in acidity, which makes it much gentler on the stomach.
When coffee grounds are exposed to boiling water, the heat triggers a chemical reaction that releases acidic oils and tannins, contributing to that sharp, biting sensation often found in a standard drip brew.
Because the cold brew process utilizes cold water, these specific compounds are never fully extracted from the bean. Scientific studies indicate that cold brew can be up to 60% less acidic than its hot-brewed counterparts.
This lack of acidity highlights the natural sweetness and chocolatey notes of the coffee bean, allowing you to enjoy a smoother profile without needing to add heavy cream or sugar.
To maximize this effect, it is highly recommended to use medium to dark roast beans, as they possess lower inherent acidity levels. This makes cold brew an ideal solution for coffee lovers who suffer from acid reflux or sensitive digestion but still crave a robust caffeine kick.
Caffeine Content in Cold Brew vs Drip Coffee
Many people wonder about the potency of their drink when they first discover how to cold brew coffee. Because cold brew is typically prepared as a high-strength concentrate, it often contains a significantly higher caffeine density than standard drip coffee.
During the long immersion period, the water has ample time to pull caffeine from the grounds, even without the aid of heat. However, the final caffeine intake depends entirely on your dilution ratio; if you drink the concentrate straight, you are consuming a very powerful stimulant.
Most recipes suggest mixing the concentrate with equal parts water or milk, which brings the caffeine levels closer to a standard cup. On average, a typical serving of cold brew may contain around 200mg of caffeine, whereas a standard drip coffee usually hovers around 95mg.
To control your intake, focus on the steeping duration; letting the grounds sit for 24 hours will yield more caffeine than a 12-hour soak. This versatility allows you to customize your beverage to suit your specific energy needs throughout the day.
Essential Equipment for Cold Brewing at Home
Choosing the Right Container or Jar
To start your cold brew journey, you need a vessel that can hold a significant amount of liquid for an extended period. A large glass Mason jar is the most popular choice because it is non-reactive, easy to clean, and allows you to monitor the color of the extraction.
Ensure the container has a tight-sealing lid to prevent the coffee from absorbing odors from your refrigerator during the long steeping process.
Since cold brew is a concentrate, selecting a container with at least a one-quart capacity is ideal for making small batches, while a two-quart pitcher works better for families.
Avoid using plastic containers if possible, as they can sometimes retain oils and flavors from previous uses, potentially ruining the clean profile of your brew.
By selecting a high-quality glass or ceramic vessel, you create a stable environment where the grounds and water can interact slowly, resulting in a smooth and low-acid finish that defines the perfect homemade cold brew experience.
Filters and Fine Mesh Strainers
The filtration stage is critical for achieving a crisp cup without any gritty residue. You will need a fine mesh strainer to remove the bulk of the coarse grounds after the steeping time is complete.
For the best results, many home baristas layer a paper coffee filter or a piece of cheesecloth inside the strainer to catch the smaller sediment and oils. This dual-filtration method ensures that your concentrate remains clear and sediment-free, which is vital for a professional-grade mouthfeel.
If you prefer a more sustainable approach, you can invest in reusable nylon or stainless steel filters specifically designed for cold brewing. These tools make the cleanup process much faster and more efficient.
Regardless of the material you choose, the goal is to separate the liquid from the solids gently without squeezing the grounds, as pressing too hard can introduce bitterness and unwanted tannins into your final beverage. Having these filtration tools ready ensures a seamless transition from steeping to serving.
Using a French Press for Cold Brew
If you already own a French press, you have one of the most effective tools for making cold brew without buying extra equipment. This method is incredibly straightforward: simply add your coarsely ground coffee and cold water to the carafe using a 1:4 or 1:5 ratio.
Instead of plunging immediately, leave the plunger in the upright position and let the mixture sit at room temperature or in the fridge for 12 to 24 hours. Once the time is up, slowly press the filter down to separate the grounds from the concentrate.
The built-in metal screen acts as an excellent primary filter, though you may still want to pour the liquid through a secondary paper filter for maximum clarity. The French press is particularly helpful for beginners because it simplifies the measurement and filtration steps into one compact unit.
It provides a consistent extraction environment and makes it very easy to experiment with different steep times until you find the flavor profile that perfectly matches your personal taste preferences.
Best Coffee Beans and Grind Size for Cold Brew
Why You Must Use a Coarse Grind
To master the art of cold brew, the most critical factor is your grind size. You should always aim for an extra-coarse grind, resembling the texture of sea salt or peppercorns.
Because cold brew involves a long immersion period of 12 to 24 hours, a fine grind will over-extract, resulting in a bitter, muddy flavor that is difficult to filter. By using a coarse setting, you ensure that the water extracts the desirable sugars and oils slowly and evenly.
This specific texture also makes the final filtration process much easier, allowing the liquid to pass through your mesh or paper filter without clogging. If you use pre-ground coffee intended for drip machines, your brew will likely turn out cloudy and overly acidic.
For the best results, use a burr grinder to achieve consistent particle sizes, which prevents fine dust from making your concentrate taste silty or harsh. Proper grind size is the foundation of a smooth cup.
Light Roast vs Dark Roast Profiles
Choosing the right roast profile depends entirely on your personal taste preference, as cold brewing highlights different characteristics in every bean. Dark roasts are the traditional favorite for cold brew because the low-temperature extraction reduces bitterness while emphasizing chocolatey, nutty, and smoky notes.
These beans provide a bold, heavy body that stands up well to milk or cream. On the other hand, light roasts offer a more adventurous experience, showcasing bright floral notes and stone fruit acidity that might otherwise be lost in hot brewing.
However, light beans are denser and may require a slightly longer steeping time to fully extract their complex flavors. Many enthusiasts prefer a medium-dark roast as a balanced middle ground, providing a rich sweetness without being overly charred.
Regardless of the roast you choose, the cold brewing process naturally lowers the perceived acidity, making it an excellent choice for those with sensitive stomachs who still crave a high-quality, caffeinated beverage.
Freshness and Water Quality Matters
Even with the perfect grind, your cold brew will only be as good as your raw ingredients. Always start with freshly roasted whole beans, preferably used within two to four weeks of their roast date.
Since cold brew is a concentrate, any stale or ‘off’ flavors in the beans will be significantly magnified in the final product. Equally important is the quality of your water, which makes up about 98% of the drink.
Avoid using tap water if it has a strong chlorine taste or high mineral content; instead, use filtered or spring water to ensure a clean, crisp finish. Maintaining a consistent coffee-to-water ratio, such as 1:4 or 1:5 for a concentrate, allows you to control the strength precisely.
Remember that oxygen is the enemy of flavor, so keep your beans in an airtight container until the moment you are ready to grind. Investing in high-quality water and fresh beans ensures that your homemade cold brew rivals the quality of any specialty coffee shop.
How to Make Cold Brew Coffee: Step-by-Step Instructions
Measuring Your Coffee-to-Water Ratio
To begin your cold brew journey, you must first master the essential balance between coffee grounds and water. For a versatile concentrate, the gold standard is a 1:4 ratio, which translates to one cup of coarsely ground beans for every four cups of filtered water.
If you prefer a milder, ready-to-drink version immediately after brewing, you might opt for a 1:8 ratio instead. It is crucial to use a coarse grind size similar to sea salt or breadcrumbs; using fine grounds will result in a murky, over-extracted, and bitter beverage that is difficult to filter.
Precision is key, so using a digital kitchen scale to measure by weight rather than volume will yield the most consistent results every time you brew.
Always use freshly roasted beans and cold, filtered water to ensure the cleanest flavor profile possible, as the quality of your base ingredients directly dictates the excellence of the final infusion you will enjoy later.
Mixing and Steeping Times
Once you have measured your ingredients, combine the coarse grounds and water in a large glass jar or specialized cold brew maker. Use a long spoon to gently stir the mixture, ensuring every coffee particle is fully saturated without over-agitating the grounds.
Unlike traditional hot coffee, cold brew relies on time rather than heat to extract flavor, requiring a steeping period of 12 to 24 hours. For a bright and nuanced profile, 12 to 15 hours at room temperature is often sufficient.
However, if you prefer a deeper, chocolatey richness, allow the brew to steep for up to 24 hours in the refrigerator. Avoid exceeding the 24-hour mark, as this can lead to the extraction of unwanted woody tannins and a dusty aftertaste.
Keep the container tightly sealed during this process to prevent the coffee from absorbing any stray odors from your kitchen or fridge, maintaining the purity of the slow-steeped extraction for a smoother finish.
Straining and Filtering the Concentrate
After the steeping process is complete, the final step involves separating the liquid from the spent grounds to achieve a crisp clarity. Begin by pouring the mixture through a fine-mesh sieve to remove the largest particles.
To achieve a professional-grade finish, perform a second pass using a paper coffee filter, a clean flour sack towel, or a specialized nut milk bag. This secondary filtration is vital for removing fine sediments that cause bitterness and a sandy mouthfeel.
Do not squeeze the filter or press down on the grounds, as this forces bitter oils and fine dust into your drink. The resulting liquid is a potent coffee concentrate that should be stored in a glass carafe in the refrigerator.
This concentrate stays fresh for up to two weeks when chilled. When you are ready to serve, dilute your brew by mixing one part concentrate with one part water or milk over ice, tailoring the strength exactly to your personal taste preferences.
How to Store and Dilute Cold Brew Concentrate
Shelf Life in the Refrigerator
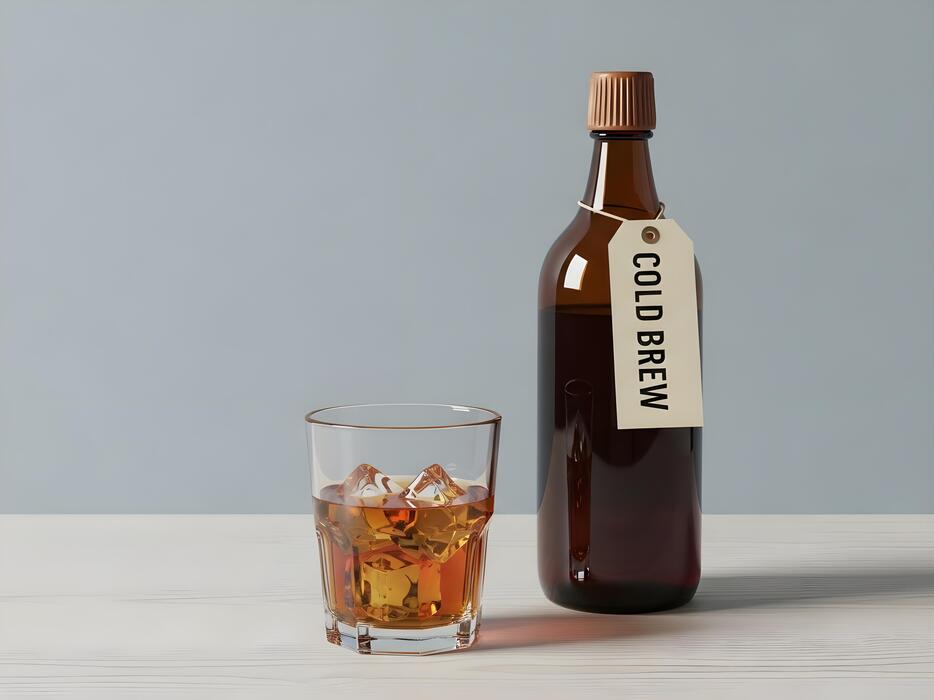
Once your cold brew extraction process is complete and you have filtered out the grounds, the resulting concentrate is surprisingly stable.
To maintain peak freshness, you must store it in an airtight glass container, such as a mason jar or a dedicated glass carafe, which prevents the coffee from absorbing unwanted odors from other foods in your fridge.
Under ideal refrigerated conditions, your cold brew concentrate will remain delicious and safe to drink for up to two weeks. However, for the most vibrant flavor profile and aromatic experience, it is generally recommended to consume the batch within seven to ten days.
If you notice a significant souring of the scent or a cloudy appearance that does not settle, it is time to discard the batch.
Unlike hot-brewed coffee that oxidizes and becomes bitter within hours, the low-acidity nature of the cold steeping process allows it to retain its smooth profile much longer, making it the perfect solution for convenient, grab-and-go morning caffeine fixes throughout your busy work week.
Mixing with Water, Milk, or Creamers
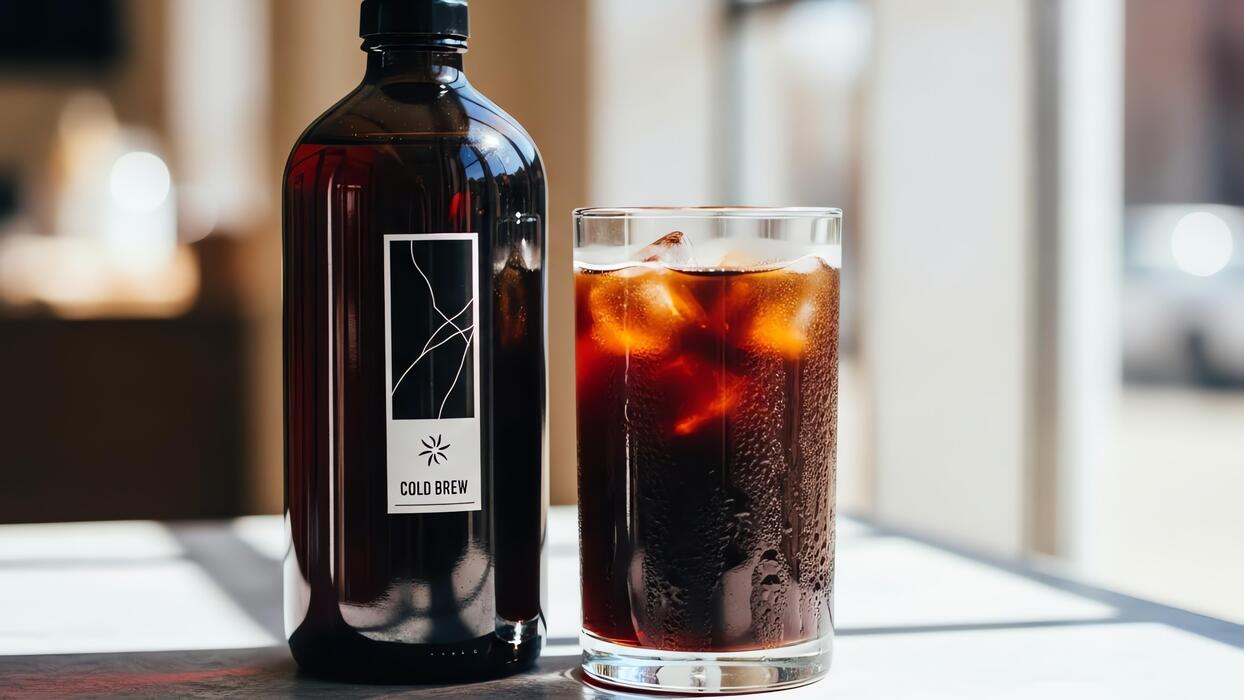
The beauty of a cold brew concentrate lies in its versatility, as it serves as a potent base that you can customize to your specific palate. Because the concentrate is exceptionally strong, the industry standard for a balanced cup is a 1:1 dilution ratio.
This means you should combine one part coffee concentrate with one part of your chosen liquid, whether that is filtered water for a classic black coffee or your favorite dairy or plant-based milk for a creamy latte.
If you prefer a bolder, more intense kick, you might opt for a 2:1 ratio, using more concentrate than mixer. For those who enjoy a smoother, lighter beverage, incorporating oat milk or almond milk can enhance the natural chocolatey and nutty notes inherent in cold brew.
Always remember to stir the mixture thoroughly before drinking to ensure that the dense concentrate fully integrates with the lighter liquids. Experimenting with different ratios allows you to find the perfect strength that suits your personal taste preferences every single time.
Serving Over Ice Without Diluting the Flavor
One common frustration when drinking iced coffee is the gradual melting of ice cubes, which can turn a rich beverage into a watery, flavorless mess. To combat this while enjoying your cold brew, consider the professional hack of making coffee ice cubes.
Simply pour a portion of your prepared cold brew into a standard silicone ice tray and freeze them until solid.
As these specialized cubes melt in your glass, they release more coffee instead of water, effectively maintaining the integrity and strength of your drink from the first sip to the very last drop.
Additionally, when using regular ice, it is best to pour the cold concentrate and your mixer over the ice immediately before serving. Starting with chilled ingredients from the refrigerator also helps because it reduces the rate of thermal transfer, meaning the ice will last significantly longer.
By using these strategic cooling methods, you ensure that your home-brewed masterpiece remains bold, refreshing, and perfectly balanced, even on the hottest summer afternoons when traditional iced drinks would quickly fail.
Common Cold Brew Mistakes to Avoid
Using Finely Ground Coffee
One of the most frequent errors beginners make when learning how to cold brew is selecting a fine grind size similar to what you would use for espresso or standard drip machines.
Because cold brew involves an extended immersion process, using small particles results in over-extraction, creating a bitter and muddy flavor profile that ruins the natural sweetness of the beans.
To fix this, you must use a coarse, breadcrumb-like grind which allows water to flow freely around the particles without pulling out harsh tannins. This specific texture ensures that you achieve a clean, smooth concentrate while also making the final filtration process significantly easier.
If your grounds are too fine, they will clog your filter and leave behind a silty residue in your cup.
Always aim for a consistent extra-coarse setting on your burr grinder to ensure the water extracts the bright, chocolatey notes of the coffee over time rather than the unpleasant acidity associated with fine grounds.
Steeping for Too Long or Too Short
Timing is everything in the cold brew process, yet many people fail to find the sweet spot between under-extraction and over-extraction.
If you let your coffee sit for less than twelve hours, the water won’t have enough time to pull the complex flavors from the beans, resulting in a weak, tea-like consistency that lacks body.
Conversely, leaving the mixture on the counter for more than twenty-four hours can lead to a woody, overly bitter taste that masks the coffee’s profile. To achieve the best results, steep your coffee for 16 to 18 hours at room temperature for a balanced profile.
If you prefer to brew in the refrigerator, you may need to extend this time slightly due to the slower extraction rate in cold environments. Finding the perfect duration is essential to creating a rich coffee concentrate that maintains its freshness.
Setting a timer ensures you don’t accidentally leave the grounds soaking for too long, which preserves the signature smoothness of the beverage.
Forgetting to Filter Twice for Clarity
Even with the correct grind size, a single pass through a mesh strainer often leaves behind fine sediment and oils that can make your cold brew look cloudy and taste heavy.
While a metal sieve is great for removing the large spent grounds, it rarely captures the microscopic particles that settle at the bottom of your carafe.
To solve this and achieve a professional, café-quality finish, you should filter your concentrate a second time using a paper filter or a fine cheesecloth. This extra step removes the remaining silt and excess oils, resulting in a crisp, bright liquid that stays fresh longer in the fridge.
By taking the time to double-filter your cold brew, you ensure a silky mouthfeel and a visually appealing clarity that highlights the quality of your beans.
This process prevents the coffee from continuing to extract in the jar, which helps maintain a consistent flavor profile from the first glass to the very last drop you serve over ice.
Ways to Flavor Your Cold Brew Coffee
Adding Simple Syrups and Spices
One of the most efficient ways to elevate your home cold brew is by incorporating liquid sweeteners that dissolve instantly in cold temperatures. Unlike granulated sugar, which often sinks to the bottom of the glass, simple syrups provide a consistent sweetness throughout the entire drink.
You can easily make a basic version by boiling equal parts water and sugar, or experiment with flavors like caramel, hazelnut, or lavender. For those who prefer a more natural profile, try whisking in warm spices such as nutmeg or ginger directly into the finished concentrate.
If you find the spices are too gritty, mixing them into a small amount of warm water first creates a slurry that integrates more smoothly into the chilled coffee.
Adding a pinch of sea salt is another expert trick; it helps to neutralize any lingering bitterness and enhances the natural chocolatey notes found in dark roast beans, resulting in a perfectly balanced and professional-tasting beverage.
Cold Foam and Dairy-Free Toppings
To replicate the luxurious texture of a coffee shop specialty drink, consider mastering the art of cold foam. Unlike steamed milk, cold foam is created by aerating cold milk or a dairy alternative using a handheld frother or a French press plunger until it reaches a thick, velvety consistency.
For a decadent experience, use heavy cream or half-and-half mixed with a splash of vanilla extract.
If you are looking for plant-based options, oat milk and coconut milk are the best choices due to their higher fat content, which allows them to hold air bubbles much better than thinner almond milk.
Simply pour the frothed topping over your ice-filled glass of cold brew and watch as the creamy layers slowly cascade into the dark coffee. This method adds a rich mouthfeel and a visually stunning aesthetic without diluting the caffeine strength.
You can even sprinkle cocoa powder or cinnamon on top of the foam for an extra layer of gourmet flavor.
Infusing with Vanilla or Cinnamon During Steeping
The most effective way to ensure a deep, integrated flavor profile is to add your aromatics directly to the coffee grounds during the steeping process.
This technique allows the cold water to slowly extract the subtle oils and essences from the spices alongside the coffee solubles over the typical twelve to twenty-four hour period. Try placing a split vanilla bean or a few cinnamon sticks into your steeping vessel before you add the water.
Because cold brew is a gentle extraction method, it pulls out the sweet and woody notes of the cinnamon without the harshness that can sometimes occur with hot brewing.
If you do not have whole spices, adding a teaspoon of ground cinnamon to the dry coffee grounds works just as well, though you should ensure you use a fine-mesh filter or a double-straining method to remove any fine sediment afterward.
This infusion strategy results in a sophisticated, fragrant brew that tastes flavored from the inside out, requiring very little additional sweetener.
Frequently Asked Questions
What is the basic ratio for cold brew coffee?
A standard ratio for cold brew is 1 cup of coarsely ground coffee to 4 cups of filtered water. If you prefer a stronger concentrate to mix with milk or water later, you can use a 1:2 or 1:3 ratio.
What kind of coffee grind should I use for cold brew?
You should use an extra-coarse grind, similar to the consistency of sea salt or breadcrumbs. Finer grinds can result in an over-extracted, bitter flavor and make the filtration process much more difficult.
How long does cold brew coffee need to steep?
Cold brew typically needs to steep for 12 to 24 hours at room temperature or in the refrigerator. Steeping for less than 12 hours may result in a weak brew, while going beyond 24 hours can lead to woody or bitter notes.
Do I need a special machine to make cold brew?
No special equipment is required; you can simply use a large glass jar or pitcher. After steeping, you can strain the mixture through a fine-mesh sieve, cheesecloth, or a standard paper coffee filter.
Should I steep cold brew in the fridge or on the counter?
Both methods work, but they yield slightly different results. Steeping on the counter is faster and often brings out more floral notes, while steeping in the fridge takes longer but results in a cleaner, more mellow flavor profile.
How do I filter the coffee once it’s finished steeping?
Slowly pour the mixture through a coffee filter or a nut milk bag into a clean carafe. Avoid squeezing the grounds during this process, as it can force fine sediments and bitter oils into your final drink.
How long does homemade cold brew stay fresh?
Undiluted cold brew concentrate can stay fresh in an airtight container in the refrigerator for up to two weeks. Once you dilute the concentrate with water or milk, it is best consumed within 2 to 3 days.
Conclusion
Mastering cold brew coffee at home is a simple yet rewarding process that requires only patience and the right ratio. By using coarse grounds and a long steeping time, you can enjoy a smooth, low-acid beverage that rivals any cafe. Experiment with different beans and dilution levels to find your perfect flavor profile. Now that you know the essentials, grab your favorite roast and start brewing today for a refreshing, caffeinated treat.