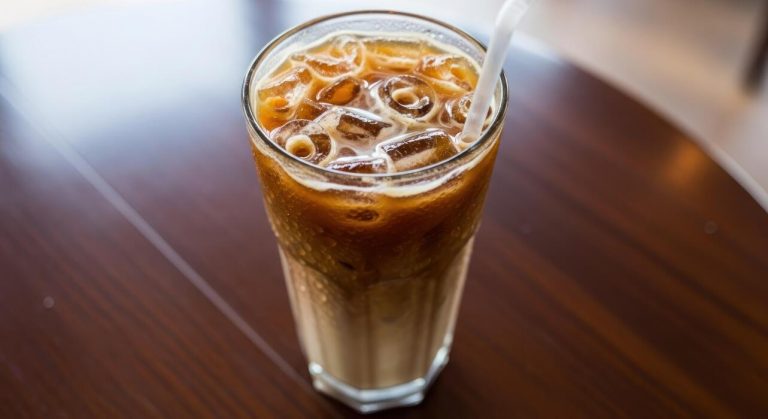
How To Make The Best Cold Coffee
Tired of watered-down brews and bitter aftertastes? We have all been there, but learning how to make the best cold coffee at home is easier than you think. You do not need fancy equipment or a barista certification to achieve that smooth, cafe-quality finish. Let us dive in and upgrade your caffeine routine today.
The Difference Between Iced Coffee and Cold Brew
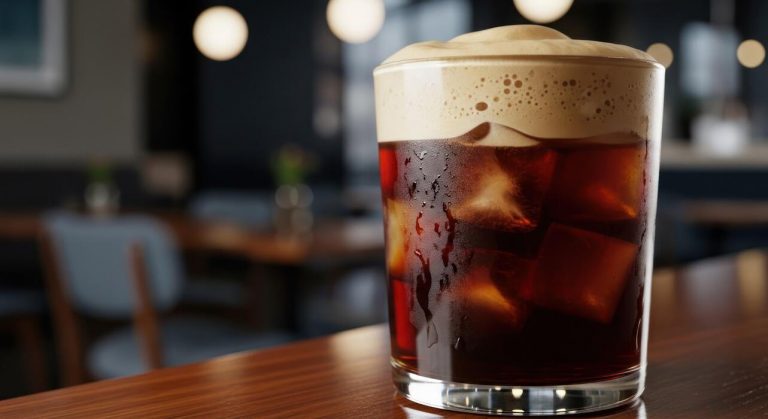
How cold brew is made
To craft the ultimate cold brew at home, you must prioritize time over temperature. This method involves steeping coarsely ground coffee beans in room temperature or filtered cold water for a duration of 12 to 24 hours.
Because the grounds never touch hot water, the chemical extraction process is significantly slowed, preventing the release of bitter oils and acidic compounds. Use a 1:4 coffee-to-water ratio to create a concentrated base that stays fresh in your refrigerator for up to two weeks.
Once the steeping process is complete, filter the mixture through a fine-mesh sieve or a paper filter to achieve a velvety, low-acid profile with natural chocolate and nutty notes.
This patient approach ensures a smooth finish that requires less sugar or cream, making it the ideal solution for those seeking a gentle, highly caffeinated beverage that highlights the bean’s deeper characteristics without any harshness or metallic aftertaste.
The quick chill method for iced coffee
If you need a refreshing caffeine fix immediately, the quick chill method for iced coffee is your best solution. Unlike cold brew, this technique utilizes hot water to extract flavors rapidly, followed by an instant cooling process.
To avoid a watery result, you should brew your coffee at double strength by using twice the amount of grounds for the same volume of water.
This ensures that when you pour the hot liquid directly over a glass filled with ice, the melting cubes dilute the drink to the perfect consistency rather than making it weak.
Using a pour-over or drip machine allows for a bright, crisp acidity to shine through, capturing the floral and fruity aromas that are often lost in long-term cold steeping.
For the best results, flash-chill the coffee immediately to lock in the volatile aromatic compounds, resulting in a vibrant and refreshing cup that provides instant satisfaction on a warm day.
Which brewing style tastes better?
Choosing the best style depends entirely on your personal palate and how you enjoy your daily caffeine. Cold brew is the superior choice if you prefer a bold, heavy-bodied drink with a mellow sweetness and almost zero bitterness.
Its concentrated nature makes it a perfect canvas for milk, dairy alternatives, or flavored syrups, as the coffee flavor remains dominant even when diluted. Conversely, iced coffee is better suited for those who appreciate the bright acidity and complex aromatics found in traditional hot coffee.
It offers a cleaner mouthfeel and a lighter profile that is incredibly refreshing when served black or with a simple squeeze of citrus.
For the best experience, choose light roast beans for iced coffee to emphasize acidity, and opt for dark roast beans for cold brew to enhance the rich, chocolatey depth. Ultimately, the best method is the one that fits your schedule and satisfies your specific cravings for either smoothness or complexity.
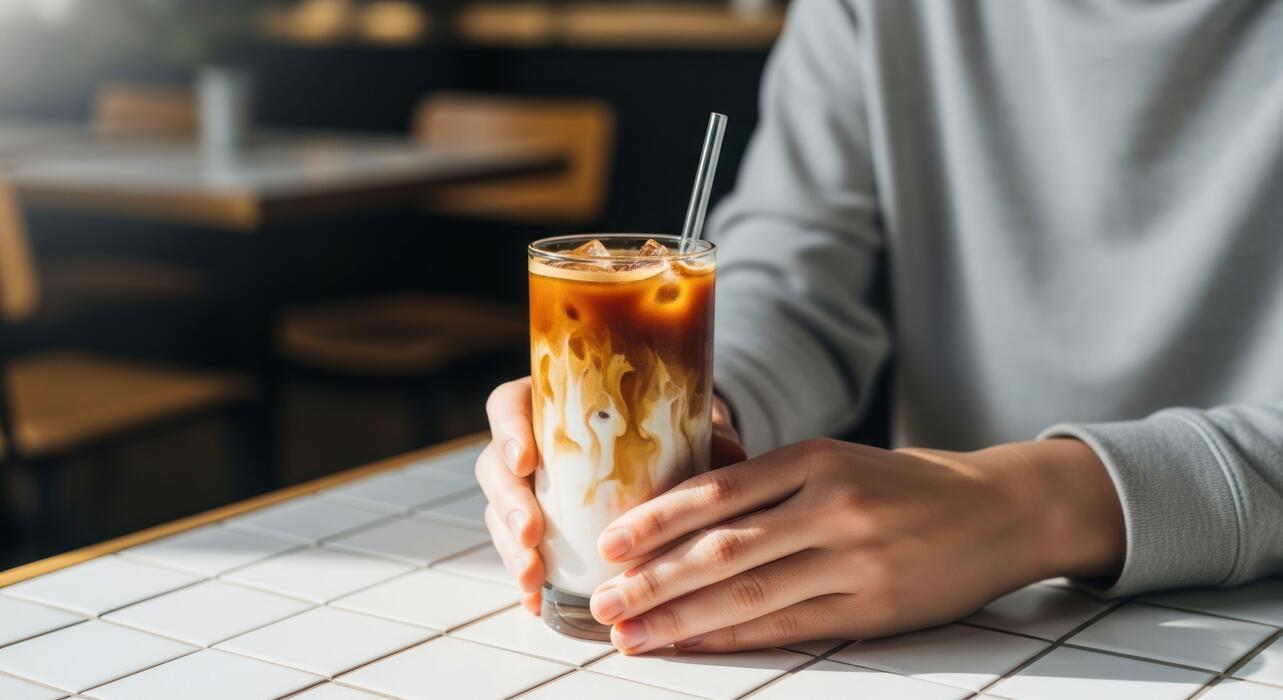
Essential Ingredients for Professional Quality Cold Coffee

Choosing the right coffee beans
To achieve a professional-grade cold coffee, you must start with high-quality, freshly roasted beans. For cold brewing or iced methods, medium to dark roasts are generally preferred because they possess the structural integrity to withstand dilution from ice.
Look for flavor profiles featuring chocolatey, nutty, or caramel notes, as these deep undertones become beautifully pronounced when chilled. If you prefer a brighter, more acidic profile, select light-roasted African beans which offer floral and citrus complexity.
Regardless of the roast, the most critical factor is the grind size; a coarse, consistent grind is essential for cold brew to prevent over-extraction and bitterness. Avoid pre-ground supermarket coffee, which often lacks the volatile oils necessary for a vibrant cup.
By investing in specialty-grade Arabica beans and grinding them just before the brewing process begins, you ensure a clean, flavorful base that serves as the foundation for the best cold coffee experience possible at home.
Why water quality affects the flavor
Since coffee is approximately 98% water, the quality of your source significantly dictates the final taste profile of your beverage.
Using tap water can introduce unwanted chemicals like chlorine or heavy minerals, which often result in a metallic or harsh aftertaste that becomes even more apparent when the coffee is served cold. To achieve a smooth, cafe-quality finish, always use filtered or bottled spring water with a balanced mineral content.
This allows the delicate nuances of the coffee oils to shine through without interference. Proper filtration ensures that the water acts as a neutral solvent, extracting the optimal sweetness and acidity from the grounds.
If your water is too soft, the coffee may taste flat; if it is too hard, the brew can appear cloudy and taste chalky.
Maintaining a consistent water temperature during the initial bloom or the long steeping process further stabilizes the flavor, ensuring every sip of your cold coffee remains refreshing and professionally balanced.
The best milk and dairy-free options
The choice of whitener can transform your cold coffee from a simple drink into a luxurious treat. For traditional dairy lovers, whole milk or half-and-half provides the necessary fat content to balance the natural acidity of the coffee, creating a creamy mouthfeel.
However, the rise of plant-based alternatives has introduced excellent options like oat milk, which is widely considered the gold standard for cold coffee due to its natural sweetness and thick consistency.
When selecting dairy-free alternatives, look for barista-edition versions specifically formulated to resist curdling when hitting the cold acidity of the brew. Unsweetened almond milk offers a lighter, nutty finish, while coconut milk adds an exotic richness perfect for tropical-style iced drinks.
Regardless of your preference, always ensure your milk is thoroughly chilled before adding it to the glass to maintain the drink’s temperature. Experimenting with different textures allows you to customize the richness and achieve a professional visual swirl that defines the best cold coffee.
How to Make Cold Brew Coffee at Home
The perfect coffee-to-water ratio
To achieve the ultimate flavor profile when making cold brew at home, mastering the coffee-to-water ratio is the most critical first step.
For a versatile and robust concentrate, we highly recommend using a 1:4 ratio, which translates to one cup of coarsely ground coffee beans for every four cups of cold, filtered water.
Using coarse grounds is essential because a fine grind will lead to over-extraction and a bitter, muddy taste that ruins the smooth experience. If you prefer a lighter, ready-to-drink version straight from the jar, you can opt for a 1:8 ratio instead.
Always prioritize freshly roasted beans and high-quality filtered water to ensure the cleanest taste possible. This specific balance allows the natural sweetness and chocolatey notes of the bean to emerge without the high acidity found in hot-brewed methods.
Experimenting slightly within these parameters will help you find the exact strength that satisfies your personal palate for the perfect morning caffeine kick.
Step-by-step steeping instructions
Once you have measured your ingredients, place the coarse grounds into a large glass jar or a dedicated cold brew maker. Slowly pour your filtered water over the grounds, ensuring every bit of coffee is fully saturated.
Use a long spoon to gently stir the mixture, but avoid over-mixing; you simply want to eliminate any dry pockets. Seal the container tightly and let it sit at room temperature for approximately 12 to 18 hours.
If you prefer a slower extraction and have extra space, you can steep it in the refrigerator for up to 24 hours.
The steeping time is vital because it determines the depth of flavor; pulling it too early results in a weak, sour liquid, while leaving it too long can introduce unwanted bitterness.
Keep the container in a cool, dark place away from direct sunlight to maintain a stable temperature throughout the process. This patient, heat-free immersion method is what creates that signature velvet texture and low-acid profile.
How to filter and store your concentrate
After the steeping period is complete, it is time to separate the liquid from the spent grounds. Set a fine-mesh sieve lined with a paper coffee filter, cheesecloth, or a nut milk bag over a clean carafe.
Pour the mixture slowly through the filter, allowing gravity to do the work; avoid squeezing the grounds, as this pushes fine sediment and bitter oils into your final brew. Once filtered, you are left with a rich coffee concentrate that is incredibly potent.
Transfer this liquid into an airtight glass bottle and store it in the refrigerator immediately. Your homemade cold brew will stay fresh for up to two weeks if kept properly chilled.
When you are ready to serve, remember that this is a concentrate, so you should dilute it with equal parts water or milk. Pour it over fresh ice cubes and add your favorite sweeteners or syrups.
This storage method ensures you have a delicious, barista-quality beverage ready to enjoy at any moment.
Fast Ways to Make Iced Coffee Without Watering It Down
Using coffee ice cubes
The most effective way to prevent a diluted beverage is to replace standard water-based ice with coffee ice cubes. To prepare these, simply brew a fresh pot of your favorite blend, let it cool to room temperature, and pour it into silicone ice trays.
Once frozen, these cubes act as a flavor-preserving cooling agent that actually strengthens your drink as they melt. When you pour hot or room-temperature coffee over these specialized cubes, you maintain the ideal caffeine concentration and flavor profile from the first sip to the last.
This method is perfect for those who enjoy a lingering drinking experience without the frustration of a watery finish. For an extra touch of indulgence, you can even freeze milk or vanilla creamer into cubes to create a creamy melt-away effect.
By planning ahead and keeping a stash of these cubes in your freezer, you ensure that your homemade cold coffee remains bold, rich, and professionally balanced every single time.
The flash-chilling technique
Flash-chilling, also known as Japanese-style iced coffee, involves brewing hot coffee directly over a measured amount of ice to lock in volatile aromatics. To execute this perfectly, calculate your total water volume and use half for brewing and the other half as ice in the carafe.
By using a pour-over dripper, the hot liquid hits the ice immediately, resulting in an instant temperature drop that preserves the bright acidity and complex notes often lost in traditional cold brewing.
This method is significantly faster than waiting hours for a cold steep and provides a much cleaner taste than simply refrigerating old coffee. The key to success is using a concentrated brew ratio to account for the immediate melt.
Because the ice melts instantly, it becomes part of the recipe’s water calculation, ensuring your coffee is perfectly diluted to strength rather than being watered down excessively. This creates a vibrant, refreshing cup that highlights the unique characteristics of your chosen coffee beans.
How to use a cocktail shaker for aeration
If you want to achieve a professional, frothy texture while cooling your drink rapidly, using a cocktail shaker is a game-changing solution. Place your freshly brewed coffee into a shaker filled with large, dense ice cubes and shake vigorously for about fifteen to twenty seconds.
This rapid agitation creates instant thermal transfer, chilling the liquid to near-freezing temperatures before the ice has a chance to melt significantly and dilute the flavor.
Beyond the temperature control, the shaking process introduces tiny air bubbles, resulting in a luxurious micro-foam and a silky mouthfeel similar to a nitro cold brew. Once shaken, strain the coffee into a glass, leaving the original melting ice behind, and pour it over fresh ice if desired.
This technique is particularly effective for making iced lattes or sweetened coffee drinks, as it ensures that syrups and milks are completely emulsified. The result is a bold, aerated, and perfectly chilled beverage that rivals anything served at a high-end specialty coffee shop.
Best Ways to Sweeten and Flavor Your Drink
How to make simple syrup at home
To achieve a professional-grade cold coffee, mastering the art of simple syrup is essential because granulated sugar refuses to dissolve in cold liquids. To create your own, combine equal parts water and granulated sugar in a small saucepan over medium heat.
Stir the mixture constantly until the water becomes perfectly clear and the sugar crystals have completely dissolved into the liquid. Once it reaches a simmer, remove it from the heat immediately to prevent over-thickening or caramelization.
Allow the syrup to cool to room temperature before transferring it to a glass bottle for storage in your refrigerator. Using this liquid sweetener ensures your drink remains smooth without any unpleasant gritty texture at the bottom of the glass.
You can easily scale this recipe up to keep a large batch on hand for busy mornings. This foundational technique allows you to achieve consistent sweetness throughout the entire beverage, making it the most effective method for balancing the bold, bitter notes of a strong cold brew or iced espresso.
Natural sweeteners that dissolve easily
If you are looking to avoid refined sugars while maintaining a delicious flavor profile, several natural alternatives perform exceptionally well in cold coffee applications. Liquid honey and maple syrup are top-tier choices because their fluid consistency allows them to integrate seamlessly into chilled coffee without clumping.
While honey may thicken slightly when it hits ice, whisking it into room-temperature coffee before adding ice cubes ensures a uniform distribution of sweetness.
For those seeking a low-glycemic option, liquid stevia or monk fruit drops provide intense sweetness with just a few drops, making them highly efficient for quick preparation.
Agave nectar is another fantastic option due to its neutral taste and high solubility, which won’t overpower the delicate floral notes of your coffee beans.
By choosing these unrefined sweetening agents, you can customize the nutritional profile of your drink while enjoying unique flavor undertones, such as the earthy richness of maple or the floral brightness of clover honey, which traditional white sugar simply cannot offer to your palate.
Adding vanilla, cinnamon, or chocolate
Elevating your cold coffee from a basic caffeine fix to a gourmet experience involves layering aromatic flavors that complement the bean’s natural profile.
To infuse vanilla, stir a half-teaspoon of pure vanilla extract directly into your coffee or add a split vanilla bean to your simple syrup during the heating process for a deeper, more complex aroma.
For a warm, spiced kick, whisk ground cinnamon or nutmeg into your coffee grounds before brewing; this ensures the oils are extracted without leaving a powdery residue in your glass.
If you crave indulgence, create a mocha-style drink by stirring high-quality cocoa powder or chocolate ganache into a small amount of warm coffee before pouring it over ice. This technique prevents the chocolate from seizing and ensures a velvety, decadent mouthfeel in every sip.
Additionally, a tiny pinch of sea salt can enhance these flavors by cutting through the bitterness and highlighting the sweet additions. Experimenting with these aromatic and rich ingredients allows you to mimic expensive coffee house specialties at a fraction of the cost.
Tips for Achieving a Creamy Texture
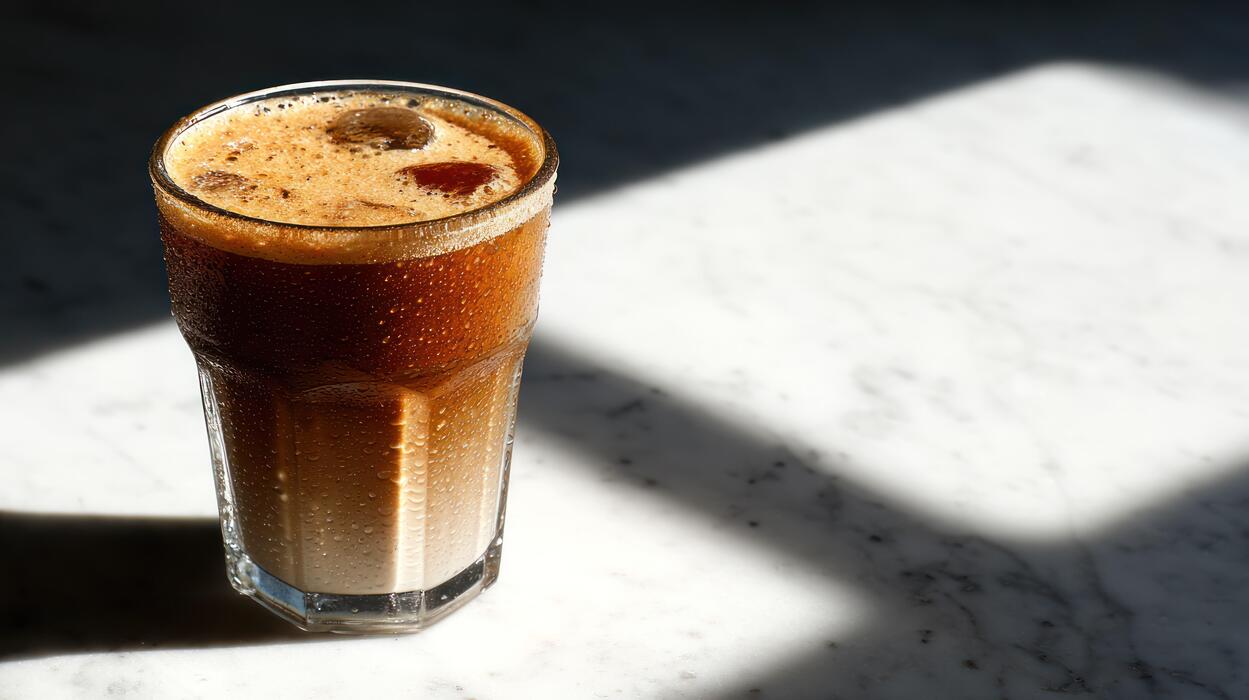
How to make cold foam
Creating a velvety cold foam at home is the ultimate way to elevate your beverage to cafe quality without specialized equipment. To begin, select a high-quality milk; while dairy provides great structure, heavy cream mixed with a splash of 2% milk often yields the most stable results.
Pour your cold liquid into a small jar or a handheld milk frother container. If you prefer a touch of sweetness, add a teaspoon of vanilla syrup or maple syrup before you start the process.
Use a handheld electric whisk at the surface of the liquid for about thirty seconds until it doubles in volume and develops a thick, marshmallow-like consistency. The key is to keep the milk ice-cold throughout the process, as warmth prevents the proteins from holding air bubbles effectively.
Once finished, gently pour this luxurious topping over your iced coffee. The foam should sit perfectly on top, slowly cascading down into the dark brew for a beautiful visual effect and a creamy mouthfeel in every single sip.
Using a French press for frothing
If you do not own an electric whisk, your standard French press is an incredible secret weapon for achieving a dense, creamy texture for cold coffee. Start by pouring cold milk into the carafe, filling it no more than one-third of the way to allow ample room for expansion.
Insert the plunger and begin performing rapid short strokes, moving the mesh filter up and down through the milk for approximately twenty to thirty seconds. This mechanical action forces air into the liquid much more efficiently than a standard whisk, creating uniform micro-foam that is incredibly smooth.
Watch for the volume to increase significantly before you stop. Once you have reached the desired thickness, let the milk sit for a few seconds to stabilize, then give the carafe a firm tap on the counter to pop any large, uneven bubbles.
This method produces a professional-grade froth that integrates beautifully with cold brew or iced espresso, ensuring a consistent and rich texture that lasts until the very last drop.
The secret to a perfect blended frappe
Achieving the ideal consistency for a blended cold coffee requires more than just ice and caffeine; it is about the science of emulsification. To prevent your drink from separating into watery ice chunks and liquid coffee, you must incorporate a binding agent like xanthan gum or a thick chocolate base.
Start by using coffee ice cubes instead of regular water ice to ensure your drink remains flavorful as it melts. Combine your chilled coffee concentrate, milk of choice, and a sweetener in a high-speed blender.
The real secret is adding a tablespoon of condensed milk or heavy cream, which provides the fat content necessary for that signature silky smoothness. Blend on high for at least forty-five seconds to ensure all ice crystals are pulverized into a fine, snowy texture.
This extended blending time creates a stable emulsion that feels luxurious on the palate. For an extra touch of decadence, drizzle the inside of your glass with ganache before pouring the mixture in, ensuring every spoonful of your frappe is consistently thick and indulgent.
Common Mistakes to Avoid When Making Cold Coffee
Why you should never use hot coffee over ice
One of the most frequent errors when learning how to make the best cold coffee is pouring freshly brewed hot liquid directly over a glass of ice. This mistake immediately leads to thermal shock, which results in a watered-down, flavorless beverage that lacks the complexity of a professional brew.
When hot coffee hits ice, the rapid melting process dilutes the caffeine concentration and mutes the delicate aromatic notes of the beans.
To achieve a superior result, you should always allow your coffee to cool to room temperature or use a flash-chilling method with a higher coffee-to-water ratio to compensate for the inevitable melting. Alternatively, choosing the cold brew method ensures that the coffee never encounters high temperatures, preserving a smooth profile.
By avoiding the direct heat-to-ice contact, you maintain the integrity of the body and ensure every sip remains bold and refreshing rather than thin and disappointing for your morning routine.
Avoiding the wrong grind size
The texture of your coffee grounds plays a pivotal role in the extraction process, especially when preparing chilled beverages. A common mistake is using a fine grind intended for espresso when making cold brew or iced pour-overs.
Fine grounds often lead to over-extraction, creating a muddy consistency and a harsh aftertaste that ruins the drinking experience. To optimize your results, you must utilize a coarse grind that resembles sea salt, particularly for long immersion brewing cycles.
This larger surface area allows for a slow, gentle extraction of oils and flavors without pulling out the unpleasant silt. If you are using a quicker method, a medium grind is acceptable, but you should consistently calibrate your grinder to ensure uniformity.
Precision in your grind size ensures that the water flows correctly through the particles, resulting in a clean, crisp cup that highlights the natural sweetness of the bean rather than leaving a sandy residue at the bottom of your glass.
How to prevent your coffee from tasting bitter
Bitterness is the enemy of a high-quality cold coffee, and it usually stems from improper timing or high water temperatures during the initial brewing phase.
To avoid this, you should monitor your steeping time strictly; leaving cold brew grounds in water for over twenty-four hours often pulls out tannins that create an acrid flavor. For the best balance, aim for a window of sixteen to eighteen hours at room temperature.
Additionally, the quality of your water is essential; always use filtered water to prevent minerals or chlorine from reacting negatively with the coffee compounds.
If you find your coffee is still too sharp, try adding a tiny pinch of salt to the grounds before brewing, as this neutralizes bitterness and enhances the natural chocolatey or nutty notes of the roast.
By controlling these variables, you transform a potentially sharp and unpleasant drink into a velvety, café-quality masterpiece that requires very little sweetener to enjoy thoroughly throughout the day.
Frequently Asked Questions
What is the best type of coffee bean for cold coffee?
Medium to dark roasts are generally preferred for cold coffee because they maintain their bold flavor profile when diluted with ice and milk. Look for beans with chocolatey or nutty notes, as bright acidic notes can sometimes taste sour when served cold.
How do I prevent my cold coffee from tasting watered down?
The most effective method is to use coffee ice cubes made by freezing leftover brewed coffee. Additionally, you can brew your coffee at double strength if pouring it hot over ice to account for the immediate melting and dilution.
Is cold brew or iced coffee better for a smooth taste?
Cold brew is generally smoother and less acidic because the grounds are steeped in room temperature water for 12-24 hours. Iced coffee is brewed hot and cooled quickly, which results in a crisper, more traditional coffee bite but higher acidity.
How can I achieve a creamy texture in my cold coffee?
For a professional texture, use a handheld milk frother to foam your milk or cream before adding it to the coffee. Alternatively, shaking your coffee and sweetener in a cocktail shaker with ice creates a natural micro-foam and a silky mouthfeel.
What is the best way to sweeten cold coffee?
Granulated sugar does not dissolve well in cold liquids, so it is best to use simple syrup or flavored liquid sweeteners. You can make a basic simple syrup by dissolving equal parts sugar and hot water, then cooling it before use.
Does the grind size matter when making cold coffee?
Yes, grind size is crucial depending on your method. Use a coarse, breadcrumb-like grind for cold brew to ensure a clean filtration, while a medium grind is perfect for drip coffee that you plan to chill.
Conclusion
Creating the best cold coffee relies on using high-quality beans, the right grind size, and a patient brewing process. Whether you prefer the smoothness of cold brew or the instant chill of an iced latte, the secret lies in balancing strength with your favorite mixers. Now that you have mastered these essential techniques, it is time to experiment with flavors and textures. Start brewing today and enjoy a refreshing, cafe-quality experience from the comfort of your kitchen.