How To Make Vanilla Sweet Foam
Craving that velvety, Starbucks-style topping for your cold brew at home? You have come to the right place. Learning how to make vanilla sweet foam is surprisingly simple and requires only three basic ingredients you likely already have in your fridge. Whether you want a thick dollop or a frothy pour, this guide provides the perfect ratio and technique to achieve café-quality results in seconds.
What is Vanilla Sweet Foam?
The difference between cold foam and steamed milk
To master how to make vanilla sweet foam, you must first understand its unique structural composition compared to traditional steamed milk. While steamed milk relies on high heat to denature proteins and create a micro-foam suitable for hot lattes, vanilla sweet foam is processed entirely cold.
This method preserves the natural sweetness and density of the dairy, resulting in a velvety, pourable texture that sits elegantly atop iced beverages rather than dissolving into them.
Unlike the airy, bubbly froth found on a cappuccino, this cold version uses a high-speed aeration technique to achieve a silkiness that mimics melted ice cream.
By avoiding heat, you ensure the vanilla flavor remains bright and the fats stay stable, providing a luxurious mouthfeel that provides a stark, delightful contrast to the sharp profile of cold brew coffee.
Understanding this fundamental thermal difference is the first step toward achieving professional results at home, ensuring your topping maintains its distinct structural integrity without prematurely wilting into the drink.
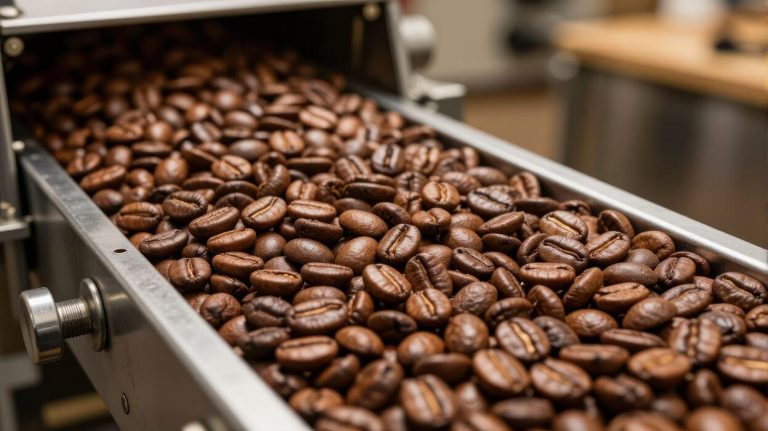
Why vanilla sweet foam is popular in iced coffee
The surge in popularity of vanilla sweet foam stems from its ability to transform a standard iced coffee into a multi-sensory experience. It acts as a flavor-enhancing bridge between the bitter notes of dark roast beans and the refreshing chill of ice.
When you learn how to make vanilla sweet foam, you are creating a topping that offers a gradual release of sweetness; as you sip, the dense foam slowly filters through the ice, mellowing the coffee’s acidity without the need for heavy stirring.
This layered drinking experience is visually stunning and provides a customizable level of decadence that appeals to modern palates. Furthermore, the combination of aromatic vanilla and chilled cream provides a nostalgic flavor profile that complements the bold, chocolatey undertones often found in cold brew concentrates.
It has become a staple because it provides the creamy indulgence of a milkshake while maintaining the sophisticated caffeine kick of a premium coffee, making it the ultimate upgrade for any home barista looking to replicate high-end cafe quality results.
Key ingredients for the perfect texture
Achieving the ideal consistency when learning how to make vanilla sweet foam requires a precise balance of three essential components: heavy cream, 2% milk, and vanilla syrup. The heavy whipping cream provides the necessary fat content to hold air bubbles, creating that signature thick, spoonable density.
However, using heavy cream alone would be too stiff, which is why the addition of 2% reduced-fat milk is critical; it thins the mixture just enough to allow it to flow gracefully over the ice.
The third pillar is the vanilla syrup, which serves as both a sweetener and a stabilizing agent. For the best results, use a high-quality vanilla bean syrup to ensure a deep, aromatic flavor that isn’t chemically artificial.
When these ingredients are combined in a ratio of roughly two parts cream to one part milk, and whisked until just thickened, the result is a glossy, pourable topping that holds its shape.
This specific ingredient synergy is the secret to a professional finish, ensuring your homemade foam never turns out too watery or overly stiff.
Essential Tools for Making Foam at Home
Using a handheld milk frother
A handheld milk frother, often called a power wand, is the most efficient tool for creating vanilla sweet foam at home. To achieve the perfect consistency, combine your heavy cream, milk, and vanilla syrup in a tall glass.
Submerge the frother whisk at a slight angle just below the surface of the liquid. Turn it on and move the wand up and down for about 20 to 30 seconds until the volume doubles.
This tool is ideal because it allows for precise control over aeration, resulting in a silky, pourable texture that mimics professional coffee shop toppers.
For the best results, ensure your batteries are fully charged to maintain high-speed rotation, which is essential for stabilizing the fat molecules in the heavy cream and creating a long-lasting, velvety foam structure.
Making foam with a French press
If you do not own a dedicated frother, a French press is a fantastic alternative for creating high-quality vanilla sweet foam. Pour your chilled mixture of cream, milk, and vanilla into the carafe, ensuring it does not fill more than one-third of the container.
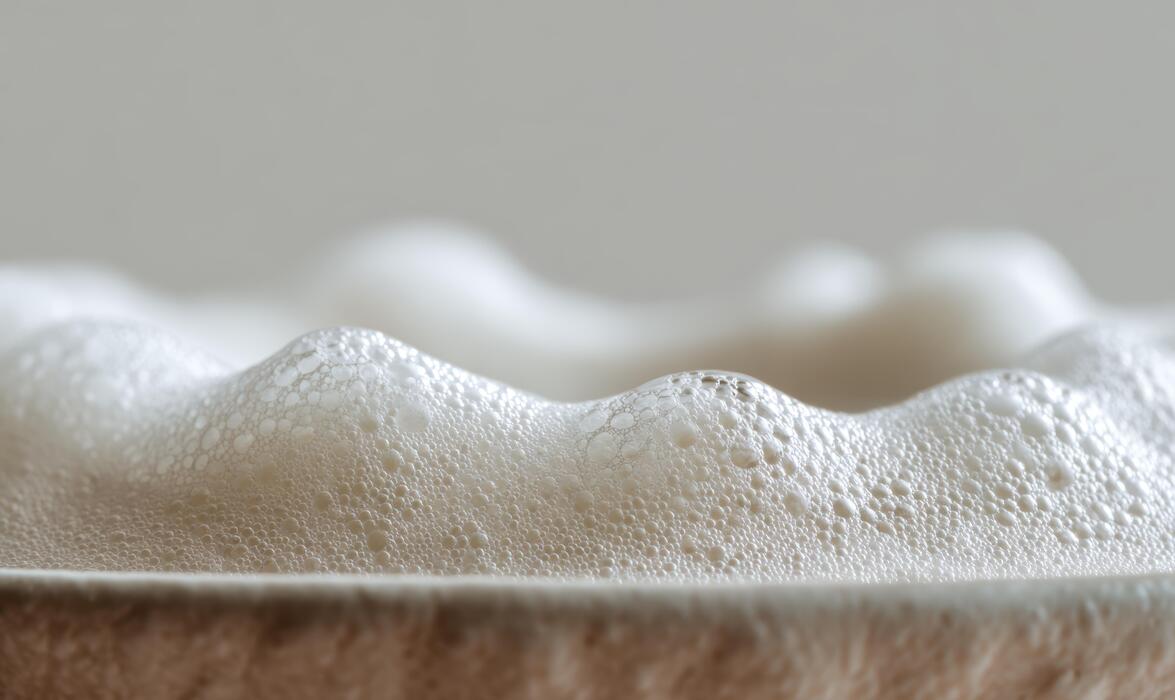
Insert the plunger and pump it rapidly with short strokes for approximately 30 seconds. The fine mesh filter acts as a powerful aerator, forcing air into the liquid to create tiny, uniform bubbles known as microfoam.
This manual method is highly effective for those who prefer a thicker, more stable foam that holds its shape well on top of cold brew. Once the mixture has thickened, give the carafe a gentle swirl and a tap on the counter to remove any large air bubbles before pouring.
Electric milk frothers vs. manual methods
Choosing between an electric milk frother and manual methods depends on your desired convenience and texture. Electric countertop frothers are convenient because they offer one-touch operation and temperature control, often featuring a cold foam setting specifically for vanilla sweet cream.
These machines provide a consistent, hands-free experience that is perfect for busy mornings. In contrast, manual methods like the French press or a handheld wand offer more customization, allowing you to stop exactly when the cream reaches your preferred density.
While electric machines are easier to clean, manual tools are often more affordable and space-saving. If you prioritize a specific ‘poured’ aesthetic, the handheld wand is superior, but for sheer volume and density, a standalone electric frother is the most reliable investment for a daily coffee routine.
Using a simple mason jar
The mason jar method is the most accessible way to make vanilla sweet foam using basic kitchen staples. Simply pour your ingredients into a jar, tighten the lid securely, and shake vigorously for 45 to 60 seconds. This method relies on physical exertion to incorporate air into the cream.
While it may not produce the same level of microfoam as a mechanical tool, it creates a chunky, rustic foam that tastes just as delicious. To improve the results, ensure the cream is ice-cold before shaking, as cold fat globules trap air more effectively.
This technique is perfect for travelers or those who want a quick solution without buying extra gadgets. For a smoother finish, you can finish the process by stirring the mixture briefly with a spoon to break down any oversized bubbles before serving.
The Best Vanilla Sweet Foam Recipe
Standard ingredient ratios
To achieve a professional-grade vanilla sweet foam at home, you must master the classic 1-2-3 ratio that high-end coffee shops utilize for their signature drinks. This precise formula consists of one part vanilla syrup, two parts 2% milk, and three parts heavy whipping cream.
Using heavy cream is non-negotiable because its high fat content provides the necessary structure to hold air bubbles, while the 2% milk thins the mixture just enough to make it pourable rather than stiff like a dessert topping.
For a single serving, measure out 1 tablespoon of vanilla syrup, 2 tablespoons of 2% milk, and 3 tablespoons of heavy cream.
If you prefer a more intense flavor profile, you can substitute standard syrup with pure vanilla bean paste to add those beautiful black specks and a deeper aromatic quality.
Always ensure your dairy ingredients are completely chilled before mixing, as cold fats emulsify much more effectively than room temperature liquids, resulting in a significantly smoother and more luxurious mouthfeel.
Step-by-step mixing instructions
Once you have gathered your chilled ingredients, combine the vanilla syrup, milk, and heavy cream into a tall glass or a specialized frothing pitcher. The most effective tool for this process is a handheld battery-operated milk frother, which introduces air rapidly without over-processing the fats.
Submerge the whisk head just below the surface of the liquid and turn it on, holding the device at a slight angle to create a vortex.
Move the frother up and down slowly for approximately 20 to 30 seconds until the volume has nearly doubled and the large bubbles have transformed into a fine, micro-foam texture.
If you do not own a handheld wand, you can achieve similar results by placing the ingredients in a tightly sealed mason jar and shaking vigorously for one minute, or by using a French press with quick, short pumps of the plunger.
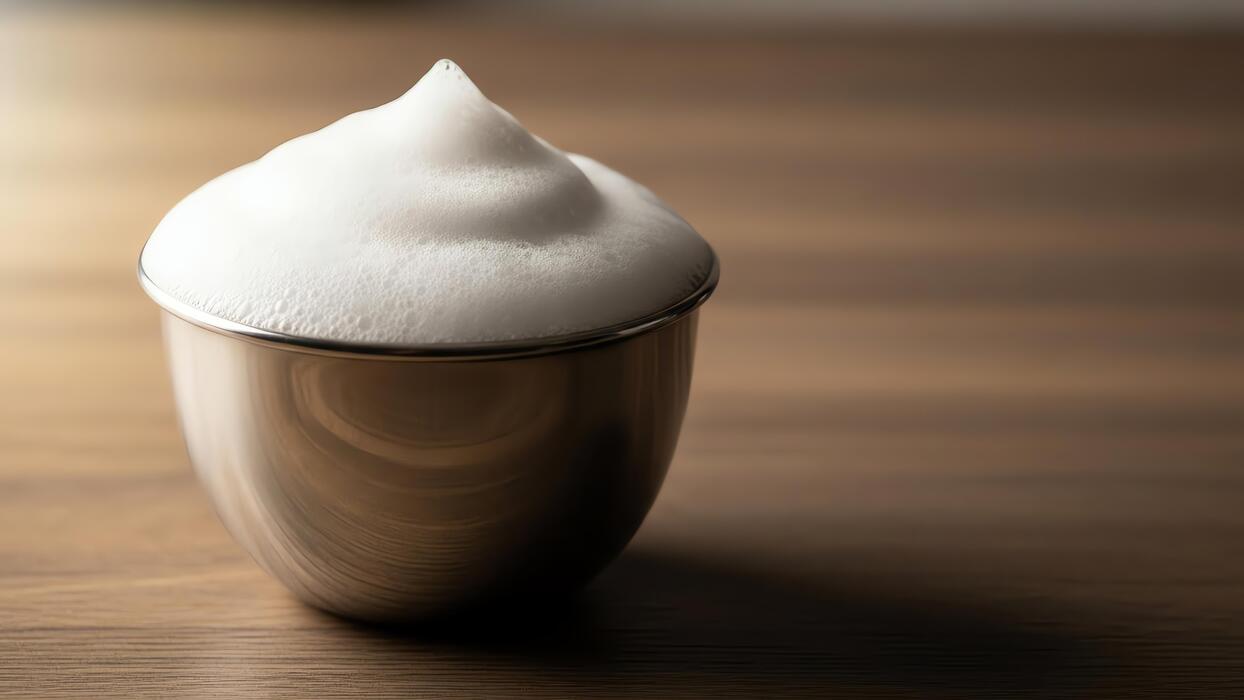
The goal is to reach a soft-peak stage where the foam is thick enough to sit on top of the coffee but fluid enough to cascade downward.
How to get the right consistency
The secret to perfect vanilla sweet foam lies in achieving a texture that is aerated yet pourable, distinct from the stiff peaks required for traditional whipped cream.
If your foam is too thin and disappears into your coffee immediately, you likely need to increase the whipping time or check that your heavy cream has at least a 36% fat content.
Conversely, if the mixture becomes too thick and spoonable, you can easily fix it by whisking in an extra splash of 2% milk to loosen the proteins.
For the best visual effect, always pour your sweet foam slowly over the back of a spoon onto cold brew or iced coffee; this technique prevents the foam from sinking and creates that iconic marbled aesthetic as the vanilla cream bleeds into the dark coffee.
Remember that freshness is key, so aim to froth your cream immediately before serving. If you must make it ahead of time, store it in the refrigerator and give it a quick five-second pulse with your frother to Revive the bubbles before pouring.
Choosing the Right Milk and Cream
Why heavy cream is necessary
To achieve that signature velvety thickness found in premium coffee shop cold foam, heavy whipping cream is an absolute non-negotiable ingredient. The high fat content, typically ranging between 36% and 40%, provides the essential structural integrity required to trap air bubbles and maintain a stable, luscious peak.
Without this fat density, the foam would quickly dissipate into the coffee rather than sitting elegantly on top of your cold brew. When you whisk heavy cream with vanilla syrup, the fat globules coat the air pockets, creating a rich mouthfeel that mimics melted ice cream.
For the best results, ensure your heavy cream is thoroughly chilled before frothing, as cold fat molecules bond more effectively to create a dense, spoonable texture.
This high-fat base also acts as a flavor carrier, ensuring the vanilla notes are distributed evenly across your palate for a truly indulgent experience that elevates a standard iced coffee into a professional-grade beverage at home.
The role of 2% milk in aeration
While heavy cream provides the body, 2% reduced-fat milk acts as the thinning agent that allows for perfect aeration and flow. Using only heavy cream results in a texture that is too thick to pour, resembling whipped cream rather than a fluid foam.
The specific protein structure in 2% milk—specifically whey and casein—works to stabilize smaller micro-bubbles, creating a silky, pourable consistency that blends slightly into the top layer of the drink. This balance is crucial for the ‘cascading’ effect where the foam slowly bleeds into the dark coffee below.
Most professional recipes suggest a ratio of two parts heavy cream to one part 2% milk to achieve the ideal viscosity. Avoid using skim milk, as it often becomes too stiff and dry, or whole milk, which can sometimes make the mixture too heavy to loft properly.
The inclusion of 2% milk ensures your vanilla sweet foam remains light, frothy, and perfectly balanced for sipping.
Best dairy-free alternatives for vegan foam
If you are looking to recreate vanilla sweet foam without dairy, the choice of plant milk is critical for success. The most effective substitute is full-fat oat milk, specifically versions labeled as ‘Barista Edition,’ because they contain added stabilizers and a higher fat content that mimics bovine milk.
Oat milk provides a natural creaminess and a neutral flavor profile that complements vanilla perfectly. Another excellent option is coconut cream mixed with almond milk; the coconut provides the necessary saturated fats for thickness, while the almond milk thins it to a pourable state.
Be cautious with standard soy or rice milks, as they often lack the protein density to hold air for more than a few seconds. To get the best plant-based results, use a high-speed electric frother and consider adding a tiny pinch of xanthan gum if the foam feels too thin.
These dairy-free alternatives allow you to enjoy a delicious, vegan-friendly topping that retains a luxurious texture and rich vanilla aroma.
How to Make Homemade Vanilla Syrup
Simple syrup base recipe
To create the perfect foundation for vanilla sweet foam, you must master a standard simple syrup base. Start by combining equal parts granulated white sugar and filtered water in a small saucepan over medium heat.
Stir the mixture continuously until the sugar crystals have completely dissolved and the liquid appears crystal clear. Avoid bringing the solution to a rolling boil, as excessive evaporation can lead to an overly thick consistency that won’t blend smoothly into cold milk.
Once the sugar has fully incorporated, remove the pan from the heat source immediately. This base provides the essential sweetness required to stabilize the protein structure in your cold foam frother, ensuring a velvety texture that sits perfectly atop your iced coffee.
By preparing this neutral base first, you ensure that the sweetness is evenly distributed throughout your final beverage without any grainy residue. Let the liquid cool for at least ten minutes before adding your aromatic components to preserve the delicate flavor profile.
Using vanilla bean paste vs. extract
Choosing between vanilla bean paste and pure extract significantly impacts the visual and gustatory profile of your homemade sweet foam. Vanilla bean paste contains the actual seeds from the pod, offering a deep, complex flavor and those iconic black specks that signify a premium, gourmet beverage.
It is slightly thicker and provides a more intense floral aroma that stands up well against strong cold brew. On the other hand, pure vanilla extract offers a thinner consistency and a classic, nostalgic flavor that integrates seamlessly into the syrup without changing its clarity.
When using extract, ensure you add it only after the syrup has cooled to prevent the alcohol base from evaporating and taking the flavor with it. For the best results in sweet foam, many baristas prefer a one-to-one substitution ratio, though the paste generally delivers a more luxurious mouthfeel.
Experiment with both to see which interacts best with your specific brand of heavy cream and milk during the high-speed frothing process.
Storage tips for DIY syrups
Proper storage is critical to maintaining the freshness and safety of your homemade vanilla syrup. Always transfer your finished syrup into a sterilized glass bottle or airtight jar once it has reached room temperature.
Storing the syrup in the refrigerator is essential, as the high water content makes it susceptible to mold if left on the counter for too long. When kept chilled, your DIY vanilla syrup will typically remain fresh and flavorful for up to three to four weeks.
To extend the shelf life further, you can add a small teaspoon of vodka, which acts as a preservative without altering the taste. Always check for any signs of cloudiness or off-smells before using the syrup in your morning sweet foam.
Using a dedicated syrup pump or a clean pour spout can help prevent cross-contamination and keep the bottle opening clean. Labeling the container with the preparation date ensures you always use the freshest batch for your coffee creations, guaranteeing a consistent and delicious experience every single time.
Tips for Better Foam Stability
The importance of cold temperatures
To achieve a professional-grade vanilla sweet foam, you must prioritize the temperature of both your dairy and your equipment. Cold molecules move slower and hold air bubbles much more effectively than warm ones, which is why you should always start with milk and heavy cream straight from the refrigerator.
If your dairy is even slightly room temperature, the proteins will fail to create the rigid structure needed to trap air, resulting in a thin liquid rather than a pillowy topping.
For the absolute best results, consider chilling your mixing carafe or glass in the freezer for five minutes before you begin the frothing process. This ensures that the friction from the frother’s motor doesn’t warm the mixture prematurely.
When the ingredients remain icy cold, the fat globules in the heavy cream solidify around the air pockets, creating a stable, velvety texture that mimics the iconic Starbucks version. Never leave your ingredients sitting on the counter while preparing your coffee; keep them chilled until the very last second.
How to prevent foam from dissolving quickly
The secret to a long-lasting vanilla sweet foam lies in the precise ratio of heavy cream to 2% milk and the inclusion of a stabilizing sweetener.
Using two parts heavy cream to one part milk provides the necessary fat content to build a sturdy structure that won’t immediately collapse into your coffee. If the mixture is too thin, the bubbles will burst within seconds.
Furthermore, the sugar in the vanilla syrup acts as a stabilizer by increasing the viscosity of the liquid, which helps hold the air bubbles in place for an extended period.
For an even more durable foam, try frothing for exactly 30 to 45 seconds until the mixture reaches a soft-peak consistency. If you under-mix, the foam will be too runny; if you over-mix, it can become overly thick and buttery.
When pouring, use a spoon to gently layer the foam onto the surface of your cold brew or iced latte to minimize the impact and keep the layers distinct and beautiful.
Common mistakes to avoid
One of the most frequent errors when learning how to make vanilla sweet foam is using the wrong type of milk or a low-fat substitute.
Using skim milk or non-dairy alternatives like almond milk will often result in a foam that is too airy and dissipates almost instantly because they lack the fat structure of heavy cream.
Another common pitfall is over-aerating the mixture by holding the frother too close to the surface, which creates large, soapy bubbles instead of the desired micro-foam. You want a smooth, uniform texture, so keep the wand submerged just below the surface.
Additionally, many people forget to clean their frothing equipment thoroughly between uses. Any leftover residue or oils from previous sessions can prevent the proteins in the fresh milk from bonding correctly, leading to a failed foam.
Finally, ensure you are using a high-quality vanilla syrup rather than just extract; the syrup provides the necessary density and sweetness that defines the classic sweet cream profile and ensures a consistent, delicious result every single time.
Best Ways to Serve Vanilla Sweet Foam
Classic cold brew pairings
The most iconic way to serve vanilla sweet foam is atop a glass of smooth, slow-steeped cold brew. Because cold brew coffee is naturally lower in acidity and features deep chocolatey or nutty undertones, the creamy texture of the foam acts as the perfect structural contrast.
To replicate the professional coffeehouse experience, fill your glass with ice and cold brew, leaving about an inch of space at the top. Pour your freshly whisked vanilla foam slowly over the surface so it sits in a distinct velvet layer rather than sinking immediately.
As you sip, the cold coffee filters through the sweetened cream, creating a natural gradient of flavor that evolves with every mouthful. This method eliminates the need for extra stir-ins, as the foam provides both the sweetness and the dairy component simultaneously.
For the best results, ensure your cold brew is chilled thoroughly before topping, which helps maintain the foam’s stability and prevents it from melting too quickly into the dark coffee base.
Adding foam to iced lattes and americanos
Elevate your standard espresso drinks by swapping traditional milk or liquid creamer for a decadent layer of vanilla sweet foam. When making an iced latte, use slightly less milk than usual to accommodate the thick topping of aerated cream, ensuring the drink remains balanced and not overly diluted.
For an iced Americano, the foam serves a dual purpose; it tames the intense bitterness of the espresso shots while adding a luxurious mouthfeel that water alone cannot provide.
To achieve a professional aesthetic, use a long-handled spoon to guide the foam onto the drink, creating a pillowy white peak that contrasts beautifully against the rich amber hues of the espresso.
This technique is particularly effective for those who enjoy the bold taste of coffee but want a hint of vanilla sweetness in every sip.
By using the foam as a functional garnish, you transform a simple caffeinated beverage into a gourmet specialty drink that rivals any high-end cafe offering, all while controlling the sugar content at home.
Creative flavor variations to try
Once you have mastered the basic vanilla sweet foam recipe, you can experiment with unique infusions to customize your beverage profile. Consider adding a pinch of sea salt to the mixture before frothing to create a salted vanilla foam that enhances the caramel notes in medium-roast beans.
Another sophisticated variation involves whisking in a half-teaspoon of lavender syrup or dried culinary lavender to create a floral topping that pairs exceptionally well with iced Earl Grey tea or blonde espresso.
For a seasonal twist, incorporate warming spices like cinnamon or nutmeg directly into the heavy cream; this adds a complex aromatic layer that smells as good as it tastes.
You can even experiment with non-dairy alternatives like heavy coconut cream or barista-blend oat milk, though you must ensure they are chilled to achieve the optimal peak consistency.
These creative adjustments allow you to repurpose the foundational vanilla foam technique for various holidays, moods, and flavor preferences, making your home barista routine infinitely more versatile and exciting for guests.
Frequently Asked Questions
What are the basic ingredients for vanilla sweet foam?
To make a standard vanilla sweet foam, you need heavy cream, 2% milk, and vanilla syrup. The classic Starbucks-style ratio is typically three parts heavy cream to two parts milk, plus two tablespoons of vanilla syrup.
How do I froth the vanilla sweet foam without a frother?
If you don’t have a handheld milk frother, you can pour the ingredients into a glass jar, tighten the lid, and shake vigorously for 30-60 seconds. Alternatively, you can use a French press by pumping the plunger up and down until the mixture doubles in volume.
What is the secret to getting the perfect foam consistency?
The secret is using very cold heavy cream and maintaining a specific ratio of fat to liquid. Using a high-fat heavy cream ensures the foam is thick and stable, while the 2% milk lightens it enough to create micro-bubbles that pour easily over coffee.
Can I make vanilla sweet foam ahead of time?
Yes, you can mix the ingredients in advance and store them in an airtight container in the refrigerator for up to 5 days. However, for the best texture, you should wait to froth the mixture until right before you are ready to serve your drink.
How do I make a dairy-free version of vanilla sweet foam?
For a vegan alternative, use a combination of full-fat canned coconut milk and vanilla-flavored oat milk. The high fat content in the coconut milk is essential for achieving the creamy, frothy texture that traditional dairy provides.
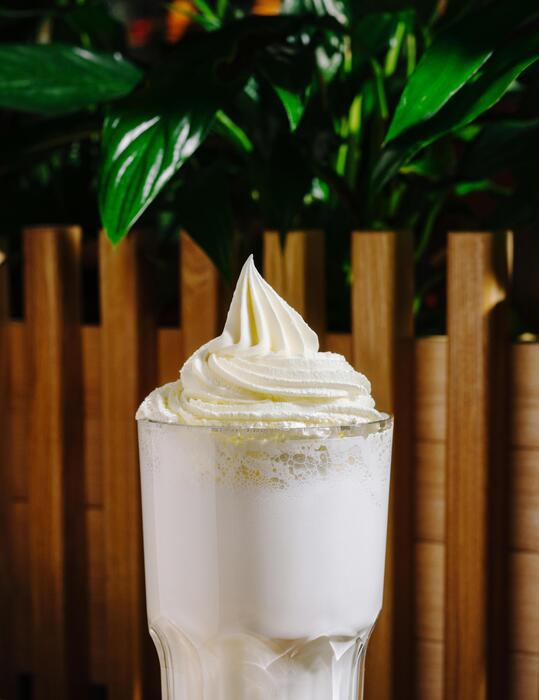
Is vanilla sweet foam the same as whipped cream?
No, vanilla sweet foam is thinner and more pourable than whipped cream. While whipped cream is beaten until it reaches stiff peaks, sweet foam is only frothed until it reaches a bubbly, aerated consistency that sits on top of a drink and slowly bleeds into the coffee.
Conclusion
Mastering homemade vanilla sweet cream cold foam is a simple way to elevate your morning coffee routine. By balancing heavy cream, milk, and vanilla syrup, you can achieve a velvety texture that rivals any café creation. Whether you use a frother or a whisk, the key is using fresh, cold ingredients for the best results. Now that you have the secret recipe, start experimenting with different flavors and enjoy your barista-quality brews at home.