How To Make Good Iced Coffee At Home
Stop settling for watery, overpriced drinks and learn how to make good iced coffee at home that rivals your favorite cafe. Whether you prefer a quick flash-brew method or a smooth overnight cold brew, achieving that perfect balance of bold flavor and refreshing chill is easier than you think. You will be sipping a barista-quality beverage in no time.
Essential Tools and Ingredients for Better Iced Coffee
Choosing the Best Coffee Beans for Cold Drinks
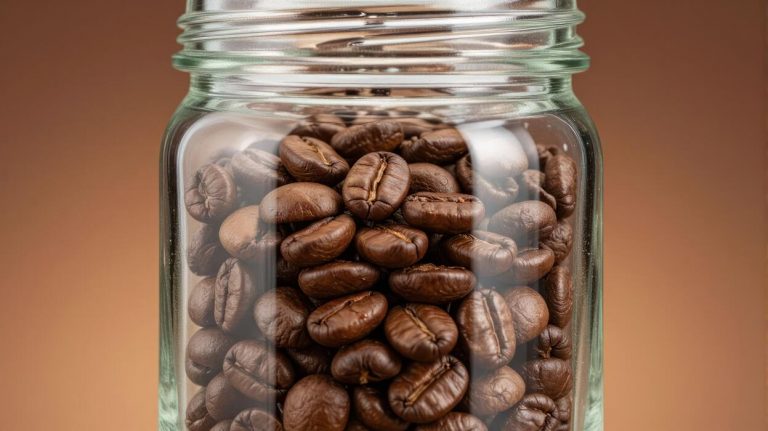
To elevate your home brewing experience, start with high-quality, whole-bean coffee specifically selected for its flavor profile. When making iced coffee, medium to dark roasts are generally preferred because they possess robust, chocolatey, and nutty notes that remain prominent even after being diluted by melting ice.
If you prefer the cold brew method, look for beans with low acidity to ensure a smooth, velvety finish. Always prioritize freshly roasted beans and grind them just before brewing to preserve the volatile oils that provide that signature aroma.
For traditional iced drip coffee, a medium-coarse grind works best, while cold brew requires a very coarse consistency to prevent over-extraction and bitterness. Experimenting with single-origin African beans can also introduce refreshing fruity undertones that pair beautifully with a splash of cold milk or cream.
By investing in specialty beans rather than pre-ground grocery store options, you ensure a complex and satisfying base for every chilled glass you prepare at home.
Why Water Quality and Temperature Matter
Since coffee is roughly 98% water, the quality of your tap is the most overlooked factor in achieving a professional-grade taste. Using filtered or bottled spring water removes chlorine and minerals that can lead to a metallic or harsh aftertaste in your iced drinks.
Temperature control is equally critical; for the ‘flash brew’ or Japanese iced coffee method, your water should be between 195°F and 205°F to properly extract the solubles before the hot liquid hits the ice.
If the water is too cool, the coffee will taste sour and weak; if it is boiling, you risk scorching the grounds. Conversely, when making cold brew, using room temperature filtered water and a long steeping time allows for a slow extraction that minimizes acidity.
Consistently monitoring these variables ensures that your coffee maintains a clean, crisp profile. Remember that high-quality water acts as a blank canvas, allowing the unique characteristics of your chosen beans to shine through without any distracting impurities or off-flavors.
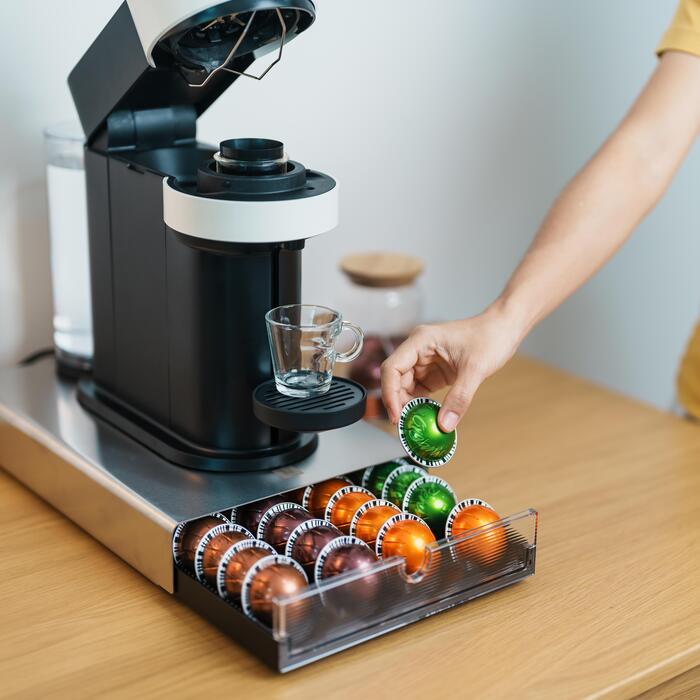
Must-Have Equipment for Your Home Coffee Bar
Building a functional home coffee setup does not require a massive investment, but a few specific tools make a significant difference. A burr grinder is the most essential tool, providing the uniform particle size necessary for balanced extraction, unlike blade grinders which create inconsistent dust.
For those who love a concentrated flavor, a French Press or AeroPress is ideal for creating a strong base that stands up well to ice. To avoid watered-down drinks, consider purchasing silicone large-cube ice trays; larger cubes melt slower, keeping your beverage cold without immediate dilution.
Another pro tip is using a digital kitchen scale to measure your coffee-to-water ratio accurately, ensuring a consistent brew every morning. Finally, a long-handled stirring spoon and a dedicated glass carafe will help you mix in sweeteners or syrups while the coffee is still warm.
Having these reliable tools on hand transforms the process from a chore into a rewarding ritual, allowing you to replicate your favorite café recipes with ease and precision.
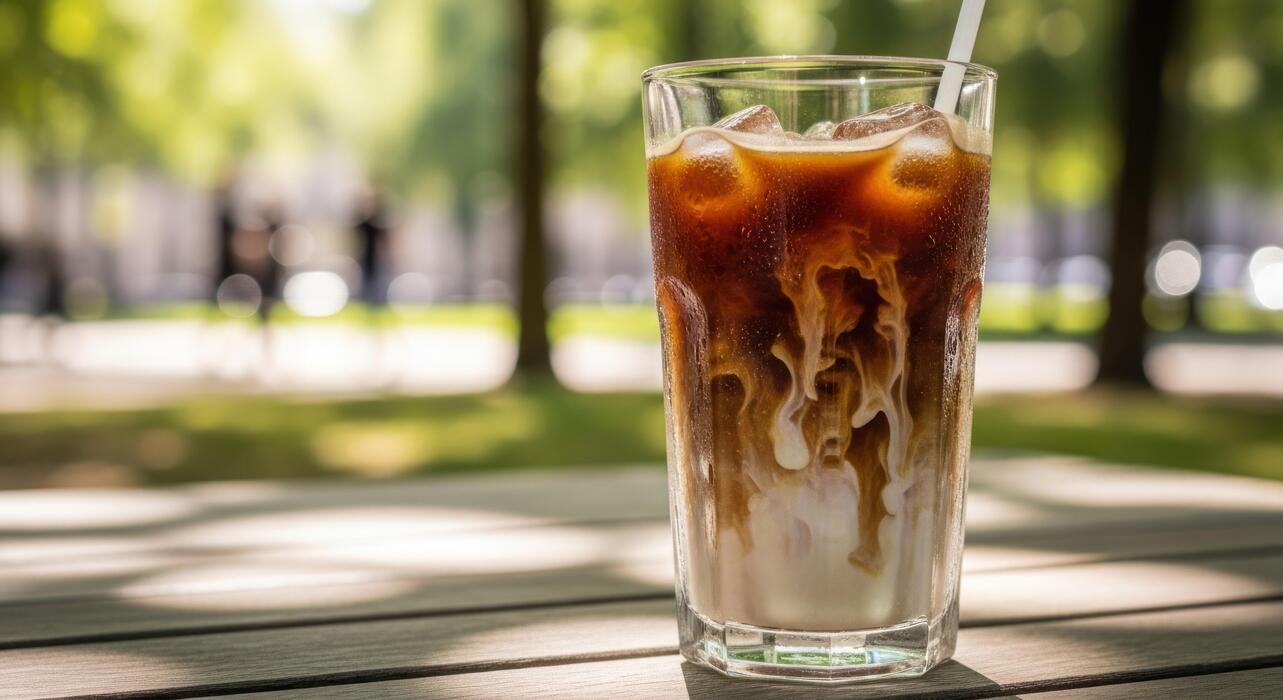
How to Make Flash Chilled Iced Coffee

The Science of Brewing Over Ice
Flash chilled iced coffee, also known as Japanese-style iced coffee, relies on the principle of instantaneous cooling to lock in delicate aromatics.
Unlike cold brew, which uses immersion and time to extract flavor, this method uses hot water to extract the coffee’s bright acidity and complex floral notes that are often lost in slower processes.
By brewing directly onto ice, you achieve an immediate temperature drop that prevents the oxidation and bitterness that typically occur when hot coffee cools down slowly at room temperature.
The key is to account for the ice as part of your total water volume to ensure the final beverage is perfectly balanced rather than watery. This thermal shock creates a vibrant, crisp profile that highlights the unique characteristics of your beans.
When you master this science, you can enjoy a café-quality beverage that is refreshing, clear, and significantly more flavorful than traditional iced methods used in most home kitchens today.
Step-by-Step Instructions for Pour-Over Iced Coffee
To begin, place your pour-over dripper atop a carafe filled with the calculated amount of fresh ice. Grind your coffee beans to a medium-fine consistency, similar to table salt, to ensure optimal extraction during the shorter contact time.
Start by saturating the grounds with a small amount of hot water—ideally between 195°F and 205°F—and let them bloom for thirty seconds to release trapped gases. Slowly pour the remaining hot water in steady, concentric circles, ensuring all grounds are evenly saturated.
As the concentrated coffee drips onto the ice, it will flash-chill instantly, melting the cubes and diluting the concentrate to the perfect strength. Once the filtration is complete, give the carafe a gentle swirl to ensure the temperature is uniform throughout the vessel.
Pour the finished brew into a fresh glass filled with clean ice. This technique ensures a silky mouthfeel and bright finish that makes home brewing feel like a professional experience every single morning.
Adjusting Your Coffee-to-Water Ratio
The most critical factor in successful flash chilling is the recalculation of your brewing ratio to account for dilution. Traditionally, a 1:16 ratio is used for hot coffee, but for the flash chill method, you should aim for a 50/50 split between hot water and ice.
For example, if your recipe calls for 300 grams of total water, you will use 150 grams of hot water for the brew and 150 grams of ice in the carafe.
This higher concentration of hot coffee is necessary because the ice will melt and become part of the final liquid volume. If you find the result too weak, try increasing the coffee dose slightly or using a finer grind to boost extraction.
Conversely, if the brew is too intense, you can shift the ratio to 60% hot water and 40% ice. Finding your personal sweet spot allows you to customize the strength and body of your iced coffee, ensuring a consistent, delicious result every time you brew.
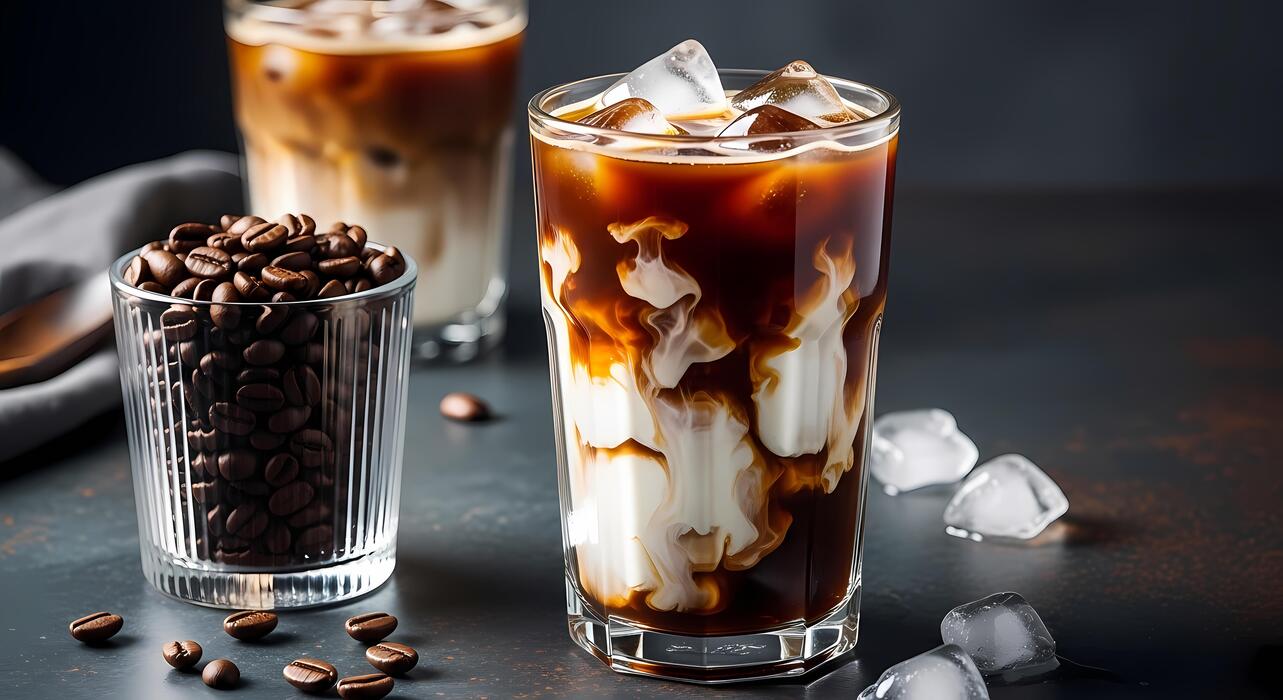
The Best Way to Brew Smooth Cold Brew at Home
Cold Brew vs. Iced Coffee: Key Differences
Understanding the fundamental distinction between these two methods is the first step toward crafting a professional-quality beverage in your kitchen.
Traditional iced coffee is typically made by brewing hot coffee at double strength and pouring it over ice, which often results in a bright but acidic profile that can become watery as the ice melts.
In contrast, cold brew relies on time rather than heat to extract flavor, resulting in a significantly lower acidity level and a naturally sweeter, chocolatey taste profile.
By steeping coarse grounds in room temperature water for an extended period, you avoid the release of bitter oils and acidic compounds that are often triggered by boiling water.
This makes cold brew the superior choice for those with sensitive stomachs or anyone seeking a velvety, smooth mouthfeel that remains consistent even as it chills.
Choosing the right beans is vital; look for medium to dark roasts to maximize those rich, bold notes that characterize the best homemade cold brew experiences.
Easy Overnight Steeping Method
The secret to a perfect batch lies in a simple, hands-off overnight process that requires minimal equipment. Start with a coarse grind size, resembling sea salt, to ensure the water filters through effectively without creating a cloudy or muddy texture.
Use a ratio of one part coffee to four parts filtered water for a robust concentrate. Simply combine the grounds and water in a large mason jar or specialized cold brew carafe, ensuring all grounds are fully saturated.
Let the mixture sit on your counter or in the refrigerator for 12 to 18 hours. Shorter times will yield a tea-like consistency, while longer steeping creates a deeper, more intense flavor profile.
Once the time is up, use a fine-mesh sieve lined with a paper filter or a nut milk bag to strain the liquid.
This slow extraction process is incredibly forgiving, making it the most reliable way for beginners to achieve a consistent, cafe-quality result every single time they brew at home.
How to Dilute Your Cold Brew Concentrate
Because the steeping method produces a potent concentrate, the final step of dilution is where you can truly customize the strength to your personal preference.
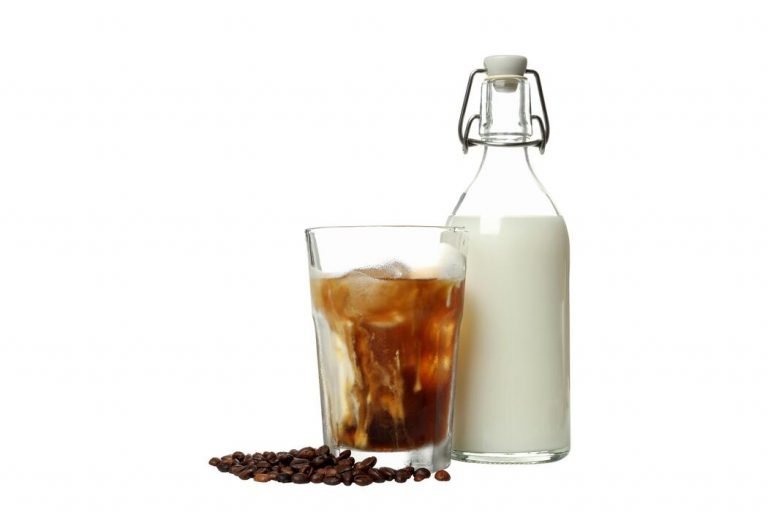
A standard starting point is a 1:1 ratio of concentrate to liquid, but this can be adjusted based on how bold you like your caffeine kick. For a classic iced coffee experience, pour your concentrate over a glass filled with fresh ice and add cold filtered water.
If you prefer a creamier texture, replace the water with your choice of whole milk, oat milk, or almond milk, which beautifully complements the low-acid profile of the brew. To prevent your drink from becoming diluted as the ice melts, consider freezing small amounts of coffee into ice cubes.
This ensures your last sip is just as flavorful as the first. Experimenting with different ratios allows you to master the balance of flavor and intensity, turning a simple jar of steeped grounds into a versatile base for lattes, black coffee, or even flavored coffee cocktails.
Quick Methods Using an Aeropress or French Press
Fast Iced Coffee with an Aeropress
To craft a rapid iced coffee using an Aeropress, utilize the flash-brew technique by brewing a concentrated shot directly over a glass filled with ice. Start by placing a paper filter in the cap and rinsing it to remove any woody taste.
Add 18 to 20 grams of finely ground coffee to the chamber, then pour in only 100ml of hot water. Stir the mixture gently for ten seconds to ensure full saturation and let it steep for about one minute.
The goal is to create a high-intensity concentrate that maintains its flavor profile even after dilution. When you press the plunger, the hot liquid hits the ice immediately, which instantly locks in the bright acidity and volatile aromatics that often dissipate in slower cooling methods.
This method is superior because it prevents the beverage from becoming watery or weak. Always ensure your glass has enough large ice cubes to facilitate rapid chilling without melting entirely during the initial plunge, resulting in a crisp, cafe-quality result in minutes.
Using a French Press for Cold Extraction
While typically associated with hot brewing, the French Press is an exceptional tool for making a small batch of cold brew concentrate overnight. Begin by adding a coarse grind of your favorite beans to the carafe, using a ratio of one part coffee to four parts filtered water.
Stir the grounds gently to ensure they are fully submerged, then place the lid on top without pressing the plunger down. Leave the carafe on your counter or in the refrigerator for twelve to eighteen hours.
This extended contact time allows for a slow extraction that minimizes bitterness and highlights chocolatey notes. Once the time has elapsed, slowly press the filter down to separate the grounds. You are left with a smooth, low-acid concentrate that can be stored for several days.
To serve, simply dilute the concentrate with equal parts cold water or milk over fresh ice. This method provides a rich, heavy-bodied mouthfeel that characterizes the classic cold brew experience without requiring any specialized or expensive laboratory equipment.
Tips for a Cleaner Cup Without Sediment
One common challenge when using immersion methods like the French Press for iced coffee is the presence of fine silt or sediment at the bottom of the glass. To achieve a crystal-clear finish and a lighter body, consider double-filtering your brew.
After the initial extraction, pour the finished coffee through a standard paper coffee filter or a fine-mesh sieve lined with cheesecloth. This extra step effectively removes the micro-fines that cause a muddy texture, ensuring each sip is crisp and refreshing.
Additionally, pay close attention to your grind consistency; using a high-quality burr grinder helps produce uniform particles, which prevents over-extraction of smaller dust-like grounds.
If you find your Aeropress iced coffee is too cloudy, try using two paper filters instead of one to increase the filtration pressure and trap more oils. These small adjustments significantly improve the visual clarity and overall taste of your homemade beverage, making it indistinguishable from a professional pour-over.
Focusing on these details ensures a smooth, grit-free drinking experience that allows the natural sweetness of the beans to shine.
How to Prevent Watered-Down Iced Coffee
How to Make Coffee Ice Cubes
One of the most effective strategies to maintain the integrity of your beverage is to replace standard water-based ice with coffee ice cubes. To do this, simply brew a fresh pot of your favorite blend and let it reach room temperature before pouring it into a standard silicone ice tray.
For an extra boost of flavor, you can even stir in a small amount of simple syrup or cocoa powder before freezing. Once these cubes are solid, they serve as a cooling agent that actually strengthens your drink as it melts, rather than diluting it.
This method ensures that the final sip of your iced coffee is just as robust and flavorful as the very first. It is a perfect solution for those who enjoy sipping their drinks slowly over several hours.
By keeping a steady supply of these caffeine-infused cubes in your freezer, you eliminate the primary cause of watery coffee while adding a professional, gourmet touch to your daily routine.
Using HyperChillers and Rapid Cooling Tools
If you prefer to avoid ice altogether or need a quick solution, investing in a HyperChiller or rapid cooling device is a game-changer for home baristas.
These tools are designed to drop the temperature of hot liquids by up to 130 degrees in less than sixty seconds without ever exposing the coffee to melting ice.
The device typically utilizes a multi-chamber stainless steel design surrounded by frozen water, allowing the hot coffee to circulate against cold surfaces for instantaneous cooling. This process preserves the delicate aromatic oils and flavor profiles that are often lost when coffee is left to cool slowly at room temperature.
Because the coffee becomes ice-cold almost immediately, you can pour it directly over a minimal amount of ice or drink it straight, ensuring zero dilution.
This technology is ideal for busy mornings when you do not have time to wait for a traditional brew to chill, providing a consistent, high-quality result that mimics the sophisticated cooling techniques used in high-end specialty cafes.
The Benefit of Double-Strength Brewing
A fundamental rule for crafting the perfect homemade iced coffee is to utilize the double-strength brewing technique. Since the coffee will inevitably encounter ice, you must compensate for the future dilution by doubling the amount of coffee grounds used relative to the water volume.
For instance, if you typically use two tablespoons of grounds for an eight-ounce cup, increase that to four tablespoons. This creates a highly concentrated extraction that possesses enough body and intensity to withstand the melting ice.
When the hot, concentrated liquid hits the ice, the initial melt-water acts as the missing component to balance the brew to a standard strength. This approach is particularly effective for drip machines and pour-over methods where heat is used during extraction.
By intentionally over-extracting the flavor profile, you ensure that the body and acidity of the coffee remain prominent even after the ice has partially dissolved.
This simple adjustment in your brewing ratio is the most reliable way to achieve a professional-grade mouthfeel and a bold, satisfying taste in every single glass.
Simple Ways to Flavor and Sweeten Your Drink
How to Make Homemade Simple Syrup
One of the most effective ways to sweeten iced coffee without dealing with undissolved sugar granules at the bottom of your glass is to create a homemade simple syrup. To start, combine equal parts water and granulated sugar in a small saucepan over medium heat.
Stir the mixture constantly until the sugar is completely dissolved and the liquid appears clear, then remove it from the heat to cool. For a richer flavor profile, you can experiment with brown sugar to make a caramel-like syrup or honey for a more floral note.
Once cooled, store your syrup in a sealed glass jar in the refrigerator for up to one month. This method ensures your drink is perfectly sweetened from the first sip to the last, as the liquid sugar integrates seamlessly into cold liquids.
You can even infuse the syrup with a pinch of sea salt to balance the bitterness of the coffee beans, making your DIY beverage taste like it came from a professional cafe.
Best Milk and Dairy-Free Alternatives
Choosing the right creamy base is essential for a balanced iced coffee, as the fat content significantly impacts the texture and mouthfeel of your drink. For those who prefer traditional dairy, whole milk or half-and-half provides a luxurious richness that stands up well against strong cold brew.
However, if you are looking for dairy-free options, oat milk is widely considered the gold standard due to its naturally creamy consistency and subtle sweetness that mimics cow’s milk.
Almond milk offers a lighter, nuttier profile but can sometimes separate in cold coffee, so look for ‘barista blend’ versions designed for better emulsification. For a tropical twist, coconut milk adds a refreshing brightness that pairs beautifully with lighter roast beans.
No matter which option you choose, always pour the milk over the ice after the coffee to create those beautiful aesthetic swirls. Experimenting with different fat percentages or plant-based proteins allows you to customize the body of your beverage to your specific preference every single morning.
Creative Toppings and Natural Flavor Add-ins
To elevate your home brewing game beyond basic sweeteners, consider incorporating natural flavor extracts and aromatic spices directly into your glass. A half-teaspoon of pure vanilla extract or almond extract can transform a plain iced latte into a gourmet treat without adding extra calories.
For a warm, spicy kick, try shaking a bit of ground cinnamon or nutmeg over the ice before pouring the coffee, which helps the flavors bloom.
If you want to get creative, add a splash of maple syrup for an earthy sweetness or a drop of peppermint oil for a refreshing summer cooler.
Toppings also play a huge role in the experience; a dollop of whipped cream or a sprinkle of cocoa powder can make your morning routine feel like a special occasion.
For the ultimate hack, try freezing leftover coffee into ice cubes so your drink doesn’t get watered down as you sip. These small additions provide a complex flavor profile that rivals expensive coffee house menus while using simple pantry staples found in your kitchen.
Common Mistakes to Avoid When Making Iced Coffee
Why You Should Never Pour Hot Coffee into Plastic
One of the most frequent errors in home brewing is transferring freshly brewed, hot coffee directly into plastic pitchers or storage containers. This mistake is problematic for both flavor and health reasons.
When high-heat liquids come into contact with standard plastic, it can cause the material to leach unwanted chemicals like BPA or phthalates into your beverage, which significantly compromises safety. Furthermore, plastic is known to be porous and tends to absorb oils and odors from previous uses.
When you pour hot coffee into these containers, the heat releases those trapped flavors, resulting in a distorted, plasticky, or stale taste that ruins your drink.
To ensure the cleanest flavor profile and maintain the highest safety standards, always use borosilicate glass or stainless steel containers for the initial cooling phase.
These materials are non-reactive and can withstand rapid temperature changes without cracking or affecting the delicate aromatic compounds of your favorite coffee beans, ensuring a professional-quality result every single time you brew.
Fixing Bitter or Sour Flavors
If your iced coffee tastes unpleasantly sharp or muddy, the issue usually lies in your extraction parameters. Sourness is a classic sign of under-extraction, often caused by using water that is too cold or a grind size that is much too coarse for your chosen brewing method.
Conversely, extreme bitterness suggests over-extraction, which happens when the coffee sits in hot water for too long or the grind is too fine, leading to the release of harsh tannins.
To fix these issues, focus on achieving a consistent medium-coarse grind and aim for a water temperature between 195 and 205 degrees Fahrenheit. If you are making flash-chilled coffee, remember to adjust your ratio to account for the dilution from the ice.
Using a digital scale to weigh your grounds ensures precision, helping you avoid the guesswork that leads to flavor imbalances. By fine-tuning these variables, you can transform a mediocre cup into a balanced, refreshing drink that highlights the natural sweetness and acidity of the coffee.
Proper Storage Tips for Leftover Coffee
Many people assume that coffee lasts indefinitely in the fridge, but oxygen is the ultimate enemy of freshness. Leaving an open pitcher of coffee in the refrigerator will cause it to oxidize rapidly, leading to a flat and papery taste within just a few hours.
To preserve those vibrant notes, you should store your coffee in an airtight glass container as soon as it reaches room temperature. For the best results, try to consume refrigerated coffee within twenty-four to forty-eight hours to enjoy its peak flavor profile.
Another professional tip to avoid dilution is to pour your leftover coffee into silicone ice cube trays. Freezing coffee into cubes allows you to chill future drinks without watering them down as the ice melts.
If you notice a film or an off-smell, it is likely that the natural oils in the coffee have gone rancid, so it is best to start a fresh batch. Maintaining a clean, sealed environment is the most effective way to keep your homemade iced coffee tasting bakery-fresh.
Frequently Asked Questions
What is the best coffee-to-water ratio for iced coffee?
For a standard brew that won’t taste watery, use a 1:15 ratio, or about 2 tablespoons of coffee for every 6 ounces of water. If you are pouring hot coffee directly over ice, double the amount of grounds to create a concentrate that compensates for the melting ice.
How do I prevent my iced coffee from tasting watered down?
The best way to avoid dilution is to use coffee ice cubes made by freezing leftover coffee in an ice tray. Alternatively, you can brew your coffee at double strength or use the cold brew method, which naturally results in a stronger concentrate.
Can I use a regular drip coffee maker for iced coffee?
Yes, you can use a drip machine by brewing a concentrated pot using half the usual amount of water. Once brewed, let it cool slightly before pouring it into a glass filled to the brim with ice to chill it instantly.
What is the difference between iced coffee and cold brew?
Iced coffee is brewed hot and then cooled down, resulting in a crisp, acidic flavor profile. Cold brew is made by steeping coarse grounds in room temperature water for 12-24 hours, creating a smoother, less acidic, and more caffeinated drink.
How do I sweeten iced coffee without the sugar sitting at the bottom?
Granulated sugar does not dissolve well in cold liquids, so it is best to use a simple syrup made of equal parts sugar and water. You can also add sweeteners to the coffee while it is still hot before pouring it over ice.
What type of coffee roast is best for serving cold?
Medium to dark roasts are generally preferred for iced coffee as they have bold, chocolatey, or nutty notes that stand up well to milk and ice. Light roasts can sometimes taste overly sour or weak when chilled.
Conclusion
Mastering the art of homemade iced coffee is a rewarding journey that saves money and allows for endless customization. By focusing on quality beans, experimenting with cold brew versus flash-chilling, and using coffee ice cubes to prevent dilution, you can achieve café-quality results in your own kitchen. Do not be afraid to play with unique syrups and milk alternatives. Now that you have the tools and techniques, it is time to start brewing your perfect glass today.