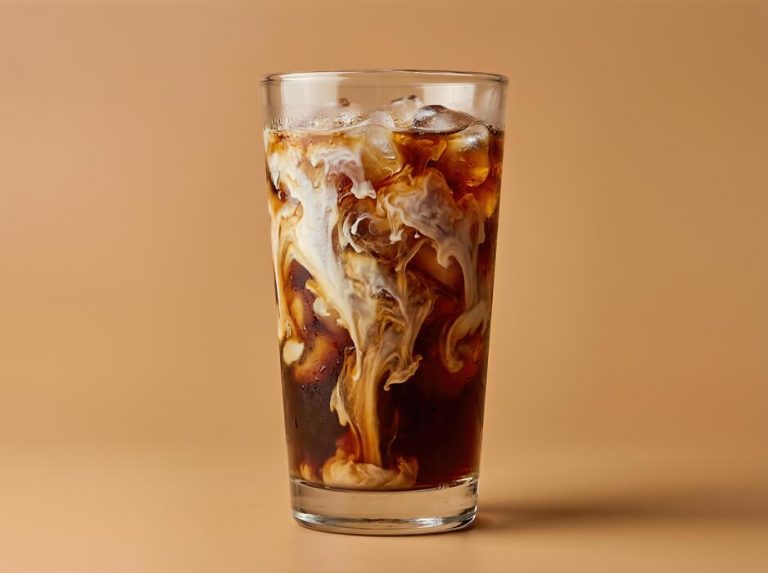
How To Make Home Cold Brew Coffee
Stop spending five dollars at the cafe when the perfect cup is waiting in your kitchen. Making home cold brew coffee is surprisingly simple, requiring just two ingredients and a little patience. Whether you crave a bold concentrate or a smooth, ready-to-drink glass, we have you covered. Ready to master the craft? Let’s dive into the quickest way to make professional-grade cold brew today.
What is cold brew coffee and why it tastes better
The difference between cold brew and iced coffee
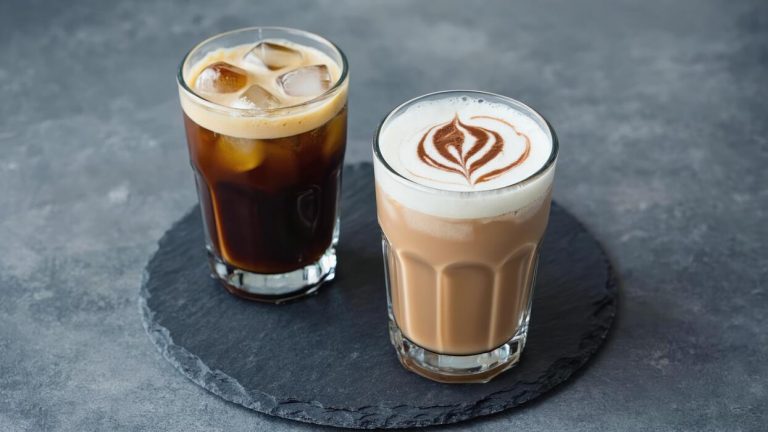
Understanding the distinction between these two beverages is the first step in learning how to make home cold brew coffee successfully. While iced coffee is simply standard drip coffee brewed with hot water and then poured over ice, cold brew is never exposed to heat during the entire process.
To create a superior concentrate at home, you must steep coarse coffee grounds in room temperature water for a period of twelve to twenty-four hours. This fundamental difference in temperature fundamentally alters the chemical composition of the final drink.
Iced coffee often tastes diluted because the melting ice reacts with the hot-extracted oils, whereas cold brew maintains a rich, velvety body and consistent strength even when ice is added.
By choosing the cold immersion method, you avoid the flash-chilling process that can make traditional coffee taste thin or overly bitter. Mastering this simple distinction allows you to produce a professional-grade beverage in your own kitchen with minimal specialized equipment required.
Why low acidity matters for your stomach
One of the most compelling reasons to switch to this method is the significant reduction in acid levels compared to heat-based brewing.
When you use hot water, it extracts certain oils and fatty acids that can be harsh on the digestive system, leading to heartburn or acid reflux for many drinkers.
In contrast, the cold water extraction process results in a drink that is roughly sixty percent less acidic than traditional coffee, making it a much gentler option for your stomach.
This chemical profile allows the natural sweetness of the beans to shine through without the sharp bite associated with high-temperature brewing. If you have a sensitive digestive tract, making cold brew at home is a game-changer because it provides a smooth, stomach-friendly caffeine source that doesn’t sacrifice flavor.
By eliminating the heat, you essentially filter out the compounds responsible for bitterness, resulting in a naturally sweet concentrate that requires less sugar and dairy to enjoy comfortably throughout the day.
The science of slow extraction
The secret behind the superior flavor profile of home-brewed cold coffee lies in the chemistry of time versus temperature. High temperatures accelerate the extraction of solubles, but they also trigger oxidation and the breakdown of certain delicate compounds, which often leads to a sour or metallic aftertaste.
By using time as the primary extraction variable, you allow the water to slowly draw out the deep chocolatey, nutty, and fruity notes of the bean without the interference of heat-induced chemical reactions.
This slow-motion brewing process ensures that you capture only the most desirable flavor molecules, creating a complex and highly concentrated liquid that stays fresh in your refrigerator for up to two weeks.
To achieve the best results at home, ensure you use a coarse grind size similar to sea salt, which prevents over-extraction and keeps the final product clear and crisp.
This scientific approach to brewing transforms humble coffee grounds into a sophisticated elixir that is far more flavorful and versatile than any quick-brewed alternative.
Essential equipment for making cold brew at home

Mason jars vs. dedicated cold brew makers
When deciding on your primary vessel, you must choose between a simple mason jar or a specialized cold brew maker. A large mason jar is the most cost-effective and accessible method for beginners, offering a versatile glass container that fits easily into refrigerator doors.
However, using a jar requires manual straining later, which can be messy. On the other hand, dedicated brewers like the Toddy system or steeping carafes come with built-in filtration systems that streamline the process significantly.
These units are specifically designed to maximize water-to-ground contact while making the final cleanup much faster. If you plan to make cold brew frequently, investing in a dedicated brewer with a spigot or integrated filter is highly recommended for consistency.
For those just testing the waters, a standard half-gallon glass jar provides an excellent, non-reactive environment for the long extraction process without requiring an upfront financial commitment or specialized storage space.
The importance of a coarse burr grinder
The most critical tool for high-quality cold brew is a coarse burr grinder. Unlike standard drip coffee, cold brew requires a very heavy, extra-coarse grind resembling sea salt or breadcrumbs.
Using a blade grinder often results in uneven particles and fine dust, which leads to over-extraction and a bitter, muddy flavor profile. A burr grinder ensures uniform particle size, which is essential because the long steeping time of 12 to 24 hours makes the coffee highly sensitive to surface area.
If the grounds are too fine, they will clog your filters and produce a cloudy concentrate that lacks the signature smoothness of cold brew.
By investing in a quality manual or electric burr mill, you gain total control over the extraction rate, ensuring that your cold brew remains sweet, low in acidity, and incredibly clean. This precision is the secret to moving beyond basic iced coffee to a professional-grade home concentrate.
Filtering options: Paper, mesh, or cheesecloth
Choosing the right filtration method determines the final body and clarity of your beverage. Paper filters are the gold standard for achieving a crisp, sediment-free concentrate because they trap fine particles and absorb many of the coffee’s oils.
This results in a very clean taste but may require a slower drawdown time. Alternatively, stainless steel mesh filters are eco-friendly and reusable, allowing more natural oils to pass through for a creamier, fuller-bodied mouthfeel.
However, mesh can sometimes let fine sediment through, leaving a slight silt at the bottom of your carafe. For a traditional DIY approach, multi-layered cheesecloth or a nut milk bag offers a flexible middle ground, though they can be difficult to clean and may retain odors over time.
For the best results, many home baristas prefer a dual-filtration strategy, passing the coffee through a metal mesh first to remove large grounds, followed by a quick pass through paper to ensure absolute liquid clarity and a professional finish.
Choosing the best coffee beans for cold extraction
Why dark roasts work best for cold brewing
When selecting beans for cold extraction, dark roasts are widely considered the gold standard because the low-temperature brewing process excels at highlighting deep, chocolatey, and nutty notes.
Unlike hot brewing, which can sometimes over-extract bitter compounds from dark beans, cold water gently pulls out a rich, syrupy body and natural sweetness without the harshness.
Darker beans have a more porous structure due to the longer roasting process, allowing water to penetrate more easily during the long sixteen-hour immersion. This results in a concentrated brew that maintains its flavor profile even when diluted with milk or ice.
If you enjoy a bold, low-acid coffee experience, look for beans labeled as French Roast or Espresso Blend. These varieties provide the classic, heavy-bodied foundation that makes home cold brew so satisfying.
By choosing a dark roast, you ensure your beverage has enough intensity to stand up to melting ice cubes while maintaining a smooth, velvet-like finish that characterizes high-quality cold extraction.
Single origin vs. blends for smooth flavor
Choosing between single origin beans and blends depends entirely on your desired flavor complexity. Blends are specifically engineered for consistency, often combining beans from different regions to create a balanced, reliable profile that is perfect for daily cold brewing.
Because cold extraction mutes bright acidity, blends often lean into reliable notes of caramel and cocoa, ensuring every batch tastes similar. On the other hand, single origin beans offer a unique adventure, allowing you to taste the specific characteristics of a single geographic region.
For instance, an Ethiopian single origin might produce a surprisingly floral and fruity cold brew, though these delicate notes can sometimes be lost in the long steeping process.
For most home brewers, a high-quality medium-dark blend is the most practical choice, as it provides a robust and harmonious flavor that remains stable throughout the week.
If you prefer a more nuanced and experimental cup, try a single origin from Sumatra or Brazil, which typically features the earthy and nutty undertones that thrive in cold water.
The impact of bean freshness on the final cup
While cold brew is often praised for being more forgiving than hot coffee, using freshly roasted beans is still essential for a vibrant and aromatic result.
Coffee beans begin to lose their volatile oils and aromatic compounds immediately after roasting, and since cold brew relies on a long contact time to extract flavor, stale beans will result in a flat, woody, or even dusty taste.
For the best results, aim to use beans that were roasted within the last two to four weeks. Additionally, the timing of the grind is crucial; you should always grind your beans immediately before brewing to prevent oxidation.
Because cold extraction requires a very coarse, breadcrumb-like consistency, grinding fresh ensures the cell structure of the bean is open and ready to release its oils into the water. Avoid pre-ground coffee if possible, as the increased surface area leads to rapid staling.
By prioritizing freshly roasted whole beans and a consistent coarse grind, you will achieve a bright, clean, and flavorful concentrate that far surpasses any store-bought alternative.
The perfect cold brew ratio and grind size
How to calculate the coffee-to-water ratio
Finding the ideal balance for your home brew starts with understanding the strength of the final product you desire. For a versatile cold brew concentrate that can be diluted with milk or water later, a 1:4 ratio is the gold standard.
This means using one part coffee to four parts water by weight. If you prefer a ready-to-drink beverage that is smooth and ready right out of the fridge, aim for a 1:8 ratio instead.
Calculating this is simple: if you have 250 grams of coffee beans, you will need 1,000 grams of filtered water for a concentrate. This specific concentration allows for the long extraction time necessary to pull out the natural sweetness of the beans without over-extracting bitter notes.
Using filtered water is a critical component of this calculation, as it ensures that the subtle chocolate and nutty undertones of your beans are the primary flavors showcased in your morning glass.
Why extra coarse grind is non-negotiable
The texture of your coffee grounds is the most important technical factor in achieving a clean, sediment-free cold brew. You must use an extra coarse grind, which should resemble the consistency of sea salt or peppercorns.
Because cold brew relies on a long immersion time—usually between 12 and 24 hours—fine grounds will over-extract rapidly, leading to an unpleasantly bitter and astringent taste. Furthermore, using a burr grinder ensures uniformity, which prevents fine dust from passing through your filter and creating a muddy mouthfeel.
Coarser grounds allow the water to flow freely around each particle, gently pulling out the oils and caffeine over time while leaving the harsh acids behind.
If you use a standard drip grind, you risk a cloudy brew that is difficult to filter and lacks the signature velvety smoothness that makes cold brew so popular. Investing in a high-quality coarse grind is the definitive secret to professional-grade results at home.
Measuring by weight vs. measuring by volume
While it may be tempting to use measuring cups for speed, measuring your ingredients by weight using a digital kitchen scale is the only way to ensure consistent results every time you brew.
Coffee beans vary significantly in density depending on their roast level and origin; a cup of dark roast beans weighs much less than a cup of light roast beans. By using grams as your primary unit, you eliminate the guesswork and ensure your 1:4 or 1:8 ratio is precise.
If you absolutely must use volume, a general rule is to use one cup of ground coffee for every four cups of water, but be aware that this is far less accurate.
Precision is particularly important for cold brew because the large batch sizes mean that small errors in measurement are magnified, potentially wasting expensive specialty beans. For the most reliable and repeatable flavor profile, always weigh both your coffee and your water to achieve the perfect balance of strength and clarity.
Step-by-step guide to brewing your first batch
Mixing the grounds and filtered water
To begin your home cold brew journey, start by selecting a high-quality coffee bean and grinding it to an extremely coarse consistency, resembling sea salt or breadcrumbs. This specific texture is vital because it prevents over-extraction and keeps the final brew from becoming overly bitter or muddy.
Use a standard ratio of 1:4 or 1:5 coffee to water for a concentrated base that you can dilute later. Place your grounds into a large glass jar or specialized cold brew carafe and pour in cold, filtered water slowly.
Using filtered water is essential as it removes impurities that can mask the delicate flavor profiles of the bean. Once the water is added, use a long spoon to gently stir the mixture, ensuring every single coffee ground is fully saturated.
Avoid over-mixing; you simply want to eliminate any dry pockets. Cover the container tightly with a lid or plastic wrap to protect the liquid from absorbing any stray odors from your kitchen environment during the process.
Steeping times for room temperature vs. fridge
The duration of your steep depends heavily on the temperature of the environment where the vessel is stored. If you choose to leave your coffee on the kitchen counter at room temperature, the extraction process happens more rapidly, typically requiring between 12 to 15 hours.
This method often results in a bolder, more rounded flavor profile. Conversely, if you prefer to steep your batch inside the refrigerator, the cold environment slows down the chemical extraction significantly.
For a refrigerated steep, you should aim for a window of 18 to 24 hours to achieve the desired strength and smoothness.
It is important not to exceed the 24-hour mark, as over-steeping can begin to pull out unpleasant woody notes and harsh tannins that ruin the mellow characteristics of cold brew. Always set a timer or mark the start time on the jar so you can monitor the progression accurately.
Taste testing near the end of the window helps you find your personal ideal flavor intensity.
How to properly strain without sediment
Achieving a crystal-clear cup requires a meticulous two-step filtration process to remove all fine particles and residual sediment. Begin by pouring the steeped mixture through a fine-mesh metal sieve to catch the largest spent grounds.
For the second, more critical pass, line a funnel or the sieve with a paper coffee filter or a clean piece of cheesecloth.
Slowly pour the liquid through this secondary layer; do not be tempted to squeeze the filter, as this forces fine dust and oils into your concentrate, creating a cloudy appearance and a gritty mouthfeel. Let gravity do the work naturally, even if it takes several minutes to finish.
Once the straining is complete, transfer your clean cold brew concentrate into a fresh glass bottle. This concentrate can be stored in the fridge for up to two weeks.
When you are ready to serve, simply dilute the liquid with equal parts water or milk over ice for a perfectly smooth finish that highlights the natural sweetness of the coffee beans.
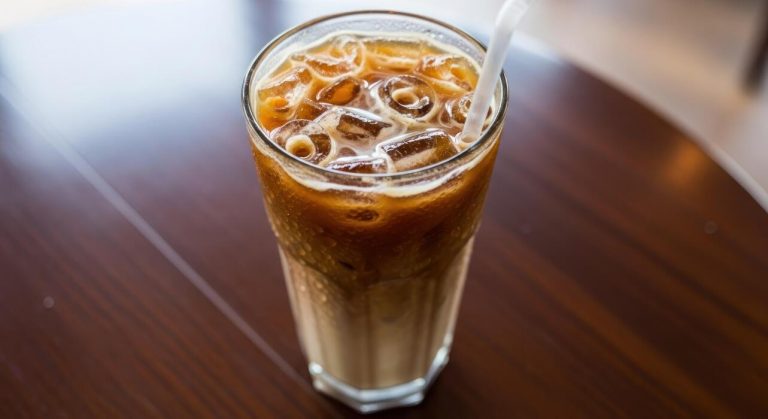
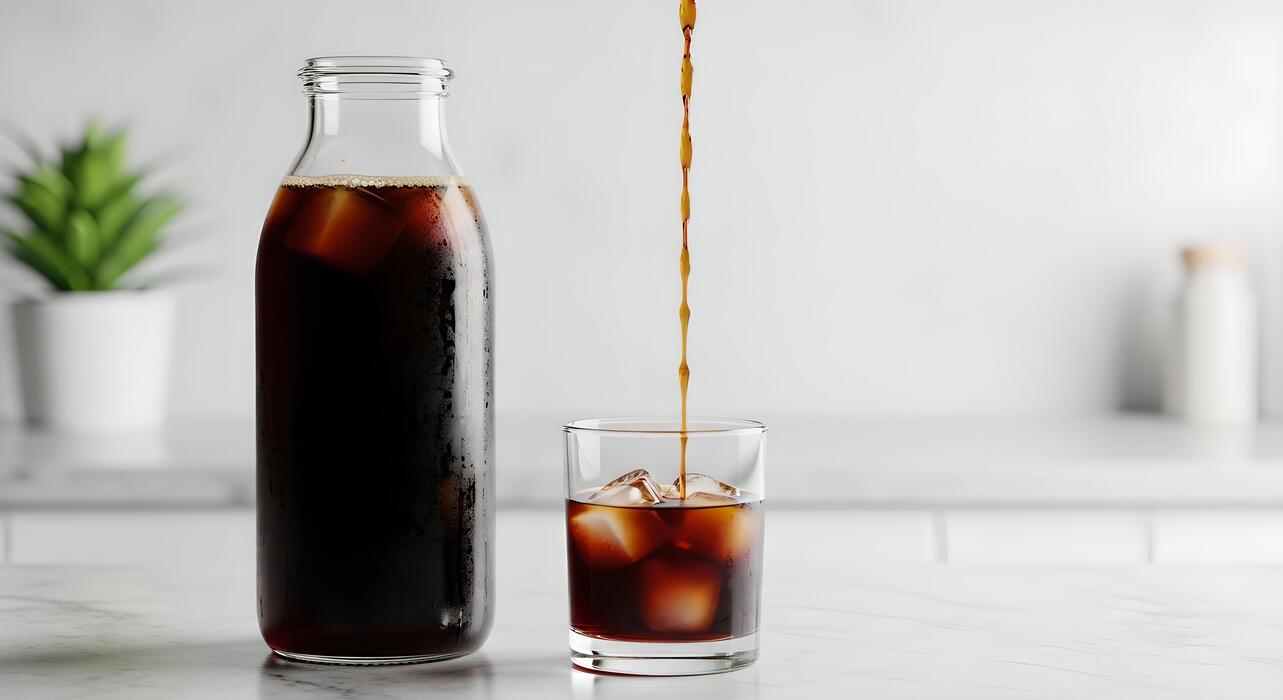
How to dilute and serve cold brew concentrate
Finding your ideal strength with water or milk
To master your home cold brew, you must first understand that the liquid in your pitcher is a potent concentrate. The gold standard for a balanced cup is a 1:1 dilution ratio, where you mix equal parts concentrate and filtered water or milk.
If you prefer a lighter, more refreshing beverage that highlights floral notes, try a 1:2 ratio to stretch the flavor profile.
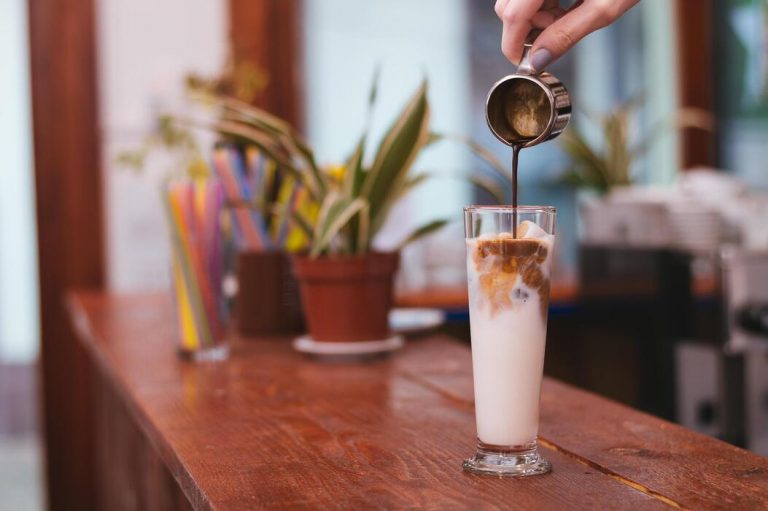
For those who enjoy a creamy, latte-like texture, substituting water with whole milk, oat milk, or almond milk adds a rich mouthfeel that complements the low acidity of the brew. Always pour your concentrate over fresh ice first, then slowly add your diluting liquid to ensure even distribution.
Using filtered water is critical, as tap water minerals can mask the subtle chocolate and nutty undertones you worked hard to extract. Experimenting with these ratios allows you to customize the caffeine kick and flavor intensity to match your personal morning routine or afternoon energy needs.
Creative ways to flavor your glass
Once you have diluted your concentrate, you can elevate the experience by adding layers of flavor that do not overpower the coffee. Unlike hot coffee, cold brew is less acidic, making it the perfect canvas for simple syrups and natural extracts.
Stir in a splash of vanilla or hazelnut syrup, or whisk in a spoonful of sweetened condensed milk for a decadent Vietnamese-style treat. For a healthier alternative, try a dash of ground cinnamon or a drop of almond extract to enhance the aromatic profile.
If you want a bubbly twist, mix your concentrate with tonic water or sparkling mineral water and a squeeze of citrus to create a refreshing coffee soda.
Another pro tip is to make cold brew ice cubes by freezing diluted concentrate; this prevents your drink from becoming watered down as the ice melts in the summer heat.
These small additions transform a basic glass of caffeine into a gourmet beverage that rivals any local specialty coffee shop experience.
Using cold brew for cocktails and cooking
The versatility of cold brew concentrate extends far beyond the breakfast table, serving as a powerful ingredient for mixology and culinary projects.
In the world of cocktails, use your concentrate as a robust base for an Espresso Martini or a Coffee Old Fashioned, where its smooth profile blends seamlessly with spirits like vodka or bourbon. The lack of bitterness makes it superior to chilled espresso for balanced drinks.
In the kitchen, you can swap out water or milk for concentrate in chocolate cake or brownie recipes to intensify the cocoa notes and add moisture.
It also functions beautifully in savory applications, such as a coffee-based marinade or steak rub, where the deep roasted flavors tenderize meat and add a smoky complexity. You can even whisk it into a homemade barbecue sauce for a unique depth of flavor.
By keeping a bottle of concentrate in your refrigerator, you have a ready-to-use flavor booster that enhances everything from evening libations to sophisticated desserts and savory dinner entrees.
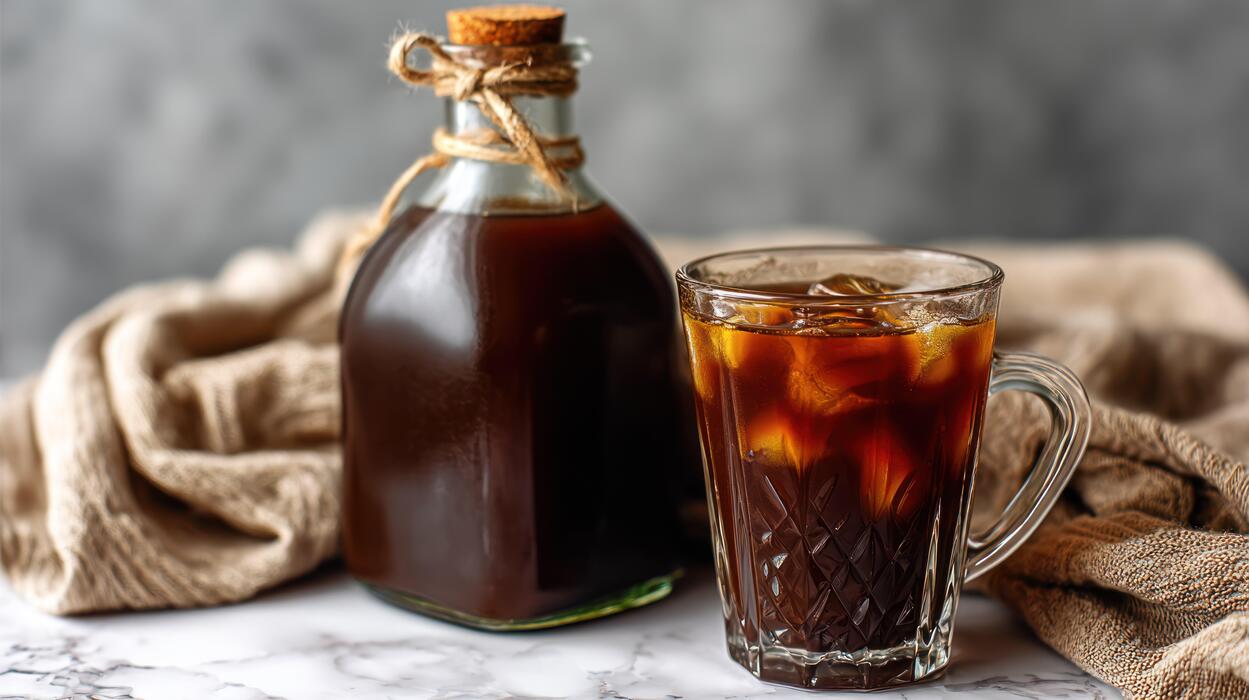
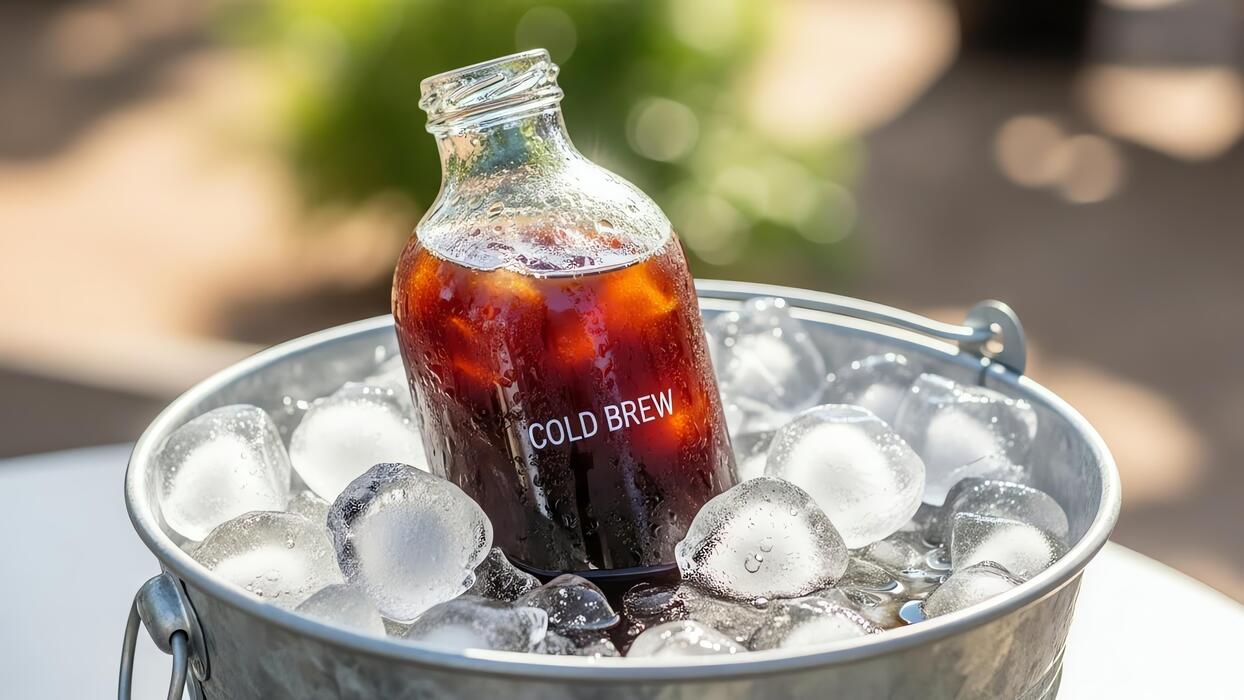
Tips for storing and keeping cold brew fresh
How long cold brew lasts in the refrigerator
To maintain the highest quality of your homemade cold brew, you must understand the difference between concentrate and diluted coffee. When stored in an airtight environment, a pure cold brew concentrate can maintain its peak flavor profile for up to two weeks.
However, once you dilute the mixture with water or milk, the shelf life drops significantly, usually lasting only two to three days before the taste begins to flatten.
To maximize freshness, always store your coffee in the coldest part of the refrigerator, typically the back of the middle shelf, rather than the door where temperature fluctuations occur frequently. Keeping the liquid at a consistent temperature prevents premature oxidation and bacterial growth.
If you find yourself making large batches, consider bottling the concentrate in smaller portions so you only open what you need, reducing the amount of oxygen exposure for the remaining supply.
This disciplined approach ensures that every glass you pour tastes as bold and smooth as the day it was filtered.
Signs that your coffee has gone bad
Even with proper refrigeration, cold brew will eventually lose its integrity, and identifying the warning signs is crucial for both taste and safety.
The first indicator is usually a noticeable change in aroma; if the coffee smells sour, fermented, or dusty rather than nutty and chocolatey, it is time to discard it.
Visually, look for any cloudiness or sediment shifts that weren’t present initially, as well as any signs of mold growth on the surface or around the rim of the container.
On the palate, spoiled cold brew will lose its characteristic sweetness and instead exhibit a sharp, acidic, or metallic bite that lingers unpleasantly. This happens because the oils in the coffee beans eventually turn rancid through oxidation.
If the brew tastes thin, watery, or lacks its original depth, the chemical compounds have broken down past the point of enjoyment. Trusting your senses is the most reliable way to ensure you are consuming a high-quality beverage that is still safe and delicious.
Best airtight containers for flavor preservation
The vessel you choose for storage plays a pivotal role in maintaining the delicate nuances of your cold brew. Glass carafes and mason jars are widely considered the gold standard because glass is a non-porous material that does not leach chemicals or absorb lingering flavors from previous batches.
Ensure your chosen container has a high-quality silicone or rubber seal to create a true airtight barrier, which is essential for preventing oxygen from dulling the coffee’s vibrant notes.
For those looking to take preservation a step further, amber-colored or opaque glass is excellent for blocking out light, which can degrade the organic compounds in the coffee over time.
Avoid using plastic containers if possible, as they can be porous and may impart a synthetic taste to the brew during long-term storage.
If you frequently make large quantities, a dedicated cold brew dispenser with a vacuum seal can minimize air contact each time you pour a glass, keeping the final serving just as fresh and flavorful as the very first one you enjoyed.
Frequently Asked Questions
What is the best coffee-to-water ratio for cold brew?
A standard ratio for cold brew concentrate is 1:4 (one cup of coffee to four cups of water). If you prefer a ready-to-drink brew that doesn’t require dilution, a ratio of 1:8 is recommended.
What grind size should I use for cold brew coffee?
You should use an extra-coarse grind, similar to the texture of sea salt or breadcrumbs. This prevents the coffee from becoming over-extracted and bitter during the long steeping process and makes filtering much easier.
How long should I steep cold brew at home?
Cold brew should typically steep for 12 to 18 hours. If you are steeping it in the refrigerator, you may want to lean toward the 18-hour mark, whereas room temperature brewing usually hits its peak flavor around 12 to 15 hours.
Do I need a special cold brew maker to brew at home?
No special equipment is required; you can simply use a large glass jar or pitcher. Once the steeping is complete, you can strain the mixture through a fine-mesh sieve lined with cheesecloth or a standard paper coffee filter.
How long does homemade cold brew stay fresh?
Undiluted cold brew concentrate can stay fresh in the refrigerator for up to two weeks when stored in an airtight container. If you have already diluted the coffee with water or milk, it is best consumed within 2-3 days.
Should I steep cold brew in the fridge or on the counter?
You can do either, but room temperature brewing is often preferred for a more efficient extraction. If you steep in the fridge, the cold temperature slows down the process, so you should allow for a longer steeping time to achieve the same strength.
Conclusion
Making cold brew coffee at home is a simple, cost-effective way to enjoy a smooth and flavorful caffeine kick. By focusing on a coarse grind, the right water-to-coffee ratio, and a patient steeping process, you can achieve café-quality results in your own kitchen. Now that you have mastered the basics, feel free to experiment with different beans and steep times. Start your first batch today and savor the refreshing reward of your DIY brew.