How To Use Starbucks Cold Brew Maker
Wondering how to use Starbucks cold brew maker? You’re not alone—many people buy this sleek pitcher only to fumble with the filter basket and steep time. The core problem is getting that smooth, concentrated brew without bitterness. You’ve come to the right place. The solution is simple: add coarse grounds to the filter, fill with cold water to the line, steep for 20 hours, then remove the filter and enjoy a rich concentrate that lasts all week.
What Comes with the Starbucks Cold Brew Maker
Parts of the cold brew maker: carafe, filter, and lid
The Starbucks Cold Brew Maker comes with three main components designed for seamless brewing. The glass carafe holds up to 7 cups of finished concentrate, featuring measurement markings for water and coffee grounds. The fine-mesh stainless steel filter screws onto the lid, trapping grounds while allowing water to flow through.
The airtight lid seals the carafe during steeping and includes a pour spout for serving. To use, simply unscrew the filter from the lid, add coarse-ground coffee, attach the filter to the lid, place it on the carafe, and fill with water.
After steeping 20-24 hours at room temperature, remove the filter assembly, discard grounds, and store the concentrate in the refrigerator. The carafe is dishwasher-safe (top rack), but hand-washing the filter is recommended to maintain its mesh integrity. Always ensure the lid is securely tightened before steeping to prevent spills.
Materials and build quality overview
The Starbucks Cold Brew Maker is constructed from durable borosilicate glass for the carafe, which resists thermal shock and won’t retain odors or stains. The stainless steel filter is double-layered with ultra-fine mesh to minimize sediment in your brew, unlike plastic filters that may warp over time.
The BPA-free plastic lid features a silicone gasket for an airtight seal, preventing oxidation and keeping your concentrate fresh for up to two weeks. The carafe’s wide mouth makes filling and cleaning easy, while the filter’s threading ensures a leak-proof connection.
For best results, avoid using abrasive cleaners on the glass to prevent scratches. The carafe’s weight and thickness indicate robust construction, but handle with care as glass can break if dropped.
The filter’s stainless steel construction is rust-resistant and designed for repeated use, making this a long-lasting cold brew solution when maintained properly.
What you need to supply yourself
To use the Starbucks Cold Brew Maker, you’ll need coarsely ground coffee (not pre-ground for drip machines) and cold, filtered water. Starbucks recommends their Starbucks Cold Brew Coffee Blend or any coarse-ground coffee with a 1:4 coffee-to-water ratio (1 cup grounds to 4 cups water).
You’ll also need a scale or measuring cup for precise ratios, and a stirring utensil (like a wooden spoon) to mix grounds and water after filling. For serving, supply your own ice cubes and any desired milk, cream, or sweeteners.
A fine-mesh strainer is optional if you want to double-filter for ultra-smooth results. Note that the maker does not include a coffee grinder, so buy pre-ground coarse coffee or grind whole beans yourself. For storage, have a sealed container handy if you want to transfer concentrate to another vessel.
Cleanup requires only mild dish soap and a soft sponge for the carafe and filter.
How to Set Up the Starbucks Cold Brew Maker
Step-by-step assembly instructions
Start by rinsing all components of your Starbucks Cold Brew Maker with warm water to remove any dust or residue. First, attach the black rubber gasket to the bottom of the clear brewing cylinder, ensuring it sits snugly for a leak-free seal.
Next, screw the stainless steel mesh filter onto the threaded cap—do not overtighten, just hand-tighten until secure. Place the filter cap onto the brewing cylinder, aligning the threads and twisting clockwise until it clicks into place.
Position the brewing cylinder upside down on a stable counter, then slide the carafe underneath the cylinder’s spout. Gently lower the brewing cylinder onto the carafe, making sure the spout aligns with the carafe opening.
Finally, add coarse-ground coffee (about 3.5 ounces or 1 cup) into the cylinder, then pour in 4 cups of cold, filtered water slowly to avoid overflowing. Stir gently with a long spoon to saturate all grounds. Secure the black plunger lid on top of the cylinder, pressing down firmly.
Let it steep at room temperature for 12-24 hours before pressing the plunger down to separate grounds from concentrate. This setup ensures smooth, rich cold brew every time.
How to insert the filter correctly
Proper filter insertion is crucial for optimal extraction and minimal sediment. Begin by removing the black rubber gasket from the brewing cylinder if it’s already attached. Take the stainless steel mesh filter and hold it with the flat side facing down toward the carafe.
Screw the filter onto the threaded cap by turning it clockwise until snug—avoid overtightening to prevent damage to the threads. Check that the filter sits flush against the cap’s rim; any gaps can allow coffee grounds to escape.
Reattach the rubber gasket by stretching it over the filter cap’s base, ensuring it covers the entire circumference. Place the filter cap assembly onto the brewing cylinder, aligning the threads and twisting clockwise until fully seated.
Perform a quick seal test: fill the cylinder with water and invert it briefly over the sink—if no water leaks, the filter is correctly inserted. For best results, rinse the filter under warm water before first use to remove any manufacturing oils.
Remember, always handle the filter gently to avoid bending the mesh, which can compromise its ability to trap fine grounds and produce a clean, smooth concentrate.
Tips for placing the carafe on a flat surface
A stable, level surface is essential for safe brewing and preventing spills. Choose a countertop or table that is completely flat and free of clutter—avoid uneven surfaces like cutting boards or towels. Place the carafe directly on the surface without any mats or trivets that could wobble.
Ensure the carafe’s base is fully supported; the glass bottom should make even contact with the surface to prevent tipping. If your counter is slippery, consider using a non-slip silicone mat or a damp paper towel underneath the carafe for extra grip.
Position the carafe away from the edge of the counter to minimize accidental knocks. Before adding the brewing cylinder, double-check that the carafe is centered and not tilting. During steeping, avoid moving the setup—any jostling can disturb the grounds and lead to uneven extraction.
After pressing the plunger, lift the cylinder straight up and set it aside on a plate to avoid drips. Clean the carafe immediately after use to prevent coffee oils from staining the glass.
These simple placement tips ensure your cold brew maker operates safely and consistently, delivering a delicious concentrate every time.
How to Make Cold Brew with the Starbucks Cold Brew Maker
Coffee-to-water ratio for best results
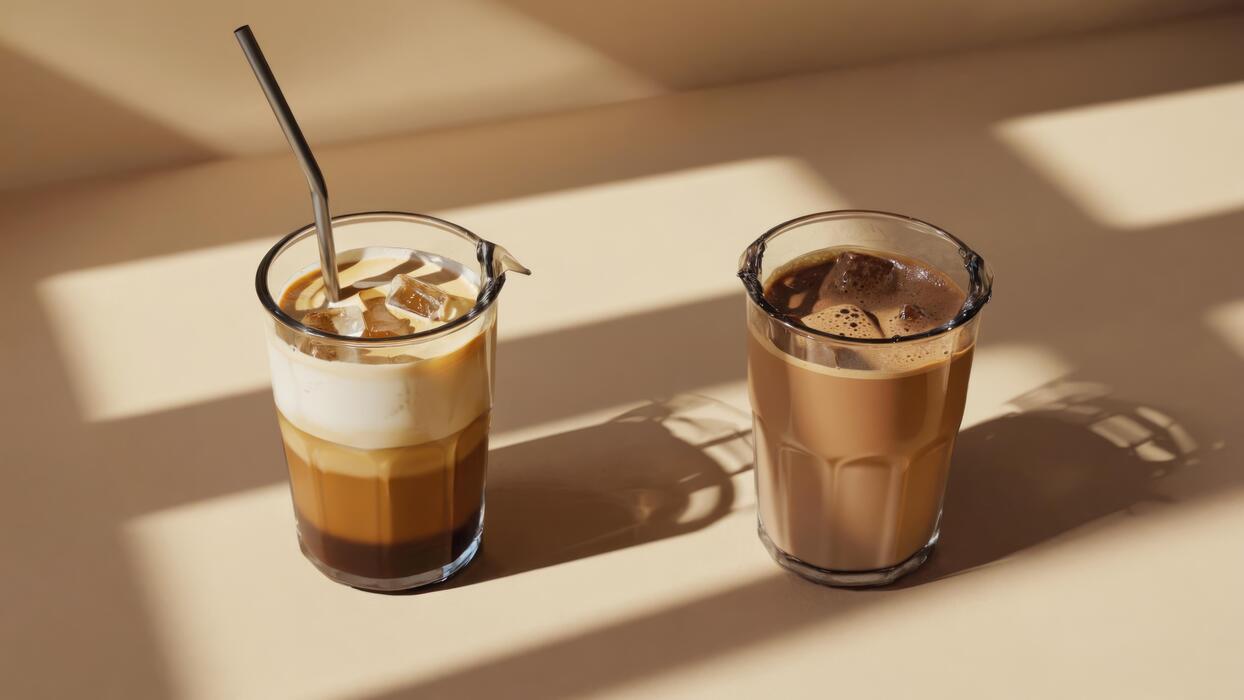
The ideal coffee-to-water ratio for the Starbucks Cold Brew Maker is 1 cup of coarsely ground coffee to 4 cups of cold, filtered water. This ratio produces a balanced concentrate that you can dilute to your preference.
For a stronger brew, use 1 cup of coffee to 3.5 cups of water; for a milder flavor, use 1 cup to 4.5 cups. Always use coarse grounds (like French press grind) to avoid over-extraction and bitterness.
If you prefer pre-ground, the Starbucks Cold Brew Blend or any dark roast works well. Measure your coffee using the included scoop or a standard measuring cup. For the best flavor, use fresh, cold water—avoid hot or warm water as it can alter the extraction.
Stir the grounds and water gently in the brewing container to ensure all coffee is saturated. This ratio ensures a smooth, rich concentrate that stores well in the fridge for up to two weeks.
Step-by-step brewing process
Start by removing the stainless steel filter and brewing container from the base. Add your coarsely ground coffee to the filter basket, then place the basket into the container. Pour cold, filtered water over the grounds, using the recommended ratio of 1 cup coffee to 4 cups water.
Stir gently with a long spoon to ensure all grounds are wet. Secure the lid onto the container, ensuring it’s tight to prevent leaks. Place the container in the refrigerator, not on the counter, to steep.
After steeping, remove the filter basket by twisting and lifting it out—discard the used grounds. The remaining liquid is your cold brew concentrate. Store it in the fridge in the container or a sealed glass jar.
To serve, fill a glass with ice, pour the concentrate halfway, and top with water or milk. Adjust the dilution to your taste. Clean the filter and container immediately after use with warm soapy water.
How long to steep the coffee grounds
For the Starbucks Cold Brew Maker, steep the coffee grounds for 12 to 24 hours in the refrigerator. The standard recommendation is 20 hours for a balanced, smooth concentrate that highlights chocolate and nutty notes without bitterness.
If you prefer a milder brew, steep for 12-14 hours; for a bolder, more intense flavor, go up to 24 hours. Always steep in the refrigerator, not at room temperature, to prevent over-extraction and bacterial growth. Avoid steeping beyond 24 hours, as the coffee can become overly bitter and stale.
During steeping, the cold water slowly extracts flavors, resulting in a low-acid, naturally sweet concentrate. After the steeping time, remove the filter basket and discard the grounds. The concentrate is ready to use immediately or can be stored in the fridge for up to two weeks.
Experiment with steeping times to find your perfect strength, but stick to the recommended range for consistent results.
Tips for Choosing the Right Coffee Beans
Best roast levels for cold brew
For a Starbucks cold brew maker, choosing the right roast level is key to achieving a smooth, rich concentrate. Dark roasts, such as Starbucks’ French Roast or Sumatra, are ideal because they produce a bold, chocolatey flavor with low acidity.
The cold brewing process extracts less acid and bitterness, so dark beans shine with deep, caramelized notes. Medium roasts, like Guatemala Antigua, offer a balanced profile with hints of cocoa and nut, making them a versatile choice.
Avoid light roasts, as they can result in a sour or grassy taste due to their higher acidity and lighter body. For a classic Starbucks-style cold brew, stick with dark roasts to replicate the signature boldness.
Experiment with a 50/50 blend of dark and medium roasts to customize sweetness and complexity. Remember, the Starbucks cold brew maker works best with coarsely ground beans, so pair your roast choice with proper grind size for optimal extraction.
Grind size recommendations
Using the correct grind size is crucial for your Starbucks cold brew maker to prevent over-extraction and sediment. Always opt for a coarse grind, similar to breadcrumbs or sea salt. This allows water to flow through slowly, extracting flavors gently over 12-24 hours without releasing bitter compounds.
Avoid fine or medium grinds, as they can clog the filter and create a muddy, over-extracted brew. If you buy whole beans, set your grinder to the coarsest setting or ask a Starbucks barista to grind them for cold brew. Pre-ground coffee labeled for cold brew is also fine.
For consistent results, use 1 cup of coarse grounds per 4 cups of cold water. The Starbucks cold brew maker includes a mesh filter designed for coarse grounds, so sticking to this size ensures a clean, smooth concentrate. Test your grind by pinching it; it should feel chunky, not powdery.
Using Starbucks coffee vs. other brands
Your Starbucks cold brew maker works well with both Starbucks and other brands, but Starbucks coffee offers a consistent, bold flavor profile that many cold brew fans prefer. Starbucks dark roasts, like Espresso Roast or Verona, are specifically roasted to produce low acidity and high body, which cold brewing enhances.
However, other brands can also excel; look for single-origin beans from Latin America or Africa for fruity notes, or Sumatran beans for earthy tones. The key is freshness—use beans roasted within 2-4 weeks for optimal flavor.
If using non-Starbucks coffee, ensure it’s a dark or medium roast with a coarse grind to match the maker’s filter. Avoid flavored or oily beans, as they can gum up the mesh filter. For a budget-friendly option, store-brand dark roasts work fine, but you may sacrifice complexity.
Ultimately, the Starbucks cold brew maker is versatile, so experiment with small batches to find your favorite blend.**
}
]
How to Filter and Store Your Cold Brew

Removing the filter and grounds
Once your cold brew has steeped for 12-24 hours, it’s time to remove the filter and grounds to stop the extraction process.
If you’re using the Starbucks cold brew maker, simply lift the glass carafe, unscrew the filter cap, and carefully pull out the stainless steel mesh filter containing the grounds.
Discard the used coffee grounds in your compost or trash, then rinse the filter thoroughly under warm water to remove any residual particles.
For a cleaner brew, you can pour the cold brew through a fine-mesh sieve or a coffee filter to catch any fine sediment that may have slipped through. Avoid squeezing or pressing the grounds, as this can release bitter compounds into your coffee.
Once filtered, your cold brew concentrate is ready for storage or immediate use. This step ensures a smooth, grit-free coffee experience, preserving the rich flavor you expect from a well-made cold brew.
Proper storage in the refrigerator
After filtering, transfer your cold brew concentrate into a clean, airtight container—preferably a glass carafe or a mason jar with a tight-sealing lid. The Starbucks cold brew maker’s glass carafe works perfectly, but if you’re storing for longer, use a container that minimizes air exposure to maintain freshness.
Place the container in the refrigerator immediately at a consistent temperature below 40°F (4°C). Avoid leaving it at room temperature, as this can accelerate spoilage and alter flavor. For easy serving, consider labeling the container with the date you made it.
If you prefer a ready-to-drink strength, dilute the concentrate with water or milk at a 1:1 ratio before storing, but note that diluted cold brew may lose potency faster. Keep the container away from strong-smelling foods like onions or garlic, as coffee can absorb odors.
Proper storage preserves the smooth, low-acid taste for up to 10–14 days.
How long cold brew stays fresh
Properly stored cold brew concentrate remains fresh for 7 to 10 days in the refrigerator when kept in an airtight container. The Starbucks cold brew maker’s design helps extend this by reducing oxygen exposure, but always check for signs of spoilage.
If you notice a sour or off smell, a dull flavor, or visible mold, discard it immediately—even if it’s within the time frame. For best taste, consume your cold brew within the first 5–7 days, as the flavors peak early and gradually decline.
Diluted cold brew (mixed with water or milk) stays fresh for only 3–5 days, so it’s better to store concentrate and dilute per serving. To maximize shelf life, avoid introducing moisture or contaminants by using a clean, dry spoon each time you pour.
Refrigeration is non-negotiable; never leave cold brew out for more than 2 hours. By following these guidelines, you’ll enjoy consistently delicious cold brew without waste.
Common Mistakes to Avoid with the Starbucks Cold Brew Maker
Using the wrong grind size
One of the most frequent errors when using the Starbucks Cold Brew Maker is selecting the wrong coffee grind size. For optimal extraction and a smooth, non-bitter concentrate, you must use a coarse grind, similar to breadcrumbs or sea salt.
Avoid fine or medium grinds, which are meant for drip machines or espresso; they will slip through the filter, creating a muddy, over-extracted brew that tastes harsh and gritty. To get this right, either buy pre-ground coffee labeled ‘cold brew coarse’ or set your burr grinder to its coarsest setting.
If you grind at home, do a test pinch: coarse grounds should feel chunky and uneven, not powdery. Using the correct grind ensures the water flows evenly through the coffee bed, extracting rich flavors without bitterness.
Remember, coarse is key—this simple adjustment transforms your cold brew from disappointing to café-quality, saving you from a cloudy, sediment-filled pitcher.
Overfilling the filter or carafe
Another common misstep is packing too much coffee into the filter or filling the carafe beyond the max line. The Starbucks Cold Brew Maker is designed with specific capacity limits to ensure proper water-to-coffee ratios and efficient extraction.
Overfilling the filter basket compacts the grounds, preventing water from circulating evenly and leading to under-extracted, weak concentrate. Similarly, pouring water past the carafe’s fill line can cause overflow when you add the filter assembly, creating a messy counter and altering the brew strength.
Always measure your coffee using the included scoop or a kitchen scale—typically 1 cup of coarse grounds per 4 cups of water. Leave about an inch of headspace at the top of the carafe to accommodate the filter and allow for gentle stirring.
Stick to the marked lines and resist the urge to “get more” by overfilling; precision yields a balanced, concentrated brew that dilutes perfectly with milk or water.
Skipping the rinsing step
Many users overlook the critical step of rinsing the paper filter before assembly, which can ruin the flavor of your cold brew.
The Starbucks Cold Brew Maker relies on a disposable paper filter to trap fine grounds and oils, but unrinsed filters impart a distinct papery, cardboard-like taste into your concentrate.
To avoid this, simply hold the filter under cool running water for 5-10 seconds until it’s fully saturated, then shake off excess water before placing it in the brew basket. This quick rinse also helps the filter settle flat against the basket walls, preventing grounds from bypassing it.
Additionally, rinse the carafe and lid with hot water to remove any dust or residue from storage—don’t use soap, as lingering suds can alter taste. Skipping this step is the #1 cause of off-flavors in homemade cold brew.
Make rinsing a non-negotiable part of your routine; it takes seconds but ensures every batch tastes clean, smooth, and authentically rich.
How to Serve and Customize Your Cold Brew
Serving over ice with milk or cream
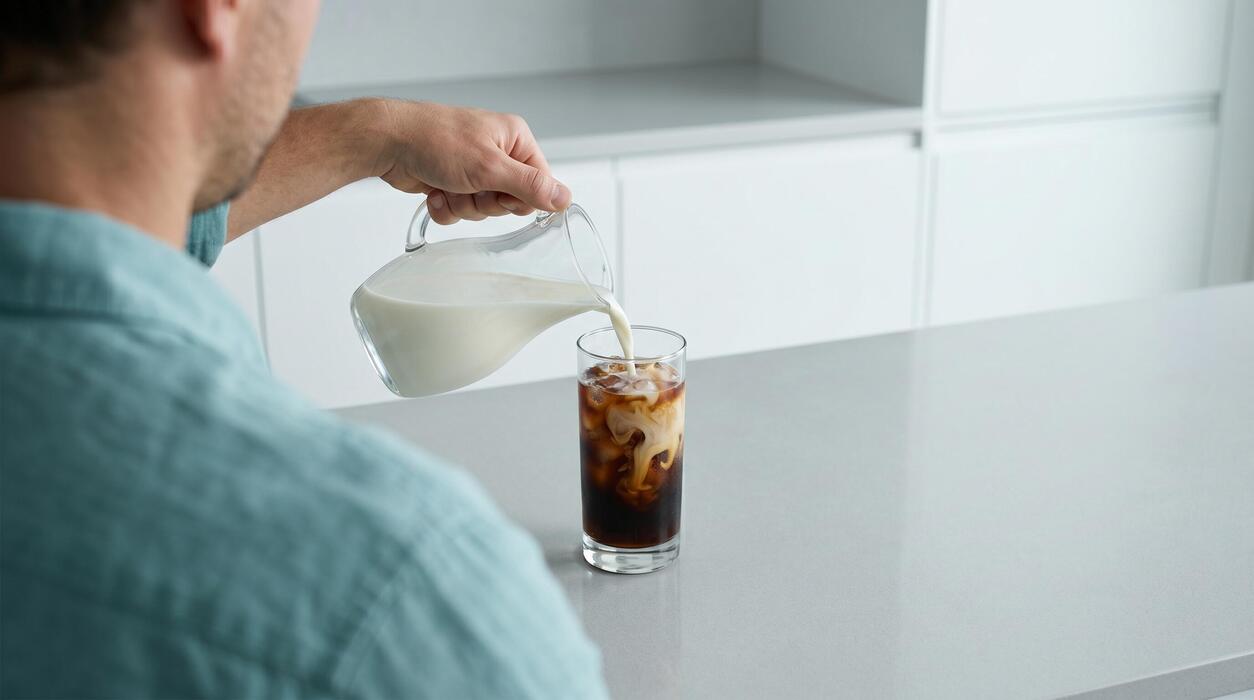
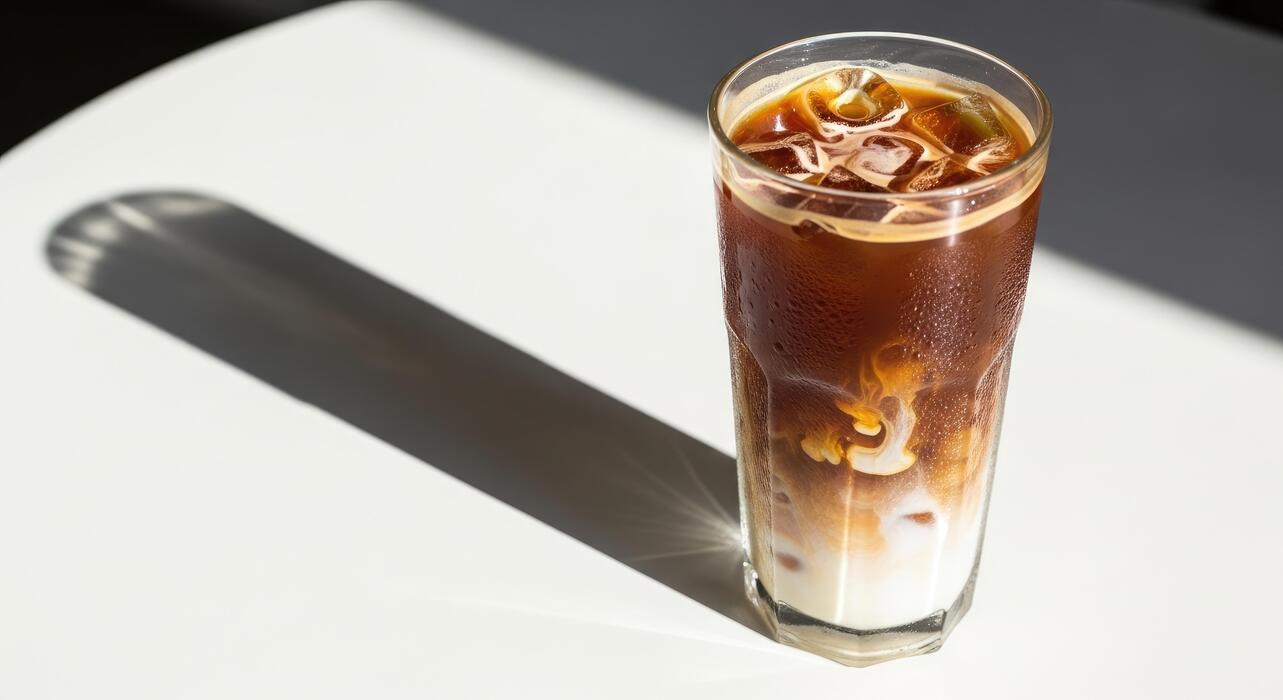
For a classic and refreshing iced coffee experience, start by filling a tall glass with fresh ice cubes to the brim. Pour your cold brew from the maker until the glass is about two-thirds full, leaving ample room for your chosen additions.
The concentrated nature of cold brew means it can handle dilution without losing its smooth flavor. Next, add a splash of whole milk, oat milk, or heavy cream to taste—typically 2 to 4 tablespoons per serving.
Stir gently to combine, allowing the cold dairy to mellow the coffee’s boldness and create a silky texture. For a dairy-free twist, try coconut milk or almond milk for a lighter finish.
If you prefer a sweeter drink, stir in simple syrup or honey before adding the milk, as cold liquids don’t dissolve granulated sugar well. Serve immediately with a straw, and adjust the coffee-to-milk ratio based on your desired strength.
This method works perfectly for busy mornings or as a base for iced lattes, offering a consistently smooth and non-bitter cup every time.
Adding flavors like vanilla or caramel
Elevate your cold brew by infusing it with vanilla syrup or caramel sauce for a café-quality treat. Start by pouring your cold brew over ice as usual, then add 1 to 2 tablespoons of your chosen syrup directly into the glass.
Stir vigorously for about 15 seconds to ensure the sweetener fully incorporates into the chilled coffee, as cold liquids can cause syrups to sink. For a vanilla latte effect, combine 2 tablespoons of vanilla syrup with ¼ cup of milk or cream before adding to the coffee.
For caramel lovers, drizzle caramel sauce along the inside of the glass before pouring the cold brew, then top with whipped cream and an extra drizzle for a decadent finish. You can also experiment with sugar-free syrups, maple syrup, or cinnamon syrup for unique twists.
To make your own syrup at home, simmer equal parts sugar and water with vanilla beans or caramel extract until dissolved, then cool. These additions enhance cold brew’s natural sweetness without masking its smooth, chocolatey notes.
Making cold brew concentrate for recipes
Your Starbucks cold brew maker can produce a potent concentrate ideal for cocktails, desserts, or meal prep. To achieve this, use a 1:4 coffee-to-water ratio (e.g., 1 cup coarse grounds to 4 cups water) and steep for 20–24 hours in the refrigerator.
The resulting concentrate will be intensely flavored and viscous, perfect for recipes. For a cold brew martini, shake 2 ounces concentrate with 1 ounce vodka and ½ ounce coffee liqueur over ice, then strain into a glass.
In baking, replace the liquid in chocolate cake batter or brownie recipes with an equal amount of concentrate for deep coffee notes. For a quick protein shake, blend ½ cup concentrate with a scoop of vanilla protein powder, ice, and milk.
You can also freeze the concentrate in ice cube trays to add to iced lattes without dilution. Always store concentrate in an airtight container in the fridge for up to two weeks, and dilute it with equal parts water or milk before drinking to avoid overpowering bitterness.
Frequently Asked Questions
How do I assemble the Starbucks cold brew maker?
Start by placing the brewing pitcher on a flat surface. Insert the filter basket into the pitcher, ensuring it sits securely. Then, add the provided paper filter into the basket, folding the edges down as needed.
What is the coffee-to-water ratio for this maker?
Use 4 cups of cold, filtered water and 1 cup of coarse-ground coffee. For a stronger brew, you can adjust slightly, but this ratio is recommended for optimal flavor extraction.
How long should I let the cold brew steep?
Steep the coffee grounds in the water for 12-24 hours at room temperature. For a balanced flavor, 18 hours is ideal. Avoid steeping longer than 24 hours to prevent bitterness.
How do I remove the filter and serve the cold brew?
After steeping, carefully lift the filter basket out of the pitcher, allowing the liquid to drain. Discard the used grounds and paper filter. Your concentrated cold brew is now ready to pour over ice.
Can I store the cold brew concentrate, and how long does it last?
Yes, transfer the concentrate to an airtight container and refrigerate. It stays fresh for up to 2 weeks. For best taste, consume within 7 days.
How do I dilute the cold brew for drinking?
Mix equal parts cold brew concentrate and water or milk (e.g., 1:1 ratio). Adjust to your taste preference. Serve over ice for a refreshing iced coffee.
What type of coffee grind works best with the Starbucks cold brew maker?
Use a coarse grind, similar to sea salt. Fine grinds can clog the filter and result in a cloudy or overly bitter brew. Pre-ground cold brew blends or fresh-ground beans are ideal.
How do I clean the Starbucks cold brew maker?
Hand wash the pitcher and filter basket with warm, soapy water. Rinse thoroughly and air dry. The paper filter is single-use and should be discarded after each batch.
Conclusion
Mastering your Starbucks cold brew maker is simple: use coarse grounds, steep for 20-24 hours, and filter thoroughly. The key takeaways are patience and proper ratios for a smooth, non-bitter concentrate. This method saves money and delivers café-quality coffee at home. Embrace the process, experiment with your favorite beans, and enjoy the rich, refreshing reward of your own perfect batch.