How To Make Nitro Brew At Home
How to make nitro brew at home is a question many coffee lovers ask after falling in love with that silky, creamy mouthfeel at a café. The core challenge is replicating nitrogen infusion without expensive equipment. You’re in the right place: we’ll break down the simple method using a whipped cream dispenser, cold brew concentrate, and nitrogen cartridges—no kegerator required.
What Is Nitro Brew and Why Make It at Home
How nitro brew differs from regular cold brew
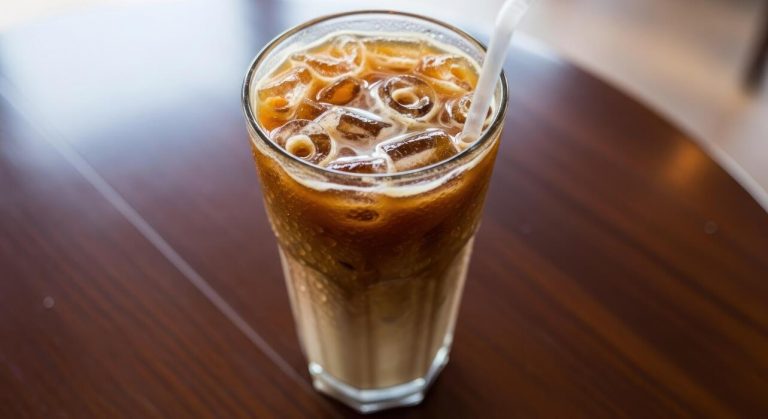
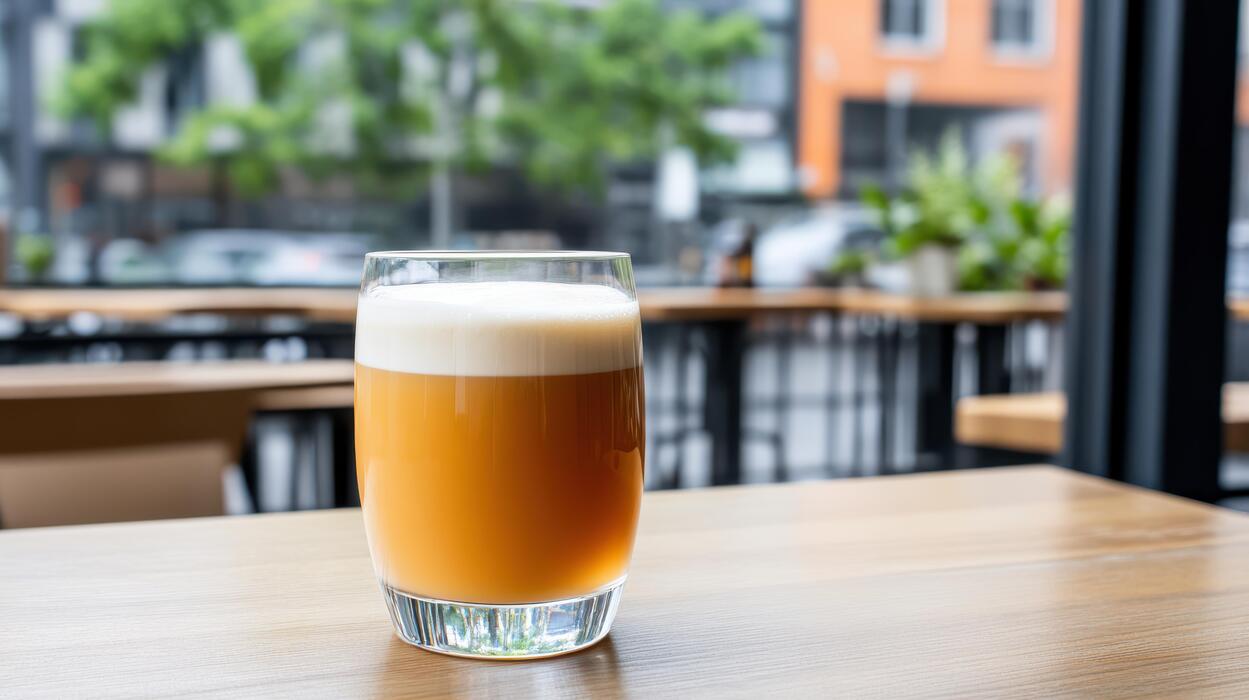
Nitro brew transforms cold brew coffee into a creamy, velvety drink by infusing it with nitrogen gas, creating a texture similar to a stout beer.
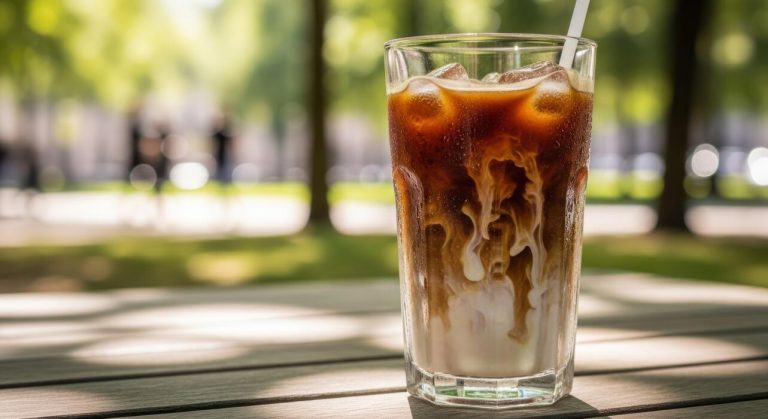
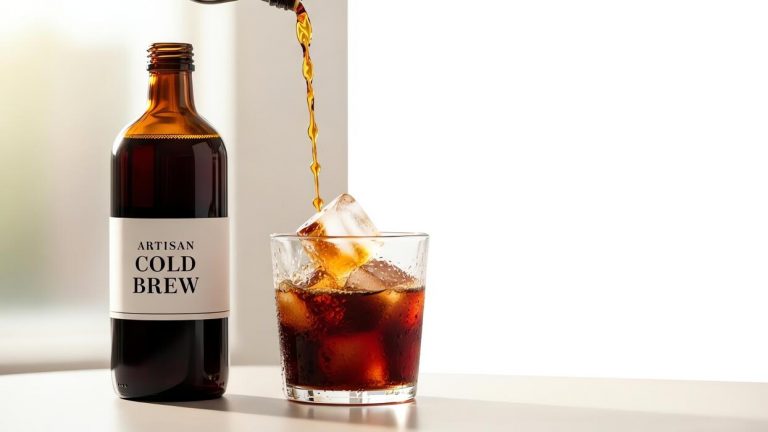
Unlike regular cold brew, which is served over ice or straight, nitro brew has a smooth, cascading effect and a thick, rich mouthfeel without added dairy.
The key difference lies in the gas: nitrogen bubbles are much smaller than carbon dioxide ones, so they don’t create carbonation but instead produce a luxurious, foamy head that settles into a silky body. This process also reduces perceived bitterness, making even bold roasts taste sweeter.
To replicate this at home, you’ll need a whipped cream dispenser or a keg system with nitrogen cartridges, not just a standard cold brew maker. The result is a café-quality drink that stays smooth and refreshing, minus the dilution from ice.
By understanding these distinctions, you can tailor your home setup to achieve that signature nitro texture, elevating your morning brew into a decadent treat.
The science behind nitrogen infusion
Nitrogen infusion relies on the gas’s low solubility in liquid. When nitrogen is forced into cold brew under pressure, it forms microscopic bubbles that remain suspended rather than escaping quickly, like carbon dioxide does.
These tiny bubbles create a creamy, cascading effect as they rise to the top, producing a thick foam head that mimics milk’s texture. The science is simple: cold brew’s higher viscosity from prolonged steeping allows nitrogen to bind more effectively, resulting in a smoother mouthfeel.
At home, you can achieve this using a whipped cream dispenser with nitrous oxide (N2O) cartridges or a mini keg with nitrogen (N2) tanks. The key is to chill the coffee to near-freezing and charge it at high pressure—around 100-130 PSI—so the gas dissolves fully.
When you dispense it, the pressure drop causes the nitrogen to come out of solution, forming that characteristic foam. This chemical process transforms your cold brew into a velvety, low-acidity beverage without any added fats or sugars.
Cost savings of brewing nitro coffee at home
Brewing nitro coffee at home can save you significant money compared to buying it from cafés, where a single 12-ounce cup often costs $5-$7. With a one-time investment of $30-$50 for a whipped cream dispenser and cartridges, you can make dozens of servings.
A pound of high-quality coffee beans ($12-$18) yields about 8-10 batches of cold brew, with each batch producing 4-6 cups. Compare that to $5 per café drink: after just 6-10 home brews, you’ve recouped your setup cost.
Plus, nitrogen cartridges cost roughly $1 per serving, while a café’s nitrogen system markup is hidden in the price. You also avoid drive-thru trips and tip expenses. Over a month, if you drink nitro coffee daily, home brewing can slash your cost from $150-$210 to under $30.
The savings grow with reusable keg systems, which use cheaper bulk nitrogen tanks. By controlling ingredients, you also reduce waste—no single-use cups or plastic lids—making it an eco-friendly, budget-smart choice that pays for itself quickly.
Equipment You Need to Make Nitro Brew at Home
Best nitro coffee makers for home use
For the most authentic nitro coffee experience at home, a dedicated nitro coffee maker is your best investment. Top-rated models like the Keurig K-Cafe or Mr.
Coffee Nitro Cold Brew Maker are designed specifically for this purpose, featuring a built-in nitrogen cartridge system that infuses your cold brew with the perfect amount of gas.
These machines simplify the process: just brew your cold brew concentrate, pour it into the maker, and attach a nitrous oxide (N2O) charger. In minutes, you’ll have a velvety, cascading pour.
For a more hands-on approach, consider the Hario Cold Brew Bottle with a nitro adapter, which allows you to manually charge your coffee. These options range from $50 to $150, making them accessible for most budgets. Look for models with stainless steel construction for durability and easy cleaning.
Always check that the maker is compatible with standard 8-gram N2O cartridges to avoid compatibility issues. With these devices, you can skip the expensive café trips and enjoy barista-quality nitro brew at home.
Essential tools: kegs, whips, and chargers
For those who want full control over their nitro brew, a keg system is the gold standard. Start with a 1-liter or 2-liter mini keg made from stainless steel—these are easy to store and clean.
You’ll also need a nitro whip (or cream whipper) that uses N2O chargers to infuse gas into your cold brew. To assemble, pour your cold brew concentrate into the keg, attach the whip, and screw on a nitrous oxide cartridge.
Shake vigorously for 10-15 seconds to dissolve the gas, then release pressure slowly. For a continuous flow, invest in a nitro tap or a stout faucet that creates the signature cascading effect. Essential accessories include a pressure regulator to control gas flow and food-grade silicone tubing for connection.
Don’t forget a coffee filter to remove grounds before charging—clogs are a common issue. These tools cost between $30 and $100, but they offer unmatched flexibility for experimenting with different coffee blends and nitrogen levels.
Budget-friendly alternatives to commercial gear
You don’t need expensive equipment to enjoy nitro coffee at home. A simple French press or a mason jar can work wonders. Start by brewing a strong cold brew concentrate—use a coarse grind and steep for 12-24 hours.
Then, pour the concentrate into a cream whipper (like an iSi brand) that accepts N2O cartridges. Charge it with one or two cartridges, shake well, and dispense directly into a glass.
For a DIY keg system, repurpose a 2-liter soda bottle with a ball lock lid—just ensure it’s food-grade and can hold pressure. Another hack: use a whipped cream dispenser to infuse nitrogen into your cold brew, then pour it through a fine mesh strainer to remove any sediment.
These methods cost under $20 and require minimal space. The key is to use cold brew concentrate (not hot coffee) and to chill everything before charging to maximize gas retention. With these hacks, you can achieve that silky nitro texture without breaking the bank.
How to Choose the Right Coffee Beans for Nitro Brew
Best roast levels for smooth nitro flavor
For nitro brew, medium to dark roasts are the ideal choice because their oils and fuller body create the creamy, velvety texture that nitro carbonation enhances. Light roasts often yield a brighter, acidic flavor that can clash with the smooth mouthfeel.
Start with a single-origin dark roast like Sumatran or Brazilian for a low-acid, chocolatey base, or a blend labeled ‘cold brew’ that already balances richness. Avoid ‘espresso’ roasts unless you want intense bitterness—nitro amplifies flavors, so burnt notes become harsh.
Try a medium roast like Guatemalan for a balanced profile with subtle sweetness that still cuts through the nitrogen’s creaminess. Always buy whole beans and roast them within two weeks of purchase for peak freshness; stale beans produce flat, dull nitro.
If you prefer a lighter body, use a medium-dark roast with 70% cacao notes—this mimics the silky finish of commercial nitro brews. Roast level directly impacts foam stability: darker roasts produce thicker, longer-lasting heads, while lighter roasts yield thinner foam that dissipates quickly.
Grind size tips for cold brew extraction
For nitro cold brew, use a coarse grind—similar to sea salt or raw sugar—to prevent over-extraction during the 12-24 hour steep. A fine grind releases bitter tannins and silt that clog nitro taps and create a gritty mouthfeel.
Grind your beans just before brewing using a burr grinder set to 25-30 on a scale of 1-40; blade grinders produce uneven particles that ruin clarity. For every 1 cup of coarse-ground coffee, add 4 cups of filtered water (a 1:4 ratio) and steep in the fridge for 18 hours.
Test your grind by placing a pinch in water: it should float, not sink immediately. After steeping, filter through a nut milk bag or paper filter to remove all sediment—residue will kill nitro foam. If your brew tastes sour, the grind is too coarse; if bitter, too fine.
Adjust by 2 clicks on your grinder for the next batch. Remember, cold brew extraction is less efficient than hot brewing, so a consistent coarse grind ensures balanced flavors that nitro carbonation won’t overpower.
Where to buy beans that work well with nitro
Start with specialty roasters known for cold brew blends, like Stumptown, Intelligentsia, or Blue Bottle—they offer pre-ground ‘Nitro’ or ‘Cold Brew’ options with ideal roast profiles. Local roasters are often better because they source beans within weeks of roasting; ask for a ‘smooth, low-acid’ blend suitable for nitro.
Online, buy from Trade Coffee or Atlas Coffee Club for curated subscriptions that deliver fresh beans monthly. Look for descriptions like ‘chocolatey,’ ‘nutty,’ or ‘caramel’—these flavors shine under nitrogen. Avoid grocery store beans with ‘roasted on’ dates older than 3 months; stale beans produce flat, lifeless nitro.
For budget options, try Happy Mug’s Cold Brew Blend or Amazon’s ‘Nitro Coffee Beans’ from roasters like Copper Cow—these are specifically formulated for high-pressure carbonation. Always buy whole beans and grind yourself, as pre-ground coffee loses aroma and oils within 15 minutes.
If you’re new, start with a 1-pound bag to test before committing to larger quantities—freshness is critical for that creamy, cascading effect nitro is known for.
Step-by-Step Guide to Brewing Cold Brew for Nitro
Simple cold brew recipe for nitro coffee
To create a smooth, concentrated cold brew ideal for nitrogen infusion, start with a 1:8 coffee-to-water ratio. Use coarsely ground beans—aim for a texture like sea salt—to prevent over-extraction and silt. Combine 1 cup of grounds with 8 cups of filtered, cold water in a large jar or pitcher.
Stir gently to ensure all grounds are saturated. Cover and let it rest at room temperature for 12 to 24 hours, depending on your taste preference. After steeping, strain through a fine-mesh sieve lined with cheesecloth or a paper coffee filter.
This yields a concentrate that, when poured through a nitro brew system, will produce a creamy, cascading texture. For best results, chill the concentrate before transferring it to your nitro keg.
This simple method avoids bitterness and creates a clean base that responds perfectly to nitrogen, giving you that velvety mouthfeel at home.
How long to steep for optimal strength
The ideal steeping time for cold brew that will be used in nitro coffee is 18 to 24 hours at room temperature. Shorter steeps (12 hours) yield a lighter, tea-like body that may lack the boldness needed to shine through the nitrogen’s creamy texture.
Longer steeps (beyond 24 hours) can extract bitter tannins and over-power the brew, leading to a harsh finish. For a balanced concentrate that maintains sweetness and low acidity, aim for the 20-hour mark. If you’re using a finer grind, reduce steep time to 15 hours to avoid muddiness.
Always taste your brew after 18 hours—it should have a rich, chocolatey flavor without astringency. Remember, the nitrogen will smooth out acidity but cannot fix bitterness, so err on the side of slightly under-extracting. Once you find your sweet spot, document the time for consistent batches.
Filtering tips to avoid clogging your nitro system
Proper filtering is critical to prevent clogged valves and lines in your nitro system. After steeping, pour the cold brew through a fine-mesh strainer lined with multiple layers of cheesecloth or a nut milk bag.
For extra clarity, follow with a paper filter (like a V60 or Chemex filter) to remove ultra-fine particles. Never skip this step—residual coffee silt can block the tiny ports in your nitro faucet or keg. If you’re using a whipped cream dispenser for nitro, double-filter to avoid nozzle clogs.
For larger keg systems, consider a sediment filter or a coffee sock during brewing. Always rinse your filter materials with cold water first to avoid paper taste. After filtering, let the concentrate settle in the fridge for an hour, then decant carefully, leaving any sediment behind.
Clean, sediment-free cold brew ensures your nitro system operates smoothly and produces that perfect, cascading pour every time.
How to Infuse Nitrogen into Your Cold Brew
Using a whipped cream dispenser for nitro coffee
A whipped cream dispenser is the most accessible method for making nitro cold brew at home. Start by brewing a strong, concentrated cold brew and chilling it to near-freezing. Pour the cold brew into a 1-liter stainless steel dispenser, leaving room for gas.
Seal the lid tightly and charge with one nitrous oxide (N2O) cartridge—not CO2, as N2O creates the creamy texture. Shake the dispenser vigorously for 10-15 seconds, then refrigerate upright for at least 2 hours to allow the gas to fully infuse.
To serve, hold the dispenser upside down over a glass, open the nozzle fully, and pour quickly to create the signature cascading effect. For best results, use a double-walled glass to maintain temperature. Remember to clean the dispenser after each use to prevent clogging.
This method yields about 4-6 servings and is perfect for beginners wanting to experiment with nitro coffee without a full keg setup.
Setting up a home keg system for nitro
For a more professional nitro cold brew experience, a home keg system is ideal. You’ll need a 1.5- or 2.5-gallon keg, a nitrogen regulator, a nitrogen tank (food-grade N2), and a stout faucet with a flow restrictor.
Start by brewing a double-strength cold brew concentrate, then dilute with filtered water to your preferred strength (usually a 1:1 ratio). Filter the coffee through a paper filter to remove oils that can cause excessive foam.
Pour the cold brew into the keg, seal it, and pressurize with nitrogen at 30-40 PSI. Shake the keg gently for 30 seconds, then let it rest for 12-24 hours in a refrigerator to allow the gas to dissolve.
For serving, reduce pressure to 10-15 PSI and pour through the stout faucet at a 45-degree angle. The flow restrictor creates the creamy cascade. This system provides consistent, high-quality nitro coffee for parties or daily use.
Proper charging and dispensing techniques
Mastering charging and dispensing is crucial for perfect nitro cold brew. When using a whipped cream dispenser, always charge with one N2O cartridge per liter, and shake immediately to distribute the gas. For kegs, pre-chill the coffee to 35-40°F before charging, as cold liquid absorbs nitrogen better.
Avoid overcharging, which can cause excessive foam or a bitter taste. To dispense, hold your glass at a 45-degree angle and open the faucet or nozzle fully. As the glass fills, slowly tilt it upright to allow the cascading bubbles to settle.
Pour until the foam reaches the rim—about 80% liquid, 20% foam. Never use CO2 for nitro coffee, as it creates carbonation and acidity. Always purge the keg of oxygen before charging to prevent oxidation. Clean all equipment after each use to maintain flavor and hygiene.
With practice, you’ll achieve that velvety, smooth texture every time.
Tips for Getting the Perfect Nitro Pour and Cascade
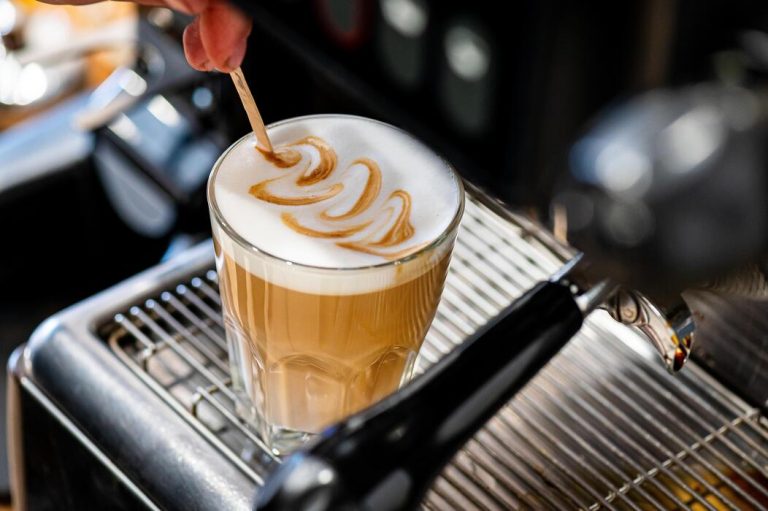
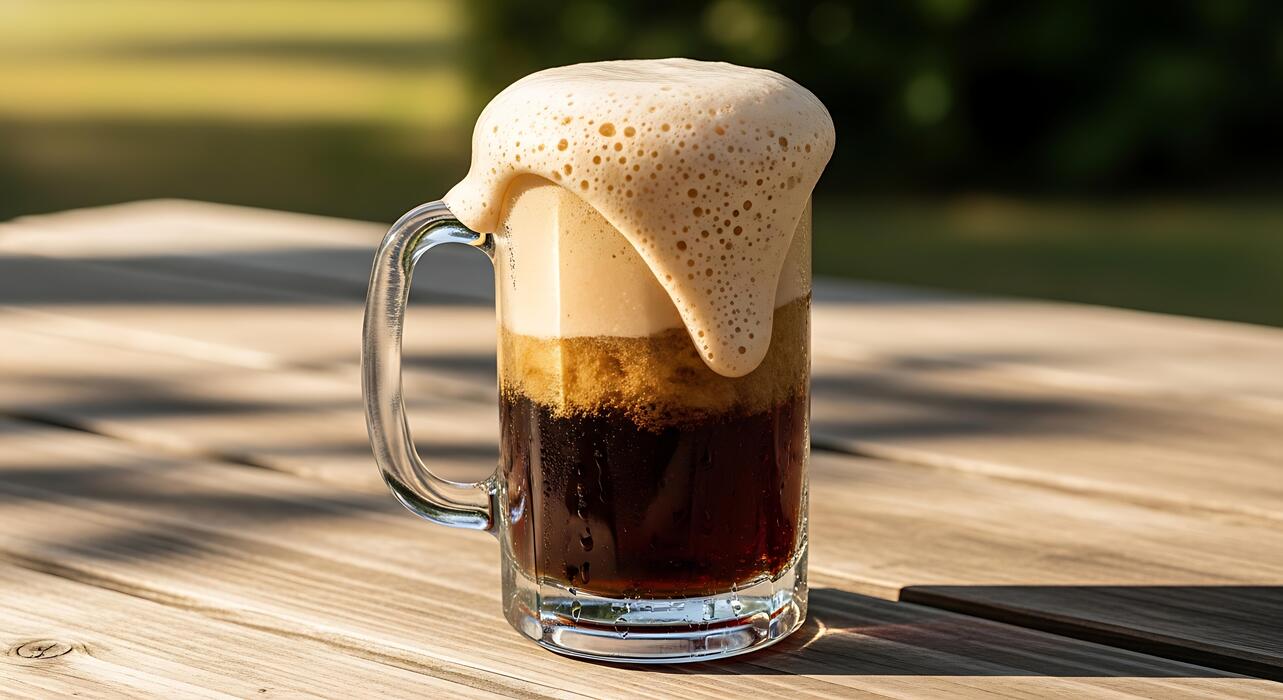
How to achieve a creamy, Guinness-like head
To get that iconic creamy head on your home nitro brew, focus on the pour technique. Start with a completely chilled glass, as a cold glass helps stabilize the foam.
Hold the glass at a 45-degree angle and pour the beer directly down the center, not the side, to agitate the nitrogen. Fill the glass about three-quarters full, then let it rest for a moment. The nitrogen bubbles will begin to rise and form a dense, cascading effect.
Next, top off the glass by pouring straight down the center to create the thick, pillowy head. The key is patience: allow the cascade to settle completely before drinking. For an extra-creamy result, ensure your keg is properly carbonated with a nitrogen blend (typically 70% nitrogen, 30% CO2).
A fresh keg and clean lines also prevent off-flavors that can disrupt foam stability.
Temperature and pressure adjustments
Perfecting the nitro pour relies heavily on precise temperature and pressure settings. Keep your keg at a consistent 38-40°F (3-4°C); warmer temperatures cause excessive foaming, while colder temps suppress bubble formation.
Use a nitrogen regulator set to 30-40 PSI for most nitro beers, but start at 30 PSI and adjust upward if the pour is too flat. The higher pressure compensates for nitrogen’s lower solubility compared to CO2.
Let the keg sit for 24-48 hours after pressurizing to allow the gas to fully dissolve. If you’re using a stout faucet with a restrictor plate, it helps create the signature creamy texture by forcing the beer through tiny holes.
Test your pour by checking the cascade: a slow, rolling wave that settles into a dense head is ideal. If it’s too fizzy, reduce pressure; if too weak, increase it slightly.
Common pouring mistakes and how to fix them
Avoid these frequent pitfalls to master your home nitro brew. Pouring too fast is a common error—it creates excessive foam and a thin head. Instead, pour slowly at a 45-degree angle, letting the beer flow gently.
Another mistake is using the wrong glass; a tulip or nonic pint is best, as wide-mouth glasses lose carbonation quickly. If your beer has no cascade or a flat appearance, your pressure may be too low—bump it up to 35-40 PSI and check your gas blend (70/30 nitro-to-CO2).
Conversely, if you get a gusher, your pressure is too high or the keg is over-carbonated; vent the keg and reduce PSI. Skipping the rest step is also common—always let the pour settle for 30-60 seconds before topping off.
Finally, clean your lines and faucet regularly to prevent blockages that ruin the creamy texture.
How to Store and Serve Homemade Nitro Brew
Best containers for keeping nitrogen fresh
To preserve the creamy mouthfeel and cascading effect of your homemade nitro brew, you need a keg system with a nitrogen tank and regulator. A 1.5- or 2.5-gallon ball-lock keg works best for home use—it seals out oxygen and maintains constant pressure. Use food-grade stainless steel to avoid metallic flavors.
For smaller batches, a 2-liter growler with a nitro lid (like the DrinkTinker or iSi Whipper) can work, but it won’t hold pressure as long. Always pre-chill your keg and brew to 35–40°F before charging; nitrogen dissolves better at cold temps.
Purge the keg with N₂ before filling to remove oxygen, then charge to 30–40 PSI. Let it rest 12–24 hours for full infusion. Avoid plastic containers—they can absorb odors and lose carbonation. For serving, use a stainless steel faucet with a restrictor plate to create that signature creamy pour.
Shelf life of nitro coffee vs. regular cold brew
Nitro coffee has a shorter shelf life than regular cold brew due to its nitrogen infusion. Homemade nitro brew stays fresh for 3–5 days when stored in a sealed keg at 35–40°F. The nitrogen prevents oxidation initially, but once tapped, each pour introduces oxygen, accelerating staling.
In contrast, regular cold brew in an airtight container lasts 10–14 days in the fridge because it lacks the pressurized nitrogen that can dissipate. After day 5, nitro coffee loses its creamy texture and develops flat, sour notes.
To maximize freshness, serve within 48 hours of charging for the best mouthfeel. Always keep the keg cold and under pressure—never let it warm up or depressurize. If you notice a metallic or stale taste, it’s past its prime.
For longer storage, freeze your cold brew base (without nitrogen) in ice cube trays, then thaw and charge fresh.
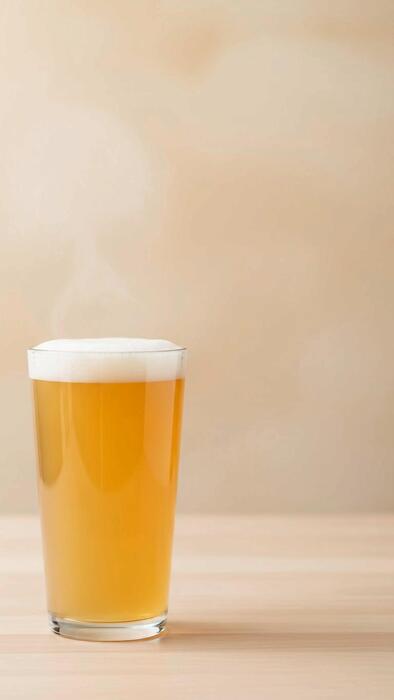
Serving suggestions: glasses, ice, and add-ins
Serve your homemade nitro brew in a clear glass mug or tulip pint glass to showcase the cascading bubbles and creamy head. Avoid thick-walled mugs that hide the visual effect. No ice is needed—nitro brew is meant to be served cold from the keg, and ice dilutes the silky texture.
If you prefer a cooler drink, chill the glass beforehand. For add-ins, keep it simple to preserve the nitrogen’s mouthfeel: a splash of oat milk or heavy cream adds richness without overpowering. Avoid sugary syrups or citrus, as they can break the foam.
A pinch of cinnamon or vanilla extract complements the smoothness. For a dessert twist, pour over a vanilla ice cream float—the nitro bubbles create a creamy, soda-fountain effect. Always serve immediately after pouring, as the nitrogen dissipates quickly.
Frequently Asked Questions
What is nitro cold brew coffee?
Nitro cold brew is cold brew coffee infused with nitrogen gas, which gives it a creamy, smooth texture and a cascading effect similar to a stout beer. It’s served from a tap or a specialized bottle, without the need for dairy or sugar.
What equipment do I need to make nitro cold brew at home?
You need a cold brew concentrate (made from coarse coffee grounds steeped in cold water for 12–24 hours), a whipped cream dispenser (like an iSi or similar brand) with a nitrous oxide (N2O) charger, and a way to filter the coffee. Optionally, a nitro tap system is more advanced but offers a true draft experience.
How do I use a whipped cream dispenser to make nitro coffee?
First, brew a strong cold brew concentrate and chill it well. Pour the cold brew into the dispenser, seal it, and charge it with one N2O cartridge. Shake the dispenser vigorously for 5–10 seconds, then let it sit for 1 minute. Dispense into a glass, pouring slowly to allow the nitrogen to create a creamy head.
What’s the difference between N2O and N2 chargers for nitro coffee?
N2O (nitrous oxide) is commonly used in whipped cream dispensers and dissolves into the coffee, creating a creamy texture. N2 (nitrogen) is used in draft systems and provides a smoother, less creamy result. For home use with a dispenser, N2O is more effective and widely available.
Can I make nitro cold brew without a dispenser?
Yes, you can use a growler or bottle with a nitrogen-infusing lid that uses small N2 cartridges, but these are less common. Alternatively, you can simply make regular cold brew and pour it over ice—though it won’t have the same creamy, cascading effect as true nitro brew.
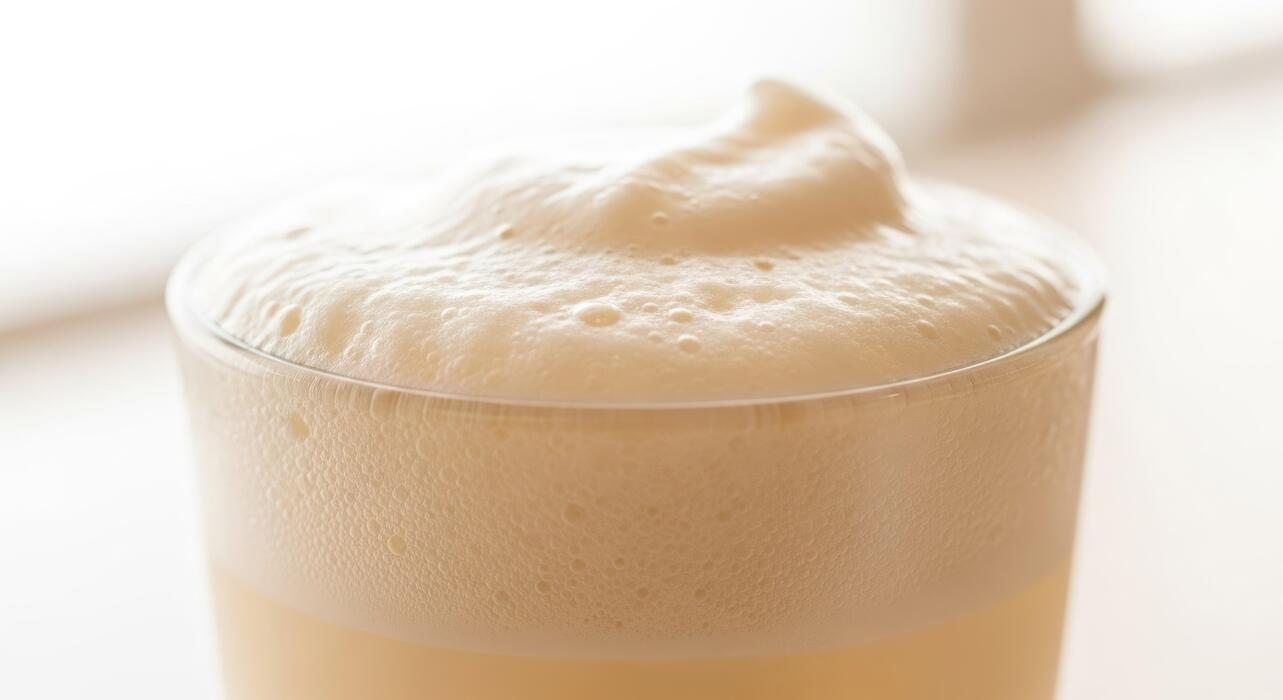
How do I get the perfect creamy head on my nitro coffee?
Chill your cold brew to near-freezing temperature (32–40°F) before charging, and use a high-quality dispenser. Shake the dispenser after charging, then let it rest for 30–60 seconds. When pouring, tilt the glass at a 45-degree angle and pour slowly to build a thick, stable foam.
How long does nitro cold brew last in a dispenser?
Once charged, nitro cold brew stays fresh for 2–3 days in the refrigerator if the dispenser is kept sealed. The nitrogen will slowly dissipate, so it’s best to consume it within 24 hours for optimal creaminess. Uncharged cold brew concentrate lasts up to 2 weeks in the fridge.
What’s the best coffee-to-water ratio for nitro cold brew concentrate?
A good starting ratio is 1:4 or 1:5 (coffee to water by weight). For example, use 1 cup of coarse-ground coffee to 4–5 cups of cold water. Steep for 12–24 hours at room temperature or in the fridge, then filter. This yields a strong concentrate that, when diluted with water or milk, creates a balanced nitro drink.
Conclusion
Making nitro cold brew at home is simpler than you think. The key takeaways are steeping coarse grounds for 12-24 hours, filtering carefully, and using a whipping siphon with nitrogen chargers for that velvety cascade. With a little practice, you’ll enjoy café-quality texture and flavor without leaving your kitchen. Embrace the process, experiment with your ratios, and savor the reward of a perfectly smooth, creamy brew every time.