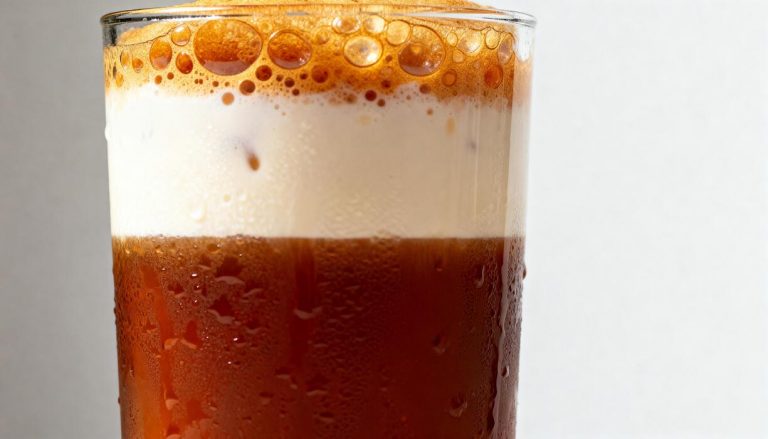
How To Make Proper Cold Brew
Mastering how to make proper cold brew isn’t about dumping grounds in water and hoping for the best—it’s about nailing the ratio, grind, and steep time to avoid bitter, weak, or muddy results. You’re here because you want that smooth, concentrated, naturally sweet coffee without the guesswork.
What Is Cold Brew Coffee and How Is It Different
Cold brew vs. iced coffee: key differences
To make proper cold brew, start by understanding it is not iced coffee. Iced coffee is brewed hot, then poured over ice, which can dilute flavor and increase bitterness. Cold brew, however, is made by steeping coarse-ground beans in cold or room-temperature water for 12–24 hours.
This gentle extraction creates a concentrate you can mix with water or milk. For best results, use a 1:4 coffee-to-water ratio (e.g., 1 cup coffee to 4 cups water) and steep in a sealed container in the refrigerator. After steeping, filter through a fine-mesh sieve or cheesecloth to remove grounds.
The result is a smooth, non-bitter concentrate that stays fresh for up to two weeks. Avoid hot water at any stage to maintain the distinct cold brew profile. This method eliminates the watered-down taste of iced coffee and delivers a robust, customizable beverage.
Why cold brew tastes smoother and less acidic
Cold brew’s smoothness comes from low-temperature extraction that minimizes acidic compounds. Hot water pulls out oils and acids like chlorogenic acid, which cause bitterness and sourness. Cold water, below 70°F, extracts sugars and flavorful oils while leaving behind harsh tannins and up to 70% less acid.
To replicate this at home, grind beans to a coarse consistency—like sea salt—to avoid over-extraction. Use a 1:5 ratio for a ready-to-drink brew or 1:4 for concentrate. Steep for 18–24 hours at room temperature for maximum sweetness, then refrigerate.
The long steep time allows complex flavors to develop without burning or bitterness. For a smoother result, choose medium or dark roast beans, which have lower acidity naturally. This process yields a velvety, naturally sweet coffee that’s gentle on your stomach and perfect for sipping black.
The science behind cold water extraction
Cold water extraction relies on solubility differences between hot and cold liquids. Heat speeds up molecular movement, dissolving acids and bitter compounds quickly. Cold water, being less energetic, selectively extracts soluble sugars, caffeine, and pleasant oils while leaving behind larger, harsher molecules like quinic acid.
To optimize this, maintain a stable temperature between 40°F and 70°F—avoid heat that triggers rapid extraction. The steep time of 12–24 hours allows diffusion to occur gradually, ensuring balanced flavor. Use a fine filter like a nut milk bag or paper filter to remove micro-grounds that can cause sediment.
The resulting concentrate has a higher caffeine content per ounce than hot brew, due to prolonged contact. For consistent results, agitate the container gently halfway through steeping. This scientific approach guarantees a clean, sweet brew with minimal bitterness.
Best Coffee Beans for Cold Brew
Single origin vs. blends: which works better
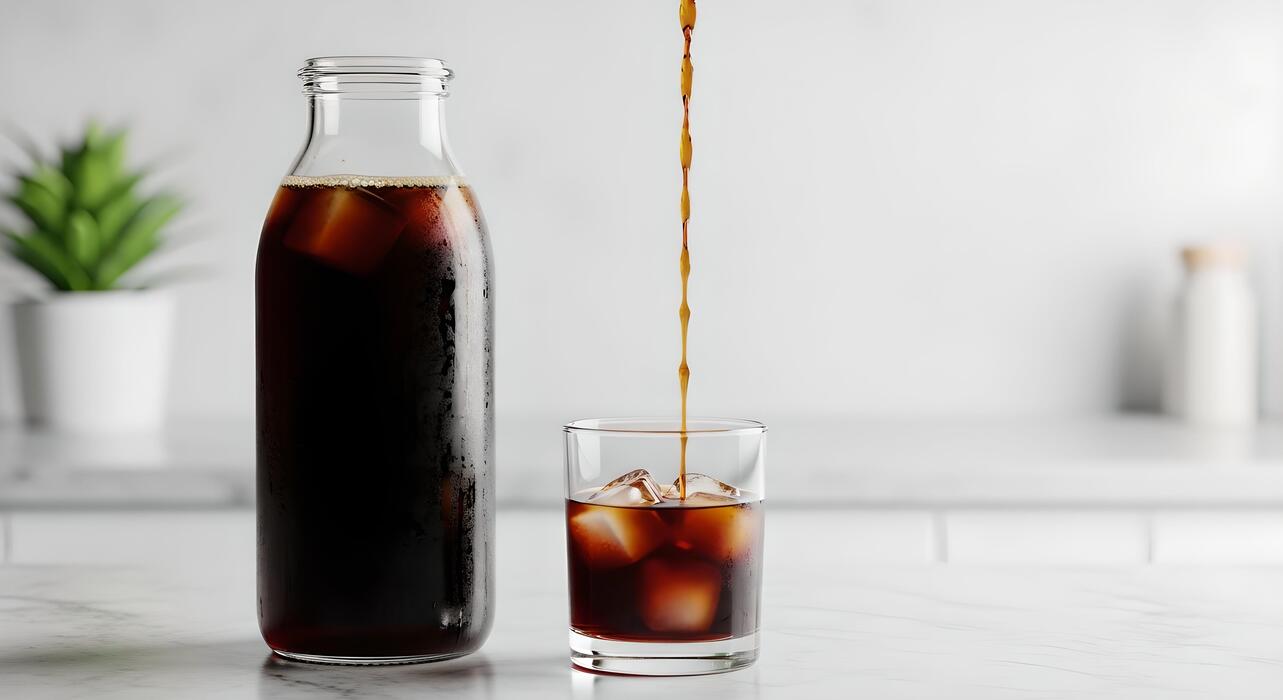
For proper cold brew, blends often outperform single origins due to their balanced flavor profile and consistent extraction. Single-origin beans can shine in hot brewing but may produce a one-dimensional or overly acidic cold brew.
A well-crafted blend combines beans from different regions to create complexity, sweetness, and body—key for a smooth concentrate. Look for blends labeled “cold brew” or “espresso” as they are designed for extended extraction.
If you prefer single origins, choose washed Ethiopian or Colombian beans for fruity, clean notes, or a Sumatra for earthy, chocolatey depth. Avoid overly bright or acidic single origins like Kenyan AA, as their citrus notes can turn sour.
The goal is a balanced brew that dilutes well without becoming bitter. Start with a medium-dark blend from a trusted roaster, then experiment with single origins once you master your technique. Always buy whole beans and grind just before brewing for maximum freshness and flavor clarity.
Recommended roast levels for balanced flavor
Medium to dark roasts are the gold standard for cold brew because they deliver rich, chocolatey notes with minimal acidity. Light roasts can taste sour or grassy due to under-extraction at low temperatures, while very dark roasts may become bitter or ashy.
A full city or Vienna roast offers the best balance: it develops sugars for natural sweetness but retains enough origin character for complexity. Avoid oily beans, as they can clog filters and produce a harsh taste.
For a smoother, more mellow brew, try a medium roast with tasting notes of cocoa, caramel, or nuts. If you prefer boldness, a dark roast with low acidity works well but monitor steeping time to prevent over-extraction. Experiment with a medium-dark blend from Central or South America for consistent results.
Remember, cold brew mutes roast flavors, so choose beans that are slightly darker than you’d use for hot coffee. Always check the roast date—beans aged 5-10 days after roasting are ideal for cold brew.
Grind size tips for optimal extraction
Coarse grind is essential for proper cold brew extraction—similar to breadcrumbs or sea salt. A fine grind increases surface area, leading to over-extraction, bitterness, and sediment. Use a burr grinder for uniform particles; blade grinders create uneven sizes that ruin clarity.
If you lack a grinder, buy pre-ground cold brew coffee or ask your roaster to grind on the coarsest setting. For a 12-hour steep at room temperature, a coarse grind allows water to penetrate evenly without releasing harsh tannins.
If you prefer a shorter steep (8-10 hours), use a slightly finer grind, but avoid fine sand texture. Shake the grounds after pouring water to ensure even saturation. After steeping, filter through a fine-mesh sieve, cheesecloth, or a dedicated cold brew bag.
A paper filter can remove fines for ultra-clean results. Adjust grind size based on your brewer: French press requires coarser, while toddy systems tolerate medium-coarse. Test and tweak until your brew is smooth, not bitter or watery.
Essential Equipment for Making Cold Brew at Home
Simple jar and strainer method
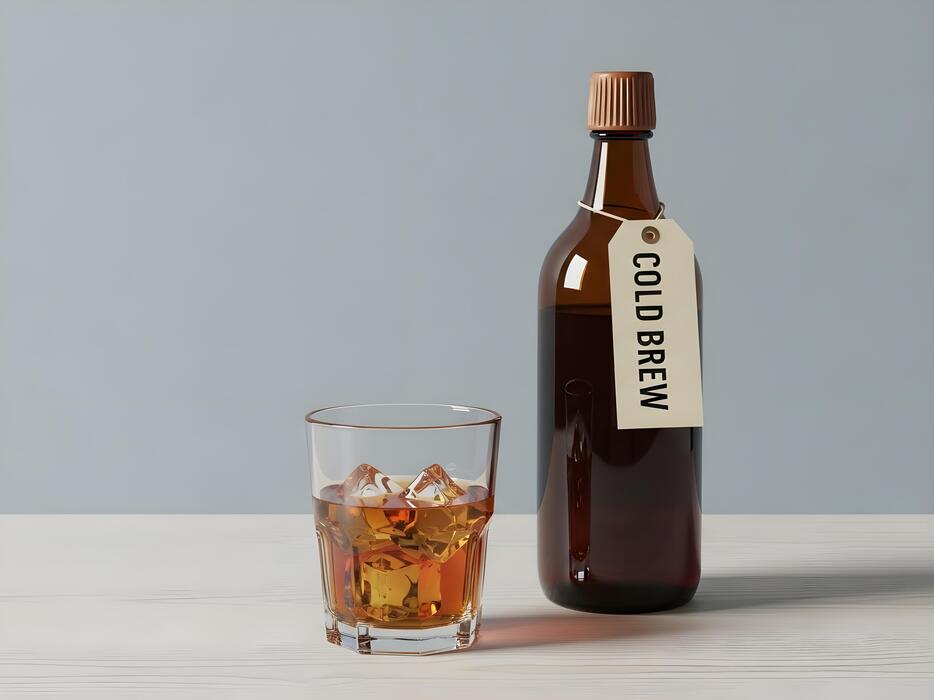
The most accessible way to start making proper cold brew at home uses items you likely already own. Grab a large glass jar (a 32-ounce mason jar works perfectly) and a fine-mesh strainer. For the perfect ratio, combine 1 cup of coarse-ground coffee with 4 cups of cold, filtered water.
Stir gently to ensure all grounds are saturated, then seal the jar and let it steep at room temperature or in the fridge for 12 to 24 hours. The longer it steeps, the stronger and bolder the flavor.
After steeping, pour the mixture through your fine-mesh strainer into a clean container. This method is budget-friendly, easy to clean, and produces a smooth concentrate you can dilute with water or milk. For the clearest results, strain twice or line the strainer with a paper towel.
This approach proves you don’t need fancy gear to enjoy rich, low-acid cold brew.
Cold brew makers and French press options
For a more convenient and consistent process, consider a dedicated cold brew maker or a French press. Cold brew makers, like the Takeya or OXO models, feature a built-in fine mesh filter that separates grounds from water easily—just add coarse coffee and water, steep, and remove the filter.
They often hold 1 to 2 quarts and simplify cleanup. Alternatively, a French press is a versatile tool: add your coffee and water, steep as usual, then press the plunger down slowly. This traps most grounds, yielding a clean brew.
Both methods require coarse ground coffee to avoid clogging and over-extraction. A French press is especially handy if you already own one for hot coffee. For best results, use a ratio of 1:4 coffee to water and steep for 18-24 hours.
These tools reduce sediment and make pouring straightforward—ideal for daily cold brew without extra gear.
Filters and cheesecloth for clear results
Even with a good strainer, some fine sediment can sneak into your cold brew, creating a cloudy or gritty texture. To achieve crystal-clear results, use a paper coffee filter or cheesecloth as a secondary filtration step.
After your initial strain, pour the brew through a cone filter placed in a dripper or a sieve lined with damp cheesecloth. For large batches, a nut milk bag works exceptionally well—just pour and squeeze gently.
This extra step removes tiny particles, resulting in a smooth, clean finish that rivals store-bought cold brew. Always rinse cheesecloth before use to avoid fabric taste. If using paper filters, wet them first to prevent clogging.
For ultimate clarity, filter twice: once through a mesh strainer, then through a paper filter. This method is crucial for those who prefer a polished, sediment-free drink and extends your cold brew’s shelf life in the fridge.
How to Make Cold Brew: Step-by-Step Guide
Coffee-to-water ratio for strong concentrate
For a proper cold brew concentrate that stands up to milk or dilution, use a 1:4 coffee-to-water ratio by weight. This means for every 1 gram of coffee, add 4 grams of water.
A good starting point is 1 cup (about 100 grams) of coarse ground coffee to 4 cups (about 400 grams) of cold, filtered water. Use a kitchen scale for accuracy—volume measurements can be inconsistent due to bean density and grind size.
A coarser grind, similar to breadcrumbs, prevents over-extraction and bitterness, while the high coffee-to-water ratio extracts deep, rich flavors without acidity.
If you prefer a milder concentrate, adjust to 1:5 or 1:6, but always start with the 1:4 ratio for that bold, smooth base that lasts up to two weeks in the fridge.
Mixing and steeping instructions
Combine your coarse coffee grounds and cold water in a large jar or pitcher, then stir gently to ensure all grounds are saturated. Avoid vigorous shaking, which can release bitter compounds.
Cover the container and let it steep at room temperature for 12–24 hours—18 hours is the sweet spot for balanced flavor. Steeping longer than 24 hours can lead to over-extraction and bitterness, while shorter times yield weak coffee.
Place the container in a cool, dark spot (like a pantry) to avoid temperature swings. Do not refrigerate during steeping, as cold slows extraction and can produce sour notes. Halfway through, give it a gentle stir to redistribute grounds for even infusion.
Filtration tips to remove all grounds
After steeping, line a fine-mesh sieve with a damp paper towel, cheesecloth, or a nut milk bag to catch fine sediment. Place the sieve over a clean pitcher or bowl, then slowly pour the concentrate through. Avoid pressing or squeezing the grounds, as this forces bitter particles into your brew.
For ultra-clear cold brew, use a French press plunger or a dedicated cold brew filter bag that simplifies cleanup. If using paper towels, wet them first to prevent tearing and ensure a tight seal.
After the initial pour, let the concentrate settle for 5 minutes, then pour again through a fresh filter for a silky, grit-free finish. Store the filtered concentrate in a sealed glass container in the fridge for up to 14 days, and always use clean utensils to maintain freshness.
Cold Brew Steeping Time and Temperature Tips
Room temperature vs. refrigerator steeping
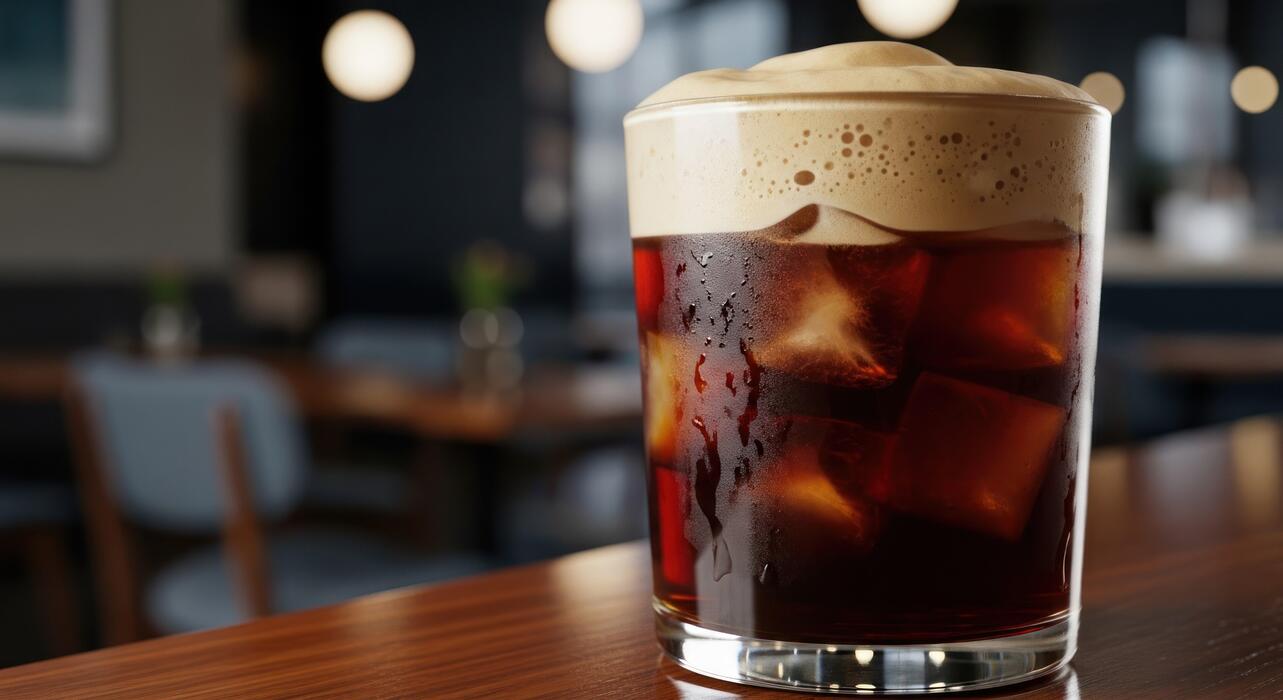
Choosing between room temperature and refrigerator steeping is the first key decision for your cold brew. Room temperature steeping (around 68-72°F) extracts flavors faster, often finishing in 12-14 hours, and yields a bolder, more aromatic cup with pronounced fruity or floral notes. However, it requires careful timing to avoid bitterness.
Refrigerator steeping (around 35-40°F) is more forgiving and slower, taking 18-24 hours. This method produces a smoother, less acidic brew with a cleaner finish, as the cold slows extraction of bitter compounds. For beginners, start with the refrigerator method—it’s harder to over-extract.
If you’re short on time, try room temperature but set a timer to check at 12 hours. Always use a coarse grind to prevent muddy flavors, and stir your grounds halfway through for even extraction. Remember, water quality matters: filtered water improves taste regardless of temperature.
Experiment with both to find your preferred balance of strength and smoothness.
12 to 24 hours: finding your perfect brew time
Steeping time is your main dial for flavor control. For a balanced, mild brew, steep for 12-14 hours at room temperature or 18-20 hours in the fridge. This yields a smooth coffee with gentle caffeine kick, ideal for sipping black or over ice.
For a stronger, more concentrated base (great for milk or cocktails), push to 16-18 hours at room temperature or 22-24 hours in the fridge. The brew becomes richer with deeper chocolate or nutty notes. Avoid going beyond 24 hours even in the fridge, as bitterness increases.
Taste-test at 12 hours if using room temperature: sample a spoonful every 2 hours until it’s bold but not harsh. For fridge steeping, check at 18 hours. Remember, your grind size affects timing—finer grinds extract faster, so adjust down to 10-12 hours for room temp.
Keep a log of times and ratios (e.g., 1:8 coffee-to-water) to replicate your perfect batch consistently.
Signs your cold brew is over-extracted
Over-extraction turns your cold brew from smooth to harsh. Key sign #1: extreme bitterness that lingers on the back of your tongue, resembling dark chocolate gone wrong. Sign #2: a dry, astringent mouthfeel that puckers your palate, like over-steeped tea.
Sign #3: muddiness or cloudiness in the final brew, indicating fine particles broke down. Sign #4: hollow or flat flavor where complexity is replaced by one-dimensional bitterness. If you notice these, you’ve steeped too long or used too fine a grind.
Fix it by reducing steeping time by 2-4 hours next batch, or switch to a coarser grind. For immediate salvage, dilute the over-extracted brew with water or milk (1:1 ratio) to soften bitterness, or use it as a base for coffee cocktails where strong flavors mask flaws.
Always filter through a paper filter after steeping to remove sediment, which can intensify bitterness. With practice, you’ll recognize the sweet spot before these signs appear.
How to Serve and Store Cold Brew
Diluting concentrate for ready-to-drink coffee
Cold brew concentrate is potent, so diluting it properly is key for a balanced cup. A standard ratio is 1 part concentrate to 1 part water for a strong, bold brew, or 1:2 for a milder taste similar to drip coffee. Use filtered water or milk for a creamier texture.
For iced coffee, pour the concentrate over a glass filled with ice, then add water or milk to taste. Stir well to ensure even mixing. If you prefer hot coffee, dilute the concentrate with hot water (not boiling) at a 1:1 or 1:2 ratio.
Taste as you go—adjust ratios based on your preference. Always start with less water and add more to avoid over-dilution. For a quick grab-and-go option, pre-dilute a batch in a pitcher and refrigerate; this mixture stays fresh for up to a week.
Remember, the concentrate itself is shelf-stable in the fridge for up to two weeks, but once diluted, consume within 7 days for optimal flavor.
Flavor add-ins: milk, sweeteners, and spices
Enhance your cold brew with simple add-ins for a personalized touch. For milk, use whole milk, oat milk, or almond milk to add creaminess—start with 1-2 tablespoons per serving and adjust to taste.
Sweeteners dissolve best when added as simple syrup (equal parts sugar and water, heated until dissolved) since granulated sugar doesn’t dissolve well in cold liquid. Try honey, maple syrup, or agave for natural sweetness.
For spices, add a pinch of cinnamon, nutmeg, or vanilla extract directly to the concentrate or diluted coffee. For a seasonal twist, stir in pumpkin pie spice or a dash of cardamom. Cold foam (frothed cold milk) adds a café-style finish.
Experiment with flavored syrups like caramel or hazelnut, but use sparingly to avoid overpowering the coffee. Always stir or shake well after adding ingredients. For a healthier option, skip sweeteners and let the natural chocolate notes of cold brew shine—pair with a splash of unsweetened almond milk.
Storing cold brew in the fridge for up to two weeks
Proper storage keeps your cold brew fresh and flavorful for up to two weeks. After brewing, transfer the concentrate to a clean, airtight glass container—avoid plastic, which can absorb odors. Label the container with the brewing date to track freshness.
Store it in the refrigerator at a consistent temperature below 40°F (4°C). Never leave cold brew at room temperature for more than 2 hours, as bacteria can grow. For best quality, consume within 10-14 days, though it remains safe for up to 14 days if stored correctly.
If you notice off flavors or cloudiness, it’s time to discard. To prevent oxidation, minimize air exposure by filling the container as full as possible or using a vacuum-sealed jar. Avoid freezing cold brew, as it alters the flavor and texture.
For long-term storage, freeze in ice cube trays and use the cubes in iced coffee. Always use a clean spoon or measuring cup when pouring to avoid contamination. Shake or stir gently before each use, as sediment may settle.
Common Cold Brew Mistakes and How to Fix Them
Using the wrong grind size
One of the most frequent mistakes is using a grind that’s either too fine or too coarse. A fine grind (like espresso) extracts too quickly, leading to over-extraction, bitterness, and a muddy texture.
A coarse grind (like breadcrumbs) is ideal because it allows for a slow, even extraction over 12-24 hours, producing a smooth, rich concentrate. To fix this, aim for a uniform, coarse grind—similar to raw sugar or sea salt. If your coffee tastes harsh or gritty, you’re likely grinding too fine.
Switch to a burr grinder for consistency, and avoid blade grinders that create uneven particles. For a quick test: steep your grounds for 12 hours, then taste. If it’s overly bitter, grind coarser next time; if weak and sour, grind slightly finer.
Remember, cold brew is forgiving, but grind size is the foundation for balanced flavor. Adjust gradually until you achieve a concentrate that’s smooth, not acidic or astringent.
Steeping too long or too short
Steeping time directly impacts flavor, and many home brewers either rush or overdo it. Steeping too short (under 12 hours) results in weak, under-extracted coffee that tastes sour or watery. Steeping too long (over 24 hours) pulls out bitter compounds, making the brew harsh and unpleasant.
The sweet spot is 12 to 18 hours at room temperature or up to 24 hours in the fridge for a smoother result. To fix timing, start with a 14-hour steep at room temp, then taste-test.
If it’s too weak, add 2 hours next batch; if too bitter, reduce by 2 hours. Use a timer or phone reminder to avoid guesswork. For consistency, steep in the refrigerator—this slows extraction, giving you a wider window (18-24 hours) without over-extracting.
Always strain immediately after your chosen time; leaving grounds in the water stops extraction and prevents bitterness. Adjust based on your coffee bean’s roast level—darker roasts may need slightly less time.
Skipping the filtration step
Many beginners assume straining once is enough, but inadequate filtration leaves sediment that ruins texture and taste. Cloudy, gritty cold brew comes from fine coffee particles that continue to extract and create bitterness.
To fix this, use a two-step filtration process: first, pour your steeped mixture through a fine-mesh sieve lined with a paper coffee filter or a nut milk bag. For maximum clarity, strain again through a cheesecloth or a dedicated cold brew filter.
If you’re using a French press, press slowly and consider a second filter for the final product. Avoid metal filters alone, as they let fines through.
For a pro tip, let the strained brew settle in the fridge for 30 minutes, then pour off the top layer, leaving sediment at the bottom. Store your cold brew in a clean, airtight container and consume within 2 weeks.
Proper filtration yields a silky, smooth concentrate that’s perfect for dilution or sipping straight.
Frequently Asked Questions
What is the ideal coffee-to-water ratio for cold brew?
A common ratio is 1:4 or 1:5 (coffee to water) for a concentrate, or 1:8 for ready-to-drink cold brew. Adjust based on your taste preference, but start with 1:4 for a strong concentrate you can dilute later.
What grind size is best for cold brew?
Use a coarse grind, similar to breadcrumbs or sea salt. A fine grind can lead to over-extraction and bitterness, while too coarse may result in a weak brew.
How long should I steep cold brew?
Steep for 12 to 24 hours at room temperature or in the refrigerator. 18 hours is a sweet spot for balanced flavor, but longer times can increase strength and bitterness.
Do I need to use filtered water for cold brew?
Yes, filtered water is recommended because cold brew relies on water quality for flavor. Tap water with chlorine or minerals can create off-tastes.
How do I filter cold brew properly?
Pour the steeped mixture through a fine-mesh sieve lined with a paper filter, cheesecloth, or a nut milk bag. For clarity, double-filter or use a dedicated cold brew filter system.
Can I make cold brew without a special maker?
Absolutely. Use a large jar or pitcher, add coarse grounds and water, stir, cover, and steep. Then strain through a sieve and filter. No special equipment needed.
Should I store cold brew concentrate in the fridge?
Yes, store your cold brew concentrate in an airtight container in the refrigerator for up to two weeks. Dilute with water or milk before serving.
Why is my cold brew bitter or sour?
Bitterness often comes from over-extraction (too fine grind or too long steep), while sourness indicates under-extraction (too coarse grind or too short steep). Adjust grind size and steep time to fix.
Conclusion
Mastering cold brew is simpler than you think: use a coarse grind, steep at room temperature for 12-24 hours, and always filter twice for clarity. The reward is a smooth, low-acid concentrate that stays fresh for weeks. Experiment with your preferred ratio—start with 1:4 coffee to water. Once you taste the difference, you’ll never settle for hot-brewed iced coffee again.