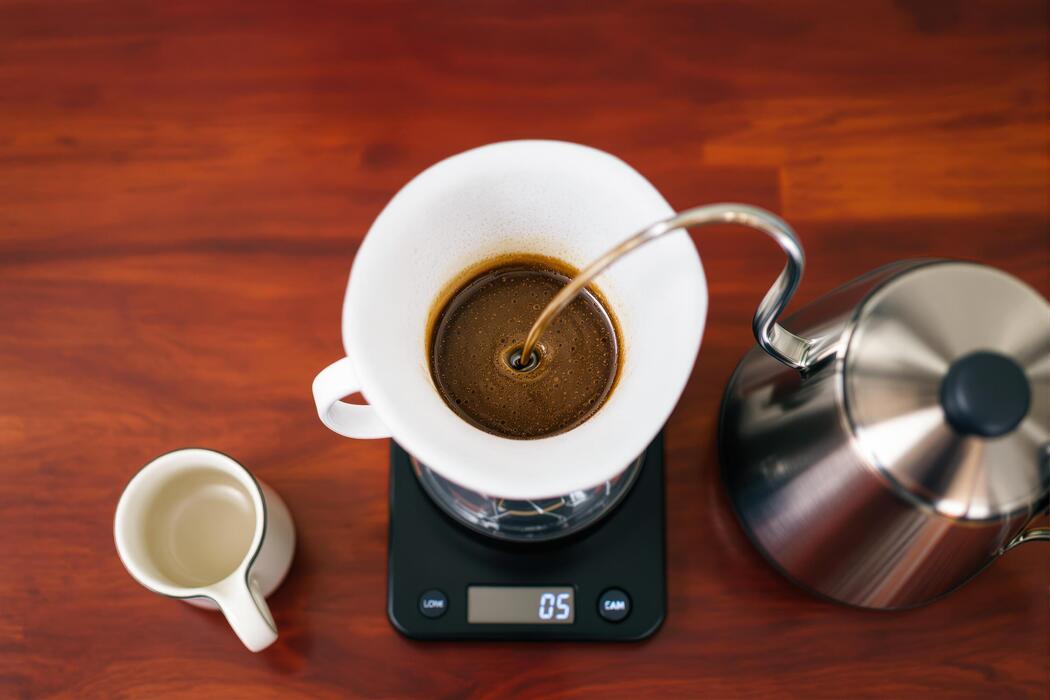
How To Make Pour Over Coffee Without Scale
how to make pour over coffee without scale is simpler than it sounds when you use easy visual cues, measuring spoons, and a consistent pouring method. If you want balanced, repeatable coffee but do not own a scale, you are in the right place.
What Is Pour Over Coffee Without a Scale?
Why people skip the scale at home
Many home brewers want a routine that feels simple, fast, and low-fuss, so they skip the scale and use tools they already have, like a tablespoon, mug, or scoop.
If your goal is learning how to make pour over coffee without scale, this approach can still work well because it removes setup time and makes the process feel more approachable on busy mornings.
A scale also adds one more device to clean, store, and remember, which can discourage daily use. For beginners, measuring by eye often feels less intimidating than chasing exact grams and ratios right away.
You can start with an easy baseline such as 2 level tablespoons of ground coffee for every 8 ounces of water, then adjust from there. That method gives you a repeatable starting point without special gear.
Skipping the scale is really about convenience, and with a consistent scoop, mug, and pouring style, you can still build a dependable cup at home.
Can you still make great coffee without exact grams
Yes, you can absolutely make great pour over coffee without exact grams if you focus on consistency in the parts you can control. The most useful habit is keeping your coffee scoop, mug size, grind level, and pour pattern the same each time.
Start with a practical ratio by volume, like 2 tablespoons of medium-ground coffee per 8 ounces of water, or about 4 tablespoons for a standard 12-ounce mug.
If the coffee tastes weak, add a little more grounds next time; if it tastes harsh or muddy, use slightly less or pour a bit faster. Good flavor also depends on technique, not just measurement.
Wet the filter first, bloom the grounds with a small amount of water for about 30 to 45 seconds, then pour slowly in circles. Fresh beans and an even grind matter more than perfect math. A scale improves precision, but delicious, balanced results are still very possible without one.
What changes when you measure by sight and volume
When you measure by sight and volume, the biggest change is that your brewing becomes more approximate and more dependent on habit. A heaping tablespoon is not the same as a level one, different beans have different density, and your favorite mug may hold more water than you think.
That means two cups brewed the “same way” can still taste slightly different. The solution is to make your non-scale method as repeatable as possible. Use the same spoon, same brewer, same mug, and same water fill line every time.
You can even mark your kettle or mug with a visual fill point. Expect flavor adjustments to happen by taste instead of numbers: more coffee for stronger body, less coffee for a lighter cup, slower pours for more extraction, and coarser grind if the brew tastes bitter.
Measuring by volume trades precision for ease, but careful observation can still produce a reliable, enjoyable pour over.
What You Need to Make Pour Over Coffee Without a Scale
Best pour over drippers and filters to use
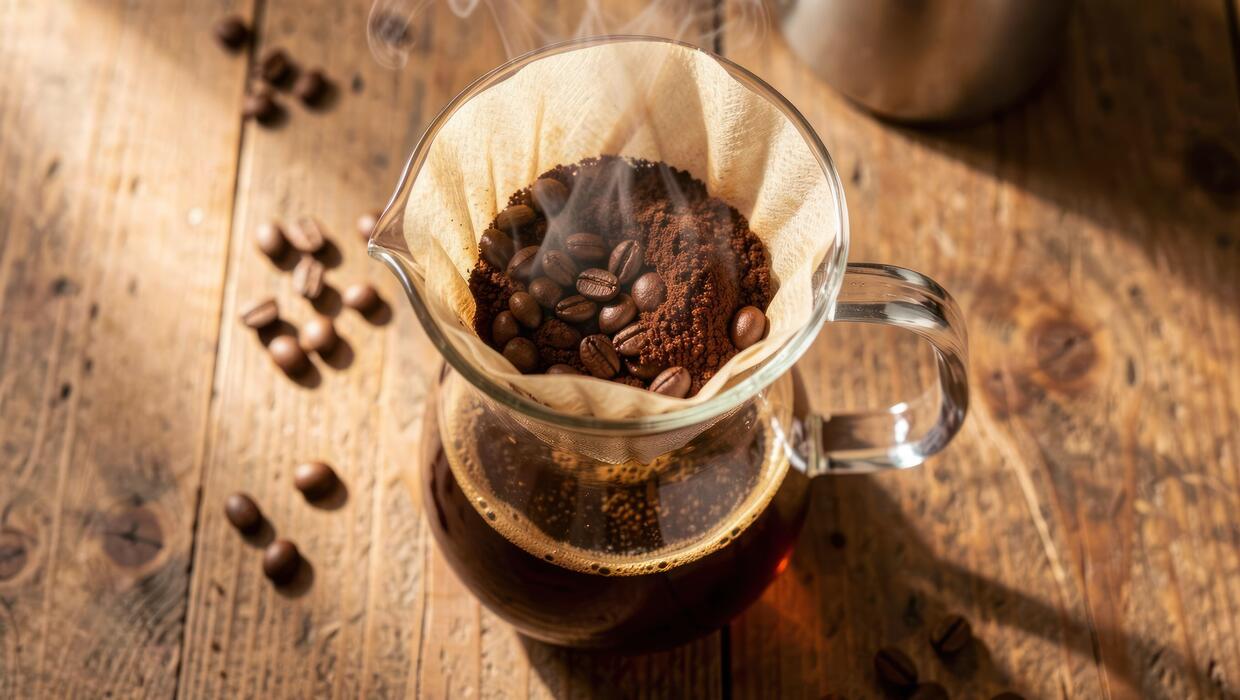
If you are making pour over coffee without a scale, choose equipment that is forgiving and easy to repeat. A Kalita Wave is one of the best options because its flat-bottom design helps water flow more evenly, so small measuring mistakes matter less.
A Melitta-style cone is also beginner-friendly because the filters and drippers are affordable, widely available, and simple to use. A Hario V60 can still work well, but it is a little less forgiving and depends more on pour control.
For filters, use the brand made for your dripper whenever possible so the fit stays consistent from brew to brew. Consistency matters more than perfection when you are not weighing coffee or water. Rinse the paper filter with hot water first to remove paper taste and warm the dripper.
Then use the same mug, same scoop, and same fill level each time. Repeatable setup beats exact precision when you are brewing without a scale.
Simple tools that replace a digital scale
You can make great pour over coffee without a scale by using measuring spoons, a liquid measuring cup, and visual fill lines. A practical starting point is 2 level tablespoons of ground coffee for every 8 ounces of water, then adjust stronger or weaker from there.
If you want a more balanced mug, try 3 tablespoons for 12 ounces or 4 tablespoons for 16 ounces. Use the same spoon every time, and level it off instead of guessing heaping scoops.
For water, a standard kitchen measuring cup works well, and many mugs list their ounce size online if you are unsure. You can also pour water into a measuring cup once, note where it sits in your favorite mug, and use that as your reference line.
Keep a small note with your best recipe, such as 3 tablespoons coffee + 12 ounces water, so you can repeat it easily. Consistency in household measurements is the best substitute for a scale.
How to choose the right kettle, mug, and spoon
When brewing pour over without a scale, pick tools that make control and consistency easier. A gooseneck kettle is the best choice because it gives you a slow, steady pour, which helps you wet all the grounds evenly and avoid flooding the filter.
It does not need to be expensive or electric; even a basic stovetop gooseneck works well. Choose a mug with a known capacity, such as 10, 12, or 16 ounces, so your water measurement stays predictable.
If your mug size is unclear, measure it once with a kitchen measuring cup and remember the number. For coffee, use the same tablespoon or coffee scoop every time, because switching spoons changes your recipe without you noticing.
A long-handled spoon is also useful for stirring the bloom if dry pockets appear. The goal is not fancy gear but tools that help you repeat the same brew method again and again with less guesswork.
How to Measure Coffee Without a Scale
How many tablespoons of coffee to use per cup
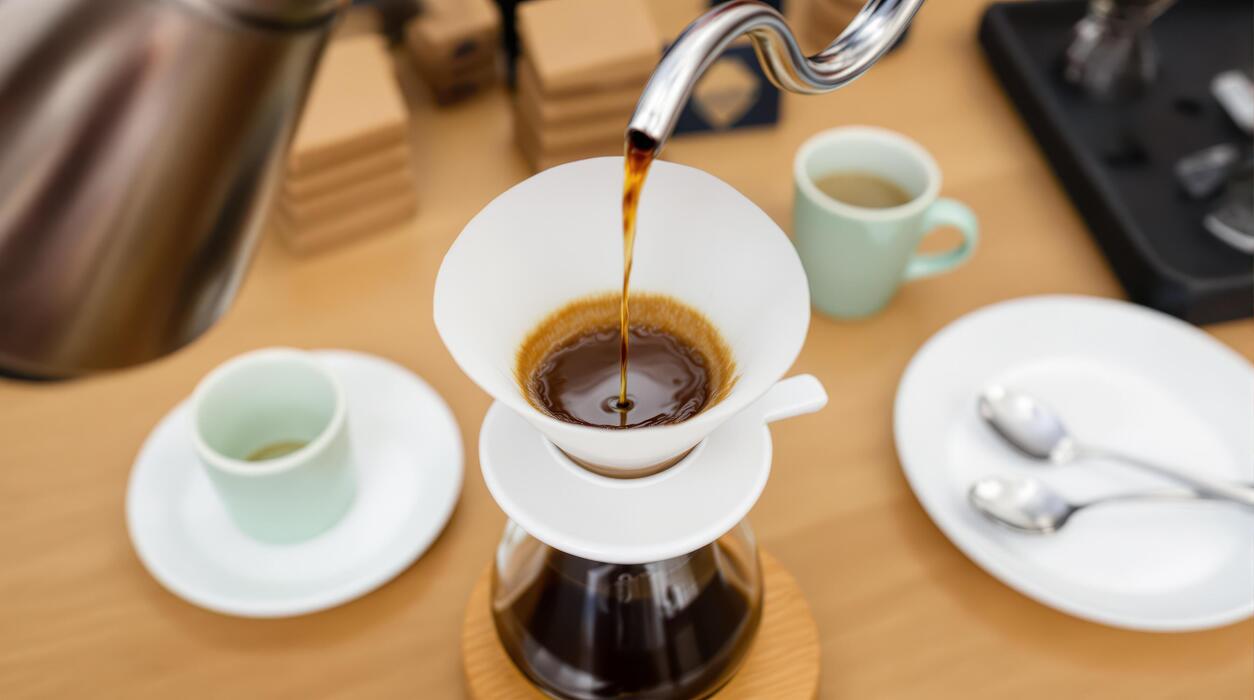
If you do not have a scale, a simple starting point is 2 level tablespoons of ground coffee for every 8 ounces of water. That makes a balanced pour over for most medium roasts.
If you brew a larger mug, use 3 tablespoons for 12 ounces or 4 tablespoons for 16 ounces. For stronger coffee, add an extra half tablespoon before changing anything else. For lighter coffee, remove a half tablespoon.
Try to use level tablespoons, not heaping ones, because volume changes quickly when grounds pile up. Once you find a strength you like, keep the same spoon and cup every time. That consistency matters more than perfection when learning how to make pour over coffee without a scale.
Best ways to measure beans or grounds with kitchen tools
You can make great pour over coffee using everyday kitchen tools if you stay consistent. The easiest option is a tablespoon measure, but a teaspoon, small scoop, liquid measuring cup, or coffee scoop can also work.
A standard coffee scoop is usually close to 2 tablespoons, which is helpful for quick brewing. If you measure whole beans, fill the spoon the same way each time and avoid packing them down.
If you grind at home, measure beans first, then grind, because fluffy grounds can take up more space. A useful shortcut is to dedicate one mug for water and one spoon for coffee, so your recipe becomes repeatable. Even without a scale, repeatable tools create repeatable results.
Easy coffee-to-water ratios to remember
Without a scale, the goal is not mathematical precision but an easy ratio you can remember. A reliable rule is 1 tablespoon of coffee per 4 ounces of water, which equals 2 tablespoons for 8 ounces.
For a typical pour over, think in simple steps: 2 tablespoons for 1 cup, 3 tablespoons for 12 ounces, and 4 tablespoons for 16 ounces. If you use a larger dripper, double it rather than guessing.
Another easy memory trick is one coffee scoop for a small mug, two scoops for a large travel mug. Keep your water amount consistent by filling the same cup or server each time.
When your ratio stays stable, it becomes much easier to adjust flavor based on taste instead of starting over every brew.
How grind size affects strength when you measure by volume
Grind size can change your cup a lot when you measure coffee by volume instead of weight. Finer grounds can make coffee taste stronger and more intense because water extracts them faster. Coarser grounds usually brew lighter and can taste weak if the water drains too quickly.
Volume can also fool you: finely ground coffee may sit more densely in a spoon, while coarse grounds can look fuller but contain less coffee. That means the same 2 tablespoons may not brew the same way after a grind change.
For pour over, aim for a medium grind, like table salt or slightly coarser. If the coffee tastes bitter, grind a bit coarser. If it tastes sour or thin, grind a bit finer before changing your spoon measurement.
How to Measure Water Without a Scale
How to use a measuring cup for pour over coffee
If you do not have a scale, a standard measuring cup is the easiest way to stay consistent with pour over coffee. Start with a simple ratio you can remember: 2 level tablespoons of ground coffee for every 6 fluid ounces of water.
Since 1 US measuring cup equals 8 fluid ounces, that means you need about 2 tablespoons plus 2 teaspoons of coffee per 1 cup of water. For easier brewing, many people round to 3 tablespoons per cup for a balanced strength.
Measure your water in the cup before heating it, then pour it into your kettle. If your dripper uses a paper filter, rinse the filter first, discard that water, and then brew with your measured amount.
Pour a small amount of hot water first to bloom the grounds for 30 to 45 seconds, then continue pouring slowly in circles. The key is using the same measuring cup and spoon every time so your results stay reliable even without a scale.
Water amounts for one cup, two cups, and larger brews
A practical way to brew without a scale is to match water volume to coffee spoon measurements. For one cup, use 1 measuring cup of water and about 3 tablespoons of ground coffee. For two cups, use 2 measuring cups of water and 6 tablespoons of coffee.
If you want a slightly lighter brew, reduce by about 1/2 tablespoon per cup; if you prefer it stronger, add 1/2 tablespoon per cup. For three cups, use 3 cups of water and 9 tablespoons of coffee. For four cups, use 4 cups of water and 12 tablespoons of coffee.
This is not laboratory-precise, but it is close enough for flavorful, repeatable pour over coffee at home. Keep in mind that some mugs are larger than a standard cup, so if your mug holds 12 ounces, you may need 1 1/2 measuring cups of water.
The best approach is to pick one ratio, taste, and adjust once rather than changing everything every brew.
Best water temperature if you do not have a thermometer
If you do not have a thermometer, you can still get very good results by timing your water after it boils. For pour over coffee, the ideal range is usually just off the boil, roughly equivalent to 195 to 205°F.
The easiest method is to bring water to a full boil, turn off the heat, and wait about 30 to 60 seconds before pouring. That short rest brings the water into a great brewing zone for most coffees.
If you pour immediately at a rolling boil, you may extract too harshly and make the cup taste bitter. If you wait too long, the water may cool enough to under-extract and taste flat or sour. A gooseneck kettle helps with control, but any kettle works if you pour steadily.
If your coffee tastes sharp and weak, try hotter water next time. If it tastes bitter or hollow, try waiting a little longer before pouring. Consistency matters more than perfection.
How to Make Pour Over Coffee Without a Scale Step by Step

How to rinse the filter and prep the brewer
Set your dripper on a mug or carafe, place the paper filter inside, and rinse the filter thoroughly with hot water. This removes papery taste and also warms the brewer and cup, which helps keep extraction steady.
Swirl the hot water around the server or mug, then dump it out before brewing. Add your ground coffee next. Without a scale, use about 2 tablespoons of coffee for every 6 ounces of water, adjusting later to taste.
Gently shake the dripper to level the coffee bed so water flows evenly through the grounds. Start with water just off the boil, then let it sit for 30 to 45 seconds if needed.
A flat bed, hot brewer, and rinsed filter create a cleaner, smoother cup and make the rest of the brew easier to control.
How much water to use for the bloom
For the bloom, add just enough water to fully wet all the grounds without flooding the filter. A good no-scale rule is to pour about the same volume of water as the dry coffee takes up, or roughly 2 to 3 tablespoons of water for every 2 tablespoons of coffee.
Start pouring in small circles from the center outward, making sure no dry pockets remain. Once all the grounds look saturated, stop and let the coffee sit for 30 to 45 seconds. This pause lets trapped gas escape so later pours can extract more evenly.
If the grounds rise and bubble, that is normal. The key is complete saturation, not a large pour, because too much water during the bloom can cause uneven extraction and weaken the cup.
How to pour in stages for a balanced cup
After the bloom, pour in slow, controlled stages instead of adding all the water at once. Keep the water stream thin and steady, and pour in small circles over the coffee bed rather than directly on the paper filter.
A practical method without a scale is to fill the dripper to about half to two-thirds full, let the water level drop, then repeat until you reach your total water amount.
For one mug, that is often around 10 to 12 ounces of water for 3 to 4 tablespoons of coffee. Try using three to four pours total, including the bloom.
This staged approach helps maintain even extraction, avoids channeling, and gives you a cup that tastes balanced, sweet, and less harsh than a single heavy pour.
When to stop brewing and serve
Stop pouring once you have added your full water amount and let the coffee draw down naturally. For a typical single cup, the total brew time is usually about 2 1/2 to 4 minutes, depending on your grinder, dripper, and pour speed.
If the coffee is still dripping very slowly far past that range, your grind may be too fine; if it finishes unusually fast, the grind may be too coarse.
You do not need to wait for every last drop if the brewer starts dripping very slowly, since those final drops can add bitterness. Remove the dripper, swirl the brewed coffee to mix the layers, and taste.
If it seems strong, add a splash of hot water; if weak, use more coffee or less water next time.
Tips for Better Pour Over Coffee Without Exact Measurements
How to keep your brew consistent every morning
If you are making pour over coffee without a scale, the goal is to create a repeatable routine using the same mug, spoon, and pouring pattern every day. Start by choosing one coffee scoop or tablespoon and stick with it.
A reliable starting point is 2 level tablespoons of ground coffee for every 8 ounces of water, then scale that up using the same ratio. Use the same dripper, same filter type, and same grind size whenever possible, because changing several things at once makes consistency harder.
Mark your favorite mug or kettle with a simple fill line so you can measure water visually. Pour in stages: first a small bloom to wet the grounds, then add water slowly in circles until you reach your usual level. Most importantly, write down what tasted good.
Even without exact measurements, small habits like repeating your scoop count, water level, and brew time will make your coffee noticeably more dependable.
Best ways to adjust weak, sour, or bitter coffee
When you are brewing by eye, the easiest fixes come from changing strength, grind, and pour speed one at a time. If your coffee tastes weak or watery, use a little more coffee next time or pour a little less water.
If it tastes sour or sharp, the coffee is usually under-extracted, so try a finer grind, a slightly slower pour, or a longer brew time to pull out more sweetness.
If it tastes bitter, harsh, or drying, the coffee may be over-extracted, so use a coarser grind, pour a bit faster, or reduce the total water slightly. Keep your water just off the boil, because water that is too cool can make coffee dull and sour.
Also look at the bed of grounds after brewing: if some areas stayed dry, extraction was uneven. The best troubleshooting method is adjust only one variable per brew, so you can tell exactly what improved the cup.
Common mistakes to avoid when eyeballing coffee and water
The biggest mistake when making pour over without a scale is being casual with everything at once. If you switch mugs, scoops, grind size, and pouring style from day to day, it becomes almost impossible to learn what works.
Another common problem is using a heaping spoon one day and a level spoon the next, which changes strength more than people expect. Pouring all the water in too quickly is also a frequent issue, because it can lead to channeling and uneven extraction instead of a balanced cup.
Do not skip the bloom; even a 20 to 30 second pre-wet helps release gas and improves flow. Avoid filling the dripper to the top without noticing how much water actually went in. It also helps not to judge the brew too early—let it finish draining before deciding.
The smartest approach is to simplify your method, repeat it closely, and make small corrections instead of guessing wildly each morning.
Best Ways to Improve Your Results Over Time
How to build a simple repeatable coffee routine
The easiest way to get better without a scale is to create a repeatable routine and change only one thing at a time. Start with a consistent scoop method, such as 2 level tablespoons of ground coffee for one mug or 4 tablespoons for a larger 16-ounce cup.
Use the same mug, dripper, spoon, and kettle every time so your measurements stay close. Mark your favorite water level inside the mug with a small piece of tape or simply remember where to fill.
Keep your grind at medium-fine, like table salt, and pour in stages: first a small bloom for 30-45 seconds, then add the rest slowly in circles. Write down what you did and how it tasted: too weak, too bitter, too sour, or just right.
If it tastes weak, use a little more coffee; if bitter, grind coarser or pour faster. Small, consistent adjustments will improve your results much faster than guessing from scratch each brew.
When to switch from tablespoons to a scale later on
Using tablespoons works well when you want a simple, low-cost way to brew, but a scale becomes useful once you want more precision and easier troubleshooting. A tablespoon measures volume, not weight, so different beans can fill the spoon differently depending on roast level, density, and grind size.
If your coffee tastes great often enough, there is no urgent need to upgrade. However, consider moving to a scale when you start buying better beans, trying different brewers, or wanting the same result every morning with less trial and error.
A scale helps you keep a stable coffee-to-water ratio and makes it easier to compare recipes from cafes or roasters. Until then, you can bridge the gap by learning your own rough conversion, such as how many tablespoons usually make your favorite cup.
Think of a scale as a helpful next step, not a requirement. Skill, consistency, and attention still matter more than gadgets alone.
Quick answers to common questions about pour over coffee without a scale
Yes, you can absolutely make good pour over without a scale if you focus on consistency, taste, and simple visual cues. If your coffee is too watery, add a little more grounds next time or pour a bit less water.
If it tastes bitter or harsh, try a coarser grind or speed up your pour slightly. If it tastes sharp or sour, grind a little finer or pour more slowly to increase extraction.
For bloom water, you do not need to measure perfectly; just add enough to wet all the grounds evenly and wait about 30-45 seconds. A standard starting point is 2 tablespoons per 8-ounce cup, but your beans may taste better with a bit more.
Keep your kettle pour gentle and steady rather than dumping water all at once. The best shortcut is to use the same cup, same spoon, same bean amount, and same timing each day. Better habits beat perfect math when you are brewing without a scale.
Frequently Asked Questions
Can you make pour over coffee without a scale?
Yes, you can make good pour over coffee without a scale by using consistent volume measurements and a repeatable routine. Measure coffee with tablespoons or a scoop, use the same mug or measuring cup for water, and keep your pour timing similar each time.
How much coffee should I use without a scale?
A simple starting point is 2 level tablespoons of ground coffee for every 8 ounces of water. If you want a stronger cup, add a little more coffee; if it tastes too strong or bitter, use slightly less next time.
What grind size works best for pour over if I am eyeballing everything?
Use a medium grind, about the texture of regular sand, for most pour over brewers. If the coffee drains too fast and tastes weak or sour, grind finer; if it drains very slowly and tastes bitter, grind coarser.
How do I measure water for pour over without a scale?
Use a measuring cup, mug, or any container with known volume markings. For one standard cup, start with about 8 to 10 ounces of water and keep using the same amount so you can adjust the coffee more accurately over time.
What is an easy step-by-step method for pour over coffee without a scale?
Rinse the filter with hot water, add 2 tablespoons of medium-ground coffee, and gently shake the brewer to level the bed. Pour just enough hot water to wet the grounds, wait 30 to 45 seconds for the bloom, then slowly pour the rest in circles until you reach your target amount of water.
How hot should the water be if I do not have precise tools?
Bring water to a boil, then let it sit for about 30 to 60 seconds before pouring. This usually gets you close to the ideal brewing range and helps avoid scorching the coffee.
How can I make my pour over taste better without a scale?
Focus on consistency: use the same spoon, same cup, same grind setting, and similar pouring speed each time. Change only one thing at a time, such as adding half a tablespoon more coffee or grinding slightly finer, so you can tell what improves the flavor.
Conclusion
Making pour over coffee without a scale is simple once you rely on visual measurements, steady pouring, and a little practice. By using common kitchen tools, paying attention to coffee-to-water balance, and adjusting based on taste, you can still brew a flavorful, balanced cup. Don’t be afraid to experiment—your palate is the best guide, and with consistency, you’ll build a reliable routine that works every time.