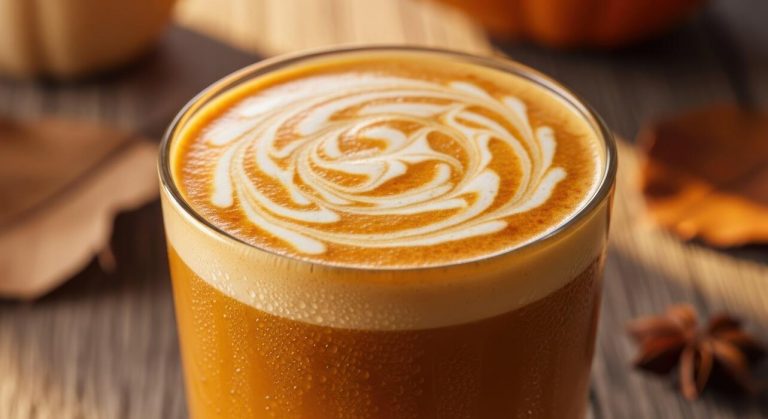
How To Make Iced Brew Coffee
How to make iced brew coffee is a question that trips up many home brewers, who often end up with watery, bitter iced coffee. The core problem is diluting hot coffee with ice. You’re in the right place: the solution is cold brewing or hot brewing double-strength. Both methods lock in bold flavor without the melt.
What Is Iced Brew Coffee and How Is It Different
Cold brew vs. iced coffee vs. iced brew
To make iced brew coffee at home, start by understanding these three distinct methods. Cold brew involves steeping coarse coffee grounds in cold water for 12-24 hours, producing a smooth, low-acid concentrate. Iced coffee is simply hot-brewed coffee poured over ice, which can dilute flavor quickly.
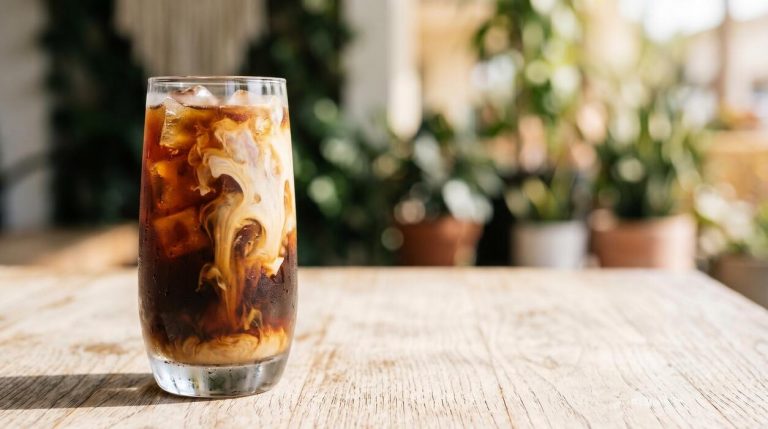
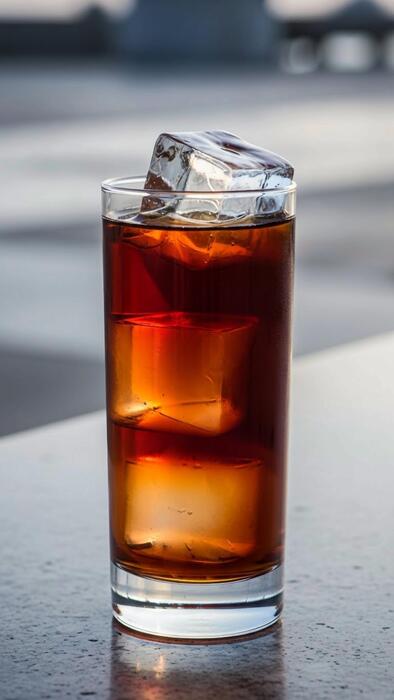
Iced brew is a hybrid: you brew coffee hot using standard methods (drip, pour-over, or French press), then immediately chill it by pouring over ice or refrigerating. This method preserves the bright, complex flavor notes of hot brewing while delivering a refreshing cold drink.
For best results, brew at double strength (use twice the coffee grounds) to compensate for ice dilution. For example, if your normal ratio is 1:16 coffee to water, use 1:8. Pour the hot brew directly over a full glass of ice to lock in aroma and prevent bitterness.
This technique is faster than cold brew and more flavorful than iced coffee.
Why iced brew uses hot brewing then chilling
Iced brew coffee relies on hot brewing because heat extracts a wider range of flavor compounds from coffee grounds than cold water does. When you brew hot (195-205°F), you unlock volatile aromatics, fruity acids, and complex oils that cold brewing cannot capture.
The key is to chill the coffee rapidly after brewing to preserve these delicate flavors. For actionable steps: brew using your preferred hot method (pour-over works great), but use a finer grind than you would for cold brew to increase extraction.
Immediately after brewing, pour the hot coffee over a large amount of ice—about half the total volume—to shock-cool it. This stops the extraction process and prevents oxidation, which causes stale flavors. Alternatively, refrigerate the hot brew in a sealed container for 1-2 hours.
Avoid leaving it at room temperature, as slow cooling leads to muted, flat taste. The result is a crisp, vibrant iced coffee with the full character of hot-brewed beans.
Key flavor differences you should know
The flavor of iced brew coffee is distinctly brighter and more complex than cold brew. While cold brew delivers a smooth, chocolaty, and low-acid profile, iced brew retains the natural acidity, sweetness, and floral notes of the coffee bean.
This is because hot extraction captures citric, malic, and phosphoric acids that cold water leaves behind. For a practical comparison: if you use a light-roast Ethiopian bean, iced brew will highlight blueberry and jasmine tones, while cold brew will mute them into a generic nutty sweetness.
Iced brew also has a lighter body and cleaner finish compared to the syrupy mouthfeel of cold brew. To maximize these differences, choose medium-light roasts and brew with filtered water. Taste your iced brew immediately after chilling—it will be more aromatic and vibrant than if it sits for hours.
If you prefer less acidity, add a splash of milk or a pinch of salt, which balances brightness without masking the coffee’s origin character.
Best Coffee Beans for Iced Brew Coffee
Recommended roast levels for iced brew
For iced brew coffee, medium to medium-dark roasts are your best bet because they strike the perfect balance between rich flavor and smoothness when chilled. Light roasts can taste overly acidic and sour once diluted by ice, while dark roasts may turn bitter or ashy.
Medium roasts, like a Colombian or Guatemalan, offer chocolatey, nutty notes that hold up beautifully to cold temperatures. Medium-dark roasts, such as a Sumatra or Brazil, bring deeper caramel and cocoa undertones without overwhelming bitterness.
Avoid using very dark French roast or Italian roast, as their oils can clump and create a muddy, harsh taste when brewed cold. A pro tip: choose beans roasted within the last 2-3 weeks for maximum freshness.
When making iced pour-over or cold brew, these roast levels ensure a clean, sweet cup that doesn’t lose complexity as ice melts. Always taste your brew hot before chilling to confirm it’s balanced, then adjust roast level next time if needed.
For a refreshing iced coffee, medium roasts are your reliable, crowd-pleasing choice.
Single-origin vs. blends for cold drinks
When choosing between single-origin and blends for iced brew, blends often outperform single-origins because they are intentionally crafted for consistency and balance.
Blends like a breakfast blend or espresso blend combine beans from different regions to create a harmonious flavor profile that shines when cold—think smooth chocolate, nuts, and subtle sweetness without sharp acidity.
Single-origin beans, such as an Ethiopian Yirgacheffe, can be fantastic for hot coffee but may taste overly fruity or wine-like when chilled, clashing with milk or sweeteners.
However, if you enjoy bright, complex flavors, try a washed Kenyan or Costa Rican single-origin; their citrus and berry notes can be refreshing in iced black coffee. For iced lattes or iced mochas, blends provide a reliable base that doesn’t get lost in dairy or syrups.
Experiment with both: use a blend for everyday iced coffee and a single-origin for occasional treats. The key is to taste-test cold—what works hot may not translate, so let your palate decide. Blends are the safe, repeatable winner for most iced brew needs.
Grind size tips for balanced extraction
Grind size is crucial for iced brew to avoid over-extraction or weak flavor. For iced pour-over or drip, use a medium-fine grind, similar to table salt, because the slower flow of cold water requires more surface area for proper extraction.
If you grind too coarse, the water rushes through, leaving sour, under-extracted coffee that ice can’t fix. Too fine, and you get bitter, over-extracted notes that become harsh when cold.
For cold brew concentrate, a coarse grind (like breadcrumbs) is essential—fine grinds clog filters and cause sludge, while coarse ensures a smooth, sweet steep over 12-24 hours. Always grind fresh right before brewing, as pre-ground coffee loses flavor quickly.
A simple test: after brewing hot, pour over ice and taste—if it’s weak, grind finer; if bitter, grind coarser. Adjust in small increments (one or two clicks on your grinder) to dial in.
For iced coffee, aim for a balanced brew that remains pleasant as ice melts—this means slightly stronger hot brew to account for dilution. A consistent, appropriate grind is your secret weapon for a flawless iced cup every time.
How to Make Iced Brew Coffee at Home
Step-by-step hot brew and chill method
Start by brewing a stronger-than-usual batch of hot coffee, as ice will dilute it. Use a 1:8 coffee-to-water ratio (e.g., 1 ounce coffee to 8 ounces water) instead of the typical 1:15. Brew with your preferred method—drip machine, pour-over, or French press—using freshly ground medium-coarse beans.
Once brewed, let the coffee cool to room temperature for about 15 minutes to avoid shocking the glass. Then, fill a heatproof pitcher with ice cubes equal to half the brew volume (e.g., 4 ounces ice for 8 ounces coffee).
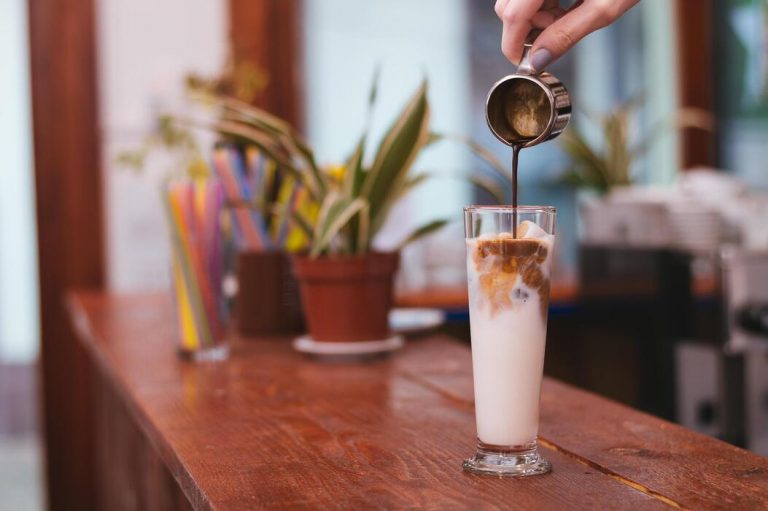
Slowly pour the warm coffee over the ice, stirring gently to ensure even chilling. For best results, refrigerate the mixture for 1-2 hours before serving over fresh ice. This method preserves the coffee’s bright acidity and aromatic oils while preventing bitterness from rapid cooling.
Serve with milk or sweetener if desired.
Using a French press for iced brew
The French press offers a full-bodied, rich iced coffee with minimal equipment. Use a 1:7 coffee-to-water ratio (e.g., 2 ounces coarse-ground coffee to 14 ounces cold water). Add the grounds to the press, then pour room-temperature or cold water over them.
Stir gently to ensure all grounds are saturated, then let steep for 12-14 hours in the refrigerator for a cold-brew effect. Alternatively, for a quicker method, use hot water (just off boil) and steep for 4 minutes, then press. After steeping, press the plunger down slowly to separate grounds.
Pour the concentrated coffee over a glass filled with ice cubes—aim for half coffee, half ice. This technique extracts smooth, low-acid flavors without bitterness. For a twist, add a pinch of salt to the grounds before steeping to enhance sweetness.
Store any leftover concentrate in the fridge for up to 5 days.
Pour-over technique for iced coffee
For a clean, bright iced coffee, the pour-over method shines. Start by placing a filtered dripper (like a V60 or Chemex) over a carafe filled with 200 grams of ice. Use 30 grams of medium-fine ground coffee and 300 grams of hot water (200°F) for a 1:10 ratio.
First, bloom the grounds by pouring 60 grams of water in a circular motion, then wait 30 seconds. Continue pouring the remaining water slowly, aiming for a total brew time of 2.5-3 minutes.
The hot coffee drips directly onto the ice, instantly chilling it and locking in volatile aromatics for a crisp, fruity flavor. For best results, pre-wet the filter with hot water to remove paper taste. Adjust the grind size if the brew is too fast or slow.
Serve immediately over fresh ice to maintain optimal dilution. This method is ideal for single servings and highlights single-origin bean nuances.
Tips for Strong Iced Brew Without Bitterness
Adjusting coffee-to-water ratio
A balanced coffee-to-water ratio is crucial for avoiding bitterness in iced brew. For a standard cold brew, start with a ratio of 1:8 coffee to water (e.g., 1 ounce of coffee per 8 ounces of water). This higher concentration compensates for dilution from ice, ensuring a robust yet smooth flavor.
If you prefer a stronger brew, increase to 1:6, but avoid exceeding 1:5 to prevent over-extraction, which causes bitterness. For hot brew that you’ll chill, use a 1:15 ratio (e.g., 2 tablespoons per 6 ounces of water) to keep flavors clear.
Always use coarsely ground coffee for cold brew to slow extraction, reducing bitter compounds. For hot iced brew, a medium grind works best. Experiment with small batches, adjusting the ratio based on your taste—less coffee yields a weaker, potentially more acidic brew, while too much can overwhelm.
Remember, the goal is a clean, refreshing cup without harsh notes, so measure carefully and note your results for consistency.
Controlling brew time and temperature
Precision in brew time and temperature directly impacts bitterness. For cold brew, steep coarsely ground coffee in cold or room-temperature water for 12 to 24 hours—shorter times (12-16 hours) yield brighter, less bitter flavors, while longer steeps (18-24 hours) deepen richness but risk bitterness if overdone.
Refrigerate during brewing to slow extraction further. For hot iced brew, use water just off the boil (195-205°F) and limit contact time to 3-4 minutes for drip methods or 4-5 minutes for French press. Over-extraction from high heat or long steeps releases bitter tannins.
A thermometer helps maintain ideal temperature, while a timer prevents accidental over-brewing. For espresso-based iced drinks, pull shots in 25-30 seconds to avoid burnt flavors. Experiment with slightly cooler water (around 190°F) for a smoother profile. Always taste as you go—bitterness often signals excessive extraction.
By controlling these variables, you create a balanced, non-bitter iced brew that highlights coffee’s natural sweetness.
Quick chilling methods to preserve flavor
Rapid chilling is key to preserving flavor and preventing bitterness in iced coffee. The Japanese iced coffee method is ideal: brew hot coffee directly onto a cup filled with ice (use half the water volume as ice).
This flash-chills the brew, locking in volatile aromatics and reducing oxidation that causes stale, bitter notes.
For a standard batch, pour freshly brewed coffee into a pre-chilled metal carafe or use an ice bath—place the brew container in a bowl of ice water and stir occasionally to cool it quickly within 5-10 minutes. Avoid refrigerating hot coffee, as slow cooling leads to sourness and muddled flavors.
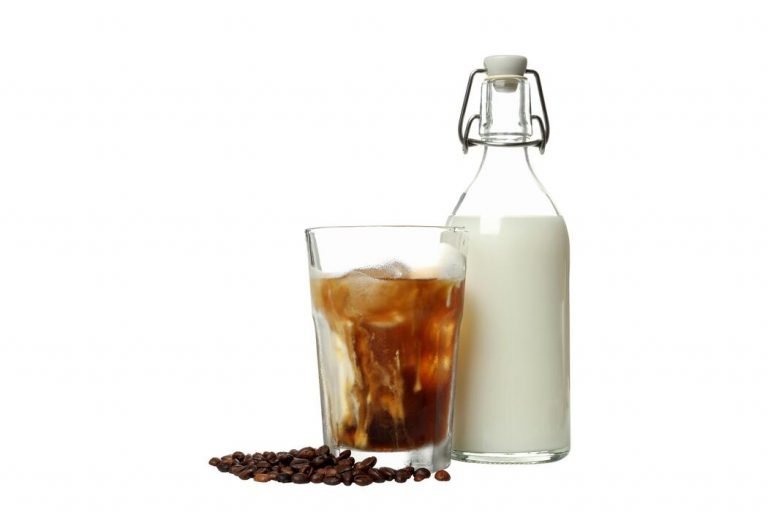
For cold brew, strain and immediately transfer to the fridge in a sealed glass container. Use large ice cubes to minimize dilution, or freeze coffee into cubes for an extra boost. Serve over fresh ice and consume within 24 hours for peak freshness.
These methods ensure a crisp, clean taste without the bitterness of slow-cooled coffee.
Best Equipment for Making Iced Brew Coffee
Essential tools for beginners
Start your iced brew journey with a quality burr grinder for consistent grounds—crucial for balanced extraction. Pair it with a digital scale (0.1g precision) to maintain a 1:15 coffee-to-water ratio. A large glass carafe or pitcher (at least 1 liter) lets you brew directly into it, then refrigerate.
For cold brew, a mesh filter bag or French press simplifies straining. For hot brew over ice, a pour-over cone (like Hario V60) with paper filters works perfectly. Don’t forget a sturdy stirring spoon and a timer to track steep times.
These basics cost under $50 total and ensure your first batch avoids bitterness or watery results. Start simple, then upgrade as you explore.
Top brewers for iced coffee at home
For effortless cold brew, the Takeya Cold Brew Maker ($25) features a fine-mesh filter and airtight lid—just steep 12–24 hours in the fridge. The OXO Brew Compact Cold Brewer ($50) has a rainmaker lid for even water distribution, yielding smoother concentrate.
For hot-brew-over-ice, the Chemex 6-Cup ($40) with its thick filters produces clean, crisp iced coffee—brew double strength directly onto ice. The Hario Mizudashi ($20) is a budget-friendly pitcher perfect for beginners. If you want automation, the Breville Precision Brewer ($200) includes an iced coffee setting that adjusts temperature and flow.
Each option prioritizes minimal bitterness and full flavor extraction, so choose based on your preferred brew method and budget.
Ice cube trays and storage tips
Use silicone ice cube trays with lids to prevent freezer odors—try large cubes (2-inch) for slower dilution. For coffee ice cubes, freeze leftover brew in OXO Good Grips trays ($10) and add them to your glass instead of regular ice.
Insulated stainless steel ice cubes (like those from W&P or YETI) stay cold without melting. Store brewed iced coffee in a glass carafe (avoid plastic, which can absorb flavors) for up to 5 days in the fridge. For single servings, freeze concentrate in silicone molds or Ziploc bags laid flat.
Always label containers with brew date to track freshness. Pro tip: pre-chill your glass and use filtered water for ice to avoid off-tastes.
How to Serve and Customize Iced Brew Coffee
Classic iced brew with milk or cream
To craft a classic iced brew, start by brewing your coffee double-strength (use twice the coffee grounds you normally would) to prevent dilution when ice melts. Pour the hot brew directly over a generous glass of ice—about 1.5 cups of ice per 8 oz of coffee.
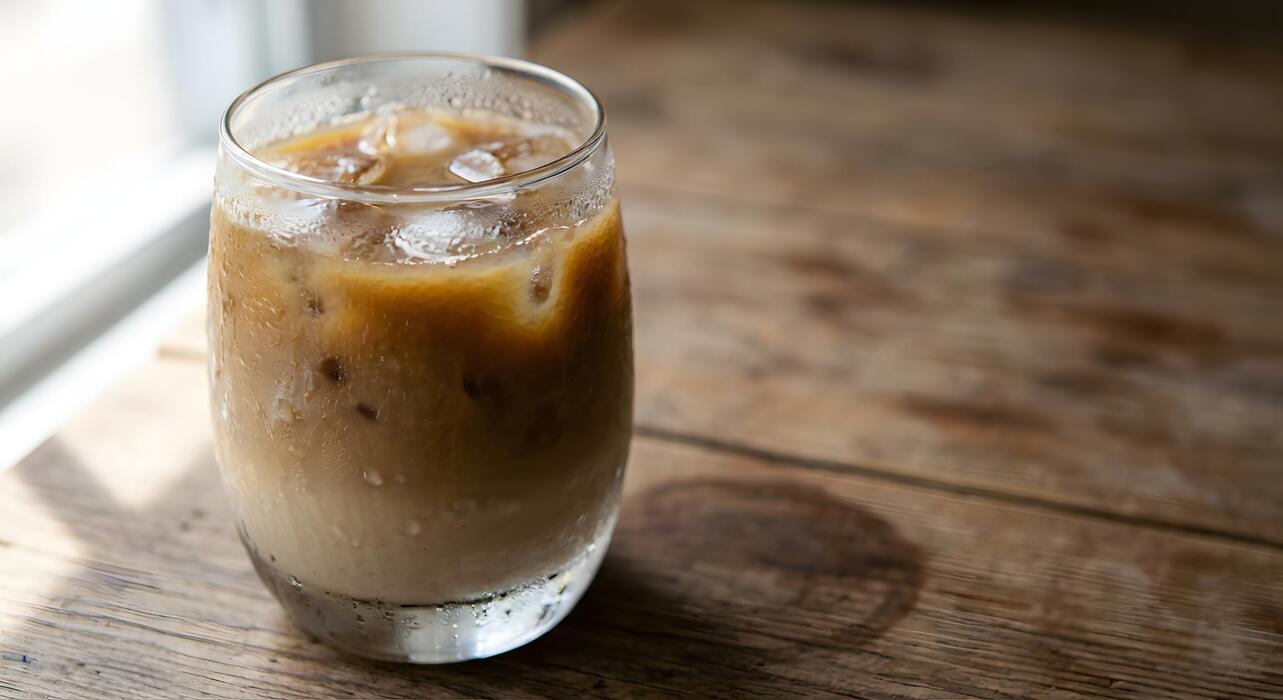
For a creamy texture, add 2-3 tablespoons of whole milk, half-and-half, or oat milk for a dairy-free option. Stir immediately to chill evenly and avoid a watery top layer. If you prefer a richer mouthfeel, use cold brew concentrate instead, which is naturally less acidic.
For an extra-smooth finish, shake the coffee, milk, and ice in a cocktail shaker for 10 seconds before straining into a fresh glass. This aerates the drink, creating a silky, frothy texture.
Always taste and adjust milk quantity to your preference—start with less and add more until you reach the perfect balance of bold coffee and creamy sweetness.
Sweeteners and syrups that work best
The key to sweetening iced brew is using liquid sweeteners that dissolve instantly in cold liquid. Simple syrup (equal parts sugar and water, boiled until dissolved) is the most reliable option.
For a richer flavor, try brown sugar syrup—mix 1 cup brown sugar with 1 cup water and a pinch of salt, then heat until dissolved. Honey or agave nectar also work well, but stir them into the hot coffee before pouring over ice to ensure even distribution.
For a zero-calorie option, stevia or monk fruit liquid drops blend seamlessly without grittiness. Avoid granulated sugar, which will sink to the bottom and leave your drink unevenly sweet. To make a custom syrup, infuse simple syrup with cinnamon sticks, vanilla bean, or citrus zest for 30 minutes before straining.
Start with 1-2 tablespoons of syrup per 8 oz of coffee, then adjust to taste. Remember, the ice will slightly mute sweetness, so aim for a slightly sweeter base than you’d like in the final drink.
Adding flavors like vanilla or caramel
Elevate your iced brew with homemade or store-bought flavored syrups for a café-style experience. For vanilla, add 1 teaspoon of pure vanilla extract directly to your hot brew before pouring over ice, or use 1-2 tablespoons of vanilla simple syrup.
For caramel, warm 2 tablespoons of caramel sauce with a splash of milk in the microwave for 15 seconds, then stir into the coffee before adding ice.
To mimic a vanilla latte, combine 1 cup of milk with 1 teaspoon vanilla extract and 1 tablespoon sugar, then froth with a handheld frother and pour over the iced brew. For a salted caramel twist, mix caramel syrup with a pinch of sea salt before adding.
You can also experiment with pumpkin spice, hazelnut, or peppermint syrups—just 1-2 tablespoons per serving. To avoid overpowering the coffee, start with half the recommended syrup amount and taste as you go.
For a natural flavor boost, steep a cinnamon stick or a few cardamom pods in the hot brew for 5 minutes before straining and icing.
Common Mistakes When Making Iced Brew Coffee
Using hot coffee over ice too fast
Pouring freshly brewed hot coffee directly over ice is tempting for speed, but this often leads to a watery, unbalanced brew. When hot coffee hits ice, it melts rapidly, diluting the flavor before the coffee has a chance to cool and extract properly.
To fix this, brew your coffee at double strength using a 1:8 coffee-to-water ratio, then pour it over an equal volume of ice. Alternatively, cool the brewed coffee slightly before adding ice by letting it sit for 2-3 minutes. This slows melting and preserves the intended taste.
For the best results, use cold brew or Japanese iced coffee method where hot coffee drips directly onto ice, locking in aroma and boldness. Avoid rushing—patience ensures a crisp, rich cup every time.
Wrong grind size causing weak or bitter brew
Grind size dramatically affects extraction in iced brew. A common error is using a fine grind meant for espresso, which leads to over-extraction and bitterness, especially when coffee sits on ice.
Conversely, a coarse grind (like sea salt) works best for cold brew methods, but for hot iced coffee, aim for a medium grind—similar to sand. This balances extraction speed and flavor clarity.
If your coffee tastes sour or weak, the grind is too coarse; if it’s harsh or muddy, it’s too fine. Adjust your grinder and use filtered water at 195-205°F for optimal results.
Remember: iced brew requires slightly stronger grounds to compensate for dilution, so a consistent medium grind ensures a smooth, non-bitter finish that shines even when chilled.
Skipping the dilution factor in recipes
Many recipes ignore that ice melts, watering down the final cup. A frequent mistake is using the same coffee-to-water ratio as hot coffee, resulting in a weak, disappointing drink. To avoid this, calculate dilution upfront: brew with half the water you’d normally use, then add an equal amount of ice.
For example, if you want 12 oz of iced coffee, brew 6 oz of strong coffee and pour over 6 oz of ice. This yields the correct strength. Also, use large ice cubes or ice spheres that melt slower, reducing rapid dilution.
Pre-chilling your glass or adding a splash of milk before ice can further stabilize temperature. Always test your recipe by tasting immediately after mixing—if it’s too strong, add more ice gradually. Master this balance for a consistently bold, refreshing iced brew.
Frequently Asked Questions
What is the difference between iced coffee and iced brew coffee?
Iced coffee is typically brewed hot and then poured over ice, which can dilute the flavor. Iced brew coffee is made by steeping coffee grounds in cold or room temperature water for 12-24 hours, resulting in a smoother, less acidic concentrate that stays strong even when served over ice.
How do I make iced brew coffee at home without special equipment?
Combine 1 cup of coarse-ground coffee with 4 cups of cold, filtered water in a large jar or pitcher. Stir gently, cover, and let it steep in the refrigerator for 12-24 hours. Strain the mixture through a fine-mesh sieve, cheesecloth, or a coffee filter to remove grounds. Serve the concentrate over ice, and dilute with water or milk to your taste.
What coffee-to-water ratio should I use for iced brew coffee?
A common ratio is 1 part coffee to 4 parts water (by volume), but you can adjust based on strength preference. For a stronger concentrate, use a 1:3 ratio; for a milder brew, try 1:5. Start with 1 cup of coarse grounds to 4 cups of water for a balanced flavor.
How long should I steep iced brew coffee for the best flavor?
Steep for 12-24 hours in the refrigerator. 12 hours produces a lighter, tea-like flavor, while 24 hours yields a richer, more robust concentrate. Avoid steeping longer than 48 hours, as it can become bitter.
Can I use any type of coffee beans for iced brew coffee?
Yes, but medium to dark roast beans with a smooth, chocolatey, or nutty profile work best as they hold up well to cold extraction. Light roasts may taste too acidic or grassy. Use coarse-ground coffee to prevent over-extraction and bitterness.
How do I serve iced brew coffee once it’s ready?
Fill a glass with ice cubes, then pour the iced brew concentrate over the ice, filling about half to two-thirds of the glass. Top with cold water, milk, or a milk alternative (like almond or oat milk) to your desired strength. Add sweetener or flavored syrups if desired.
How long does iced brew coffee concentrate last in the refrigerator?
The concentrate can be stored in an airtight container in the refrigerator for up to 1-2 weeks. Its flavor may mellow slightly over time, but it remains safe to drink if kept cold. Shake or stir before using, as grounds can settle.
Conclusion
Mastering iced brew coffee is about patience and precision. The key takeaways are using a coarse grind, a longer steeping time, and a proper ratio of coffee to water. The result is a smooth, naturally sweet concentrate that stays bold even when diluted with ice. Don’t be intimidated by the wait—the payoff is a refreshing, non-bitter cup that rivals any café. Start your brew today and enjoy the perfect summer sip.