How To Make Homemade Cold Brew Coffee
Making your own smooth, refreshing cold brew at home is surprisingly easy and far more affordable than hitting the local coffee shop. If you are tired of bitter iced coffee, you have come to the right place. This guide shows you exactly how to make homemade cold brew coffee using just two simple ingredients and a little patience.
What is Cold Brew Coffee?
The Difference Between Cold Brew and Iced Coffee
Understanding the fundamental distinction between these two beverages is the first step in mastering how to make homemade cold brew coffee.
While iced coffee is simply standard drip coffee brewed with hot water and then chilled or poured over ice, cold brew is a distinct extraction method that never uses heat.
When you prepare cold brew at home, you are steeping coarsely ground coffee beans in room temperature or filtered cold water for a duration of 12 to 24 hours. This slow, patient infusion creates a concentrated liquid that is fundamentally different in chemical composition compared to its heat-extracted counterpart.
Because hot water extracts volatile oils and acids quickly, iced coffee often tastes sharp or watery as the ice melts.
In contrast, the cold brew method results in a naturally sweet, heavy-bodied concentrate that maintains its structural integrity even when diluted with milk or water, providing a much smoother and more reliable drinking experience for the home barista.
Why Cold Brew Tastes Less Acidic
One of the most compelling reasons to learn how to make homemade cold brew coffee is the significant reduction in perceived acidity. Chemical reactions triggered by high temperatures release specific oils and acids from the coffee bean that can lead to a bitter aftertaste or digestive discomfort for sensitive drinkers.
By opting for a cold extraction process, you ensure that these acidic compounds remain trapped within the grounds rather than leaching into your final cup. Studies suggest that cold brew can be up to 60% less acidic than traditional hot-brewed coffee.
This scientific reality results in a flavor profile characterized by mellow chocolate, nut, and caramel notes rather than the bright, citrusy tang found in drip coffee.
When you brew at home, you have total control over this process, allowing you to create a stomach-friendly beverage that highlights the bean’s natural sweetness without the harshness often associated with standard brewing techniques, making it a perfect solution for those seeking a smoother morning caffeine fix.
Caffeine Content in Cold Brew vs Drip Coffee
When evaluating how to make homemade cold brew coffee, it is essential to consider the potency of the final product. Due to the high coffee-to-water ratio used during the long steeping process, you are essentially creating a potent caffeine concentrate.
While heat generally extracts caffeine more efficiently, the sheer volume of grounds and the extended contact time in cold brewing often result in a finished product with a much higher caffeine concentration than standard drip coffee.
However, the beauty of the homemade method lies in your ability to customize the dilution ratio to suit your personal tolerance. Most enthusiasts mix one part concentrate with one part water or milk, which balances the intensity.
If you drink the concentrate undiluted, you will consume significantly more caffeine per ounce than a regular cup of joe.
By mastering the home brew process, you can effectively manage your energy levels by adjusting the strength of your steep or the final dilution, ensuring a consistent and powerful energy boost tailored specifically to your daily needs.
Essential Equipment and Ingredients

Choosing the Best Coffee Beans
To achieve a smooth and flavorful cup of homemade cold brew, you must start with high-quality coffee beans. Unlike traditional hot brewing methods that can sometimes mask imperfections with heat-driven acidity, the cold steeping process highlights the natural profile of the bean over several hours.
For the best results, experts recommend using medium to dark roast beans, as these typically offer the chocolatey, nutty, and bold notes that pair perfectly with the mellow nature of cold extraction. While light roasts can be used, their delicate floral notes often get lost during the long immersion period.
Additionally, always prioritize freshly roasted whole beans rather than pre-ground options. This ensures that the volatile oils and aromatic compounds remain intact until the moment you are ready to brew. If you are looking for a lower acidity profile, look for beans sourced from regions like Brazil or Sumatra.
Investing in premium beans is the single most important step in elevating your DIY coffee experience from average to cafe-quality.
Why Coarse Grind Size Matters
The mechanical texture of your coffee grounds is the defining factor in determining the clarity and taste of your final concentrate. For cold brew, a coarse, breadcrumb-like grind is essential for two primary reasons.
First, because the coffee steeps for twelve to twenty-four hours, a fine grind would over-extract, leading to a bitter and unpleasantly harsh flavor profile. Second, using a consistent coarse setting on a burr grinder makes the filtration process significantly easier.
Fine particles tend to clog paper filters or pass through metal mesh, resulting in a muddy, silty texture in your glass. By maintaining a larger particle size, you ensure that the water extracts the desirable flavors slowly and evenly.
If you do not own a high-quality grinder at home, many local coffee shops will gladly grind your bag of beans on a specific coarse setting upon request.
Remember that achieving the right physical structure of the coffee allows for a clean, crisp finish that highlights the natural sweetness inherent in the beans without any sediment.
The Role of Filtered Water
Since water makes up approximately ninety-eight percent of your finished cold brew concentrate, its quality cannot be overlooked. Using tap water can introduce chlorine, minerals, or metallic tastes that interfere with the subtle nuances of your coffee beans.
To ensure a professional-grade result, always use freshly filtered water or bottled spring water. The chemical composition of your water affects how the compounds are pulled from the grounds during the long immersion cycle.
Avoid using distilled water, as it lacks the essential minerals needed to facilitate proper extraction, often leaving the coffee tasting flat or lifeless. Instead, optimal mineral balance helps to highlight the sweetness and body of the brew.
Additionally, starting with cool or room temperature water is vital; never use hot water for this specific method, as it changes the chemical reaction and increases acidity.
By controlling your water quality, you create a neutral canvas that allows the rich, complex flavors of your carefully selected coffee beans to shine through brilliantly in every single batch you prepare at home.
The Perfect Cold Brew Ratio

Standard Ratio for Ready-to-Drink Coffee
For those who want to pour their beverage directly over ice without adding extra water, a 1:8 ratio is the gold standard for home brewing. This specific measurement involves using one part coffee grounds to eight parts water, resulting in a smooth, mellow profile that highlights the bean’s natural sweetness.
When learning how to make homemade cold brew coffee, this approach is the most user-friendly because it eliminates the guesswork of dilution after the brewing process is complete.
Simply combine your coarsely ground beans with filtered water in a jar and let it steep for 12 to 18 hours at room temperature or in the fridge. The lower acidity level of this ratio makes it perfect for drinkers who prefer a light, refreshing mouthfeel.
By sticking to this consistent 1:8 formula, you ensure a balanced cup that is flavorful enough to stand alone but can still handle a small splash of cream if desired.
Making a Strong Cold Brew Concentrate
If you prefer a versatile base that lasts longer in the refrigerator, aim for a 1:4 ratio to create a potent cold brew concentrate. This method requires one part coffee to four parts water, producing a heavy, bold liquid that must be diluted before consumption.
The primary benefit of a concentrate is space efficiency; you can store a small carafe in your fridge and simply mix it with equal parts water or milk when you are ready to serve.
This strength is particularly useful for iced lattes or coffee-based cocktails where you need the coffee flavor to punch through other ingredients. To achieve the best results, ensure you use a very coarse grind to prevent the concentrate from becoming overly bitter or muddy during the long extraction period.
Always remember to filter the mixture through a fine-mesh sieve or paper filter to remove all sediment, leaving you with a clean, powerful essence that serves as a perfect foundation for any morning routine.
Measuring by Weight vs Volume
To achieve professional results at home, measuring your ingredients by weight using a digital kitchen scale is significantly more accurate than using measuring cups.
Coffee beans vary greatly in density depending on their roast level and origin; therefore, a cup of dark roast may weigh much less than a cup of light roast despite taking up the same volume.
For the most reliable 1:8 or 1:4 ratios, calculate your needs in grams, such as 100g of coffee to 800g of water.
If you do not own a scale, you can approximate by using a 1:4 volume ratio, which typically looks like one cup of grounds to four cups of water. However, keep in mind that volume measurements are prone to inconsistencies due to how tightly the grounds are packed.
For a truly perfect homemade brew, investing in a simple scale ensures that every batch tastes exactly like the last, providing the precision needed to fine-tune your recipe to your exact personal taste preferences every single time.
How to Make Cold Brew Coffee Step-by-Step
Mixing the Grounds and Water
To begin your homemade cold brew journey, you must start with the correct ratio and grind size to ensure a smooth extraction. Use a coarse grind setting that resembles sea salt; fine grounds will result in a cloudy, bitter brew that is difficult to filter.
A standard starting point is a 1:4 coffee-to-water ratio by weight, which creates a versatile concentrate. Place your coarse grounds into a large glass jar or specialized cold brew carafe. Slowly pour filtered, room-temperature water over the grounds, ensuring every particle is fully saturated.
Use a long spoon to gently stir the mixture, breaking up any dry clumps or air pockets that might prevent even extraction. Avoid over-stirring, as you simply want to ensure the water has reached all the coffee.
Once the mixture looks like a thick sludge, cover the container tightly with a lid or plastic wrap to prevent the coffee from absorbing any stray odors from your kitchen environment while it begins its long transformation into a deliciously low-acid caffeine kick.
Steeping Times for Room Temperature and Fridge
The duration and environment of your steep are the most critical factors in defining the final flavor profile of your cold brew coffee. If you choose to steep your coffee at room temperature on the counter, the extraction process happens more quickly, typically requiring between 12 to 15 hours.
This method often highlights more of the coffee’s natural brightness and floral notes. Conversely, if you prefer a slower extraction, place your container in the refrigerator for 18 to 24 hours. Cold-steeping in the fridge produces a remarkably smooth, mellow flavor with significantly reduced acidity and bitterness.
It is important not to exceed the 24-hour mark, as over-extraction can lead to woody or metallic aftertastes that ruin the concentrate. To find your perfect balance, start tasting the brew at the 12-hour mark for room temperature or the 18-hour mark for the fridge.
Once the flavor reaches your desired strength and richness, you are ready to move immediately to the filtration stage to stop the brewing process.
How to Filter Your Cold Brew Properly
Achieving a professional, sediment-free finish requires a meticulous approach to filtration once your steeping time is complete. Begin by pouring the mixture through a fine-mesh sieve to remove the largest coffee grounds, collecting the liquid in a secondary carafe.
For a truly polished and clean mouthfeel, perform a second pass using a paper coffee filter or a nut milk bag.
If you find the flow is too slow, do not squeeze the filter, as this can force fine silt and bitter oils into your final product; instead, let gravity do the work or replace the paper filter if it becomes too clogged.
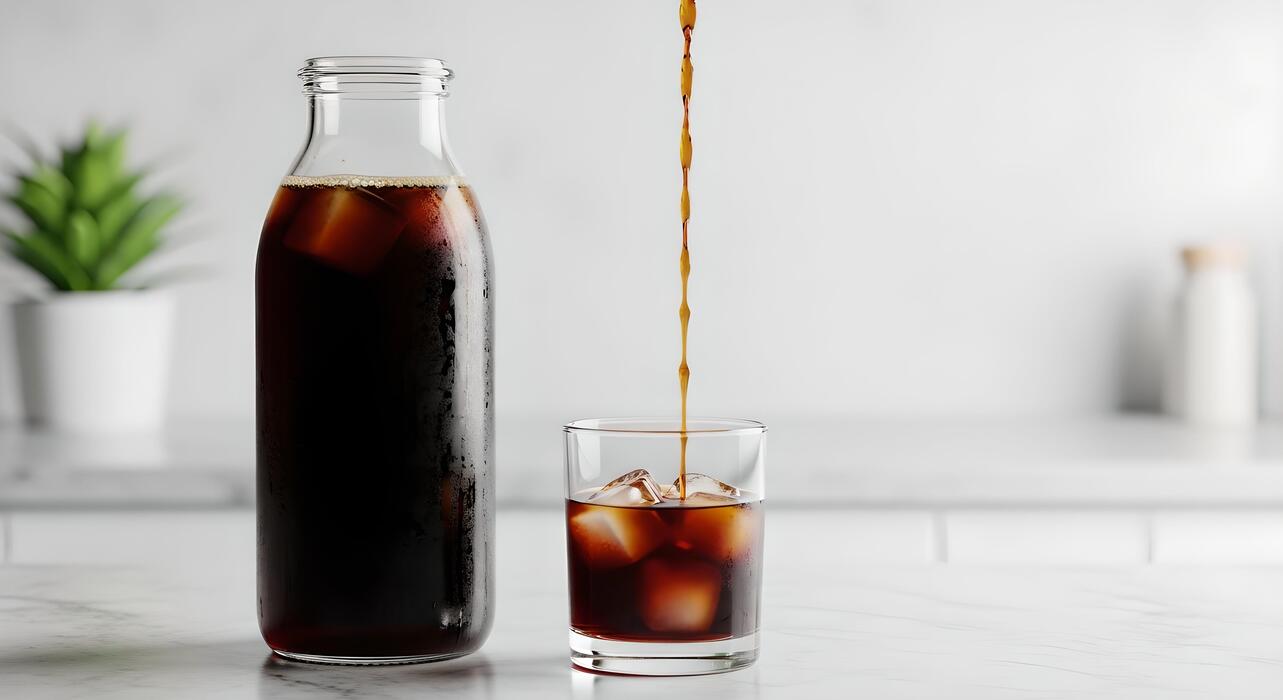
Once the liquid is clear and free of debris, you have successfully created a potent cold brew concentrate. Store this concentrate in a sealed glass bottle in the refrigerator for up to two weeks.
When you are ready to serve, remember to dilute the concentrate with equal parts water, milk, or ice, as drinking it straight may be too intense for most palates due to its high caffeine density.
Best Ways to Serve Your Cold Brew
How to Dilute Cold Brew Concentrate
When learning how to make homemade cold brew coffee, the final step involves mastering the dilution of your potent concentrate. Because cold brew is steeped over a long duration, it yields a high caffeine density that requires balancing.
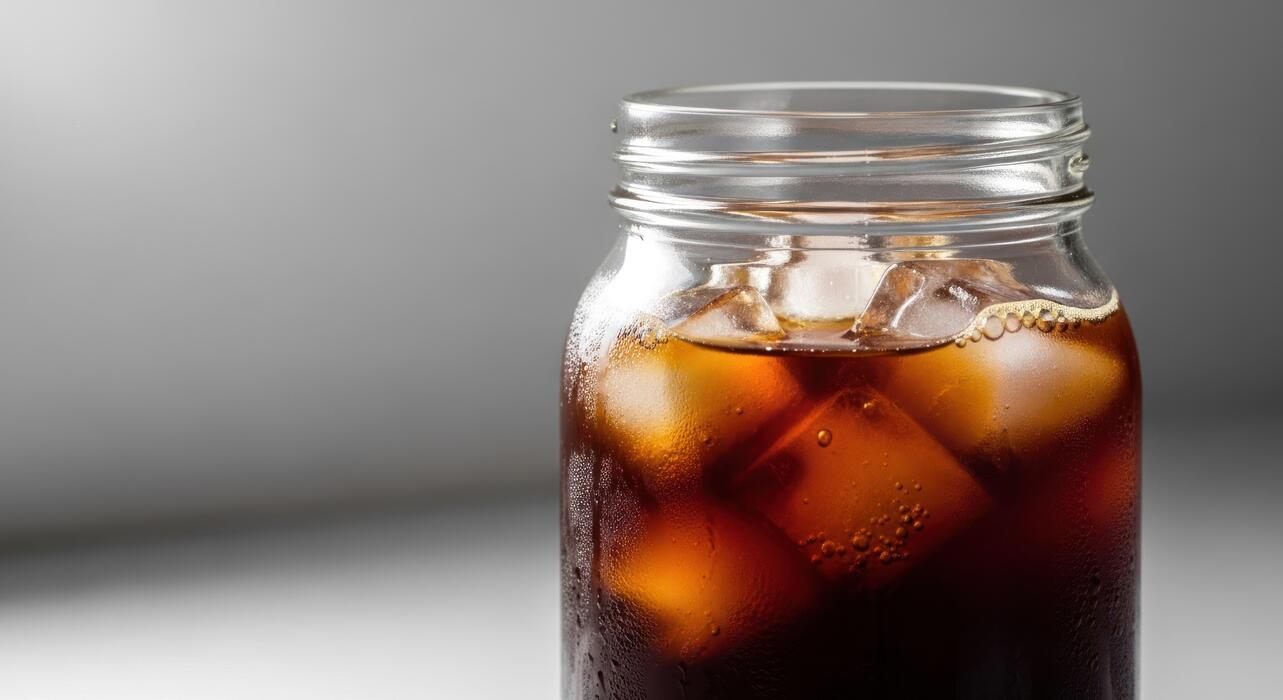
The gold standard for a balanced glass is a 1:1 ratio of concentrate to water, which maintains the smooth profile while making it palatable. If you prefer a lighter, more refreshing beverage similar to an iced Americano, try a 1:2 ratio to further mellow the acidity.
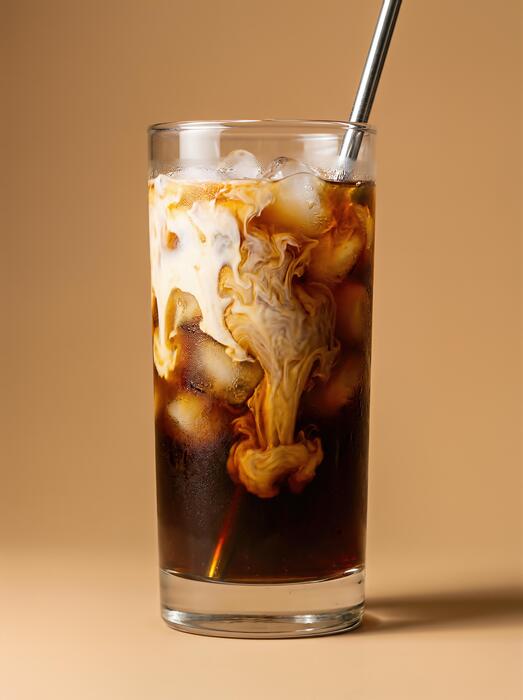
Always remember to add ice after mixing to prevent premature watering down of the flavor profile. For those who enjoy a richer mouthfeel, you can substitute the water entirely with milk. The beauty of the concentrate method is the total control it gives you over the strength.
By starting with equal parts and adjusting based on your personal taste preference, you ensure that every glass of your homemade batch is perfectly tailored to your caffeine needs.
Milk and Sweetener Options
Elevating your homemade cold brew involves selecting the right additions to complement its natural chocolatey and nutty notes. Unlike hot coffee, cold brew is less acidic, meaning you can use creamy dairy alternatives like oat milk or almond milk without worrying about the liquid curdling.
Oat milk is particularly popular because its natural sweetness and thick texture mimic traditional half-and-half. When it comes to sweetening your drink, liquid simple syrups are the superior choice over granulated sugar, as they dissolve instantly in cold liquid without leaving a gritty residue at the bottom of your glass.
You can easily infuse these syrups with vanilla bean or cinnamon to create a gourmet experience at home. For a healthier alternative, try a splash of maple syrup or agave nectar, which blends seamlessly into the cold concentrate.
Experimenting with these combinations allows you to replicate expensive cafe flavors while enjoying the cost-saving benefits of brewing your own coffee right in your kitchen.
Serving Cold Brew Hot
A common misconception when researching how to make homemade cold brew coffee is that the final result must be served over ice. In reality, one of the best ways to enjoy your batch during colder months is by serving it hot.
Because the cold extraction process leaves behind the bitter oils and acids found in traditional drip coffee, heating up your concentrate results in an incredibly smooth, low-acid hot cup. To do this properly, simply dilute your concentrate with boiling water rather than cold water.
This instantly brings the beverage to an ideal drinking temperature without scorching the delicate coffee flavors. Alternatively, you can gently heat a prepared mixture on the stovetop or in a microwave, ensuring you do not let it reach a rolling boil, which could alter the taste profile.
This versatile serving method ensures that your homemade supply remains a staple in your routine regardless of the season, providing a stomach-friendly alternative to standard hot-brewed coffee while retaining that signature velvet texture.
Tips for Better Homemade Cold Brew
How to Avoid Bitter Flavors
To prevent your homemade cold brew from becoming overly bitter, you must focus on the chemistry of extraction. Unlike hot coffee, cold brew relies on time rather than heat to pull flavor from the beans.
The most critical factor is the coarseness of the grind; you should aim for a texture similar to sea salt or breadcrumbs. If the grind is too fine, the water will over-extract the tannins, leading to a harsh, dry sensation on the palate.
Additionally, you must monitor your steeping time strictly. While a long soak is necessary, exceeding twenty-four hours often results in the release of unwanted woody and bitter compounds.
Using filtered water is another essential step, as tap water containing high mineral content or chlorine can distort the delicate flavor profile of the beans.
By maintaining a consistent ratio of coffee to water, typically one part coffee to four parts water for a concentrate, you ensure a balanced extraction that highlights sweetness and chocolate notes rather than bitterness.
Storage Tips to Keep Coffee Fresh
Once your cold brew is finished steeping, proper storage is vital to maintaining its smooth profile and preventing oxidation. You should always store your concentrate in an airtight glass container, such as a mason jar or a specialized carafe.
Glass is superior to plastic because it does not retain odors or leach chemicals that could alter the taste of your coffee.
It is imperative to keep the cold brew refrigerated at all times, as keeping it at room temperature will cause the flavors to degrade rapidly and may encourage bacterial growth.
If you have brewed a concentrated version, it will generally stay fresh for up to two weeks, whereas diluted cold brew should be consumed within two to three days for peak flavor.
To further preserve freshness, try to minimize the headspace in your container to reduce the amount of oxygen in contact with the liquid. If you find you have made too much, you can freeze the coffee into cold brew ice cubes to avoid dilution later.
Cleaning Your Brewing Equipment
Maintaining pristine equipment is a frequently overlooked aspect of making high-quality cold brew at home. Coffee beans contain natural oils that can accumulate on the walls of your brewing vessel and inside filters.
If these residual oils turn rancid, they will impart a sour or metallic taste to your next batch. Therefore, you must thoroughly wash all components with warm, soapy water after every single use.
Pay extra attention to reusable mesh filters, which can trap fine particles in their weave; using a soft brush to scrub these areas ensures that no old grounds remain to clog the flow or spoil the flavor.
For glass carafes that develop a brownish film, a periodic deep clean with vinegar or baking soda can effectively strip away stubborn buildup without damaging the material. Always ensure that every piece of equipment is completely dry before storage to prevent the growth of mold or mildew.
A clean brewing environment is the foundation of a bright, crisp, and professional-tasting homemade cold brew experience every time.
Common Cold Brew Mistakes to Avoid
Using the Wrong Grind Size
One of the most frequent errors when learning how to make homemade cold brew coffee is utilizing a grind that is far too fine. Because cold brew involves a long immersion process, a fine or medium grind will over-extract, resulting in a bitter, muddy, and unpleasantly sharp flavor profile.
To achieve a clean and smooth concentrate, you must use a coarse, consistent grind that resembles sea salt or peppercorns. This specific texture allows the water to flow freely around the coffee particles, extracting the nuanced chocolate and nutty notes without pulling out the harsh tannins.
Additionally, using a coarse grind makes the final filtration process significantly easier; fine grounds often clog paper filters or pass through metal mesh, leaving a gritty sediment at the bottom of your glass.
Investing in a quality burr grinder is the best way to ensure your beans are uniform, which is the foundational step for a balanced and professional-grade brew made right in your kitchen.
Steeping for Too Long
While it might be tempting to let your coffee sit on the counter for a full day to get the strongest possible kick, over-steeping is a major mistake that ruins the delicate balance of your concentrate.
Most experts recommend a steeping window of 12 to 18 hours at room temperature, or up to 24 hours if you prefer brewing in the refrigerator. If you exceed this timeframe, the coffee begins to develop a woody, dusty, or even metallic taste as the organic compounds break down.
To avoid this, you should set a timer the moment you submerge the grounds to ensure you remain within the optimal extraction window. Once the time is up, filter the concentrate immediately to stop the brewing process entirely.
If you find your coffee is consistently too strong after 16 hours, try diluting it with more water or milk later rather than extending the brew time, as this preserves the bright and sweet flavor profile that makes cold brew so popular.
Using Low-Quality Water
Since a cup of cold brew is approximately 98% water, the quality of your tap water directly impacts the final taste of your beverage. Many people overlook this detail, but using water that is high in chlorine or heavy minerals can mask the subtle aromatic qualities of high-end beans.
For the best results, you should always use filtered or bottled spring water when preparing your steep. Distilled water should be avoided as it lacks the essential minerals needed to pull flavors out of the beans, often resulting in a flat or dull cup.
By using fresh, cold filtered water, you provide a neutral canvas that allows the specific origin characteristics of your coffee to shine through. Furthermore, ensure your brewing vessel is meticulously cleaned and free of any old soap residue or previous coffee oils.
Combining purified water with premium beans ensures that your homemade cold brew is crisp, refreshing, and completely free of the chemical aftertastes often associated with unfiltered municipal tap water sources.
Frequently Asked Questions
What is the best coffee-to-water ratio for homemade cold brew?
A standard ratio for cold brew concentrate is 1:4 (one cup of coffee grounds to four cups of water). If you prefer a ready-to-drink strength that doesn’t require dilution, use a ratio of 1:8.
What grind size should I use for cold brew?
You should use a coarse, even grind similar to the consistency of sea salt or peppercorns. Fine grounds can lead to over-extraction, resulting in a bitter taste and a cloudy final product that is difficult to filter.
How long should I steep cold brew coffee?
For optimal flavor, steep your coffee grounds at room temperature for 12 to 18 hours, or in the refrigerator for up to 24 hours. Steeping for longer than 24 hours can result in woody or overly bitter notes.
Do I need a special machine to make cold brew at home?
No special equipment is required; you can simply use a large glass jar and a fine-mesh strainer or cheesecloth. However, a French press is a popular tool for cold brew because it makes straining the grounds very easy.
How long does homemade cold brew stay fresh?
Undiluted cold brew concentrate can be stored in an airtight container in the refrigerator for up to two weeks. Once you dilute the concentrate with water or milk, it is best consumed within 2 to 3 days for maximum freshness.
Should I steep cold brew on the counter or in the fridge?
You can do either, but room temperature steeping is generally faster and extracts more complex flavors. If you prefer a slower extraction and a very clean finish, steep it in the refrigerator for the full 24 hours.
Conclusion
Making homemade cold brew coffee is a simple, cost-effective way to enjoy a smooth and flavorful caffeine kick right from your kitchen. By mastering the right coffee-to-water ratio and allowing enough time for a patient steep, you can create a versatile concentrate that rivals your favorite cafe. Whether you prefer it black or with a splash of cream, this DIY method puts you in control. Start brewing today and experience the refreshing difference yourself.