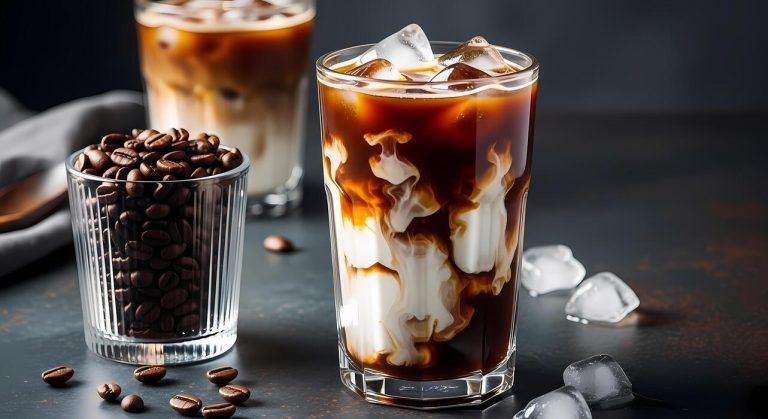
How To Make Large Batch Cold Brew Coffee
How to make large batch cold brew coffee is all about scaling up the classic ratio without losing smoothness or strength. You’re likely tired of tiny pitchers that run out in a day. The solution is simple: use a 1:8 coffee-to-water ratio in a large food-grade bucket, steep for 12–24 hours, and filter through a fine-mesh strainer lined with cheesecloth. This method delivers a concentrated, low-acid brew perfect for a week’s worth of servings. You’ve found the exact guide to master it.
What You Need for Large Batch Cold Brew Coffee
Essential equipment for big batches
To scale up successfully, you need a large, food-grade container like a 1-gallon glass jar or a dedicated 2-liter cold brew maker. A fine-mesh nut milk bag or a large cheesecloth is critical for filtering, as paper filters clog easily with large volumes.
A large pitcher or carafe for storing the finished concentrate and a sturdy long-handled spoon for stirring are also essential. For the best results, use a scale to weigh your coffee and water precisely, ensuring consistency batch after batch.
A coffee grinder with a burr grinder is ideal for achieving a uniform, coarse grind, which prevents over-extraction and bitterness. Finally, consider a funnel to transfer the concentrate without spills. Investing in these tools upfront saves time and mess, making your large-batch process smooth and repeatable.
Choosing the right coffee beans
For large-batch cold brew, select 100% Arabica beans with a medium to dark roast profile. Dark roasts offer a bold, chocolatey, and low-acid flavor that stands up well to dilution and ice, while medium roasts provide more nuanced, fruity notes.
Avoid light roasts as they can taste sour or grassy when cold-brewed. Single-origin beans from regions like Colombia, Brazil, or Sumatra are excellent choices for their smooth, rich profiles. Pre-ground coffee is not recommended because it is too fine and leads to over-extraction and sludge.
Instead, buy whole beans and grind them coarse just before brewing. For a consistent taste across large batches, stick with a single roast and origin you enjoy. A good rule of thumb: use 1 pound (454 grams) of coffee per gallon of water for a strong concentrate.
Water quality and ratio basics
Water makes up over 90% of your cold brew, so use filtered or spring water—tap water with chlorine or minerals can create off-flavors. The standard ratio for a concentrate is 1 part coffee to 4 parts water by weight (e.g., 200g coffee to 800g water).
For a ready-to-drink brew, use 1:8 or 1:10. Always use cold or room-temperature water to avoid extracting bitter compounds. Stir the grounds and water thoroughly to ensure even saturation. Steep for 12-24 hours at room temperature or in the fridge; longer steeps yield a stronger, more caffeinated brew.
After steeping, filter slowly through your nut milk bag or cheesecloth into a clean container. Store the concentrate in the fridge for up to 2 weeks. Adjust the ratio based on your taste preference—more coffee for a stronger, bolder concentrate.
How to Calculate Coffee to Water Ratio for Large Batches

Standard ratio for concentrate vs. ready-to-drink
For large batch cold brew, first decide if you want a concentrate or a ready-to-drink brew. A concentrate is stronger and meant to be diluted with water or milk before serving, while ready-to-drink is brewed at a weaker ratio and consumed as-is.
The standard concentrate ratio is 1 part coffee to 4 parts water (by weight). This yields a bold, smooth base that you can dilute 1:1 or 2:1 with water or milk. For ready-to-drink cold brew, use a 1:8 to 1:10 ratio, which is already diluted enough to drink straight.
For example, with 100 grams of coffee, use 400 grams of water for concentrate or 800-1000 grams for ready-to-drink. Always weigh your ingredients for accuracy, especially in large batches, as volume measurements can be inconsistent.
Remember that the ratio directly affects extraction: a tighter ratio (like 1:4) extracts more flavor and caffeine, while a looser ratio (like 1:8) yields a lighter, less intense brew. Choose based on how you plan to serve it.
Scaling ratios for 1 gallon or more
When scaling up to 1 gallon (3.8 liters) or more, use weight-based ratios to ensure consistency. For 1 gallon of concentrate, multiply the standard 1:4 ratio: 1 gallon of water weighs about 3,785 grams, so you need 946 grams of coffee (3,785 ÷ 4).
For ready-to-drink at 1:8, use 473 grams of coffee for the same water volume. Use a large container like a 5-gallon food-grade bucket or a 2-gallon glass jar, and grind coffee coarsely to prevent over-extraction. Stir the grounds and water thoroughly to ensure even saturation.
Steep for 12-24 hours at room temperature or in the fridge, then strain through a fine-mesh sieve lined with cheesecloth or a nut milk bag. For extra clarity, strain twice. Scale your container size to allow at least 20% headspace for stirring and expansion.
For example, a 2-gallon batch fits best in a 2.5-gallon container. Always taste test after steeping before straining to adjust if needed.
Adjusting strength to your taste
After brewing, adjust the strength by diluting or concentrating your cold brew. For concentrate, start with a 1:1 dilution (equal parts concentrate and water/milk) and tweak from there. If it’s too strong, add more water; if too weak, use less dilution next time.
For ready-to-drink batches, you can add hot water to dissolve more coffee if it’s too weak, or steep longer (up to 24 hours) for more extraction. Taste as you go—cold brew is forgiving, so you can always dilute after straining.
For a stronger flavor, increase the coffee-to-water ratio by 10-20% next batch, or use a darker roast. For a milder brew, use a looser ratio (e.g., 1:10) or steep for less time (12 hours). Keep notes on your ratios and steeping times so you can replicate your perfect batch.
Remember that coffee freshness and grind size also affect strength; finer grinds extract faster, so adjust accordingly. The goal is a smooth, balanced cup that suits your preference without bitterness.
Step-by-Step Guide to Making Large Batch Cold Brew
Coarse grind your coffee beans
Start with fresh, whole coffee beans ground to a coarse consistency, similar to breadcrumbs or sea salt. A coarse grind is crucial because it prevents over-extraction during the long steeping process, which would result in bitter, muddy cold brew.
If you grind too fine, the coffee will become overly strong and harsh. For a large batch, you’ll need about 1 pound (16 ounces) of coffee beans for every 1 gallon of water. Use a burr grinder if possible for a uniform grind size, ensuring even extraction.
If you don’t have a grinder, ask your local coffee shop to grind it coarse for cold brew. This step sets the foundation for a smooth, rich concentrate that is low in acidity and naturally sweet.
Remember, coarse grounds allow water to flow through easily without clogging, making filtering later much simpler. Investing time in this step ensures your final brew is crystal clear and delicious.
Combine grounds and water in a large container
Place your coarse coffee grounds into a large food-grade container like a 2-gallon pitcher, a glass jar, or a dedicated cold brew maker. For a standard large batch, use a 1:8 ratio of coffee to water by weight (e.g., 1 pound coffee to 1 gallon water).
Slowly pour cool, filtered water over the grounds, ensuring all grounds are fully saturated. Stir gently with a long spoon to eliminate dry pockets and promote even extraction. Cover the container with a lid or plastic wrap to prevent contamination and odor absorption.
For maximum flavor, let the mixture sit at room temperature for 12-24 hours or in the fridge for 18-24 hours. Room temperature steeping often yields a faster, bolder flavor, while fridge steeping produces a cleaner, smoother taste. Avoid stirring after the initial mix to minimize sediment.
This simple combination is the core of the cold brew process—no heat, no fuss, just time and patience.
Steep at room temperature or in the fridge
After combining, let your coffee steep undisturbed for the recommended time. For room temperature steeping, 12-18 hours is ideal; for fridge steeping, aim for 18-24 hours. Longer steeping can extract more flavor but also more bitterness, so stick to the window for best results.
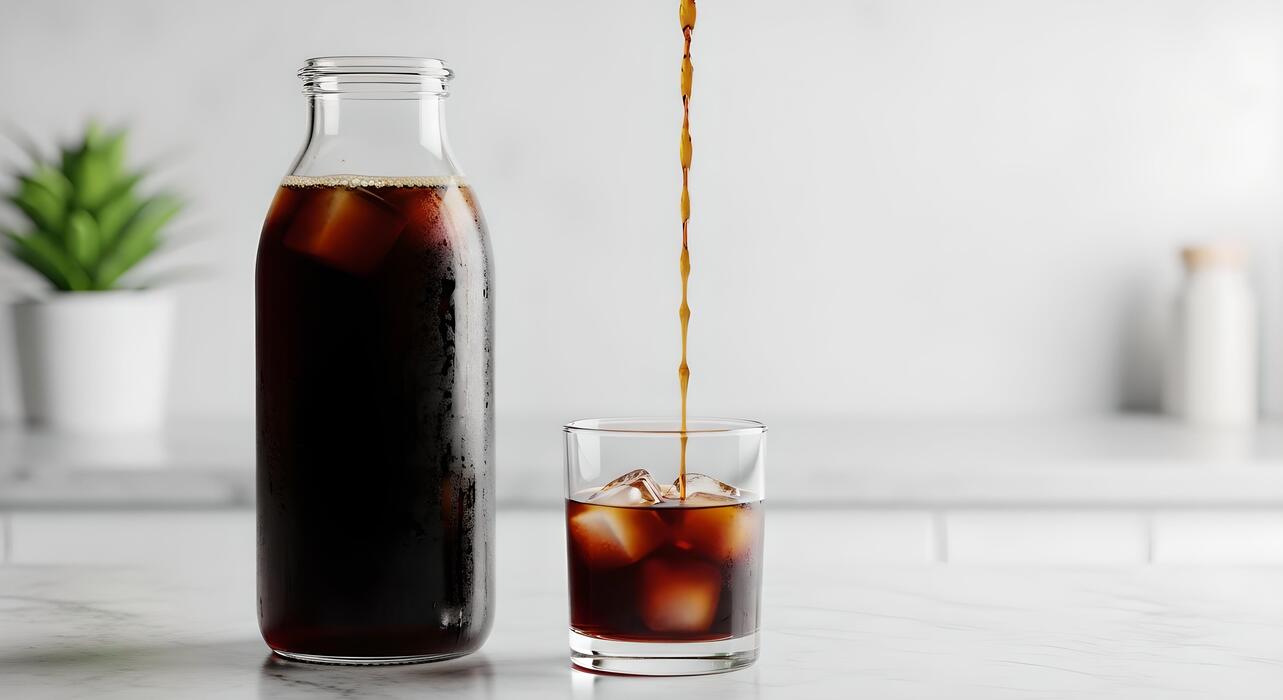
During this time, the cold water slowly extracts oils, sugars, and caffeine from the grounds, resulting in a concentrate that is 2-3 times stronger than regular coffee. After steeping, strain the mixture through a fine-mesh sieve lined with a coffee filter, a nut milk bag, or a cheesecloth.
Pour slowly to avoid disturbing the sediment. For an extra-clear brew, strain twice. The resulting concentrate can be diluted 1:1 or 1:2 with water or milk, served over ice. Store the concentrate in a sealed container in the fridge for up to two weeks.
This method delivers a smooth, low-acid coffee perfect for large batches—ideal for meal prep or gatherings.
Best Ways to Filter Large Quantities of Cold Brew
Using a fine-mesh strainer and cheesecloth
For the first pass in filtering large batches, combine a fine-mesh strainer with cheesecloth for an effective, reusable setup. Place the strainer over a large pitcher or pot, then line it with two layers of cheesecloth.
Slowly pour the cold brew through; the cheesecloth catches coarse grounds and fines, while the strainer provides structural support. For best results, rinse the cheesecloth with cold water before use to remove any lint.
After the initial pour, let the brew drip completely—avoid pressing or squeezing the grounds, as this releases bitter sediment. This method removes the bulk of particles quickly and is ideal for pre-filtering before a finer stage.
Cleanup is easy: discard the grounds, wash the cheesecloth (or compost it), and rinse the strainer. This approach balances speed with sediment reduction, making it perfect for home brewers making 1–2 gallons at a time without specialized equipment.
Pour-through paper filters for clarity
After coarse filtering, use pour-through paper filters (like V60 or Chemex filters) to achieve crystal-clear cold brew with no sediment. Place a paper filter in a large funnel over your final container, then slowly pour the pre-filtered brew through.
Wet the filter with hot water first to remove paper taste and seal the pores. For large batches, work in small increments (2–3 cups at a time) to prevent overflow and ensure even saturation.
Paper filters trap micro-fines that cheesecloth misses, resulting in a smooth, bright cup with extended shelf life—up to two weeks in the fridge. This method is ideal for those prioritizing clarity and purity, though it requires patience.
To speed up, use a commercial-grade paper filter holder or a large batch brewer attachment. The trade-off is time for quality: expect 10–15 minutes per gallon. The result is a restaurant-grade brew free of sludge, perfect for serving over ice or in cocktails.
Settling and decanting method for sediment-free brew
For a hands-off approach, let gravity do the work by allowing the cold brew to settle. After steeping, pour the entire batch (grounds included) into a large, clear container and refrigerate for 4–8 hours. The coarse grounds and fine sediment will sink to the bottom, leaving clear liquid on top.
Carefully decant the top 80–90% using a ladle or siphon, avoiding stirring the sediment layer. This method requires no filters and is excellent for huge batches (5+ gallons) where straining is tedious. For best results, use a wide, shallow container to maximize surface area and accelerate settling.
After decanting, you can strain the remaining sludge through a paper filter to recover more brew. This technique preserves the full body and oils while removing bitterness, yielding a silky-smooth concentrate that stores well. It’s the most energy-efficient method, ideal for prepping large volumes for events or weekly meal prep.
How to Store Large Batch Cold Brew Coffee
Airtight containers for freshness
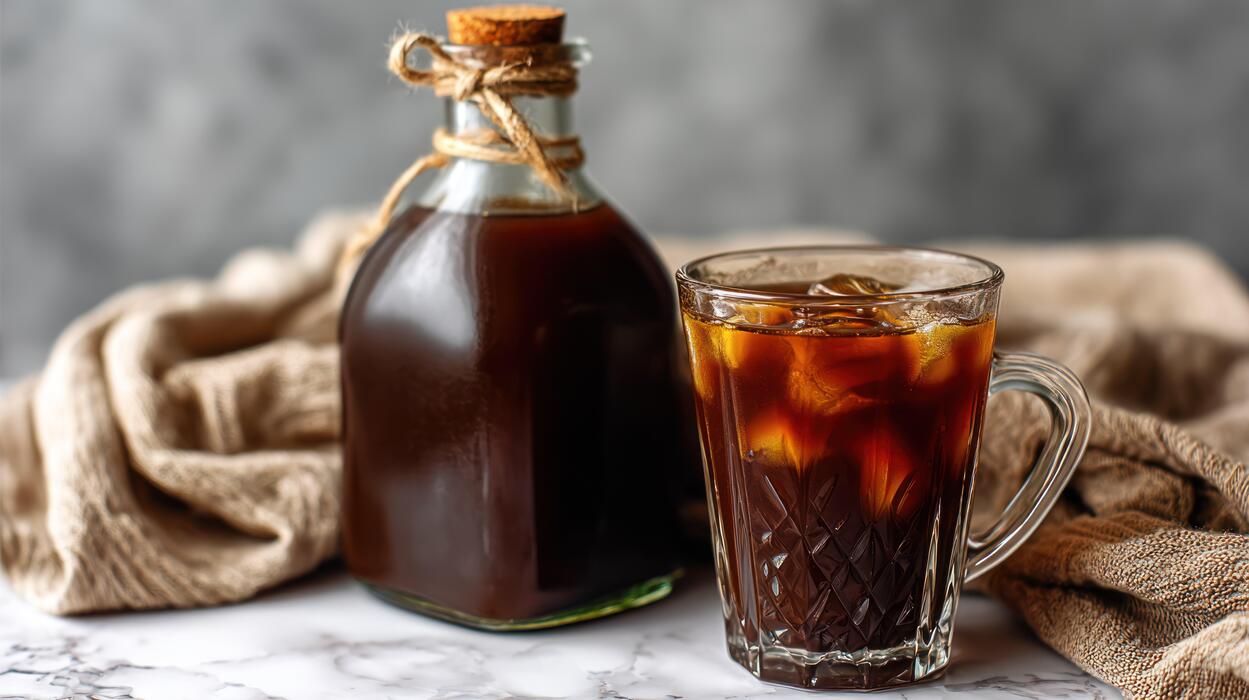
To maintain the rich flavor and aromatic oils of your large batch cold brew, always store it in airtight containers. Oxygen is the primary enemy of freshness, causing oxidation that leads to stale, bitter notes. Use glass carafes, stainless steel growlers, or BPA-free plastic pitchers with tight-sealing lids.
Avoid containers that have previously held strong-smelling foods like garlic or pickles, as cold brew can absorb those odors. For optimal results, fill the container to the brim to minimize air exposure. If you have leftover space, consider transferring to a smaller vessel.
Mason jars with airtight lids are an excellent, affordable option for portioning. Label each container with the brewing date to track freshness. Properly sealed, your cold brew will stay vibrant and smooth for up to two weeks in the refrigerator without significant flavor degradation.
Refrigeration tips to extend shelf life
Refrigeration is critical for preserving your cold brew’s quality and safety. Immediately after filtering, place the concentrate in the fridge to slow bacterial growth and oxidation. Store it on a middle shelf, not in the door where temperature fluctuates. Maintain a consistent temperature between 33-40°F (1-4°C).
To extend shelf life, divide your batch into smaller portions—this reduces how often the main container is opened, limiting exposure to warm air and contaminants. Avoid adding milk, cream, or sweeteners until serving, as these can spoil faster and alter the brew’s stability.
For maximum freshness, consume within 7-10 days, though properly stored concentrate can last up to two weeks. If you notice off smells, cloudiness, or mold, discard immediately. Use clean utensils each time you pour to prevent introducing bacteria.
Freezing cold brew for long-term storage
For extended storage beyond two weeks, freezing cold brew is an excellent option. Pour the concentrate into ice cube trays or freezer-safe silicone molds—this allows you to thaw only what you need.
Once frozen solid, transfer the cubes to a labeled, airtight freezer bag to prevent freezer burn and odor absorption. Each cube typically equals about one ounce, making portion control easy. For larger quantities, use wide-mouth glass jars (leave 1/2 inch headspace for expansion) or heavy-duty freezer containers.
Thaw cubes in the refrigerator overnight or add directly to drinks for a slow-diluting, non-watery iced coffee. Frozen cold brew retains its flavor for 3-6 months, though best quality is within 1-2 months. Note that freezing can slightly alter texture, but the concentrated flavor remains robust.
Avoid refreezing thawed brew to maintain safety and taste.
Tips for Serving and Diluting Large Batch Cold Brew
Mixing concentrate with water or milk
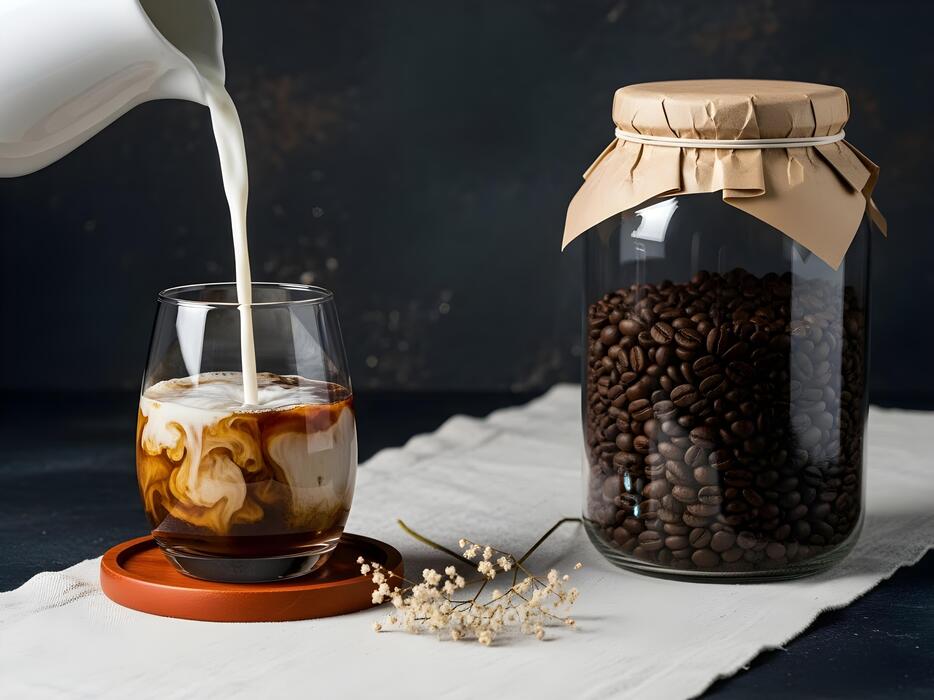
For the perfect cup, always start with a 1:1 ratio of cold brew concentrate to water or milk, then adjust to your taste. This standard dilution creates a balanced strength similar to traditional iced coffee.
If you prefer a stronger kick, use less diluent, or for a milder brew, add more. Use cold, filtered water to avoid introducing off-flavors. When using milk, whole milk or oat milk provides a creamier body that complements the concentrate’s smoothness, while skim milk can result in a thinner texture.
To ensure even mixing, stir the concentrate and diluent together in a large pitcher before pouring over ice. Avoid adding the concentrate directly to ice without stirring first, as this can create uneven concentration.
For a quick, on-the-go option, pre-mix your batch in a sealed container and refrigerate—this also allows flavors to meld beautifully. Remember, the ratio is flexible; test small batches until you find your ideal balance.
Adding ice without watering down flavor
To prevent watery cold brew, use large ice cubes or ice blocks that melt slower than standard ice, minimizing dilution. Alternatively, make coffee ice cubes by freezing leftover cold brew or diluted coffee in ice trays—this adds flavor as they melt instead of watering down your drink.
When serving, fill your glass with ice first, then pour the diluted cold brew over it. This technique chills the beverage quickly without excessive melting.
For large batch serving, consider chilling the entire batch of diluted cold brew in the refrigerator before pouring over ice, so the ice only needs to maintain temperature, not cool the drink.
Another pro tip: use a double-walled glass or insulated tumbler to keep your drink cold longer with less ice. If you’re serving a crowd, pre-chill your glasses and use a large ice bucket for refills. These methods ensure each sip stays rich and flavorful, even on hot days.
Flavor variations like vanilla or cinnamon
Elevate your large batch cold brew with simple, scalable flavor additions. For vanilla, add 2-3 teaspoons of pure vanilla extract per gallon of concentrate during the steeping process or stir it into the diluted batch before refrigerating.
For a richer taste, use a vanilla bean—split it and let it infuse in the concentrate for 12-24 hours. Cinnamon adds warmth without sweetness; stir in 2-3 whole cinnamon sticks during steeping, or add 1-2 teaspoons of ground cinnamon to the diluted batch, then strain.
For a salted caramel twist, combine 1/4 cup of caramel syrup with a pinch of sea salt per gallon. You can also experiment with cocoa powder, nutmeg, or a dash of almond extract for gourmet flair.
To keep flavors consistent, mix these additions in a separate pitcher before combining with the main batch. Always taste and adjust—start with less, as flavors intensify over time. These variations let you customize your cold brew without extra effort, perfect for impressing guests or treating yourself.
Common Mistakes When Making Large Batch Cold Brew
Over-extraction from too fine a grind
When scaling up cold brew, a common pitfall is using a grind that is too fine, similar to what you’d use for drip coffee. This dramatically increases the surface area exposed to water, leading to over-extraction of bitter and astringent compounds over the long steeping time.
For large batches, you want a coarse, uniform grind resembling breadcrumbs or sea salt. This slower extraction yields a smooth, rich concentrate without harshness. If your brew tastes bitter or muddy, adjust your grinder to a coarser setting.
For consistent results, consider using a burr grinder rather than a blade grinder, which produces uneven particles. A simple test: after steeping, the grounds should feel like wet sand, not sludgy. Remember, you can always steep longer with a coarse grind, but you cannot fix bitterness from too-fine grounds.
Using too little coffee for weak results
Another frequent mistake is skimping on coffee grounds, resulting in a watery, flavorless brew. Cold brew extraction is less efficient than hot brewing, so you need a higher coffee-to-water ratio. For a concentrate, aim for a 1:4 or 1:5 ratio by weight (e.g., 200 grams coffee to 800 grams water).
Using too little coffee will leave you with a weak drink that cannot stand up to milk or ice. To avoid this, always weigh your ingredients with a kitchen scale instead of using volume measurements, as grounds vary in density.
If you prefer a ready-to-drink strength, use a 1:8 ratio, but never drop below 1:10. A strong concentrate is forgiving—you can always dilute it, but you cannot add flavor back to a weak batch. Start with a robust ratio and adjust to your taste.
Skipping the filtration step for gritty texture
Many home brewers overlook proper filtration, leading to a gritty, sediment-filled cold brew. After steeping, simply pouring through a mesh strainer leaves fine particles behind, creating an unpleasant texture.
For large batches, use a multi-stage filtration process: first, pour through a fine-mesh sieve lined with cheesecloth or a nut milk bag to catch coarse grounds. Then, filter again through a paper coffee filter or a dedicated cold brew filter to remove micro-fines.
If you skip this, your brew will be cloudy and gritty, especially at the bottom of the container. For efficiency, consider a cold brew system with a built-in filter or a large French press. Always filter while the brew is cold to avoid clogging.
A clean, smooth texture enhances the drinking experience and prevents that last sip from being filled with sludge.
Frequently Asked Questions
What is the best coffee-to-water ratio for large batch cold brew?
A standard ratio for large batches is 1:8 (coffee to water) for a concentrate, or 1:5 for a stronger brew. For a 1-gallon batch, use about 8 ounces (227g) of coarsely ground coffee with 8 cups of water.
How do I make cold brew in a large container like a 5-gallon bucket?
Use a food-grade bucket with a lid. Add coarsely ground coffee (e.g., 2.5 lbs for 5 gallons at 1:8 ratio) and cold filtered water. Stir, cover, and steep for 12-24 hours at room temperature or in the fridge. Strain through a fine-mesh sieve or cheesecloth into another container.
What grind size is best for large batch cold brew?
Use a coarse grind, similar to breadcrumbs or sea salt. Fine grinds can make the brew bitter and muddy, and they are harder to filter out in large quantities.
How long should I steep large batch cold brew?
Steep for 12 to 24 hours at room temperature. Longer steeping (up to 24 hours) yields a stronger concentrate, but avoid over 24 hours to prevent bitterness. Refrigerated steeping may require 18-24 hours.
What is the best way to filter large batch cold brew?
For large batches, use a fine-mesh strainer lined with cheesecloth or a nut milk bag. Pour the brew through, then squeeze or press the grounds to extract remaining liquid. Alternatively, use a cold brew filter bag during steeping for easy removal.
Can I make large batch cold brew without a special maker?
Yes. Use a large jar, pitcher, or food-grade bucket. Add coffee and water, stir, cover, and steep. Strain using a sieve and cheesecloth, or a large French press if you have one. No special equipment is needed.
How should I store large batch cold brew concentrate?
Store the strained concentrate in a sealed glass or plastic container in the refrigerator for up to 2 weeks. Keep it away from light and heat. Dilute with water or milk to taste before serving.
What is the cost savings of making large batch cold brew at home?
Making large batches at home can save 50-70% compared to buying bottled cold brew. For example, a gallon of homemade concentrate costs roughly $10-15 in coffee, while store-bought equivalent may cost $30-40.
Conclusion
Making large batch cold brew is simple: coarsely grind quality beans, steep them in cool water for 12-24 hours, then strain through a fine filter. The result is a smooth, less acidic concentrate that lasts up to two weeks in your fridge. Enjoy the convenience of ready-to-drink coffee each morning. Experiment with ratios and steeping times to find your perfect brew. Now, grab a big jar and start infusing!