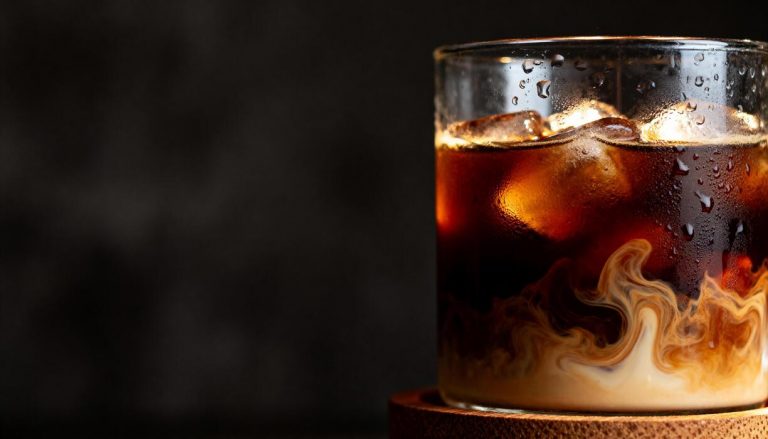
How To Make Starbucks Cold Brew At Home
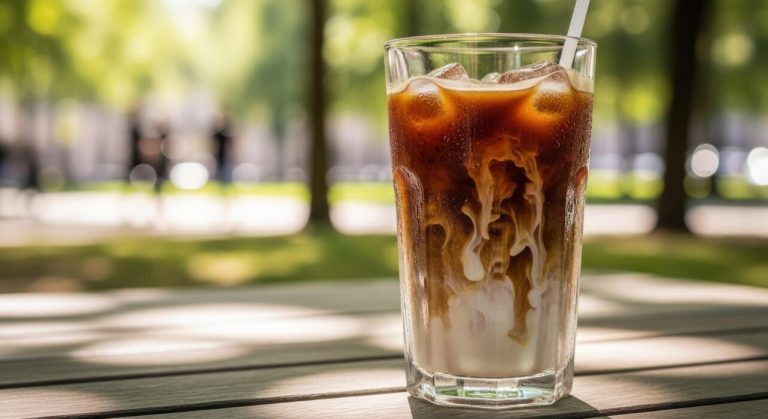
Craving that smooth, velvety Starbucks cold foam or their signature bold brew but want to skip the drive-thru line and the high prices? You are in the right place. Making Starbucks cold brew at home is surprisingly simple and requires just two ingredients. This guide will show you exactly how to replicate that famous flavor using the right coffee-to-water ratio and steeping time.
The Secret Behind Starbucks Cold Brew Flavor
The specific coffee beans Starbucks uses
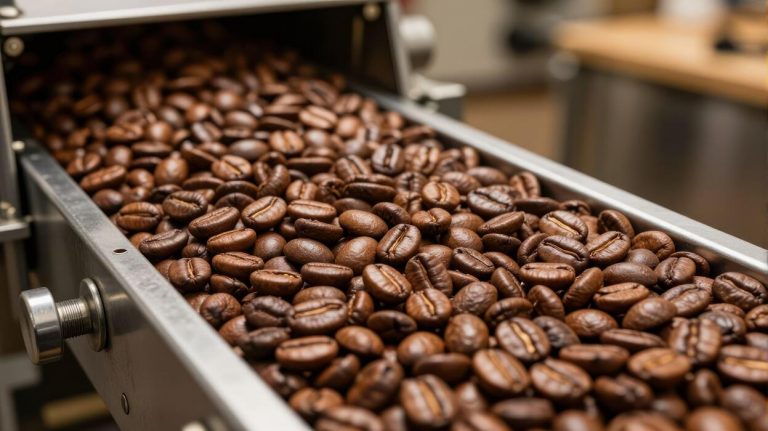
To replicate the signature taste at home, you must start with the right foundation. Starbucks uses a specific Cold Brew Blend, which is a curated mix of Latin American and African beans. These beans are roasted to a dark profile specifically designed to be steeped in cold water.
The Latin American beans provide a smooth, cocoa-infused base, while the African beans add a subtle hint of citrus and brightness that prevents the drink from tasting muddy. When sourcing beans for your kitchen, look for a medium-to-dark roast with flavor notes of chocolate or caramel.
Using single-origin beans can work, but a blend is preferred for that balanced, multi-layered complexity found in the cafe. Always prioritize freshly roasted whole beans and avoid pre-ground options, as the delicate oils responsible for that velvety mouthfeel dissipate quickly once the bean is broken.
By selecting a blend that mirrors these flavor profiles, you ensure your homemade batch captures the rich, bold essence that defines the Starbucks experience.
Why the grind size matters for cold brew
The most common mistake when making cold brew at home is using a grind that is too fine. For a perfect Starbucks-style extraction, you must use a coarse, breadcrumb-like grind.
Because cold brew relies on time rather than heat, a fine grind will over-extract, leading to a bitter, astringent flavor and a cloudy appearance. A coarse grind allows the water to flow freely around the particles, gently drawing out the sugars and oils over a 12 to 20-hour steeping period.
If you use a standard drip grind, your coffee will likely taste harsh and be difficult to filter. Investing in a burr grinder is the best way to achieve the necessary consistency for this method. Aim for a texture similar to sea salt or cracked peppercorns.
This specific geometry ensures that the finished concentrate remains mellow and naturally sweet, allowing you to dilute it with water or milk without losing the structural integrity of the coffee’s flavor profile or its signature smooth finish.
The difference between cold brew and iced coffee
Understanding the technical difference between these two methods is vital for home baristas. Traditional iced coffee is simply hot-brewed coffee that is cooled down and served over ice. This heat-based extraction pulls out the acidic and bitter compounds of the bean, which can become unpleasantly sharp as the drink dilutes.
In contrast, Starbucks cold brew is never exposed to heat. By steeping the grounds in cool, filtered water, the process eliminates the chemical reactions that create high acidity. The result is a naturally sweeter, lower-acid beverage with a much heavier body and a higher caffeine concentration.
Because the cold brewing process is so gentle, it highlights the deep chocolate and nutty notes rather than the floral or acidic ones. When making this at home, remember that you are creating a concentrate.
While iced coffee is ready to drink immediately, cold brew requires patience but rewards you with a versatile base that stays fresh in the refrigerator for up to a week without losing its vibrant, smooth character.
Essential Equipment for DIY Cold Brew

Best jars and containers to use
To replicate the clean taste of a Starbucks cold brew, your choice of vessel is the first critical step.
A large glass Mason jar is the gold standard for home enthusiasts because glass is non-reactive and won’t leach metallic or plastic flavors into your concentrate during the long 12 to 20-hour steep.
Ensure you use a container with an airtight seal to prevent the coffee from absorbing any odors from your refrigerator, which can ruin the delicate chocolatey notes of the beans. If you are brewing in large batches, a two-quart glass pitcher works exceptionally well, provided it has a secure lid.
Avoid using plastic containers if possible, as they can retain oils from previous uses that might lead to a rancid aftertaste. Before starting your brew, always make sure your container is thoroughly sanitized with hot water and soap.
Starting with a clean, neutral environment allows the natural sweetness of the coarse-ground coffee to shine through without any unwanted interference.
Filtering methods for a smooth finish
The hallmark of a professional cold brew is its clarity and lack of sediment, which is achieved through meticulous filtering. For that signature Starbucks mouthfeel, a dual-filtration process is highly recommended.
Start by using a fine-mesh metal sieve to remove the largest coarse grounds, then pass the liquid through a high-quality paper coffee filter or a clean nut milk bag.
The paper filter is essential because it traps the fine particles and bitter oils that a mesh screen might miss, resulting in a crisp and clean finish.
If you find that paper filters slow down the process too much, try using a commercial-grade cold brew filter bag made of non-woven fabric, which allows for easy cleanup and excellent sediment retention.
Always remember to pre-wet your paper filters with cold water before use to remove any potential papery taste. This attention to detail ensures your homemade concentrate remains smooth, vibrant, and free of the muddy texture often found in amateur preparations.
Using a French press vs. a cold brew maker
Deciding between a French press and a dedicated cold brew maker depends on your desired volume and convenience. A French press is incredibly versatile and perfect for beginners since most coffee lovers already own one.
Its built-in plunger makes it easy to separate the grounds from the liquid, though you may still need a secondary paper filter for that ultra-smooth Starbucks style.
On the other hand, a dedicated cold brew maker is designed specifically for high-capacity brewing and often includes a specialized fine-mesh core that simplifies the steeping process. These devices are excellent for maintaining a consistent water-to-coffee ratio and usually feature a convenient dispensing tap for easy access in the fridge.
While the French press is great for small batches, a cold brew maker is the better long-term investment if you plan on drinking it daily.
Both tools can produce a rich concentrate, but the dedicated maker offers a more streamlined, mess-free experience that closely mimics the efficiency of a professional coffee shop setup.
How to Make Starbucks Cold Brew Step-by-Step
Measuring the perfect coffee-to-water ratio
To achieve that signature Starbucks smoothness, you must begin with a coarse grind size that resembles sea salt, which prevents over-extraction and bitterness. The golden rule for a true cold brew concentrate is a 1:4 ratio, meaning one cup of coarsely ground beans for every four cups of filtered water.
Using filtered water is critical because it ensures the clean, crisp profile that characterizes the brand’s flavor. If you prefer a lighter, ready-to-drink version immediately, you can adjust this to a 1:8 ratio, but the concentrate method offers more versatility for customization later.
Simply add your grounds to a large glass pitcher or a dedicated cold brew maker. Ensure every grain is fully saturated by pouring the water in a slow, circular motion.
Avoid stirring aggressively; a gentle push with a spoon to submerge the grounds is all you need to kickstart the slow extraction process that yields that low-acid, chocolatey finish everyone loves.
The steeping process and timing
Patience is the secret ingredient when recreating this cafe staple. Once your coffee and water are combined, cover the container tightly to prevent the coffee from absorbing any stray odors from your refrigerator.
For the most authentic Starbucks taste, let the mixture steep at room temperature for 12 to 20 hours. Steeping in the fridge is an option, but it typically requires the full 20 to 24 hours because the cold temperature slows down the chemical extraction.
Aim for the 16-hour sweet spot if you want a balanced profile that highlights the bean’s natural sweetness without pulling out harsh tannins. Avoid letting it sit longer than 24 hours, as this can lead to a woody or dusty flavor profile that ruins the batch.
Keep the vessel in a cool, dark place away from direct sunlight to maintain a stable temperature throughout the duration, ensuring that the resulting brew is consistently rich, bold, and incredibly smooth for your morning caffeine fix.
How to strain and store your concentrate
After the steeping time is complete, you must carefully separate the liquid from the grounds to stop the brewing process. Use a fine-mesh sieve lined with a paper filter or a nut milk bag to ensure a sediment-free result.
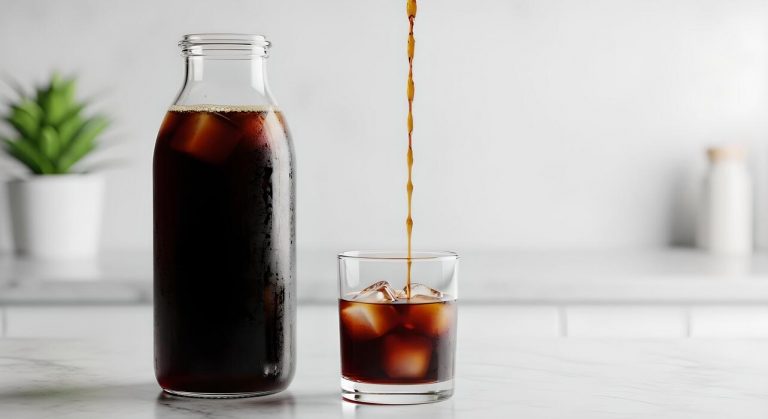
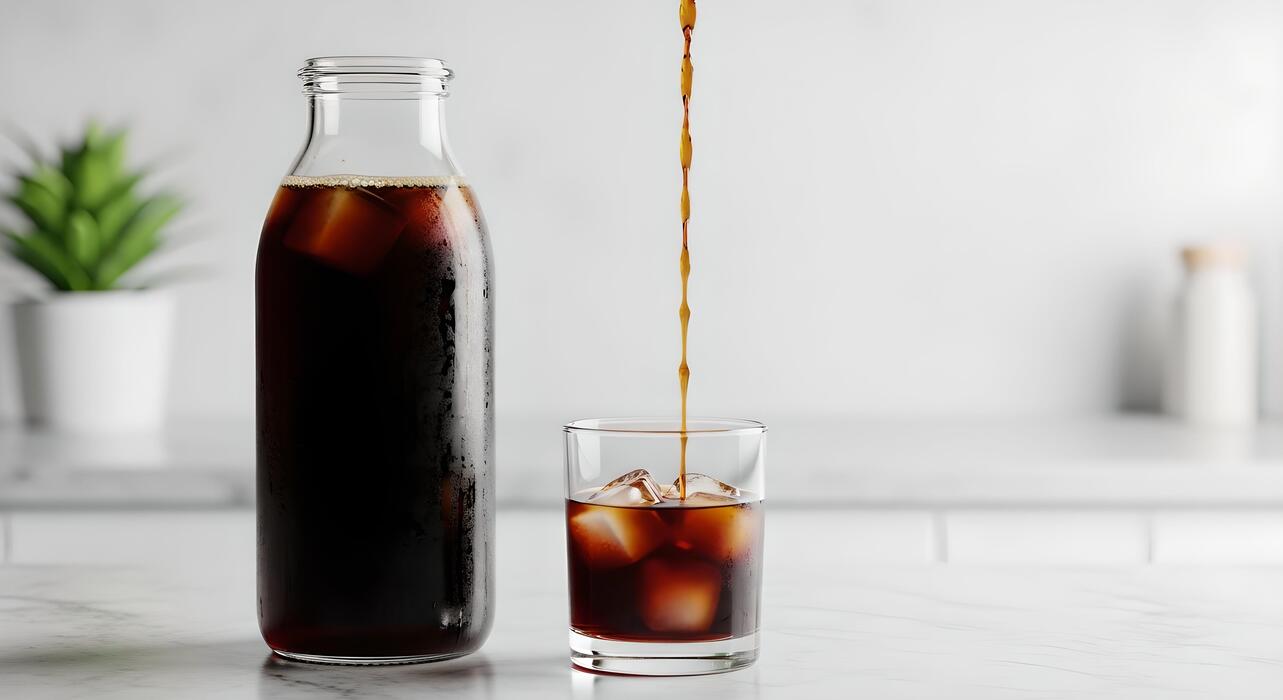
Pour the mixture slowly to avoid agitating the silt at the bottom, which keeps the final drink clear and bright. Once strained, you are left with a potent cold brew concentrate. Transfer this liquid into an airtight glass carafe or mason jar.
When stored properly in the refrigerator, the concentrate stays fresh and flavorful for up to two weeks, making it an efficient option for meal prepping your morning beverages.
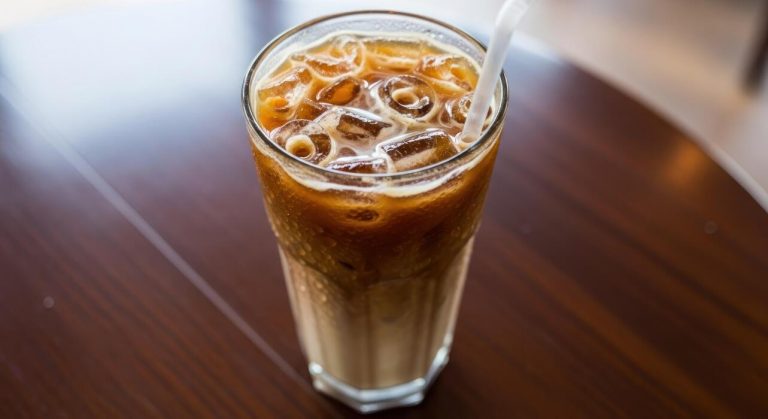
When you are ready to serve, remember that this is a concentrate; the standard serving involves diluting it with equal parts water or milk over ice.
This flexibility allows you to mimic the Starbucks experience by adding splashes of heavy cream, vanilla syrup, or even a homemade sweet cream cold foam topper.
How to Make Starbucks Vanilla Sweet Cream at Home
Ingredients for the vanilla syrup
To replicate the authentic Starbucks flavor profile for your homemade cold brew, you must start with a high-quality vanilla syrup base. While store-bought versions work, making it yourself ensures a fresher taste.
You will need to combine one cup of granulated sugar with one cup of filtered water in a small saucepan over medium heat. Stir the mixture constantly until the sugar has completely dissolved into a clear liquid.
Once the simple syrup is ready, remove it from the heat and allow it to cool slightly before adding two tablespoons of pure vanilla extract. For a more gourmet touch, you can even scrape the seeds from a fresh vanilla bean into the syrup while it is still warm.
This syrup acts as the primary sweetener and aromatic component of the cream. Ensure the syrup is fully chilled in the refrigerator before mixing it with dairy, as adding hot syrup to cold cream can lead to unwanted separation and a greasy texture in your drink.
Mixing the heavy cream and milk
The secret to the velvety mouthfeel of Starbucks vanilla sweet cream lies in the specific ratio of dairy used to create the blend. To achieve this at home, you should combine one cup of heavy whipping cream with half a cup of 2% milk.
This particular combination provides enough fat to feel indulgent without being as heavy as pure cream. Once you have your dairy base, stir in five to six tablespoons of your prepared vanilla syrup, depending on your desired level of sweetness.
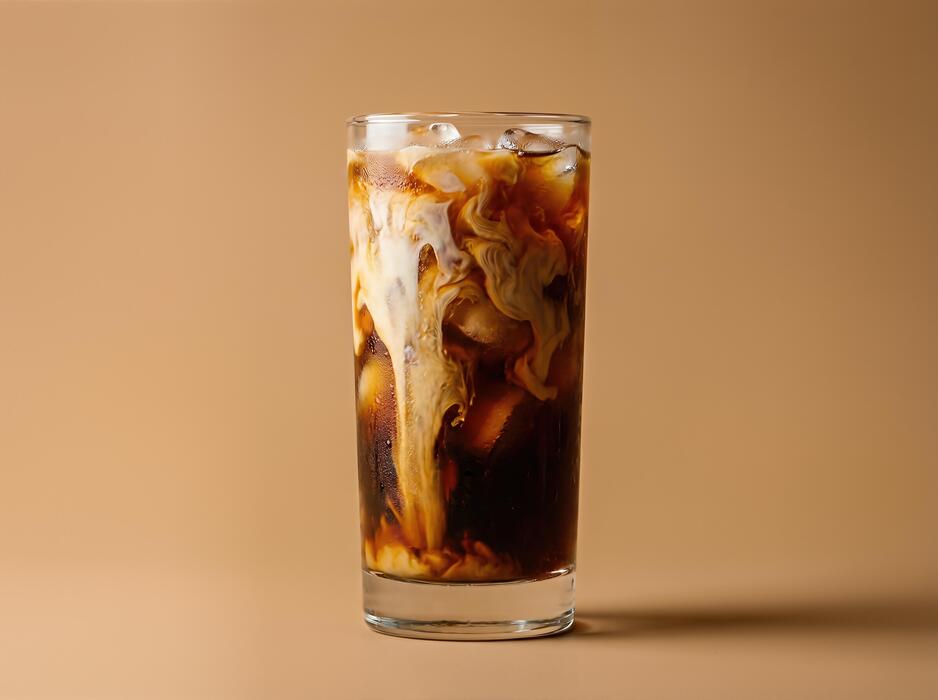
It is crucial to whisk the ingredients gently rather than using a high-speed blender, as you want to incorporate the flavors without whipping too much air into the mixture. The goal is a pourable, silken liquid that cascades through your cold brew coffee like a marble cloud.
Store this mixture in a sealed mason jar in the back of your refrigerator where it is coldest, ensuring it remains fresh and ready to enhance your morning caffeine routine whenever a craving strikes.
Tips for getting the right consistency
Achieving the perfect pour requires attention to temperature and aeration techniques. For the best results, always ensure your dairy products are ice-cold before you begin the mixing process, as cold fat molecules stabilize the emulsion better.
If you prefer a slightly thicker texture that mimics the ‘cold foam’ topper, you can use a handheld milk frother for just five to ten seconds. Be careful not to over-process the cream, or you will end up with stiff peaks that do not mix well with the coffee.
If the mixture feels too thick, simply add a splash more 2% milk to thin it out to a pourable state. Another pro tip is to gently shake the jar before every use to redistribute any settled vanilla particles.
When pouring the sweet cream over your cold brew, do so slowly over the back of a spoon to create those beautiful swirling visual effects seen in the cafe. This ensures a consistent flavor profile from the first sip to the very last drop.
Best Ways to Customize Your Cold Brew
How to make salted caramel cold foam
To replicate the signature Starbucks texture, combine two tablespoons of heavy cream, one tablespoon of 2% milk, and a splash of caramel syrup in a small glass.
The secret to the perfect consistency is using a handheld milk frother for about thirty seconds until the mixture reaches a thick, velvety peak. Once the foam is aerated, stir in a pinch of sea salt to balance the sweetness and enhance the rich caramel notes.
Pour this luxurious topping gently over your homemade cold brew concentrate and ice. This method ensures the foam sits elegantly on top of the dark coffee rather than dissolving immediately. By mastering this simple technique, you can enjoy a cafe-quality beverage at a fraction of the cost.
Adjusting the salt-to-syrup ratio allows you to customize the intensity to your specific palate, making your home-brewed version even better than the original store-bought drink while maintaining that professional, airy mouthfeel you crave every morning.
Adding seasonal flavors like pumpkin or mocha
Elevate your cold brew by incorporating seasonal syrups that mimic the iconic Starbucks menu. For a classic mocha experience, stir a tablespoon of high-quality cocoa powder or chocolate ganache into your coffee before adding ice to ensure it dissolves completely.
If you prefer the warmth of autumn, whisk real pumpkin puree and pumpkin pie spice into a simple syrup base to create a DIY pumpkin spice sauce.
The key to a balanced flavor profile is to add your sweeteners while the cold brew is at room temperature or to use a liquid simple syrup to prevent grittiness.
Experimenting with vanilla bean paste or cinnamon sticks can also add a sophisticated depth to your brew without overwhelming the natural chocolatey notes of the coffee beans. These additions allow you to rotate your home menu throughout the year, keeping your caffeine routine exciting and flavorful.
Always start with a small amount of syrup and gradually increase it to find your perfect sweetness level.
Dairy-free alternatives that taste great
Finding the right milk alternative is essential for a smooth, plant-based cold brew experience. Oat milk is the top choice for many home baristas because its creamy texture and mild sweetness closely resemble traditional dairy, making it perfect for frothing.
If you prefer a nuttier profile, unsweetened almond milk offers a lighter, low-calorie option that complements the bold acidity of cold brew perfectly.
For those who want a tropical twist, coconut milk provides a rich fat content that creates a decadent mouthfeel, though it may require more vigorous shaking to incorporate.
To achieve the best results, look for barista-edition plant milks specifically formulated to resist curdling when hitting the cold acidity of the coffee. These specialty versions contain stabilizers that ensure a consistent, silkier pour every time.
By choosing high-quality non-dairy options, you can maintain the integrity of the coffee flavor while catering to dietary preferences or lactose sensitivities without sacrificing the creamy aesthetic of your favorite Starbucks-style handcrafted cold brew drinks.
Tips for the Best Tasting Homemade Cold Brew
Using filtered water vs. tap water
To replicate the signature clean profile of a Starbucks cold brew, the quality of your base liquid is paramount. Since a cold brew concentrate is composed of roughly 98% water, any chlorine, minerals, or metallic undertones present in standard tap water will become amplified during the long steeping process.
Using freshly filtered water ensures that the delicate chocolate and citrus notes of the coffee beans remain the focal point rather than being masked by chemical additives.
Many home baristas find that using a simple charcoal filter pitcher or an under-sink filtration system provides the neutral pH level necessary for optimal extraction. By starting with purified or spring water, you create a blank canvas that allows the natural sweetness of the coarse grounds to shine.
This attention to detail prevents the ‘muddled’ flavor often associated with tap water brewing and results in a crisp, professional-grade finish that mimics the high standards found in premium coffee shops.
How long to keep cold brew in the fridge
Once your cold brew has finished steeping and the grounds are filtered out, proper storage is essential for maintaining that smooth, non-acidic taste.
You should keep your cold brew concentrate in an airtight glass container or a sealed carafe to prevent it from absorbing odors from other foods in your refrigerator.
Generally, a pure cold brew concentrate will stay fresh and flavorful for up to 7 to 14 days, though the flavor is peak within the first week. If you have already diluted the concentrate with water or milk, the shelf life drops significantly to about 2 to 3 days.
It is important to label your container with the date so you can track its freshness accurately. If you notice a sour smell or a significant loss in aroma, it is time to discard the batch.
Keeping the liquid consistently chilled at 40°F or below slows down the oxidation process, ensuring every glass tastes as vibrant as the day it was brewed.
Avoiding common mistakes that cause bitterness
The most frequent error when attempting a Starbucks-style brew is using the wrong grind size or steeping for an excessive amount of time. You must use an extra-coarse grind, resembling sea salt, to ensure a slow and steady extraction that avoids pulling out harsh tannins.
If the grind is too fine, the water will over-extract the beans, leading to a dry, bitter aftertaste. Additionally, timing is critical; you should aim for a steep time between 12 and 20 hours at room temperature or up to 24 hours if brewing in the fridge.
Leaving the grounds in the water for too long will result in a woody, bitter flavor profile that ruins the natural smoothness of the concentrate. Another vital tip is to avoid squeezing the coffee grounds or the filter bag when straining the liquid.
Pushing on the wet grounds forces fine particles and bitter oils into your final brew, which creates a cloudy appearance and a sharp, unpleasant bite on the tongue.
Cost Comparison: Homemade vs. Starbucks Store Prices
Price breakdown per serving
When analyzing the financial benefits of making coffee at home, the numbers speak for themselves. A standard grande cold brew at a retail location typically costs between $4.50 and $5.25 depending on your local tax rates.
In contrast, crafting the same beverage in your kitchen using a high-quality bag of Starbucks Pike Place or Siren’s Blend beans drastically reduces the cost. A typical 12-ounce bag of whole bean coffee retails for roughly $10.00 and can produce approximately 64 ounces of concentrated cold brew.
When diluted with water and ice, this yields about eight generous servings. This means your cost per serving drops to roughly $1.25, representing a massive 75% reduction in price.
Even if you factor in the cost of filtered water and a splash of cream or artisanal syrup, you are still looking at a premium beverage for a fraction of the retail price.
Investing in your own beans allows you to control the strength and flavor profile without paying the steep service markup found at the register.
How much you save over a month
The true impact of switching to homemade cold brew is most visible when looking at your monthly budget. If you are a daily coffee drinker, a single cup from the cafe every morning adds up to approximately $150 per month.
By transitioning to a DIY routine, your monthly expenditure for the same thirty drinks falls to roughly $37.50. This results in a total monthly savings of over $112, which can be redirected toward other financial goals or high-quality kitchen equipment.
Over the course of a full year, this simple habit change saves you more than $1,300. Beyond the raw data, you also save on hidden costs like gasoline, idling time in drive-thru lanes, and impulsive snack purchases that often accompany a trip to the store.
Making cold brew at home is not just about the beans; it is a strategic move to reclaim your morning time and financial independence while still enjoying the caffeine kick you love. The convenience of having a ready-to-pour carafe in your fridge eliminates the morning rush entirely.
The value of making bulk batches
One of the most significant advantages of the cold brew method is its inherent suitability for bulk preparation.
Unlike traditional hot coffee that turns bitter when reheated or left to sit, cold brew concentrate remains fresh and delicious for up to two weeks when stored in an airtight container in the refrigerator.
This longevity allows you to spend just ten minutes on a Sunday evening preparing a large batch that covers your entire work week. By brewing in large quantities, you maximize the efficiency of your coffee grounds and minimize the daily cleanup associated with other brewing methods.
This ‘set it and forget it’ approach provides a consistent flavor profile that is often superior to store-bought versions, as you can ensure the steeping time is perfectly calibrated to your personal taste.
Furthermore, bulk brewing reduces packaging waste from single-use cups and plastic straws, making it an environmentally friendly alternative to daily takeout. Embracing the bulk method ensures that a premium, barista-quality drink is always just a pour away, providing unmatched value for both your schedule and your wallet.
Frequently Asked Questions
What coffee beans does Starbucks use for their cold brew?
Starbucks uses a specific Cold Brew Blend that features beans from Nariño, Colombia, and East Africa. To replicate the flavor at home, choose a medium to dark roast with chocolatey and citrusy notes.
What is the correct coffee-to-water ratio for DIY Starbucks cold brew?
For a concentrate similar to Starbucks, use a 1:4 ratio of coffee to water. For example, steep 1 cup of coarsely ground coffee in 4 cups of filtered water for 12 to 20 hours.
Do I need to grind the coffee beans specifically for cold brew?
Yes, you must use a very coarse grind, similar to the texture of sea salt or breadcrumbs. A fine grind will result in over-extraction, making your cold brew taste bitter and cloudy.
How long should I steep the coffee to match the Starbucks taste?
Starbucks steeps their cold brew for 20 hours at room temperature. At home, you should aim for at least 12 to 15 hours in the refrigerator or 12 to 18 hours on the counter for a smooth, bold profile.
How do I filter the cold brew at home without a professional setup?
You can use a French press to plunge the grounds, or pour the mixture through a fine-mesh sieve lined with a paper coffee filter or cheesecloth. This ensures a clean cup without sediment.
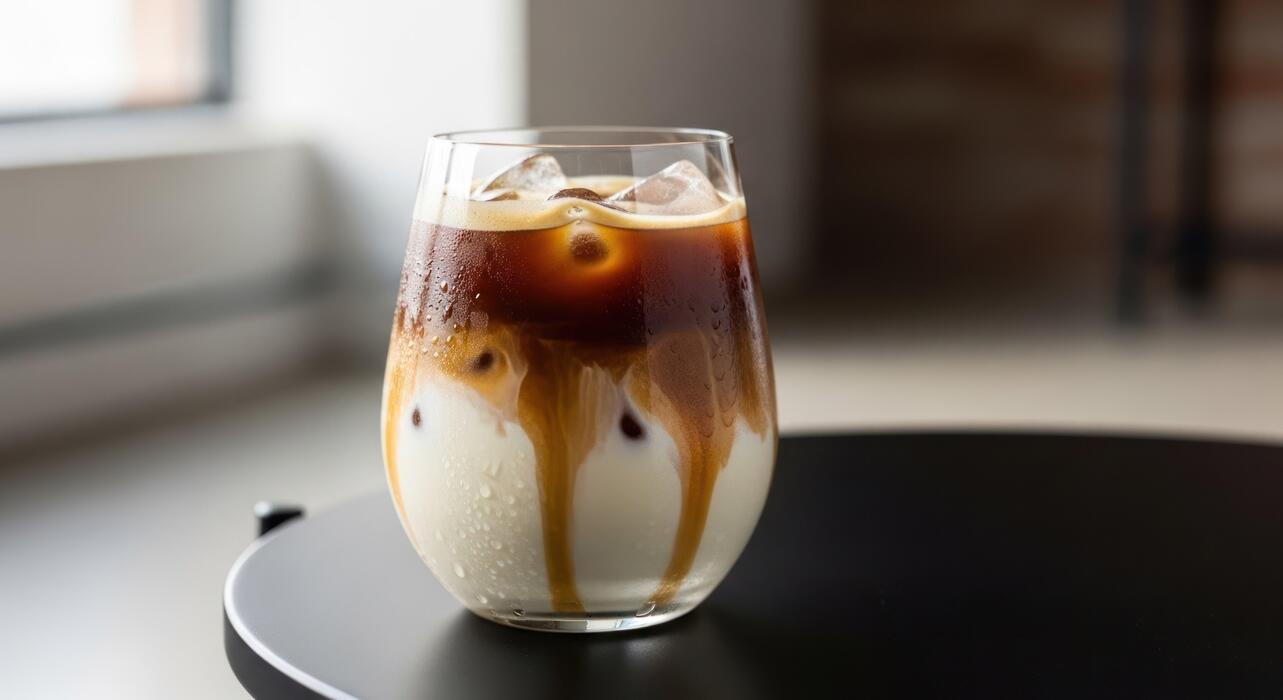
How do I recreate the Starbucks Vanilla Sweet Cream Cold Brew?
Mix your homemade cold brew with vanilla syrup, then top it with a splash of heavy cream and milk. For the ‘cold foam’ effect, froth a mixture of heavy cream, milk, and vanilla syrup until thickened before pouring it over the coffee.
Conclusion
Crafting a Starbucks-style cold brew at home is both simple and rewarding. By selecting high-quality beans, maintaining a coarse grind, and allowing the coffee to steep for twenty hours, you can achieve that signature smooth, low-acid flavor profile. Now that you have mastered the technique, it is time to start brewing. Enjoy the refreshing taste of professional coffee anytime.