How To Make Starbucks Cream Foam
Wondering how to make Starbucks cream foam at home? You’ve come to the right place. The core challenge is replicating that silky, stable cold foam without a commercial blender. This guide breaks down the exact ingredients—heavy cream, 2% milk, and vanilla syrup—plus the whisking or frothing technique to achieve that velvety, non-dairy-like texture. Skip the drive-thru and nail the perfect cloud-like topping for your iced coffee or cold brew.
What Is Starbucks Cream Foam and Why It’s So Popular
Key ingredients that make Starbucks cream foam unique
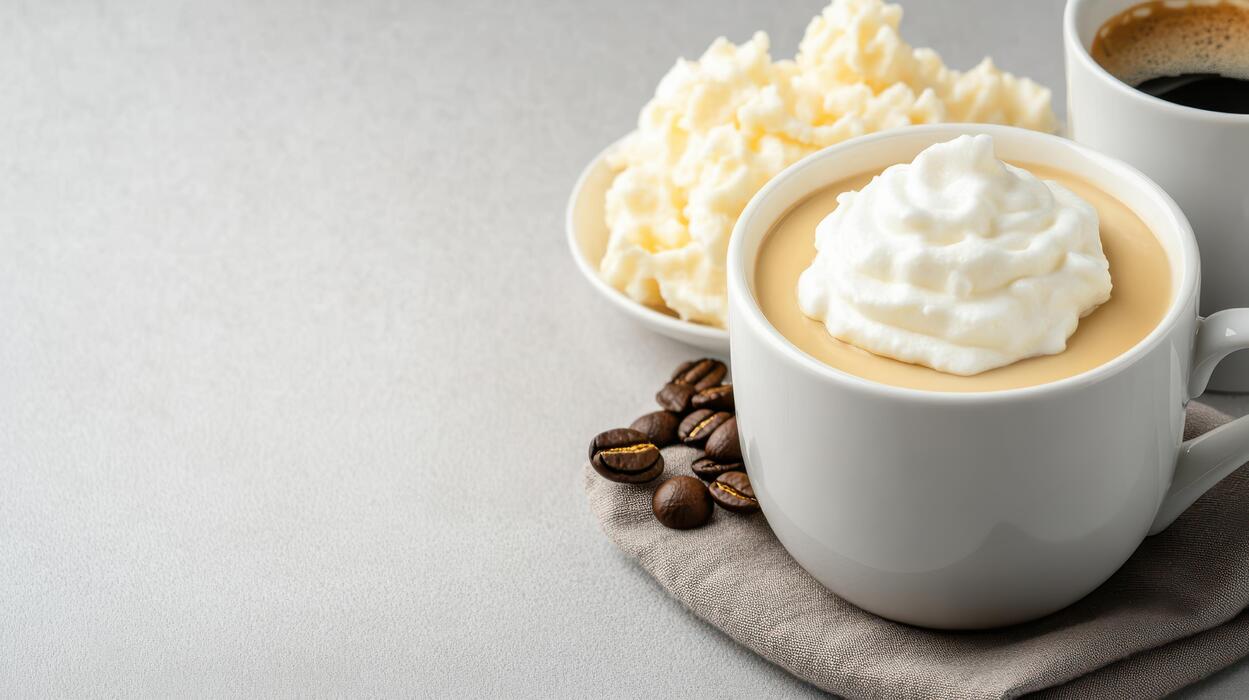
The secret to Starbucks cream foam lies in a precise blend of heavy cream, 2% milk, and vanilla syrup. Heavy cream provides the rich, thick texture that holds its shape, while 2% milk lightens it slightly for a pourable consistency.
Vanilla syrup adds the signature sweetness that balances the foam’s creamy richness. To replicate this at home, use cold heavy cream and a milk frother or hand whisk—avoid overmixing to prevent butter formation. The ideal ratio is 1 part 2% milk to 3 parts heavy cream for a stable foam.
Sweeten with a simple syrup made from equal parts sugar and water, or use vanilla extract. The key is chilling all ingredients beforehand, as cold dairy whips up denser and more voluminous.
This combination creates a silky, cloud-like foam that floats on cold drinks without dissolving quickly, making it perfect for iced coffees or cold brews.
How cream foam differs from regular milk foam
Regular milk foam, like that on a cappuccino, relies on steamed milk and air to create a light, bubbly texture that sits on hot drinks.
In contrast, Starbucks cream foam is cold-prepared using heavy cream and milk, resulting in a thick, velvety consistency that’s almost like whipped cream but with a pourable quality.
The key difference is fat content: heavy cream’s high fat (36-40%) creates a stable emulsion that holds air longer, while regular milk’s lower fat (2-3%) produces a froth that dissipates quickly. Cream foam also has a sweet, dessert-like flavor from vanilla syrup, unlike plain milk foam’s neutral taste.
For cold beverages, cream foam stays atop iced drinks for minutes, whereas milk foam sinks or dissolves. To make cream foam at home, skip the steam wand—use a cold frother or shake vigorously in a jar.
This cold method preserves the foam’s structure, making it ideal for iced lattes or cold brew toppings.
Why customers love this sweet, thick topping
Customers adore Starbucks cream foam for its indulgent, dessert-like experience that transforms a simple drink into a treat. The thick, creamy texture adds a luxurious mouthfeel that contrasts with the bold coffee underneath, creating a satisfying sip-by-sip experience.
The vanilla sweetness balances bitterness, making it a hit for those who prefer milder coffee flavors. Its visual appeal—a fluffy, white cap on dark cold brew—makes it Instagram-worthy, driving its popularity. For home baristas, mastering cream foam allows you to elevate everyday coffee with minimal effort.
Use it to top iced coffee, matcha lattes, or even hot cocoa for a decadent twist. The foam’s stability means it doesn’t collapse quickly, letting you enjoy the layered effect longer. To replicate the Starbucks version, focus on cold, fresh heavy cream and gentle whipping—overdoing it turns it into butter.
This topping’s versatility and rich flavor make it a favorite for customizing drinks at home.
Essential Tools and Ingredients for Homemade Cream Foam
Must-have kitchen tools for perfect foam
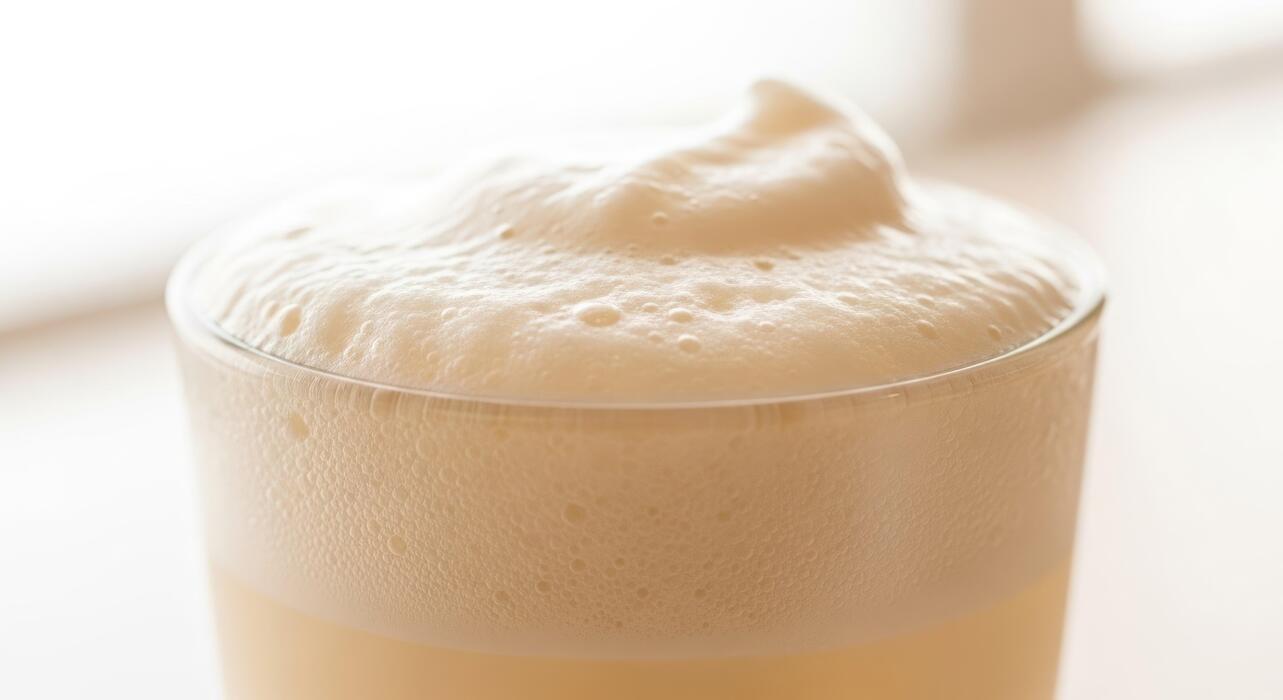
To replicate Starbucks’ velvety cream foam at home, you don’t need expensive equipment—just the right tools. Start with a French press (without the plunger screen) or a handheld milk frother for quick, airy results.
For denser, barista-style foam, use a stand mixer with a whisk attachment or a hand mixer; whip on medium-high for 2-3 minutes until soft peaks form. A glass or stainless steel bowl (chilled for 10 minutes) helps maintain temperature. Avoid plastic bowls, as they retain heat.
For cold foam, a mason jar with a tight lid works—shake vigorously for 30 seconds. If you have a countertop frother (like a Zulay or PowerLix), use the cold foam setting. Lastly, a fine-mesh strainer ensures no clumps when adding dry sweeteners.
Clean tools immediately after use to prevent dairy residue from hardening.
Best milk and cream options to use
Starbucks cream foam relies on whole milk or heavy cream for richness, but you can customize. For classic foam, use 2% milk or nonfat milk (which foams more easily but is less creamy).
For indulgent, thick foam, blend 1 part heavy cream to 2 parts milk (e.g., 1/4 cup cream + 1/2 cup milk). Oat milk (barista edition) or coconut cream (refrigerated, not canned) work for dairy-free versions—shake or froth longer for stability. Avoid almond milk, as it separates.
For Starbucks’ signature sweet cream, mix 1 cup heavy cream, 1/2 cup 2% milk, and 3-4 tablespoons vanilla syrup. Chill all ingredients for 15-20 minutes before frothing; cold dairy foams better. If using nonfat milk, add a teaspoon of dry milk powder to boost texture.
Always use fresh, not ultra-pasteurized, cream for best volume.
Sweeteners and flavorings that match Starbucks
Starbucks uses vanilla syrup as the base for their sweet cream foam. Make your own by simmering 1 cup water with 1 cup sugar and 1 tablespoon vanilla extract until dissolved. For a sugar-free version, use monk fruit sweetener or stevia syrup (add 1-2 teaspoons).
Classic flavor pairings include caramel (2 tablespoons caramel sauce), cinnamon dolce (1 teaspoon cinnamon + 1 tablespoon brown sugar), or mocha (1 tablespoon cocoa powder + 1 teaspoon sugar). For seasonal vibes, try pumpkin spice (1/2 teaspoon pumpkin pie spice + 1 tablespoon maple syrup).
Add flavorings before frothing to ensure even distribution. Start with 1-2 tablespoons per 1/2 cup cream mixture, then adjust to taste. For a salty-sweet twist (like salted caramel), add a pinch of flaky sea salt after frothing. Store homemade syrup in the fridge for up to 2 weeks.
Step-by-Step Recipe for Starbucks-Style Cream Foam

How to mix the base ingredients correctly
Start by gathering 2 tablespoons of heavy cream, 2 tablespoons of whole milk, and 1 tablespoon of vanilla syrup (or homemade simple syrup with vanilla extract). The heavy cream is essential for that rich, velvety texture, while the milk provides body.
Pour the cold heavy cream and milk into a narrow, deep bowl or a large measuring cup to allow for better aeration. Add the vanilla syrup, which sweetens and flavors the foam.
Use a handheld milk frother or a whisk; if using a whisk, ensure all ingredients are well combined before frothing. For the best results, chill your bowl and ingredients beforehand—cold dairy whips up faster and holds its shape longer.
Avoid overmixing at this stage; just stir gently until the syrup is fully dissolved. The key is to create a uniform base without incorporating too much air yet, as that step comes next. This careful mixing ensures the foam will be smooth and stable when frothed.
Techniques for frothing without a machine
If you lack an espresso machine, a handheld milk frother is your best tool. Submerge the frother just below the surface of the mixture and turn it on, moving it in a circular motion for 20-30 seconds until soft peaks form.
For a manual method, use a French press: pour the mixture into the press, then pump the plunger vigorously up and down for 30-45 seconds. This creates a thick, airy foam similar to Starbucks-style cream.
Another option is a whisk and a bowl: whisk rapidly in a back-and-forth motion, tilting the bowl to incorporate air, for 2-3 minutes until frothy. For all methods, stop when the foam is glossy and holds its shape—overfrothing can make it grainy.
If using a jar, shake the sealed jar with the mixture for 60 seconds, but this yields a thinner foam. Regardless of the technique, work quickly while the dairy is cold to maximize volume and stability.
Tips for achieving the right thickness and texture
The ideal Starbucks-style cream foam should be thick, spoonable, and smooth, similar to soft whipped cream. To achieve this, use full-fat dairy—heavy cream is non-negotiable for thickness, while milk adds lightness. Chill everything (bowl, frother, and ingredients) to keep the fat stable during whipping.
Froth until the foam forms soft peaks that hold their shape when the whisk is lifted; if it’s too runny, continue frothing in short bursts. For extra stability, add 1 teaspoon of powdered sugar or a pinch of xanthan gum (optional) to prevent separation.
Avoid overfrothing—if the foam becomes stiff or grainy, you’ve gone too far. To test texture, spoon a dollop onto your coffee—it should float without sinking immediately. If it’s too thin, refrigerate the foam for 5 minutes to firm up.
Finally, use immediately for best results, as the foam will deflate over time. These tips ensure a luscious, café-quality finish every time.
How to Make Cream Foam with a French Press
Step-by-step French press method for foam
To replicate Starbucks-style cream foam at home, start with cold heavy cream (at least 35% milk fat) for the best volume. Pour 1/4 cup of cream into your French press—this small amount works perfectly.
Add 1-2 tablespoons of syrup or sweetener (like vanilla or caramel) and a pinch of salt to enhance flavor. Press the plunger down fully, then pump it vigorously up and down for 30-60 seconds. You’ll see the cream thicken and double in volume, forming soft peaks.
For thicker foam, continue pumping until stiff peaks form. The key is quick, consistent pumps to incorporate air. Once done, spoon the foam directly onto your coffee or cold brew. This method mimics Starbucks’ vanilla sweet cream foam without any special equipment.
Adjust the sweetness to match your favorite drink—less syrup for a subtle hint, more for a bold flavor. Always use chilled cream straight from the fridge to prevent separation and ensure a stable foam that holds its shape on top of your beverage.
Common mistakes to avoid with this technique
Avoid using warm or room-temperature cream—it won’t whip properly and may become grainy. Another frequent error is overfilling the French press; cream needs space to expand, so never fill more than halfway. Pumping too slowly also leads to thin, liquid foam instead of the thick, cloud-like consistency you want.
Don’t skip the sweetener—even if you prefer unsweetened, a small amount of sugar or syrup stabilizes the foam and helps it hold its shape. Over-pumping is another pitfall: once you see stiff peaks, stop immediately, as over-whipping can turn cream into butter.
Also, avoid using ultra-pasteurized cream if possible, as it whips less reliably. Finally, clean your French press thoroughly between uses; residual oil or coffee grounds can ruin the foam’s texture. By steering clear of these missteps, you’ll achieve a silky, stable cream foam that rivals Starbucks every time.
Adjusting foam consistency with a French press
Customize your foam’s thickness by controlling pump speed and duration. For a light, pourable foam similar to cold foam, pump gently 20-30 times until slightly thickened. For a dense, spoonable topping like Starbucks’ sweet cream, pump vigorously 40-60 seconds until stiff peaks form.
The cream’s fat content matters: heavy cream (36-40% fat) yields the thickest foam, while half-and-half produces a thinner, more liquid result. If you want a dairy-free option, use full-fat coconut cream or oat cream—pump slightly longer for stability.
Adjust sweetness by adding more syrup or a pinch of salt to balance. For a cold foam finish, chill the French press and cream beforehand; this helps the foam stay cold and aerated longer.
Experiment with pump pressure: slow, steady pumps create smaller bubbles and a smoother foam, while fast pumps incorporate more air for a fluffy texture. Perfecting this technique lets you tailor your foam to any drink, from iced lattes to hot cocoa.
Using a Milk Frother or Blender for Cream Foam

Best settings for a handheld frother
For Starbucks-style cream foam, a handheld frother is your quickest tool. Start with cold heavy cream or a mix of half-and-half and 2% milk for a lighter texture. Pour the cream into a narrow, deep cup or frothing pitcher—fill it no more than halfway to allow room for expansion.
Submerge the frother tip just below the surface and turn it on low speed initially to incorporate air, then increase to medium-high for 20–30 seconds. The goal is a thick, velvety foam that holds soft peaks—similar to whipped cream but pourable.
Avoid high speed from the start, as this creates large bubbles that collapse quickly. For sweetened foam, add 1–2 pumps of vanilla syrup or a teaspoon of sugar before frothing to help stabilize the texture. Stop when the foam doubles in volume and clings to the frother.
Use immediately, as the foam will settle. Rinse the frother head under warm water right after use to prevent residue buildup.
Blender method for quick, thick foam
If you need large batches of cream foam fast, a blender is your best bet. Use cold heavy cream (or a 50/50 mix of milk and cream) and fill the blender no more than one-third full—this prevents overflow as the cream aerates.
Add sweetener like vanilla syrup, caramel sauce, or a pinch of salt for a salted caramel foam. Blend on low speed for 10–15 seconds to combine, then ramp up to medium-high for another 20–30 seconds.
Watch carefully: the foam is ready when it forms soft, billowy peaks that hold their shape but still flow slightly when poured. Over-blending will turn the foam into butter or cause it to separate into liquid and solid clumps.
For a sturdier foam that layers well on iced coffee, blend for an extra 5–10 seconds until it reaches a mousse-like consistency. Pour immediately over your drink—the foam will deflate if left sitting. Clean the blender promptly with warm, soapy water to avoid sticky residue.
How to avoid over-frothing and separating the cream
The biggest mistake when making cream foam is overworking the cream, which causes it to separate into butter and buttermilk.
To avoid this, always use cold cream (below 40°F) and stop frothing as soon as the foam reaches a smooth, pourable consistency—soft peaks that hold their shape for a few seconds.
Watch for visual cues: when the foam starts looking grainy or curdled with tiny yellow specks, you’ve gone too far. If using a frother, pulse it on and off rather than running continuously for more than 30 seconds.
With a blender, use the pulse function or keep a close eye on the vortex—once the cream stops swirling and forms a thick cap, stop immediately. Temperature matters too: warm cream froths faster but separates more easily.
If you accidentally over-froth, you can sometimes rescue it by adding a tablespoon of fresh cold cream and gently stirring—but usually, it’s best to start over. Store any unused foam in the fridge for up to 2 hours, but re-frothing will likely cause separation.
Flavor Variations for Custom Cream Foam
Vanilla sweet cream foam recipe
To make Starbucks vanilla sweet cream foam at home, start by combining 2 tablespoons of vanilla syrup with 1 cup of heavy cream and 1/2 cup of 2% milk in a bowl.
Use a milk frother or hand mixer on low speed for 30-60 seconds until the mixture thickens to a smooth, pourable consistency. For a lighter foam, add an extra splash of milk. This base recipe creates the classic sweet and creamy foam perfect for cold brew or iced coffee.
For a richer taste, substitute 2% milk with whole milk or oat milk for a dairy-free option. Store any leftover foam in the fridge for up to 3 days, but whisk it briefly before using to restore texture.
Adjust sweetness by adding more or less vanilla syrup; for a sugar-free version, use sugar-free vanilla syrup. This versatile foam can also be flavored with a pinch of cinnamon or nutmeg for a subtle twist.
Chocolate and caramel cream foam ideas
Transform your cream foam into a decadent treat with chocolate or caramel flavors. For a chocolate cream foam, whisk 2 tablespoons of chocolate syrup (like Hershey’s) into the vanilla sweet cream base before frothing.
Use dark chocolate syrup for a richer, less sweet taste, or add a teaspoon of cocoa powder for a more intense chocolate profile. For a caramel cream foam, stir in 2 tablespoons of caramel sauce (such as Torani or homemade) into the cream mixture.
For a salted caramel version, add a pinch of sea salt to balance the sweetness. Both variations pair wonderfully with iced coffee, cold brew, or even hot coffee. For an extra indulgent treat, drizzle additional chocolate or caramel sauce over the finished foam.
Experiment with white chocolate syrup for a creamy twist, or combine both chocolate and caramel for a turtle-inspired foam.
Seasonal flavors like pumpkin or peppermint
Recreate Starbucks seasonal cream foams at home with simple additions. For a pumpkin cream foam, mix 1 tablespoon of pumpkin puree with 1 teaspoon of pumpkin pie spice and 1 tablespoon of maple syrup into the vanilla cream base.
Froth until thick and creamy, then top your cold brew or iced coffee with a sprinkle of extra spice. For a peppermint cream foam, add 1/4 teaspoon of peppermint extract (or 2 tablespoons of peppermint syrup) to the base. Crush a few candy canes for a festive garnish.
For a gingerbread version, combine 1 tablespoon of molasses with 1/2 teaspoon of ginger, cinnamon, and nutmeg. These foams are best made fresh and can be adjusted for sweetness by reducing or omitting added sugar.
Store in the fridge for up to 2 days, but re-froth briefly before serving to maintain airy texture.
Tips for Serving and Storing Homemade Cream Foam
Best drinks to top with cream foam
Homemade cream foam pairs perfectly with cold brew, iced coffee, or iced lattes for a Starbucks-style treat. For a sweet twist, use it on iced matcha lattes, chai lattes, or cold brew with vanilla syrup. The foam’s light, airy texture complements bold coffee flavors and adds a creamy finish.
Avoid hot drinks, as heat will cause the foam to melt quickly. Instead, focus on chilled beverages where the foam stays intact. For a decadent dessert-like drink, top iced mochas or caramel macchiatos with a generous layer of foam.
You can also experiment with fruit-based drinks like iced strawberry or peach green tea lemonades for a refreshing contrast. The key is to pour the foam over a cold base—serve immediately for the best texture and visual appeal.
Remember to stir gently to incorporate the foam, or sip through it for a layered experience. With these pairings, your homemade cream foam will elevate any drink to Starbucks quality.
How to keep foam stable for hours
To keep your homemade cream foam stable for hours, start with very cold heavy cream (35-40% milk fat) and a chilled bowl. Add a stabilizer like 1-2 tablespoons of powdered sugar or a teaspoon of vanilla pudding mix per cup of cream—this helps maintain structure.
Whip the cream to soft peaks only; over-whipping can cause separation. For extra stability, use a handheld milk frother or stand mixer at medium speed until the foam thickens but is still pourable. Once made, store the foam in an airtight container in the refrigerator for up to 4 hours.
If it starts to deflate, give it a quick whisk or froth again for 10-15 seconds. Avoid adding liquid syrups directly to the foam before serving, as they can weigh it down. Instead, drizzle syrup on the drink first.
For longer storage, freeze the foam in ice cube trays and thaw single servings—though texture may slightly change. These tricks ensure your foam stays fluffy and stable for hours, perfect for batch preparation.
Storage guidelines and reheating tips
Store homemade cream foam in an airtight container in the refrigerator for up to 2-3 days. For best results, use it within 24 hours, as the texture gradually loses volume. If the foam separates or becomes watery, simply re-whip it with a hand frother for 10-15 seconds to restore airiness.
Avoid freezing pre-whipped foam, as thawing often results in a grainy, separated texture. Instead, freeze the heavy cream mixture (unwhipped) in a sealed bag, then thaw in the fridge overnight and whip fresh when needed. For reheating, do not microwave—heat destroys the foam’s structure.
If you prefer a warm drink, top your hot beverage with foam after pouring the drink, but expect it to melt partially. For cold drinks, serve foam immediately after whipping or refrigerate briefly. To revive leftover foam, add a teaspoon of fresh cold cream and whisk gently.
These storage and reheating tips help maintain that Starbucks-quality foam without waste.
Frequently Asked Questions
What is Starbucks cream foam?
Starbucks cream foam, often called sweet cream foam, is a light, frothy topping made from vanilla sweet cream. It’s used on cold drinks like cold brew or iced coffee for a creamy, slightly sweet finish.
What ingredients do I need to make Starbucks cream foam at home?
You need heavy cream, 2% milk, and vanilla syrup (or a homemade mix of sugar and vanilla extract). The standard ratio is 3 parts heavy cream to 2 parts milk with vanilla to taste.
How do I make Starbucks cream foam without a frother?
You can use a French press by pumping the plunger up and down for 30-60 seconds, or shake the mixture vigorously in a sealed jar. Both methods create air bubbles for a thick foam.
What is the best tool to make Starbucks-style cream foam?
A handheld milk frother or electric whisk works best to achieve a thick, velvety foam quickly. A blender on low speed can also work, but be careful not to over-whip into butter.
How do I get the foam thick like Starbucks?
Use cold heavy cream and milk, and froth for 30-60 seconds until it doubles in volume and forms soft peaks. Chilling the mixture first and using full-fat cream helps achieve the thick consistency.
Can I make Starbucks cream foam with non-dairy milk?
Yes, but it won’t be as thick. Use full-fat oat milk or coconut cream for best results. Add a stabilizer like a pinch of xanthan gum to improve texture when frothing.
How do I store leftover cream foam?
Store it in an airtight container in the fridge for up to 3-4 days. Re-froth it briefly with a whisk or frother before using, as it may separate or deflate over time.
What drinks can I use Starbucks cream foam on?
It’s perfect for iced coffee, cold brew, iced lattes, or even iced matcha. You can also spoon it over hot coffee for a melting cream top, or use it as a topping for hot chocolate.
Conclusion
Mastering Starbucks-style cream foam at home is simple with cold heavy cream, a sweetener, and vigorous whisking or frothing. The key is achieving stiff peaks for that luxurious, velvety texture that floats perfectly on your coffee. Now, skip the drive-thru and elevate your morning brew with this easy, satisfying trick. Your homemade latte just got a five-star upgrade, so grab your whisk and start experimenting today.