How To Make Tasty Iced Coffee
Making cafe-quality iced coffee at home is easier than you think. If you are tired of watered-down drinks that lack flavor, you have come to the right place. We will show you exactly how to make tasty iced coffee using simple techniques like cold brewing and coffee ice cubes. Whether you prefer it bold and black or creamy and sweet, this guide provides the quick solutions you need.
Best Coffee Beans for Iced Drinks
Dark Roast vs Medium Roast
When choosing the foundation for a refreshing iced coffee, the roast profile determines how well the flavor survives dilution from melting ice. Dark roast beans are generally the gold standard for iced preparations because their bold, smoky, and chocolatey notes remain distinct even when mixed with milk or cream.
Because the roasting process brings oils to the surface, these beans provide a robust body that prevents the drink from tasting watery.
On the other hand, medium roast beans offer a balanced profile with higher acidity and nuanced sweetness, which can be incredibly refreshing if you prefer drinking your coffee black. For the best results, look for beans labeled as ‘Full City’ or ‘French Roast’ to ensure a punchy flavor.
If you find your iced coffee tastes too sour, switching to a darker roast will provide that classic, bittersweet cocoa finish that most coffee lovers crave in a cold beverage. Experimenting with both allows you to find your perfect strength.
Why Freshly Ground Beans Matter
The secret to a truly professional-grade iced coffee lies in the timing of the grind. Once coffee beans are broken down, their surface area increases, causing rapid oxidation and the loss of volatile aromatic compounds.
To achieve a vibrant and aromatic iced drink, you should always grind your beans immediately before brewing. This ensures that the essential oils, which provide the depth of flavor, are fully extracted into the water rather than lost to the air.
For iced coffee made via the flash-brew method, a medium-fine grind is ideal to ensure quick extraction over ice. If you are preparing a cold brew concentrate, a coarse grind is necessary to prevent over-extraction and bitterness during the long steeping process.
Investing in a quality burr grinder allows for consistent particle size, which leads to a much smoother cup. By prioritizing freshness, you avoid the stale, flat taste often found in pre-ground bags, resulting in a significantly more flavorful and satisfying homemade chilled beverage.
Top Flavor Profiles for Cold Coffee
Selecting beans with specific tasting notes can elevate your iced coffee from basic to gourmet. For a traditional and comforting experience, seek out beans from Central and South America, which often feature notes of milk chocolate, toasted nuts, and caramel.
These profiles pair exceptionally well with dairy and sweeteners, creating a rich dessert-like quality. If you prefer a brighter and more floral iced tea-like consistency, Ethiopian or Kenyan beans are excellent choices.
These African varieties frequently boast citrusy, berry-forward, and jasmine notes that sparkle when served cold, especially when brewed using the pour-over method directly onto ice. Another popular option is Indonesian beans, known for their earthy and spicy undertones, which provide a unique complexity for those who enjoy a heavier mouthfeel.
Understanding these flavor profiles helps you tailor your iced coffee to your specific palate, whether you want something deep and chocolatey or light and fruity. Always check the bag for these specific regional descriptors to guarantee a delicious result every single time.
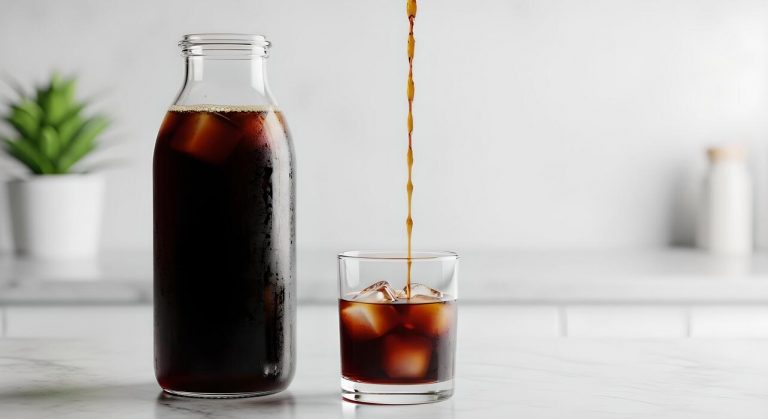
How to Make Cold Brew at Home
Step-by-Step Cold Brew Guide
To craft the perfect batch of smooth, low-acid cold brew at home, start by selecting high-quality beans and grinding them to a coarse, sand-like consistency. Unlike traditional hot coffee, fine grounds will result in a bitter, over-extracted flavor that is difficult to filter.
Begin by placing your coarse grounds into a large glass jar or a dedicated cold brew pitcher. Slowly pour filtered, room-temperature water over the grounds, ensuring every particle is fully saturated to facilitate even extraction.
Use a long spoon to gently stir the mixture, breaking up any dry pockets or clumps that might hinder the brewing process. Once mixed, cover the container securely to prevent any refrigerator odors from contaminating your coffee. Let the mixture sit undisturbed at room temperature or in the fridge.
After the steeping period is complete, use a fine-mesh sieve or paper filter to strain the liquid into a clean carafe. This process removes all sediment, leaving you with a clean, delicious concentrate ready for ice.
Finding the Right Water-to-Coffee Ratio
Achieving the ideal balance of flavor and strength depends heavily on your specific water-to-coffee ratio. For a versatile and robust cold brew concentrate, most experts recommend a 1:4 or 1:5 ratio. This means using one cup of coffee grounds for every four or five cups of water.
This concentrated base is powerful enough to maintain its character even when diluted with heavy cream, milk alternatives, or large amounts of ice. If you prefer a lighter, ready-to-drink iced coffee that does not require further dilution, aim for a 1:8 or 1:10 ratio.
Using filtered water is a critical component of this step, as it ensures that no chlorine or mineral off-flavors interfere with the delicate notes of your coffee beans. Experimenting within these ranges allows you to customize the body and caffeine kick to your personal preference.
Always measure by weight using a scale for the most consistent results every time you brew, ensuring that your morning glass of iced coffee is consistently refreshing and flavorful.
How Long to Steep Your Grounds
Patience is the most important ingredient when it comes to extracting the deep, chocolatey notes associated with premium cold brew. For the best results, you should let your coffee steep for between 12 and 24 hours.
Steeping for less than 12 hours often results in a weak, underdeveloped flavor profile that lacks the signature smoothness of cold extraction. Conversely, exceeding the 24-hour mark can lead to over-extraction, introducing unwanted bitterness and woody notes into the final product.
If you are steeping your coffee at room temperature, the process moves faster, and 12 to 15 hours is usually sufficient.
However, if you prefer to steep your batch in the refrigerator, you should aim for the full 18 to 24-hour window to account for the slower extraction rate in cold environments. Once the time is up, immediately strain the grounds to stop the brewing process.
This precision ensures a mellow, sweet finish that makes your homemade iced coffee taste like it came from a professional specialty cafe.
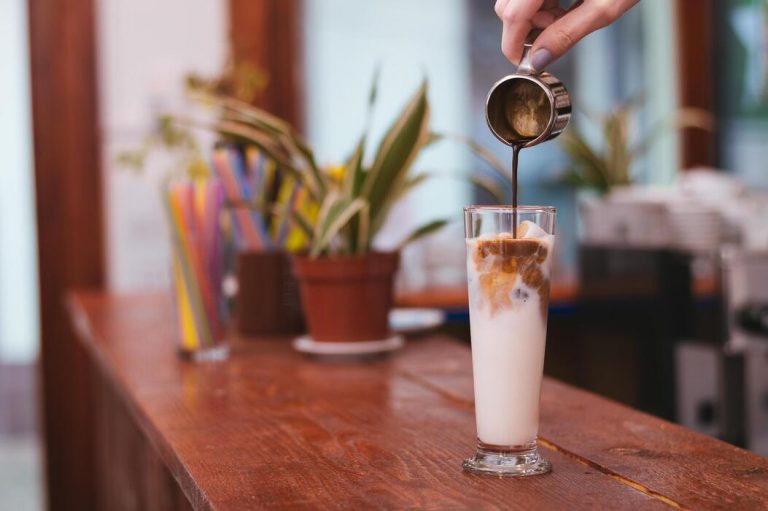
The Flash Chilling Method
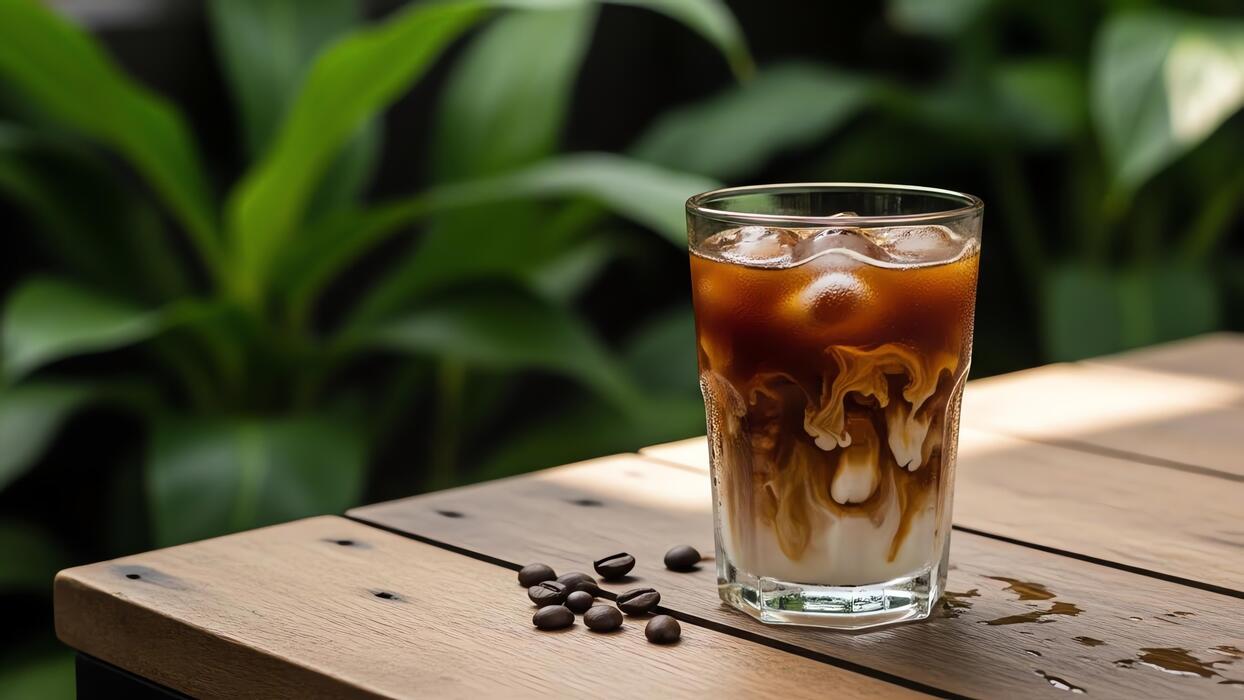
What is Japanese Style Iced Coffee?
Flash chilling, often referred to as Japanese Style Iced Coffee, is a brewing technique that involves dripping hot water directly onto ice to lock in volatile aromas.
Unlike cold brew, which steeps for hours and results in a mellow, low-acid profile, flash chilling preserves the vibrant acidity and complex floral notes of the coffee bean.
By brewing at a standard hot temperature, you extract the full spectrum of oils and acids that give coffee its character, then immediately lower the temperature to stop oxidation and prevent bitterness.
This method is the secret to a bright, crisp, and refreshing cup that tastes exactly like a high-quality hot pour-over but at a freezing temperature.
It is the preferred method for specialty coffee enthusiasts who want to enjoy the nuanced flavor profiles of light roasts without the wait time associated with traditional cold steeping methods. This technique ensures every sip is packed with a clean, professional-grade flavor that is impossible to achieve through standard refrigeration.
Equipment Needed for Quick Chilling
To master the flash chilling method, you need a few essential tools to ensure precision and temperature control. Start with a manual pour-over dripper, such as a V60 or Chemex, which allows for a steady stream of hot water over the grounds.
A digital kitchen scale is non-negotiable because you must split your total water weight between the brewing water and the ice cubes in the carafe. You will also need high-quality paper filters to ensure a clean finish and a gooseneck kettle for precise pouring.
The most critical component is a heat-resistant glass or plastic carafe that can withstand the thermal shock of hot coffee hitting cold ice. Using large, dense ice cubes is also recommended, as they melt more slowly and allow for a more controlled dilution process.
Having these items ready allows you to transition from hot brewing to an icy beverage in under five minutes, making it the most efficient way to enjoy a premium, cafe-quality iced coffee at home without any specialized or expensive machinery.
How to Prevent Watery Coffee
The biggest challenge with flash chilling is avoiding a diluted, weak beverage, which is solved by using a concentrated brewing ratio. To prevent watery coffee, you must replace approximately one-third to one-half of your brewing water with ice.
For example, if you typically use 300 grams of water, you should brew with 180 grams of hot water and place 120 grams of ice in the carafe.
This ensures that as the ice melts during the brewing process, it becomes part of the final water volume rather than an excess addition.
Furthermore, you should grind your coffee beans slightly finer than you would for a standard pour-over; this increases the surface area and ensures a high extraction yield despite the reduced amount of hot water.
Using this calculated approach ensures that the melting ice perfectly balances the concentrated brew, resulting in a bold, full-bodied iced coffee that retains its strength even as you sip it. By mastering this math, you guarantee a rich texture and a robust flavor profile every single time you brew.
Ways to Sweeten Your Iced Coffee
How to Make Simple Syrup
One of the most common frustrations when learning how to make tasty iced coffee is dealing with undissolved sugar crystals sitting at the bottom of the glass. The most effective solution is to create a homemade simple syrup, which integrates seamlessly into cold liquids.
To prepare this, combine equal parts granulated sugar and water in a small saucepan over medium heat. Stir the mixture constantly until the liquid becomes completely clear, indicating the sugar has fully dissolved.
Once it reaches this stage, remove it from the heat and allow it to cool to room temperature before transferring it to a glass jar for storage. This liquid sweetener is the secret to a consistent flavor profile in every sip.
You can easily scale the recipe up to keep a batch in your refrigerator for up to a month. Because the sugar is already in liquid form, it provides an instant sweetness boost without the gritty texture associated with pouring dry sugar directly into a cold brew or chilled espresso.
Natural Sweeteners That Dissolve Fast
If you are looking for healthier alternatives to refined sugar, several natural options work beautifully in chilled beverages. Honey and agave nectar are excellent choices because they are already in a viscous, liquid state. However, honey can sometimes seize up or become thick when it hits ice-cold coffee.
To prevent this, try whisking the honey with a small splash of warm water or a bit of hot coffee before pouring it over the ice.
Agave nectar is particularly popular for iced coffee because it has a neutral flavor and a low glycemic index, and it dissolves much faster than honey in cold temperatures. Another fantastic option is maple syrup, which offers a rich, earthy depth that complements the roasted notes of the beans perfectly.
These natural sweeteners provide a complex taste experience while ensuring your drink remains smooth and free of sediment. By choosing high-quality, minimally processed syrups, you can enhance your morning caffeine routine with wholesome ingredients that satisfy your sweet tooth without the need for artificial additives.
Using Flavored Extracts and Spices
You do not always need sugar to make your iced coffee taste indulgent; often, adding aromatic elements can trick the palate into perceiving sweetness. Pure vanilla or almond extracts are incredibly potent and can transform a standard cup into a gourmet experience with just a few drops.
These extracts provide a fragrant, sweet aroma that balances the natural bitterness of the coffee beans. Additionally, incorporating spices like cinnamon or nutmeg directly into your coffee grounds before brewing can infuse the drink with a warm, comforting flavor.
If you prefer adding spices to the finished drink, consider shaking them into a small amount of milk or cream first to ensure they are well-distributed throughout the glass. Another creative technique is to use cocoa powder or pumpkin pie spice to add complexity without adding extra calories.
These methods allow you to customize your beverage to your specific preferences while maintaining a sophisticated flavor profile. Experimenting with different combinations of extracts and spices is a great way to discover your own signature iced coffee recipe at home.
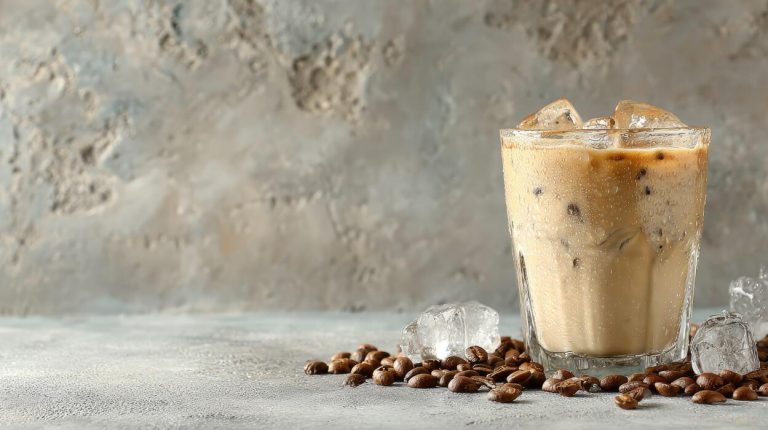
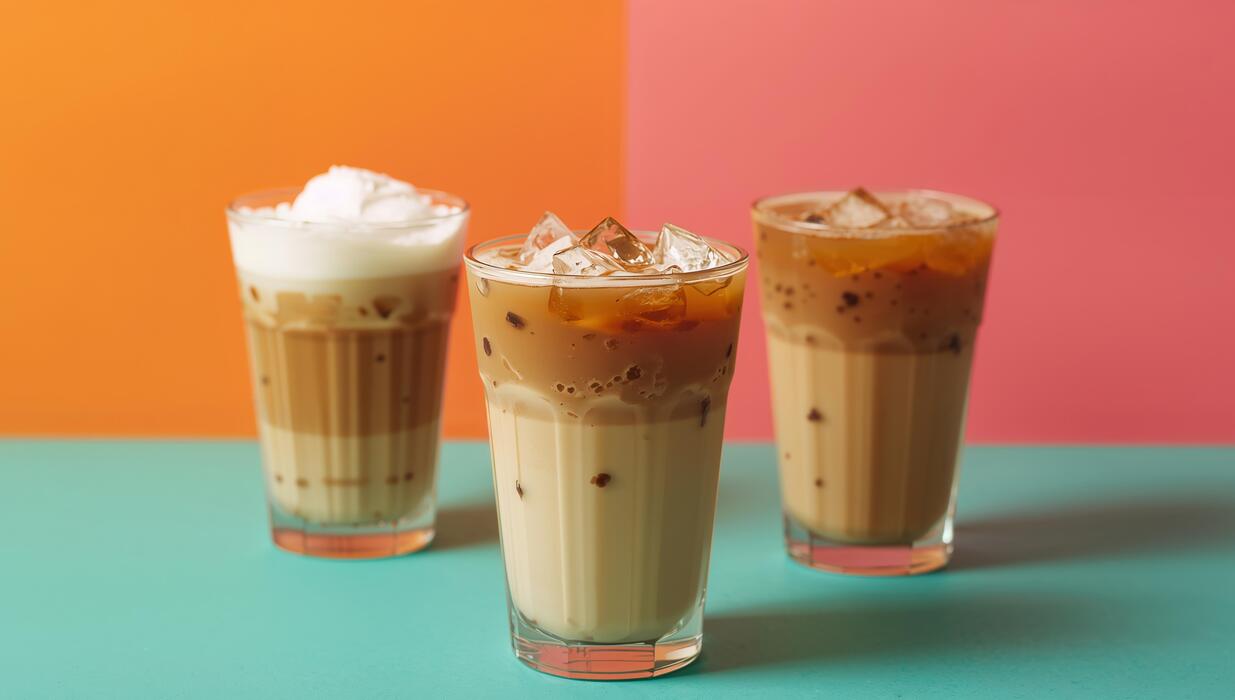
Best Milk and Creamer Options
Dairy vs Plant-Based Alternatives
Choosing the right base for your iced coffee significantly impacts the final flavor profile and mouthfeel. For those who prefer classic dairy, whole milk is the gold standard because its high fat content balances the natural acidity and bitterness of cold brew or espresso.
However, if you are looking for plant-based options, oat milk is widely considered the best alternative due to its naturally creamy texture and subtle sweetness that mimics dairy remarkably well.
Almond milk offers a lighter, nuttier finish but can sometimes separate when hitting cold ice, so look for ‘barista editions’ specifically designed for stability. Coconut milk provides a tropical flair and a rich consistency, though its distinct flavor can dominate the coffee.
For a truly decadent experience, consider using a splash of heavy cream or half-and-half, which adds a luxurious thickness that transforms a simple beverage into a cafe-quality treat that stays consistent until the very last sip.
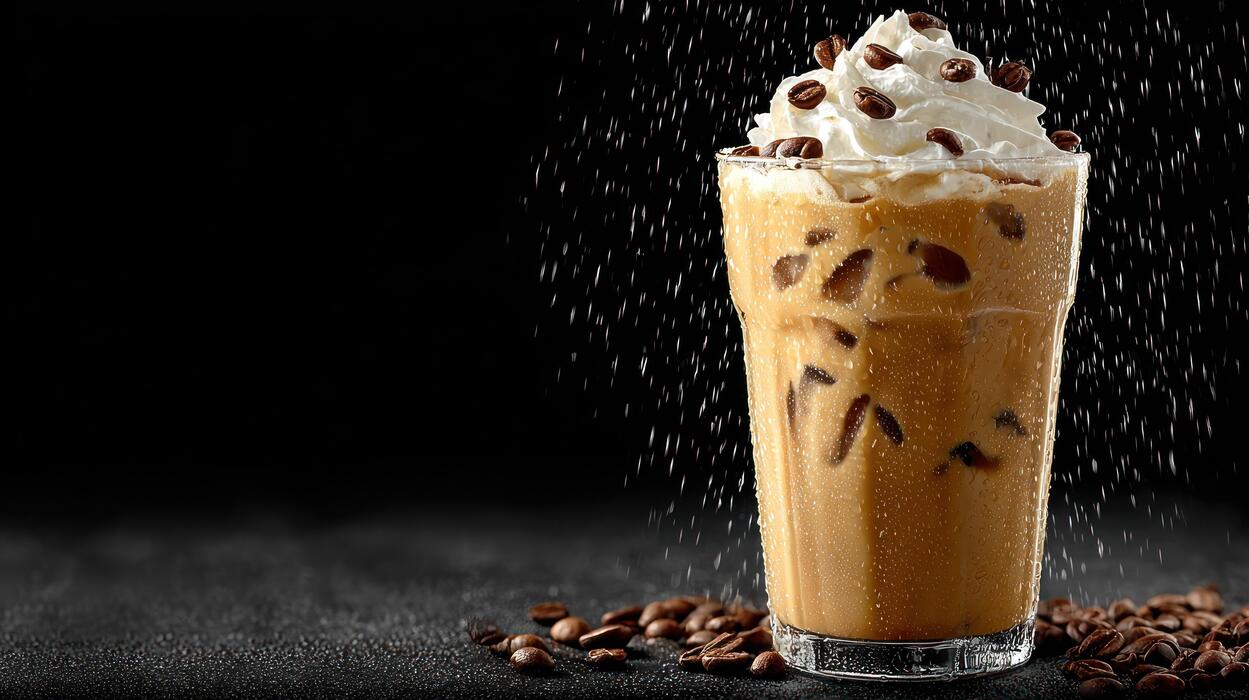
How to Make Cold Foam at Home
Elevating your iced coffee with a velvety layer of cold foam is surprisingly simple and requires no expensive equipment. To achieve the best results, start with chilled non-fat milk or barista-style oat milk, as these tend to aerate more effectively than higher-fat options.
Simply pour a small amount of milk into a glass and use a handheld battery-operated milk frother for about thirty seconds until the volume doubles and the bubbles become micro-fine.
If you do not own a frother, you can achieve a similar effect by shaking cold milk vigorously in a tightly sealed mason jar or using a French press by rapidly pumping the plunger up and down.
To enhance the flavor, whisk in a teaspoon of vanilla syrup or a pinch of cinnamon before frothing. This lightweight, pillowy topping sits beautifully on top of the ice, slowly cascading into the dark coffee below, creating a professional aesthetic and a delightful contrast in temperatures and textures.
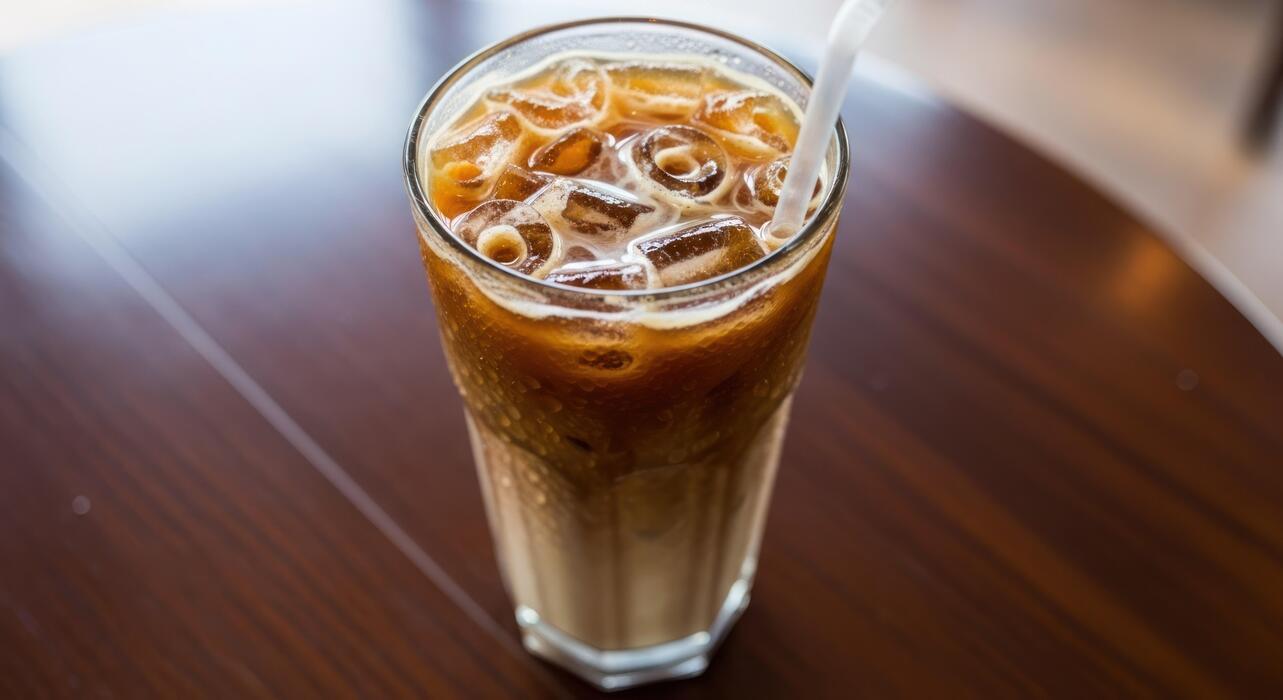
Tips for a Creamier Texture
If you find your iced coffee often tastes watery or thin, there are several professional techniques to ensure a consistently rich and velvety drink.
The most effective strategy is to use coffee ice cubes made from leftover brew; as they melt, they contribute more flavor and body rather than diluting your beverage with plain water.
Additionally, always stir your sweetener into the hot espresso or a small amount of warm water before adding ice to ensure it dissolves completely, preventing a gritty texture.
For an ultra-smooth finish, try blending your coffee with a tablespoon of condensed milk, which provides an instant creamy sweetness reminiscent of Vietnamese iced coffee. Another expert tip is to vigorously shake your coffee, milk, and ice together in a cocktail shaker before pouring it into your glass.
This process, known as aeration, creates a frothy, homogenized mixture that feels much thicker on the palate, ensuring every sip is perfectly balanced, intensely flavorful, and satisfyingly indulgent throughout the day.
Tips for Better Ice and Dilution
How to Make Coffee Ice Cubes
One of the most effective ways to prevent a watery beverage is to master the art of coffee ice cubes. Instead of using filtered water, simply brew a fresh pot of your favorite blend and let it cool to room temperature before pouring it into silicone molds.
This simple swap ensures that as the ice melts, it releases more caffeine and flavor rather than diluting your drink into a bland mess. You can even experiment by adding vanilla extract or a touch of simple syrup directly into the coffee before freezing, creating a built-in flavor booster.
For the best results, use a dark roast coffee because its bold profile stands up well to the freezing process and maintains its character even when chilled.
Ensure your ice cube trays have a lid to prevent the absorption of freezer odors, which can ruin the delicate notes of your brew. Once frozen, these cubes become the ultimate secret weapon for anyone who enjoys sipping their iced coffee slowly throughout a busy morning.
The Impact of Ice Shape and Size
The geometry of your ice plays a surprisingly critical role in how quickly your beverage reaches the ideal temperature and how fast it loses its concentrated flavor.
Larger, dense ice spheres or oversized cubes are superior for iced coffee because they have a lower surface-area-to-volume ratio, meaning they melt much slower than small pellets or crushed ice.
This slower melt rate allows you to enjoy a consistent taste from the first sip to the last without the coffee becoming thin and watery. If you prefer a flash-chilled method, using large solid blocks of ice is essential for maintaining the integrity of the brew.
Conversely, while crushed ice cools a drink almost instantly, it provides rapid dilution that can overwhelm a delicate light roast. To achieve the perfect balance, invest in high-quality silicone molds that produce large, clear cubes.
This professional touch not only improves the thermal retention of your glass but also provides a more luxurious, cafe-style aesthetic that enhances the overall sensory experience of your homemade iced coffee.
Keeping Your Drink Cold Longer
To maintain the perfect temperature without sacrificing flavor, you must consider the environment of your drink beyond just the ice itself. Start by pre-chilling your glassware in the freezer for at least fifteen minutes; a cold vessel prevents the ice from melting prematurely the moment the coffee hits the glass.
Additionally, using a double-walled insulated tumbler can significantly extend the life of your ice, keeping your coffee at a crisp temperature for hours even in warm weather. Another professional tip is to ensure your coffee is at least room temperature, or ideally refrigerated, before pouring it over ice.
Pouring hot liquid directly onto ice causes an immediate thermal shock that leads to excessive dilution and a bitter profile. If you are in a rush, use a metal cocktail shaker to rapidly chill the coffee with ice before straining it into a fresh glass with new, solid cubes.
This technique creates a frothy texture and consistent chill while minimizing the time the ice has to melt into the concentrate, ensuring every sip remains bold.
Common Iced Coffee Mistakes to Avoid
Why You Should Not Use Leftover Hot Coffee
One of the most frequent errors in home brewing is attempting to repurpose yesterday’s room-temperature pot for your morning refreshment. When coffee sits out, it undergoes a process called oxidative degradation, which destroys the delicate aromatic compounds and replaces them with a stale, papery taste.
Furthermore, as hot coffee cools slowly over several hours, the chlorogenic acids break down into quinic and caffeic acids, resulting in a harsh, astringent profile that no amount of sugar can fully mask. Instead of using old dregs, you should always start with a fresh brew.
If you are in a rush, utilize the flash-chilling method by brewing a concentrated hot extract directly over a measured amount of ice. This technique instantly locks in the bright, volatile flavors and floral notes while ensuring your drink remains crisp.
By prioritizing freshly roasted beans and immediate cooling, you avoid the murky, bitter aftertaste associated with oxidized leftovers and elevate your beverage to a professional standard.
Fixing Bitter or Sour Flavors
Achieving the perfect flavor balance requires understanding how extraction time and grind size impact your final cup. If your iced coffee tastes unpleasantly sharp or sour, it is likely under-extracted, meaning the water passed through the grounds too quickly or the particles were too coarse.
To fix this, try using a finer grind setting or increasing your contact time to pull out more sweetness. Conversely, if the drink is intensely bitter or leaves a dry sensation on your tongue, it is over-extracted.
This often happens when using boiling water or leaving cold brew steep for more than twenty-four hours. Aim for a consistent medium-coarse grind and use filtered water to ensure a clean palate. Small adjustments to your technique can transform a mediocre drink into a cafe-quality experience.
Remember that water temperature matters even for iced drinks; using water that is just off the boil (around 200°F) ensures you extract the pleasant oils without scorching the delicate grounds.
How to Balance Strength and Ice
A common frustration when making iced coffee is the inevitable dilution that occurs as the ice melts, turning a bold beverage into watery brown liquid. To prevent this, you must account for the melt factor by brewing your coffee at double strength.
If you usually use two tablespoons of grounds for eight ounces of water, increase that to four tablespoons while keeping the liquid volume the same. This creates a potent concentrate that maintains its structural integrity when poured over ice cubes.
Another professional secret is to use coffee ice cubes, which are made by freezing brewed coffee in trays. As these cubes melt, they actually add more flavor to your glass rather than diluting it.
Additionally, always add your milk or sweeteners to the hot concentrate before adding ice to ensure they dissolve completely and evenly. By mastering the ratio of solids to liquids, you ensure that the final sip of your beverage is just as flavorful and robust as the very first.
Frequently Asked Questions
What is the best coffee-to-water ratio for iced coffee?
For a bold flavor that won’t taste watered down, use a 1:8 ratio of coffee to water when brewing. This creates a concentrate that maintains its richness even as the ice begins to melt.
How can I prevent my iced coffee from becoming watery?
The most effective trick is to use coffee ice cubes made by freezing leftover brewed coffee in an ice tray. Alternatively, brew your coffee at double strength so the melting ice dilutes it to the perfect consistency.
Should I use hot brewed coffee or cold brew for the best taste?
Cold brew generally produces a smoother, less acidic taste, while hot-brewed coffee chilled over ice (Japanese style) offers a brighter, more complex aroma. Both are delicious, but cold brew is more forgiving for those sensitive to bitterness.
What is the best way to sweeten iced coffee?
Granulated sugar does not dissolve well in cold liquids, so it is best to use simple syrup or flavored syrups. If you prefer natural sweeteners, honey or agave nectar dissolve more easily than raw sugar in chilled drinks.
Which roast level works best for iced coffee?
Medium to dark roasts are typically preferred for iced coffee because their bold, chocolatey, and nutty notes hold up better against ice and milk. Light roasts can sometimes taste sour or weak when served cold.
Can I add milk or cream to my iced coffee?
Yes, adding heavy cream, half-and-half, or oat milk provides a creamy texture that complements the cold temperature. For a frothy finish, try shaking your coffee and milk together in a mason jar or cocktail shaker before pouring over ice.
Conclusion
Mastering the art of iced coffee at home is both rewarding and simple. By focusing on high-quality beans, experimenting with cold brew or flash-chilling methods, and using coffee ice cubes to prevent dilution, you can achieve café-quality results. Do not be afraid to customize your glass with unique syrups and creamy milks. Now that you have the essential techniques, it is time to start brewing.