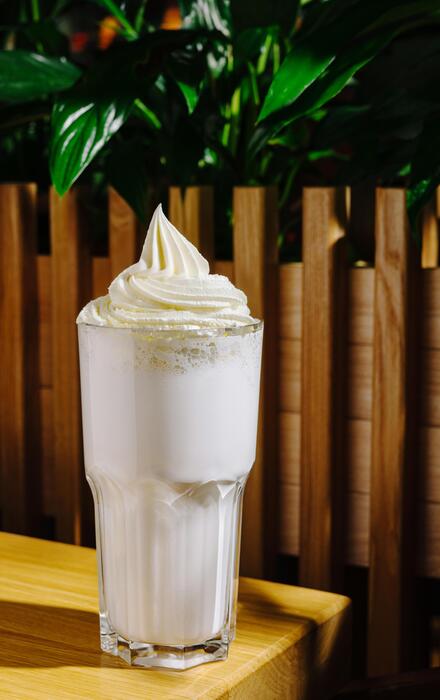
How To Make Sweet Cold Foam
Recreating that luxurious, velvety coffee shop topper at home is easier than you think. If you have been wondering how to make sweet cold foam that stays fluffy instead of sinking, you are in the right place. You do not need expensive equipment or fancy syrups to achieve that perfect cloud-like consistency. This guide walks you through the simple three-ingredient base and the best frothing techniques to get professional results in seconds. Let’s dive into the foolproof method.
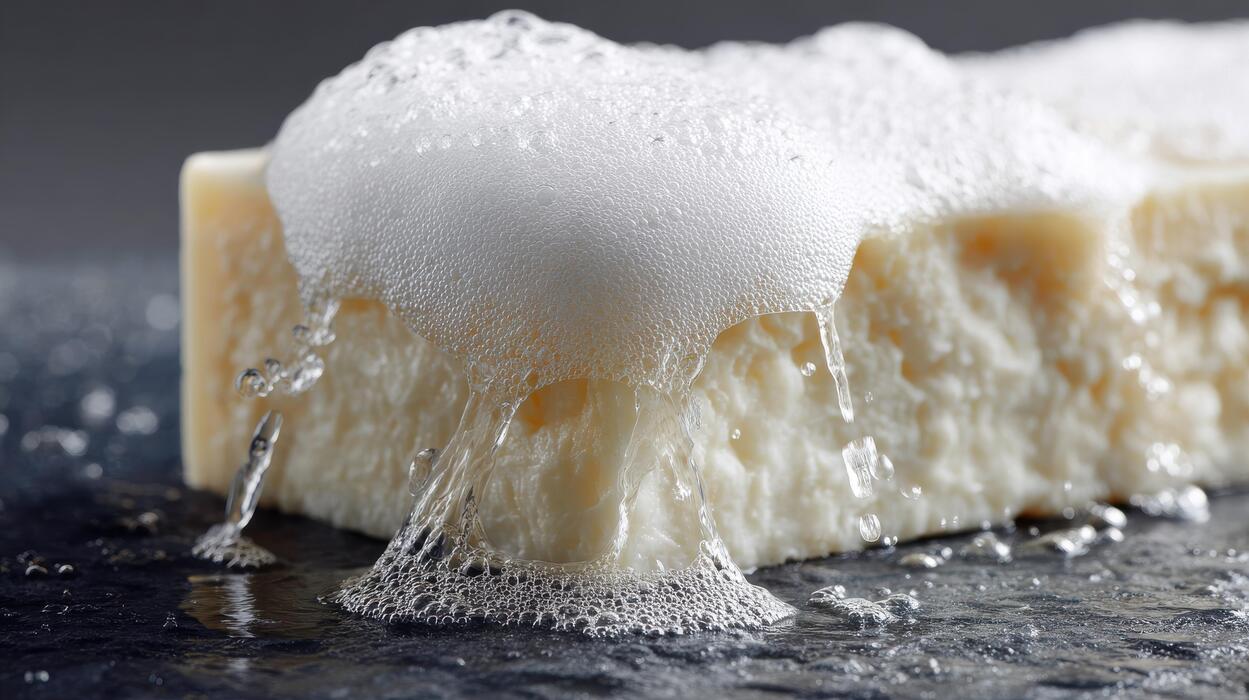
What is sweet cold foam?
The difference between hot froth and cold foam
Understanding the technical distinction between these two textures is the first step in learning how to make sweet cold foam at home. Unlike traditional hot froth, which relies on steam to create volume and heat the milk simultaneously, cold foam is processed without any temperature increase.
This preservation of a chilled state ensures that the dairy maintains its natural sweetness and structural integrity, allowing it to sit elegantly on top of an iced beverage without melting immediately.
To achieve this, you must use high-speed agitation through a specialized handheld frother or a blender to incorporate micro-bubbles into cold milk. This creates a velvety, pourable texture that is significantly denser than the airy, dry foam found on a hot cappuccino.
By mastering this cold aeration technique, you ensure that every sip of your iced coffee contains a creamy, luxurious layer that stays separated from the liquid below for a professional-grade finish that mimics your favorite high-end cafe experience.
Why it tastes better than whipped cream
While whipped cream is a classic topping, sweet cold foam offers a superior sensory experience because of its unique density and flavor profile.
Whipped cream is often too stiff and heavy, sitting like a solid block on your drink, whereas cold foam is engineered to be light, aerated, and slightly fluid.
This specific consistency allows the foam to slowly cascade into your coffee, naturally sweetening each sip as you drink rather than requiring a spoon.
Furthermore, because cold foam uses a higher ratio of milk to cream, it provides a cleaner palate feel that doesn’t coat the mouth in heavy fat, which can sometimes mask the complex notes of the coffee beans.
When you learn how to make sweet cold foam, you are prioritizing a delicate balance of sweetness and a silky mouthfeel that enhances the beverage. The result is a sophisticated topping that provides a consistent burst of vanilla and dairy richness throughout the entire drinking process without being overly cloying.
Standard ingredients in a basic recipe
To create a foolproof base for your homemade version, you only need three essential components that work in harmony to produce a stable emulsion. The most effective formula involves a ratio of heavy cream and 2% milk, which provides the perfect balance of fat for stability and proteins for aeration.
Using only heavy cream results in a texture that is too thick, while using only non-fat milk prevents the foam from holding its shape. To this dairy mixture, you must add a sweetener like vanilla syrup or simple syrup, which serves the dual purpose of flavoring and stabilizing the bubbles.
For those wondering how to make sweet cold foam with a professional finish, adding a pinch of salt can further enhance the vanilla notes and balance the sugar. Simply combine two parts heavy cream, one part milk, and one part syrup in a glass before frothing for thirty seconds.
This combination ensures a glossy, stable foam that transforms any standard iced coffee into a premium, dessert-like treat.
Best tools for making cold foam at home
Using a handheld milk frother
The most efficient and affordable tool for creating sweet cold foam is a handheld milk frother, often called a wand. To achieve the perfect consistency, combine your heavy cream, milk, and sweetener in a glass, then submerge the whisk head just below the surface.
A handheld frother allows you to control the aeration by moving the wand up and down, creating a thick, velvety texture in less than 30 seconds. This tool is ideal because it creates minimal cleanup and is powerful enough to stabilize the proteins and fats in the cream.
For the best results, ensure your dairy is ice-cold directly from the fridge, as cold molecules trap air bubbles more effectively than room-temperature liquid. This method yields a professional, Starbucks-style topper that sits perfectly on top of your iced coffee without immediately dissolving into the brew.
Making foam in a French press
If you do not have a motorized tool, a French press is an incredible manual alternative for making bulk batches of sweet cold foam. Pour your cream mixture into the carafe, ensuring the liquid covers the mesh filter.
Secure the lid and use short, quick pumps for about 15 to 20 seconds. The fine mesh screen forces air into the milk, resulting in a dense, micro-foam that is often smoother than what a frothing wand can produce.
This method is particularly effective when you need to serve multiple drinks at once, as the large carafe can handle more volume. Be careful not to over-pump, or the cream may turn into butter.
Once the volume has doubled, pour the foam slowly over your drink to maintain that distinct, layered look that defines a high-quality cold brew with sweet cream.
The blender or food processor method
For those who prefer a completely hands-off approach, using a high-speed blender or food processor is a foolproof way to get uniform results. This method is excellent for incorporating thicker sweeteners like honey or maple syrup that might be difficult to mix by hand.
Simply add your ingredients and pulse on a low-speed setting for 10 to 15 seconds. The blades create a powerful vortex that emulsifies the fats and sweeteners into a stiff, cloud-like peak.
This is often the best choice for making larger quantities of flavored foam, such as pumpkin spice or vanilla bean, as the blades ensure even distribution of flavors.
To prevent the foam from becoming too runny, avoid over-blending; keep a close eye on the texture and stop as soon as the mixture reaches a soft, pourable consistency that holds its shape.
Electric milk frothers with cold settings
A high-end electric milk frother with a dedicated ‘cold stir’ or ‘cold foam’ setting offers the most consistent, cafe-quality experience at home. Unlike handheld versions, these countertop appliances use magnetic induction whisking to create a stable foam at the touch of a button.
Simply pour your ingredients into the jug, select the cold setting, and the machine will automatically stop when the optimal texture is achieved. These devices are perfect for those who want a repeatable process every morning without any manual effort.
The constant, controlled speed ensures a silky micro-foam that is highly resistant to collapsing. Additionally, many of these frothers feature non-stick interiors, making the cleanup process effortless.
It is the ultimate investment for the serious home barista who wants to replicate the exact mouthfeel of premium coffee shop cold foams with zero guesswork.
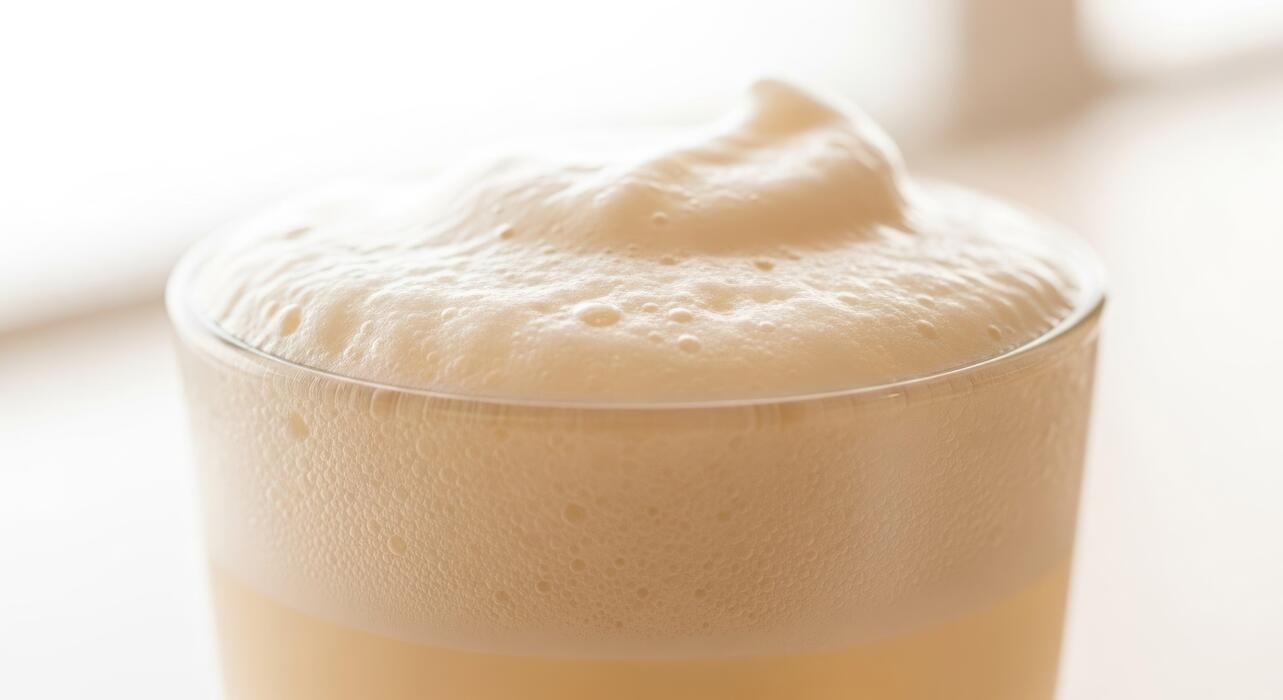
The classic sweet cold foam recipe
The 3-2-1 ratio for perfect texture
To replicate the velvety mouthfeel of professional coffee house toppings, you must master the classic 3-2-1 ratio which serves as the foundation for most sweet cold foam recipes. This specific mathematical approach utilizes three parts heavy whipping cream, two parts 2% milk, and one part vanilla syrup.
The heavy cream provides the necessary fat content to create a stable, thick structure that sits beautifully on top of your iced coffee without immediately dissolving into the brew.
Meanwhile, the inclusion of 2% milk is essential because it lightens the mixture, ensuring it remains pourable and aerated rather than turning into heavy whipped cream. For a standard single serving, this translates to three tablespoons of cream, two tablespoons of milk, and one tablespoon of your preferred sweetener.
By sticking to this precise ratio, you ensure a consistent flavor profile and a luxurious density that perfectly balances the bitterness of cold brew or iced espresso every single time you prepare it at home.
Step-by-step mixing instructions
Once you have measured your ingredients according to the golden ratio, the next step involves the mechanical aeration process to transform the liquid into a cloud-like foam. Begin by pouring the heavy cream, milk, and vanilla syrup into a tall glass or a specialized frothing pitcher.
Submerge a handheld milk frother just below the surface of the liquid and turn it on, moving the wand slightly up and down to incorporate air.
Continue this process for approximately 20 to 30 seconds until the volume has nearly doubled and the large bubbles have transformed into a fine, micro-foam texture.
If you do not own an electric frother, you can achieve similar results by using a French press; simply pump the plunger rapidly for thirty seconds or shake the ingredients vigorously in a tightly sealed mason jar.
The goal is to create a uniform, silky finish that is thick enough to hold its shape but fluid enough to cascade slowly down the sides of your glass for that iconic aesthetic look.
How to get the right consistency
Achieving the ideal consistency is a delicate balance between temperature and timing. It is absolutely vital to use ice-cold ingredients directly from the refrigerator, as warmer dairy will not trap air bubbles effectively and will likely result in a flat, unappealing liquid.
If your foam feels too thin or watery, increase the proportion of heavy whipping cream slightly or extend the frothing time by another ten seconds to build more structure.
Conversely, if the foam becomes too stiff—resembling dessert topping rather than pourable foam—simply stir in a splash of plain milk to loosen the mixture back to a velvety state. You are looking for a soft-peak consistency where the foam gently clings to a spoon but still flows smoothly when tilted.
For the best results, always pour the sweet cold foam over the back of a spoon onto your iced beverage to prevent it from sinking too quickly. Mastering this tactile feedback allows you to customize the density and sweetness to match your specific palate and beverage choice perfectly.
How to choose the right milk and cream
Why heavy cream is essential for thickness
To achieve the signature velvety texture of high-quality sweet cold foam, using heavy whipping cream is an absolute necessity. The high fat content, typically between thirty-six and forty percent, provides the structural integrity needed to trap air bubbles effectively during the frothing process.
When you whip heavy cream, the fat globules create a stable network that prevents the foam from dissolving quickly into your iced coffee. This results in a thick, pillowy consistency that sits perfectly on top of the liquid rather than mixing in immediately.
For the best results, always ensure your cream is refrigerator-cold before you begin frothing, as cold fat molecules bond more tightly than warm ones. Pairing heavy cream with a splash of milk and your choice of sweetener creates a luxurious mouthfeel that mimics professional coffee shop standards.
By prioritizing heavy cream, you ensure your homemade sweet foam maintains its shape and provides a decadent, creamy contrast to every single sip of your beverage.
Best non-dairy options for vegan foam
If you are looking for a plant-based alternative to create sweet cold foam, the specific type of non-dairy milk you select will determine your success.
Oat milk is the top choice for vegans because it contains natural fats and proteins that mimic the behavior of dairy, resulting in a surprisingly creamy and stable froth.
Look specifically for barista edition oat milk, as these products are formulated with added stabilizers to handle aeration without breaking down or curdling. Another excellent option is full-fat coconut milk, which offers a rich profile and natural sweetness, though it may have a more distinct tropical flavor.
While almond and soy milk can be used, they often produce a thinner, more dissipate foam that lacks the lasting power of oat-based versions.
To enhance the stability of any non-dairy foam, consider adding a tiny pinch of xanthan gum or extra sweetener, which helps the plant proteins hold onto air more effectively, ensuring your vegan cold foam stays frothy and delicious until the very last drop.
Low-fat vs. whole milk results
Choosing between low-fat and whole milk will significantly impact the final density and longevity of your sweet cold foam. Whole milk produces a richer foam due to its higher fat content, which yields a smoother texture and a more rounded flavor profile that complements bold espresso.
Because the fat acts as a stabilizer, whole milk foam tends to be more resilient against the heat of the coffee. Conversely, low-fat or skim milk actually creates a higher volume of foam because it has a higher protein-to-fat ratio.
Protein is responsible for the initial bubble formation, so skim milk froths up very quickly into a stiff, airy peak. However, these bubbles are often large and fragile, meaning the foam may collapse or become watery much faster than a fat-rich version.
For the ultimate sweet cold foam, a balanced blend of whole milk and heavy cream is recommended. This combination utilizes the protein for volume and the fat for a silky, lingering finish, providing the perfect professional-grade topping for any iced drink.
Popular flavor variations to try
How to make vanilla sweet cream foam
To replicate the classic coffeehouse experience at home, start with the foundational ratio of heavy cream, milk, and sweetener. For a perfectly balanced vanilla sweet cream foam, whisk together two tablespoons of heavy cream, one tablespoon of 2% milk, and one tablespoon of vanilla simple syrup.
The secret to achieving that velvety, cloud-like texture is using a handheld milk frother for exactly thirty seconds until the volume doubles and the bubbles become microscopic.
If you prefer a richer profile, you can substitute the syrup with pure vanilla bean paste, which adds beautiful dark specks and a deeper aromatic quality to your cold brew. For those monitoring sugar intake, sugar-free vanilla syrup works equally well without compromising the structural integrity of the foam.
Always ensure your dairy ingredients are ice-cold directly from the refrigerator, as warmer liquids will not aerate properly. Once frothed, pour the mixture gently over the back of a spoon onto your iced coffee to create a distinct, layered aesthetic that slowly cascades into the drink.
Salted caramel cold foam instructions
Elevate your morning caffeine routine by adding a sophisticated sweet and savory element to your beverage. To master salted caramel cold foam, combine two tablespoons of heavy whipping cream with one tablespoon of milk and a generous tablespoon of caramel sauce or syrup.
The defining step is adding a pinch of fine sea salt or Himalayan pink salt, which cuts through the richness and enhances the buttery caramel notes.
Use an electric frother or a small blender to whip the mixture until it reaches a thick, pourable consistency that holds its shape atop the liquid.
If you find the foam too stiff, add a splash more milk to loosen it; if it is too runny, a bit more heavy cream will provide the necessary fat content for stability.
This variation pairs exceptionally well with dark roasts or nitro cold brews, as the saltiness balances the natural bitterness of the beans. For an extra touch of luxury, drizzle a small amount of extra caramel sauce over the finished foam before serving your guests or enjoying it yourself.
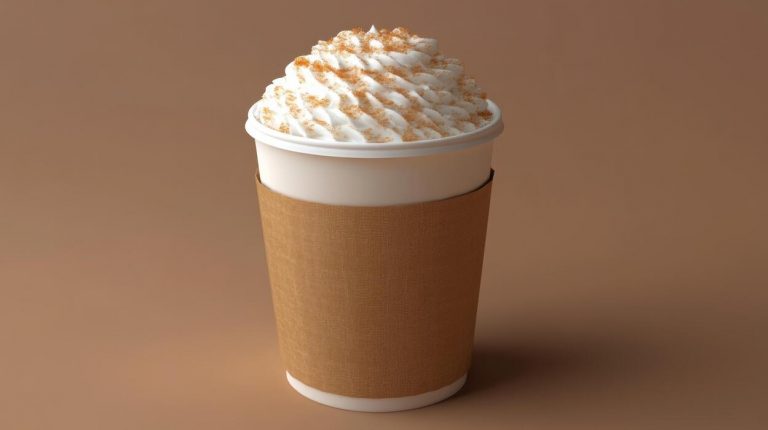
Seasonal flavors like pumpkin and peppermint
Adapting your sweet cold foam for different times of the year is a simple way to keep your coffee menu exciting. For a cozy autumn treat, whisk a teaspoon of pumpkin puree and pumpkin pie spice into your cream base before frothing.
The solids in the puree help create an incredibly dense and stable foam that smells like a fresh harvest. When winter arrives, transition to a refreshing peppermint version by swapping vanilla for peppermint extract or crushed candy cane syrup.
Be cautious with extracts, as a little goes a long way; just two drops are usually sufficient for a single serving. You can also experiment with white chocolate mocha sauce as a base for these seasonal variations to add a creamy, cocoa-buttery finish.
Regardless of the flavor, the key to success is maintaining the two-to-one ratio of cream to milk to ensure the foam is light enough to sip but thick enough to sit on top of the ice.
These festive additions transform a standard iced latte into a gourmet seasonal specialty with minimal effort.
Tips for the perfect pour and presentation
How to layer foam on iced coffee
To achieve that iconic coffeehouse aesthetic, the way you assemble your beverage is just as critical as the recipe itself. Start by filling your glass with plenty of ice and pouring in your chilled coffee or cold brew, leaving about an inch of space at the top.
The most effective technique is to pour the sweet cold foam slowly over the back of a spoon held just above the surface of the liquid. This method diffuses the weight of the foam, preventing it from immediately sinking and mixing into the coffee below.
You want to create a distinct, velvety white layer that sits proudly atop the dark brew. For the best visual contrast and texture, ensure your coffee is properly chilled before adding the topping.
If the coffee is too warm, it will rapidly melt the air bubbles in your foam, destroying the separation. Once poured, you can enhance the presentation with a light dusting of cocoa powder or cinnamon to make the drink look professional and inviting.
Keeping your foam stable for longer
The longevity of your sweet cold foam depends heavily on temperature control and the specific fat content of your dairy. To ensure your foam stays thick and luscious throughout your entire drinking experience, always start with a chilled frothing pitcher and ice-cold ingredients straight from the refrigerator.
Warm dairy molecules do not trap air nearly as effectively as cold ones, leading to a quick breakdown of the structure. Furthermore, using a combination of heavy cream and 2% milk provides the ideal balance of fat and protein needed for structural integrity.
The proteins act as the scaffolding for the bubbles, while the fat provides the creamy mouthfeel. If you find your foam is dissipating too quickly, try adding a small splash of sweetened condensed milk or a pinch of xanthan gum to the mixture before frothing.
these stabilizers act as a binding agent that reinforces the bubble walls, keeping your topping stiff and preventing it from dissolving into the coffee too early.
Common mistakes that make foam collapse
One of the most frequent errors that leads to flat foam is over-aerating the mixture during the blending process. While it is tempting to froth for a long time, excessive agitation creates large, unstable bubbles that pop almost instantly once they hit the coffee.
You should aim for a micro-foam texture that looks like wet paint rather than stiff, dry peaks. Another common pitfall is using too much sugar or heavy syrups before the frothing process is complete.
High concentrations of sugar can weigh down the proteins, making it difficult for the foam to hold its shape. Instead, incorporate syrups gradually and avoid over-sweetening the base mixture. Additionally, ensure your equipment is completely free of any oily residue from previous uses.
Even a tiny amount of leftover grease on your frother or whisk can act as a defoaming agent, causing your sweet cold foam to collapse within seconds. Always wash your tools thoroughly with warm soapy water to guarantee a perfect, long-lasting rise every single time you brew.
Ways to use sweet cold foam in drinks
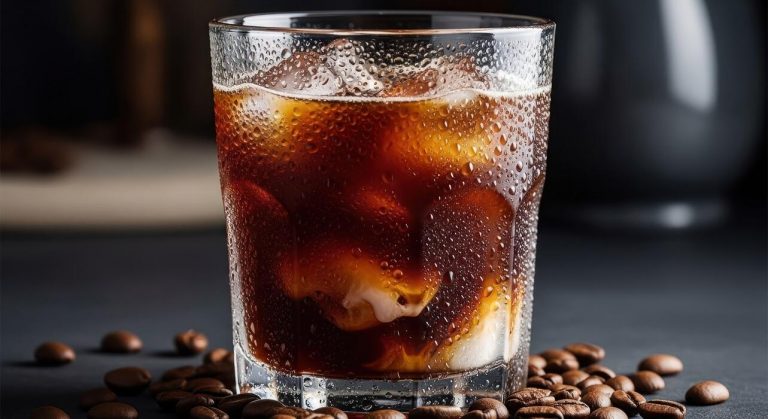
Cold brew and iced americano pairings
To elevate your morning routine, start by layering sweet cold foam over a bold cold brew or a crisp iced americano. The beauty of this pairing lies in the contrast between the intense, acidic notes of the coffee and the velvety, sugary texture of the foam.
To achieve the perfect consistency, combine heavy cream, milk, and your choice of syrup, then froth until thick and glossy before gently pouring it over the back of a spoon onto your drink. This technique ensures the foam sits elegantly on top rather than immediately mixing in.
For an extra flavor boost, try infusing your foam with vanilla or caramel to complement the nutty undertones of a dark roast. As you sip, the foam slowly cascades downward, creating a beautiful marble effect and naturally sweetening each mouthful without the need for additional granulated sugar.
This method transforms a standard black coffee into a luxurious, cafe-style experience right in your own kitchen.
Adding foam to iced tea and matcha
Sweet cold foam is not just for coffee lovers; it acts as a brilliant topping for vibrant iced teas and earthy matcha lattes. When working with matcha, the creamy foam helps to balance the natural bitterness of the green tea powder, creating a harmonious and smooth finish.
To make this work, whisk your matcha as usual, pour it over ice, and then crown it with a honey or lavender-infused cold foam for a floral twist. If you prefer fruit-based beverages, try adding a citrus-scented foam to a glass of iced black tea or a hibiscus infusion.
The key is to keep the base drink unsweetened so that the rich, aerated topping provides the perfect amount of sweetness as it dissolves. Using a handheld milk frother is the most efficient way to get that stiff, cloud-like peak that stays afloat.
This simple addition adds a sophisticated layer of texture that mimics the popular cheese foam drinks found in high-end specialty tea shops globally.
Creative dessert coffee ideas
For those looking to treat themselves, sweet cold foam serves as the ultimate foundation for creative dessert-inspired beverages. You can easily replicate a decadent treat by incorporating cocoa powder or peppermint into your foam mixture before frothing.
Layer this over an iced mocha or a white chocolate latte to create a multi-dimensional drink that rivals any professional menu. To enhance the presentation, consider garnishing the foam with cookie crumbles, a dash of cinnamon, or a drizzle of sea salt caramel.
This approach works exceptionally well for evening gatherings or as a mid-afternoon pick-me-up when you crave something indulgent but refreshing. Because the foam is chilled, it maintains its structure longer than hot steamed milk, allowing you to enjoy the artistic layers for several minutes.
Experimenting with different extracts, such as almond or peppermint, allows you to customize your drink to match the season, making your homemade creations feel like a truly personalized dessert masterpiece every time you brew.
Frequently Asked Questions
What are the basic ingredients for sweet cold foam?
To make a classic sweet cold foam, you need heavy cream, 2% milk, and a sweetener like vanilla syrup or sugar. The standard ratio is typically three parts heavy cream to two parts milk to ensure a thick, velvety texture that floats on top of your coffee.
How do I froth milk for cold foam without a professional machine?
You can easily create cold foam at home using a handheld milk frother, a French press, or a simple glass jar. If using a jar, pour your ingredients inside, secure the lid tightly, and shake vigorously for about 30 to 60 seconds until the volume doubles and becomes frothy.
What is the secret to getting the foam to float on coffee?
The secret to a floating foam is using heavy cream to provide structure and ensuring your coffee is cold or iced. Pour the foam slowly over the back of a spoon onto the surface of the drink to prevent it from immediately mixing with the coffee below.
Can I make dairy-free sweet cold foam?
Yes, you can make plant-based cold foam using full-fat oat milk or coconut milk, as these have the highest fat content for stability. For the best results, look for ‘Barista Edition’ non-dairy milks which are specifically formulated to foam better than standard versions.
How can I customize the flavor of my sweet cold foam?
You can customize your foam by swapping vanilla syrup for caramel, mocha, or seasonal flavors like pumpkin spice or peppermint. Adding a pinch of sea salt or a dash of cinnamon before frothing can also enhance the flavor profile of your drink.
How long does homemade sweet cold foam last?
Sweet cold foam is best enjoyed immediately after frothing while the air bubbles are most stable. If you have leftovers, you can store them in the refrigerator for up to 24 hours, but you will likely need to re-froth the mixture before serving as it will deflate over time.
Conclusion
Mastering sweet cold foam at home is simpler than it seems and far more rewarding than visiting a coffee shop. By selecting the right milk, choosing your favorite sweeteners, and using a simple frothing technique, you can elevate any iced beverage. Experiment with different flavors like vanilla or caramel to find your perfect blend. Now that you have these tips, it is time to start frothing and enjoy a luxurious, barista-quality treat in your own kitchen.