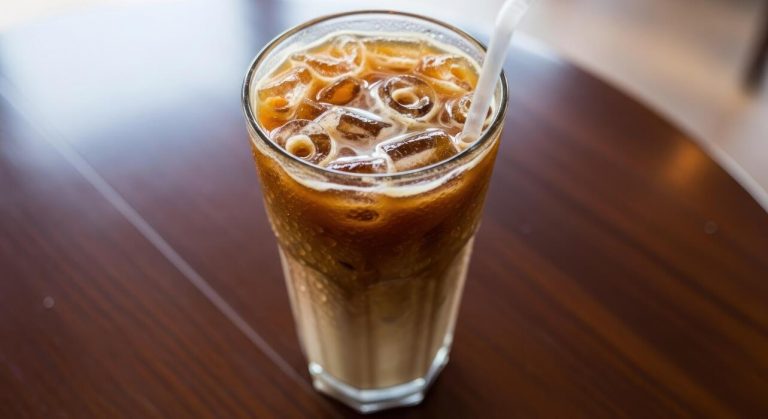
How To Make Cold Brew Coffee
Making cold brew coffee at home is surprisingly simple and much more affordable than hitting the local cafe. If you are tired of watery iced coffee, this guide is for you. We will show you exactly how to make a smooth, bold concentrate using just a jar, water, and your favorite beans. You do not need fancy equipment to get professional results.
What is cold brew coffee?
Cold brew vs iced coffee differences
Understanding the fundamental differences between these two chilled beverages is the first step in learning how to make cold brew coffee effectively. Unlike traditional iced coffee, which is brewed hot and then quickly chilled over ice, cold brew is never exposed to heat during the extraction process.
To start your batch, you must mix coarsely ground coffee beans with room temperature or cold water and let it steep for twelve to twenty-four hours. This slow, patient method creates a concentrated syrup that is significantly smoother than its heat-extracted counterpart.
When you brew hot coffee to pour over ice, the rapid cooling often leads to a watery consistency and a sharper, more bitter profile. In contrast, the cold brew method produces a dense, flavorful concentrate that maintains its structural integrity even when diluted with milk or heavy cream.
By mastering this time-based extraction rather than a heat-based one, you ensure a consistent, bold result that stays fresh in your refrigerator for up to two weeks without losing its unique character.
Why cold brew tastes less acidic
One of the most appealing solutions for coffee lovers with sensitive stomachs is the significantly lower acidity levels found in cold brew. When you use the cold extraction method, the chemical compounds within the coffee beans react differently than they do in boiling water.
High temperatures typically extract volatile oils and acidic solubility that contribute to that familiar ‘bite’ or sourness found in hot coffee. By steeping your grounds in cold water for an extended period, you prevent these specific acidic oils from ever leaching into your final beverage.
Research suggests that cold brew can be up to sixty percent less acidic than traditional drip coffee. This chemical difference results in a naturally sweet, chocolatey, and mellow flavor profile that requires far less sugar or sweetener to enjoy.
If you struggle with acid reflux or simply prefer a silky-smooth finish, focusing on a long, cold steep time is the ultimate solution. This gentle process highlights the bean’s natural sweetness while leaving the harsh, stomach-irritating compounds behind in the discarded coffee grounds.
Caffeine content in cold brew
When learning how to make cold brew coffee, it is vital to understand its potency, as the caffeine concentration is typically much higher than standard brews.
Because the process involves a higher coffee-to-water ratio and an exceptionally long contact time between the water and the grounds, the resulting liquid is a powerful concentrate.
While caffeine is generally more soluble in hot water, the sheer volume of coffee used and the twenty-four-hour duration ensures a massive caffeine transfer. To manage your intake properly, you should always dilute your cold brew concentrate with equal parts water, milk, or a plant-based alternative before consuming.
A single undiluted cup can contain twice the caffeine of a standard latte, making it an incredibly efficient energy booster for those with busy lifestyles. By controlling your dilution ratio, you can customize the strength to suit your personal caffeine tolerance perfectly.
This versatility makes cold brew a highly functional solution for both those seeking a gentle morning lift and athletes looking for a significant pre-workout stimulant that remains easy on the digestive system.
Essential equipment for making cold brew at home

Best jars and containers to use
To begin your cold brew journey, selecting the right vessel is paramount for both flavor preservation and ease of use.
A large glass Mason jar is often the most accessible and effective choice for home enthusiasts, as glass is non-reactive and won’t impart unwanted metallic or plastic tastes into your concentrate.
If you plan on making larger batches, a dedicated cold brew pitcher with an integrated fine-mesh core can streamline the process significantly. These containers allow for a controlled steeping environment where the coffee grounds remain fully submerged for the required 12 to 24 hours.
Ensure your chosen container has a tight-sealing lid to prevent the coffee from absorbing any lingering odors from your refrigerator during the long extraction period. Using a wide-mouth jar also makes the final cleanup much easier, allowing you to discard spent grounds quickly.
By choosing a high-quality, airtight glass container, you ensure a clean, consistent flavor profile that serves as the perfect base for your morning caffeine fix.
Filtering tools and cheesecloth
Achieving a smooth, sediment-free cup requires a reliable filtration strategy to separate the heavy grounds from the liquid concentrate. Many DIY brewers start with a multi-layered cheesecloth draped over a fine-mesh sieve, which captures the coarse particles while allowing the rich oils to pass through.
For an even cleaner finish, passing the liquid through a paper coffee filter or a dedicated pour-over dripper is highly recommended; this extra step removes the fine ‘silt’ that can make cold brew taste muddy or bitter over time.
If you prefer a more sustainable approach, a reusable nut milk bag or a stainless steel ultra-fine filter offers excellent results and reduces waste. Regardless of the tool, the key is to avoid squeezing the grounds during filtration, as this can force bitter tannins into your brew.
Investing in high-quality filtration tools ensures that your final concentrate remains crisp, clear, and shelf-stable in the fridge for up to two weeks, providing a professional-grade experience right in your own kitchen.
Why a burr grinder matters
The secret to a balanced, low-acid cold brew lies almost entirely in the consistency of your coffee grounds. Using a burr grinder is essential because it shears the beans into uniform pieces, whereas a blade grinder creates a mix of fine dust and large chunks.
For cold brew, you specifically need a consistent extra-coarse setting, resembling sea salt or breadcrumbs. If your grind is too fine, the long steeping time will lead to over-extraction, resulting in a harsh, bitter flavor that masks the bean’s natural sweetness.
Conversely, a burr grinder allows for a slow and even extraction, ensuring that the water saturates every particle at the same rate. This precision prevents the ‘muddy’ texture often found in poorly filtered coffee and makes the final straining process much faster and more efficient.
By prioritizing a high-quality burr mill, you gain total control over the extraction variables, allowing you to produce a smooth, chocolatey concentrate that highlights the unique tasting notes of your favorite specialty coffee beans every single time.
Choosing the best coffee beans and water
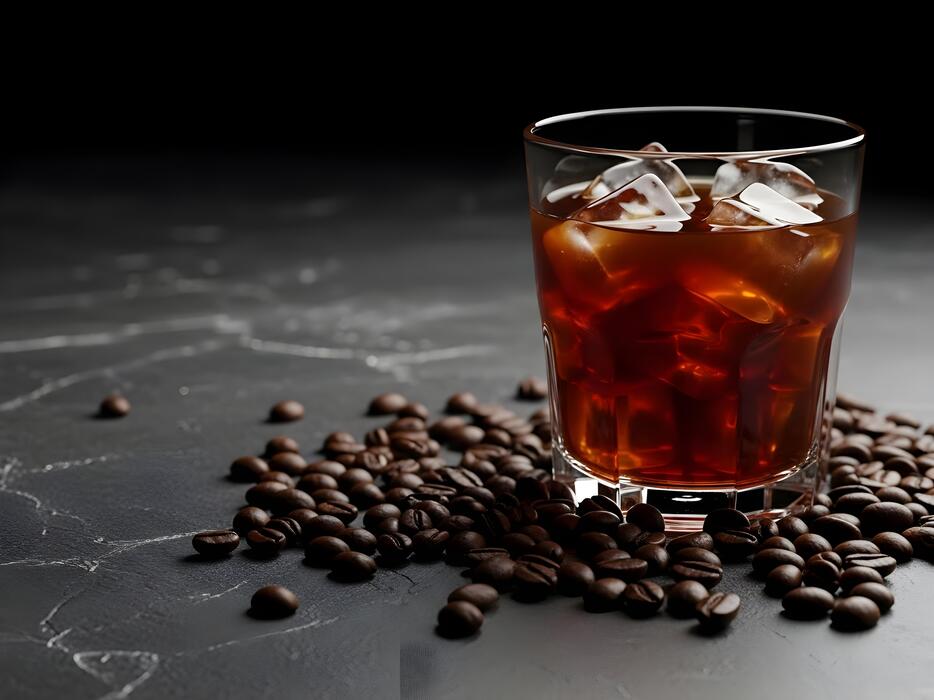
Best roast profiles for cold extraction
Selecting the right roast profile is the foundational step in mastering the cold brew process. Unlike hot brewing, which can highlight the bright acidity of light roasts, the long steeping time of cold brew favors medium to dark roasts.
These darker profiles are rich in chocolatey, nutty, and caramel notes that are amplified during the sixteen to twenty-four-hour immersion period. When you choose a dark roast, the low-acid environment of cold water prevents the extraction of bitter oils, resulting in a smooth, syrupy concentrate.
Look for beans labeled with origin notes like Brazil or Sumatra, as these often possess the heavy body required for a robust cold beverage. While light roasts can be used for a floral, tea-like result, they often lack the depth needed to stand up to ice or milk.
For a classic, café-quality experience, prioritize freshly roasted specialty beans that have been degassed for at least three days to ensure the flavor profile is stable and delicious throughout the long extraction.
Why you must use a coarse grind size
The texture of your coffee grounds is the most critical technical variable in cold brew success. You must utilize a consistent coarse grind, similar in texture to sea salt or peppercorns.
Because the coffee sits in water for an extended duration, a fine grind would lead to over-extraction and a muddy, bitter taste that ruins the beverage. Furthermore, fine particles are incredibly difficult to filter out, often leaving a silty residue at the bottom of your pitcher.
Using a burr grinder is highly recommended to achieve the uniformity necessary for even saturation. A coarse grind allows the water to flow freely around the large surface area of the bean fragments, gently drawing out the sugars and flavors without pulling the harsh tannins found in the core.
By maintaining this large particle size, you ensure a clean, crisp finish and a concentrate that remains shelf-stable in the refrigerator for up to two weeks. Avoid pre-ground supermarket coffee, which is typically too fine for this specific immersion method.
The role of filtered water in flavor
Since cold brew concentrate is composed of approximately ninety-eight percent water, the quality of your source is paramount. You should always use purified or filtered water rather than straight tap water to ensure a clean slate for the coffee’s natural aromatics.
Tap water often contains chlorine, fluoride, and heavy minerals that can create off-flavors or a metallic aftertaste when steeped for twenty hours. Conversely, distilled water lacks the essential minerals required to bond with the coffee compounds, which can lead to a flat and uninspiring brew.
Aim for a balanced mineral content, often found in bottled spring water or through a high-quality charcoal filter. The temperature of the water at the start should be room temperature or cool; never use hot water, as this changes the chemical extraction process from the very beginning.
By starting with cold, filtered water, you preserve the delicate flavor oils and ensure that the final concentrate is refreshing, vibrant, and free from the chemical interference that often plagues home-brewed batches.
Step-by-step cold brew recipe and ratio
The ideal coffee-to-water ratio
To achieve a smooth and balanced flavor profile, the foundation of great cold brew starts with the correct concentration. For a versatile concentrate that can be diluted later, use a 1:4 ratio, which translates to one cup of coarsely ground coffee for every four cups of water.
If you prefer a ready-to-drink beverage that is less intense, a 1:8 ratio is often recommended by professional baristas. It is crucial to use a coarse grind size, similar to sea salt, to prevent over-extraction and bitterness during the long soaking process.
Using a high-quality digital scale ensures precision, allowing you to replicate your favorite results consistently. Remember that cold brew is naturally sweeter and less acidic than hot coffee, so starting with a slightly stronger ratio allows you more flexibility to add milk, cream, or water to reach your desired strength.
Always use filtered water to ensure that no mineral off-flavors interfere with the delicate notes of your chosen coffee beans.
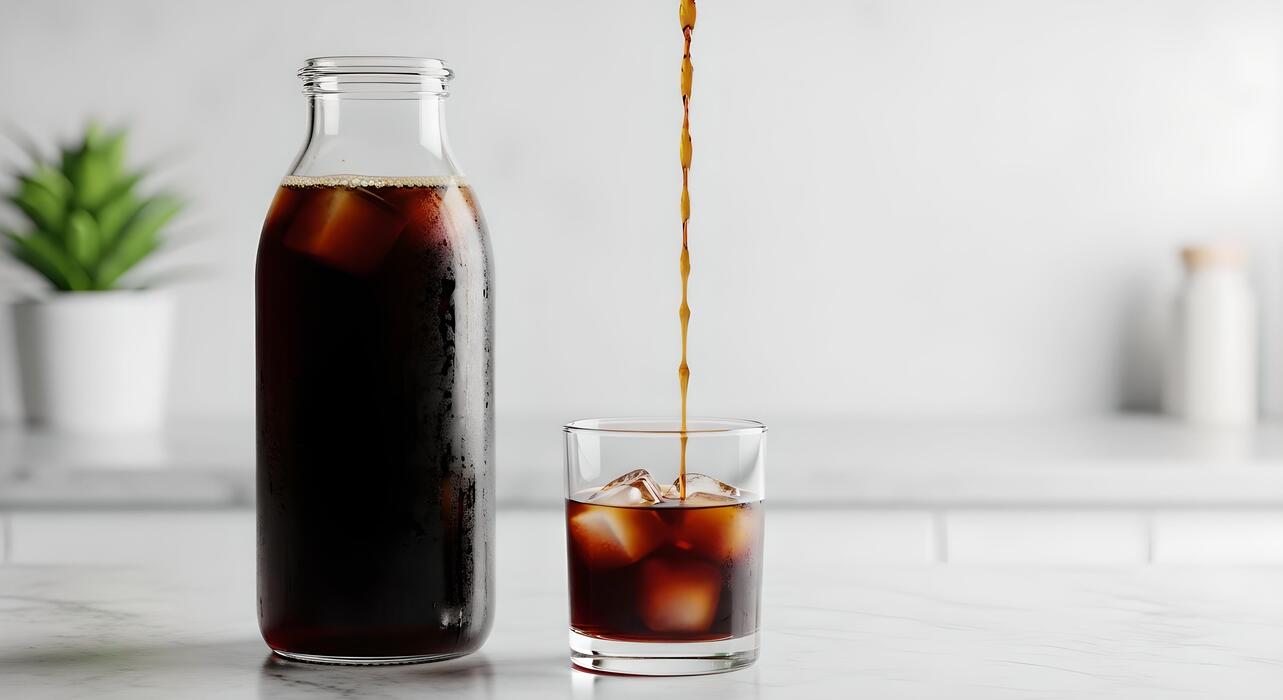
How to mix and steep your grounds
Once you have measured your ingredients, begin by adding your coarse grounds into a large glass jar or a dedicated cold brew maker. Slowly pour your filtered water over the grounds, ensuring that every particle is thoroughly saturated.
Use a long spoon to gently stir the mixture, but avoid over-agitation, which can lead to a muddy texture in the final cup.
A key professional tip is to let the mixture sit for five minutes and then give it one final stir to ensure no dry pockets remain at the bottom of the container.
After mixing, cover the vessel tightly with a lid or plastic wrap to prevent odors from contaminating the brew. Unlike hot coffee, this process relies on time rather than heat to extract caffeine and oils. If you are using a French press, simply leave the plunger up during this phase.
Maintaining a clean environment and using non-reactive materials like glass or ceramic will result in the cleanest flavor profile possible for your homemade batch.
How long to brew at room temperature vs fridge
The duration of your steep depends heavily on the ambient temperature of your brewing environment. If you choose to brew at room temperature, the extraction process happens faster, typically requiring between 12 to 15 hours. This method often yields a bolder, more robust flavor profile.
Conversely, brewing inside the refrigerator slows down the extraction significantly, requiring a longer period of 18 to 24 hours to reach peak flavor. Refrigerated brewing is often preferred for those who enjoy a brighter, cleaner taste with subtle floral or fruity notes.
It is important not to exceed 24 hours, as over-steeping can pull out woody and bitter tannins that ruin the smooth finish. Once the time is up, strain the mixture through a fine-mesh sieve or a paper filter to stop the brewing process entirely.
Store your finished concentrate in the fridge, where it will stay fresh for up to two weeks, providing you with a convenient and delicious caffeine source whenever you need a quick pick-me-up.
How to filter and store your cold brew
Removing the sediment for a clean cup
To achieve a professional, silky-smooth finish, you must focus on effective filtration methods to remove fine particles and silt. Start by pouring your steeped mixture through a fine-mesh metal sieve to catch the large coarse grounds.
For a truly polished cup, follow this with a secondary pass through a high-quality paper filter or a clean cheesecloth folded several times. Wetting the paper filter beforehand helps remove any papery taste and allows the liquid to flow more efficiently.
If you notice persistent cloudy sediment at the bottom of your vessel, avoid squeezing the filter, as this forces bitter oils and micro-grounds into your concentrate. Instead, let gravity do the work to ensure the final result is clear and bright.
Using a pour-over dripper or a specialized cold brew system with built-in filtration can streamline this process significantly. Taking these extra steps results in a clean flavor profile that highlights the natural sweetness of the beans without any gritty texture or unwanted bitterness.
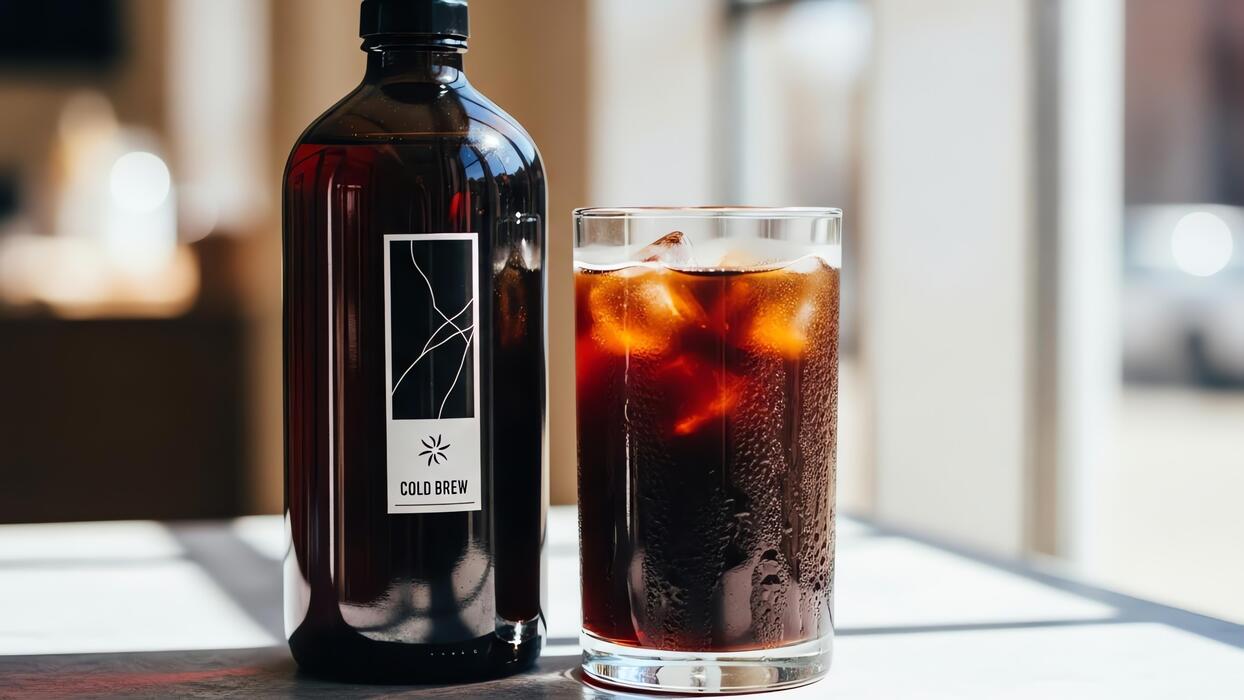
Storage tips to keep it fresh
Proper storage is the key to maintaining the delicate aromatic compounds and preventing your cold brew from oxidizing or absorbing refrigerator odors. Transfer your filtered coffee into an airtight glass container, such as a mason jar or a swing-top bottle, as plastic can sometimes leach flavors over time.
It is crucial to minimize the headspace in your container; reducing the amount of air trapped inside will slow down the oxidation process that leads to a stale, cardboard-like taste.
Always keep your brew in the coldest part of the refrigerator, away from the door where temperature fluctuations occur most frequently. If you have prepared a large batch, consider portioning it into smaller jars so you only open what you need, keeping the rest sealed and fresh.
Additionally, never add water or milk to your bulk storage; instead, dilute your concentrate only when you are ready to serve. This practice preserves the integrity of the brew and ensures every glass tastes as vibrant as the day it was steeped.
How long cold brew concentrate lasts
Understanding the shelf life of your homemade batch is essential for both food safety and flavor quality. Generally, a pure, undiluted cold brew concentrate will maintain its peak flavor for up to two weeks when stored correctly in the refrigerator.
After the first seven days, you may notice a slight decline in the complexity of the notes, but it remains perfectly safe and delicious to consume. However, if you have already diluted the concentrate with water, the shelf life drops significantly to about three to five days.
Always perform a quick sensory check before drinking; if the liquid smells sour, looks unusually cloudy, or develops any mold, discard it immediately. To extend the life of your coffee even further, you can freeze the concentrate into ice cubes.
This clever hack prevents dilution when chilling your drinks later and keeps the coffee fresh for months. By tracking the date you brewed your batch, you can ensure you are always enjoying your caffeine fix at its absolute freshest and most potent state.
Ways to serve and flavor your cold brew
How to dilute cold brew concentrate
Because cold brew is traditionally steeped as a concentrated extract, mastering the dilution process is essential for achieving a balanced flavor profile. The standard starting point is a one-to-one ratio, mixing equal parts coffee concentrate with filtered water or milk.
If you prefer a more robust and intense caffeine kick, you can reduce the liquid mixer to a two-to-one ratio, keeping the coffee more potent. Conversely, those who enjoy a smoother, tea-like consistency should add more water to open up the delicate floral notes.
Always use chilled, filtered water to maintain the crispness of the brew, as tap water minerals can sometimes mask the natural sweetness of the beans.
If you plan on serving your drink over ice, remember that the melting cubes will naturally dilute the beverage over time; therefore, it is often wise to start with a slightly stronger mix than usual to prevent a watery finish by the time you reach the bottom of the glass.
Best milk and sweetener pairings
The naturally low acidity of cold brew makes it an incredible canvas for various creamy additions and sweeteners. For a classic experience, whole milk or heavy cream provides a velvety mouthfeel that complements the chocolatey undertones of dark roast beans.
If you are looking for plant-based alternatives, oat milk is the gold standard due to its natural sweetness and thick consistency that mimics dairy perfectly. When it comes to sweetening your drink, granulated sugar often fails to dissolve in cold liquids, leading to a gritty texture at the bottom.
Instead, utilize simple syrups or agave nectar, which integrate seamlessly into the chilled coffee. For a more complex flavor profile, try infusing your syrups with vanilla bean, cinnamon sticks, or even a hint of sea salt.
A pinch of salt is a pro-tip for cold brew enthusiasts, as it suppresses any remaining bitterness while enhancing the inherent caramel and nutty notes found in the slow-steeped grounds.
Making cold foam and specialty drinks
Elevate your home barista skills by transforming a standard glass of cold brew into a luxury café specialty using cold foam. You can easily create a velvety cold foam by frothing skim milk or a barista-blend oat milk with a handheld aerator until it reaches a thick, cloud-like consistency.
Pour this gently over the back of a spoon onto your coffee to create beautiful layers. For a seasonal twist, whisk a spoonful of pumpkin puree or maple syrup into the foam before topping your drink.
If you want to experiment further, try making a ‘Cold Brew Tonic’ by mixing your concentrate with sparkling tonic water and a wedge of citrus for a refreshing, effervescent treat.
Another popular option is the Nitro-style infusion, which can be mimicked at home by vigorously shaking your concentrate with ice in a cocktail shaker to create a foamy, silky head. These techniques allow you to customize the texture and presentation, making your daily caffeine routine feel like a premium experience.
Common cold brew mistakes and how to fix them
What to do if your coffee tastes bitter
Bitterness in cold brew is usually a sign that you have used a grind that is far too fine or that your water temperature was too high.
To fix this, always ensure you are using an extra-coarse grind that resembles sea salt, which allows for a slow and gentle extraction process.
If you find your current batch is already too bitter to enjoy, you can mellow out the harsh flavors by adding a pinch of salt or diluting the concentrate with more water or creamy milk.
Moving forward, ensure you are brewing with filtered room-temperature water rather than hot water, as heat can pull out the acidic oils and tannins that cause that unpleasant sharp taste.
Additionally, check your bean variety; switching to a medium or dark roast specifically designed for cold brewing can provide a much smoother, chocolatey profile that naturally lacks the bitter bite often found in lighter, more acidic roasts.
Fixing weak or watery cold brew
If your coffee lacks body and tastes more like tea than a rich concentrate, you likely need to adjust your coffee-to-water ratio. A standard starting point for a strong concentrate is a 1:4 or 1:5 ratio by weight.
If your result is watery, try increasing the amount of grounds used in your next batch or extending the steeping time to a full 18 to 24 hours.
Another common culprit for weak coffee is using beans that were ground too long ago; for the best results, always grind your beans fresh right before starting the steeping process to preserve the aromatic oils.
If you have already finished a weak batch, you can save it by using it to make coffee ice cubes so that your next drink doesn’t get further diluted as the ice melts.
Ensure you are thoroughly saturating all the grounds at the start of the brew to prevent dry pockets that lead to under-extraction.
Avoiding over-extraction during long steeps
While cold brew is known for its long steep times, leaving the grounds in the water for more than 24 hours can lead to over-extraction and woody flavors. To prevent this, set a timer and be diligent about filtering the concentrate promptly once the desired time has elapsed.
If you find that you cannot finish the process in time, you can move the brewing vessel to the refrigerator to slow down the extraction rate significantly.
Proper filtration is also key; use a dual-filtration method by passing the liquid through a fine mesh sieve followed by a paper coffee filter or a clean cheesecloth to remove all fine sediments.
These fines can continue to extract even after the main grounds are removed, leading to a muddy texture and an increasingly bitter profile over time.
Once filtered, store your concentrate in an airtight glass container in the fridge, where it will stay fresh and maintain its optimal flavor balance for up to two weeks.
Frequently Asked Questions
What is the best coffee-to-water ratio for cold brew?
A standard ratio is 1:4 (one cup of coffee grounds to four cups of water) for a concentrate, or 1:8 for a ready-to-drink brew. You can always dilute a concentrate later with water or milk to suit your taste preferences.
What type of coffee grind should I use for cold brew?
You should use a coarse, even grind similar to the consistency of sea salt or peppercorns. Using a fine grind will make the coffee over-extracted and bitter, and it may result in a cloudy sediment that is difficult to filter out.
How long does cold brew coffee need to steep?
Cold brew typically needs to steep for 12 to 24 hours at room temperature or in the refrigerator. Steeping for less than 12 hours may result in a weak flavor, while exceeding 24 hours can extract bitter tannins from the grounds.
Do I need a special machine to make cold brew at home?
No special equipment is required; you can make cold brew using a simple glass jar, a French press, or even a pitcher. Once the steeping process is complete, you just need a way to filter the grounds, such as a fine-mesh sieve or a paper coffee filter.
Should I steep cold brew in the fridge or on the counter?
You can do either, though room temperature steeping is generally faster and extracts flavor more efficiently. If you prefer a slower extraction or have a very warm kitchen, steeping in the refrigerator is a safe and effective alternative.
How long does homemade cold brew stay fresh?
Stored in an airtight container in the refrigerator, cold brew concentrate can stay fresh for up to two weeks. If you have already diluted the coffee with water, it is best consumed within 2 to 3 days for the best flavor profile.
Conclusion
Making cold brew coffee at home is a simple yet rewarding process that yields a smooth, low-acid beverage perfect for any morning. By selecting quality beans, maintaining a coarse grind, and allowing ample steeping time, you can achieve professional results in your own kitchen. Do not be afraid to experiment with different ratios and flavors to find your ideal blend. Now that you have the tools, it is time to start brewing your own refreshing batch today.