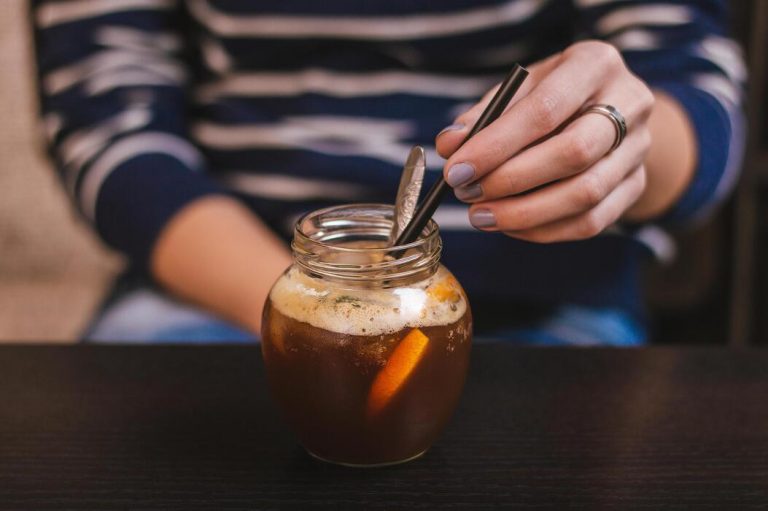
How To Make Better Cold Brew
If you are tired of weak or bitter coffee, learning how to make better cold brew is easier than you think. The secret lies in mastering your coffee-to-water ratio and choosing the right grind size. In this guide, we will show you exactly how to upgrade your brewing routine for a smoother, bolder flavor every time. From selecting the best beans to perfecting your steep time, you will find the quick solutions you need to brew cafe-quality coffee at home.
Choose the best coffee beans for cold brew
Why dark roasts work best
When choosing beans to improve your cold brew, prioritizing dark roasts is a strategic move for a more balanced profile. Because the cold steeping process relies on time rather than heat, it struggles to extract the bright, acidic notes found in lighter roasts, often leaving them tasting sour or thin.
In contrast, dark roasted beans offer low acidity and a deep, chocolatey essence that thrives during a long extraction. These beans undergo longer roasting times, developing oils that translate into a rich, velvety mouthfeel when steeped for twelve to twenty-four hours.
You will find that smoky, nutty, and caramel undertones become more pronounced, providing that signature bold flavor many enthusiasts crave. To elevate your technique, look for labels mentioning French or Italian roasts, as these provide the robust backbone necessary to stand up against dilution from ice or milk.
By selecting a darker profile, you ensure a naturally sweet finish that bypasses the bitterness often associated with traditional hot-brewed coffee methods.
Freshness matters for flavor
A common misconception is that cold brew is a forgiving method where old, stale beans can be hidden; however, using freshly roasted coffee is essential for a superior cup.
While the cold extraction process is gentler, it still pulls volatile aromatic compounds that dissipate quickly once the bean is ground or aged. To achieve a vibrant and complex result, aim to use beans that were roasted within the last two to three weeks.
Furthermore, the grind timing is equally critical to the final quality. You should always grind your beans immediately before starting the steeping process to prevent oxidation from stripping away the delicate oils.
For cold brew, a consistent coarse grind—resembling sea salt—is necessary to allow water to flow freely and extract flavors evenly without creating a muddy sediment. Investing in a burr grinder ensures this consistency, preventing the over-extraction of fine particles that lead to a dry or astringent aftertaste.
Freshness ensures your concentrate remains flavorful and aromatic for up to two weeks in the refrigerator.
Single origin vs. blends
Deciding between single origin beans and blends depends entirely on whether you prefer complexity or consistency in your daily brew. Single origin beans allow you to explore the unique terroir of a specific region, such as the fruity notes of Ethiopian beans or the earthy tones of Sumatran varieties.
These are excellent for drinkers who enjoy black cold brew and want to experience the nuances of a specific farm. However, for those seeking the most reliable and well-rounded flavor, specialized coffee blends are often the superior choice for cold extraction.
Roasters carefully design these blends to combine beans with complementary characteristics, ensuring a consistent taste profile that holds up well when mixed with creamers or sweeteners. A high-quality blend often balances a heavy body with a hint of sweetness, making it more versatile for various serving styles.
If you are just beginning your journey to make better cold brew, starting with a medium-dark blend provides a forgiving and delicious foundation that guarantees a smooth, professional-grade result every single time.
Get the grind size right every time
The importance of an extra-coarse grind
To achieve a clean and bright flavor profile, you must start with an extra-coarse grind that resembles sea salt or peppercorns. Because cold brew involves a long immersion period—typically between twelve and twenty-four hours—the surface area of the coffee particles must be minimized to prevent over-extraction.
If you use a medium or fine grind intended for drip coffee or espresso, the water will pull out bitter tannins and acidic compounds much too quickly, resulting in a muddy and harsh concentrate.
A coarse texture allows for a slow, gentle extraction that highlights the natural sweetness and chocolatey notes of the bean without the unwanted astringency. Furthermore, larger particles are significantly easier to filter out once the brewing process is complete.
Using the correct size ensures your final beverage remains silky smooth and sediment-free, providing that refreshing and crisp mouthfeel that defines high-quality cold brew. Consistency at this stage is the single most important factor for success.
Why blade grinders ruin cold brew
Achieving a professional result requires a burr grinder rather than a standard blade grinder. Blade grinders function like small food processors, spinning rapidly to shatter beans into unpredictable shapes and sizes. This creates a problematic mixture of ‘fines’—tiny dust-like particles—and large chunks.
When you steep this uneven mixture, the fines over-extract almost instantly, injecting bitterness and silt into your brew, while the larger chunks remain under-extracted. To avoid a cloudy and bitter cup, you need the uniform precision that only burrs can provide.
Burrs crush the beans to a specific, consistent gap, ensuring every single particle is the same size. This uniformity allows for an even rate of extraction across the entire batch, which is essential for a balanced flavor.
Investing in a quality conical or flat burr grinder allows you to control the variables of your recipe with much higher accuracy. By eliminating the random dust produced by blades, you ensure your cold brew stays clean, vibrant, and perfectly nuanced.
How to check your grind texture
Before you commit to a full gallon of concentrate, you should always perform a manual tactile test to verify your settings.
Take a small pinch of the ground coffee and rub it between your thumb and forefinger; it should feel distinctly gritty and rough, similar to the texture of coarse kosher salt or heavy potting soil.
You should be able to see individual, jagged fragments of the bean rather than a soft, sandy powder. If the coffee feels soft or leaves a dark, dusty residue on your skin, the setting is likely too fine and will lead to an overly intense and bitter batch.
Conversely, if the pieces look like whole peppercorns, they may be too large to yield a full-bodied flavor within twenty-four hours. Adjust your grinder in small increments until you achieve a uniform, rocky appearance.
Regularly checking your texture ensures that environmental factors like humidity or bean freshness haven’t altered your results. Mastering this visual and physical check is the best way to guarantee perfectly extracted coffee every morning.
Master the ideal coffee-to-water ratio

Standard ratios for ready-to-drink bottles
To achieve a smooth, refreshing cup that is ready to enjoy immediately without dilution, focus on a 1:8 or 1:10 coffee-to-water ratio. This specific range balance is the gold standard for those who prefer a mellow profile with low acidity and a clean finish.
Using a coarser grind is essential here, as it prevents over-extraction during the long steeping process. When you use a 1:10 ratio, you are essentially mixing one part coffee with ten parts water, which results in a beverage that highlights the delicate floral or nutty notes of your beans.
It is the perfect choice for a ready-to-drink bottle that can be poured straight over ice. By avoiding the intensity of a concentrate, you ensure that the natural sweetness of the cold brew shines through without the need for heavy creamers.
Always ensure your water is filtered to maintain a crisp taste profile throughout the twelve to eighteen-hour brewing window.
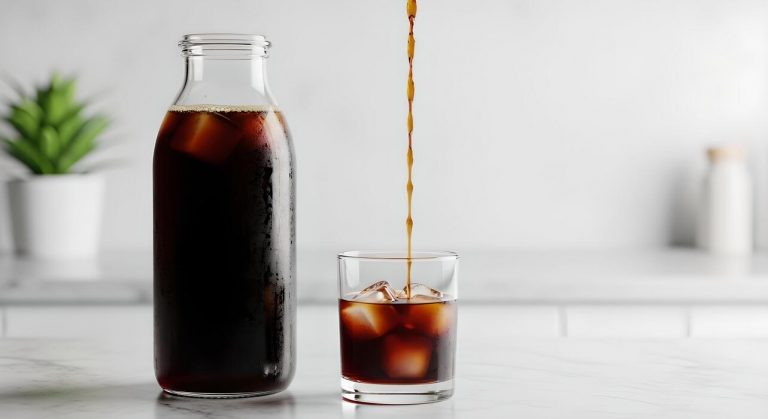
Stronger ratios for cold brew concentrate
If you are looking for versatility and a bold caffeine kick, brewing a potent concentrate is the way to go. The most effective approach involves a 1:4 or 1:5 ratio, creating a dense liquid that serves as a base for various drinks.
This high concentration of coffee grounds requires a longer steep time, typically around twenty-four hours, to fully extract the rich oils and flavors.
The beauty of a cold brew concentrate lies in its adaptability; you can dilute it with equal parts water, milk, or even sparkling water depending on your mood. Because the liquid is so strong, it holds up exceptionally well against melting ice, ensuring your drink never becomes watery or bland.
To master this method, ensure your coarse grounds are fully saturated at the start. This heavy-duty ratio is ideal for meal prepping your caffeine for the week, as a small batch of concentrate goes a long way when stored in an airtight glass container in the fridge.
How to measure by weight instead of volume
For truly consistent results every time you brew, you must move away from measuring by scoops or cups and start using a digital kitchen scale.
Measuring by weight is the only way to account for the varying density of different coffee roasts; for instance, a light roast is significantly denser than a dark roast. To apply the golden ratio accurately, calculate your needs in grams.
If you are aiming for a 1:8 ratio, you would use 100 grams of coffee for every 800 grams of water. This level of precision eliminates the guesswork that often leads to a bitter or weak carafe.
Using mass instead of volume ensures that your brew strength remains identical regardless of the bean variety or brand you choose. Simply place your brewing vessel on the scale, tare it to zero, and add your components precisely.
This scientific approach is the secret used by professional baristas to guarantee a premium flavor profile and a perfectly balanced cup every single morning without fail.
Use high-quality water and filtration
Why tap water changes the taste
Since cold brew is composed of approximately ninety-eight percent water, the specific chemical makeup of your local tap source will fundamentally dictate the final profile of your beverage.
Most municipal water systems contain trace amounts of chlorine, fluoride, and heavy minerals that are added for safety but ultimately interfere with the delicate oils found in specialty coffee beans.
These additives often impart a metallic or chemical aftertaste that becomes more pronounced during the lengthy sixteen to twenty-four hour steeping period required for cold extraction.
Furthermore, high levels of calcium or magnesium in hard water can prevent the water from efficiently drawing out the bright acidity and sweet notes characteristic of high-quality grounds, resulting in a cup that tastes flat, chalky, or overly bitter.
By understanding that tap water is a variable ingredient rather than a neutral base, you can begin to control the clarity and purity of your brew, ensuring that the natural terroir and roasting notes of your chosen beans are the primary flavors you experience in every single sip.
The benefits of filtered or bottled water
Switching to a high-quality filtration system or using bottled spring water is perhaps the most effective way to immediately elevate your home brewing game. Utilizing a multi-stage carbon filter or a dedicated water pitcher removes the impurities and odors that mask the complex flavor compounds of the coffee.
This clean slate allows for a more efficient extraction process where the water can fully bond with the coffee solubles, leading to a smoother, more syrupy mouthfeel and a cleaner finish.
For those seeking the absolute best results, bottled spring water offers a balanced mineral content that provides just enough structure to highlight sweetness without introducing harshness. Avoid using distilled water, as the total lack of minerals can lead to over-extraction and a thin, sour taste.
Investing in clean, filtered water ensures that your cold brew concentrate remains shelf-stable for longer periods while maintaining a vibrant and consistent flavor profile that rivals the quality of professional specialty cafes. This simple adjustment transforms a standard morning caffeine fix into a truly premium, gourmet coffee experience at home.
Temperature settings for the initial soak
While the name implies a cold process, the temperature of the water at the exact moment it hits the grounds is a critical factor for successful extraction. Many experts recommend starting with room temperature water rather than chilled water directly from the refrigerator to initiate the bloom.
Water that is too cold can be less effective at breaking down the organic compounds in the bean, potentially leading to an under-extracted and weak final product.
By using water that is between sixty-five and seventy degrees Fahrenheit, you provide enough thermal energy to begin the release of aromatic gases and oils without introducing the bitterness associated with hot brewing.
Once the grounds are fully saturated and the initial extraction has begun, you can choose to move the vessel into the refrigerator for a slow, controlled steep or leave it on the counter for a faster turnaround.
Maintaining a consistent temperature environment throughout the duration of the soak prevents fluctuations that can lead to uneven flavors. This careful attention to thermal stability and starting conditions ensures your cold brew is consistently rich, balanced, and free from any unpleasant astringency.
Perfect your steeping time and technique
Countertop vs. refrigerator brewing
To master the foundation of cold brew, you must decide where your container will sit during the extraction process. Brewing at room temperature on your countertop is generally faster and produces a profile with more rounded acidity and floral notes.
Because the water is warmer, the chemical reactions happen more efficiently, usually requiring only 12 to 16 hours. Conversely, refrigerator brewing is a much slower process that often results in a cleaner, crisper taste with less risk of oxidation.
Since the cold environment slows down the extraction of oils and acids, you will likely need to extend your steep time closer to 20 or 24 hours to achieve the same strength.
For the best results, ensure your vessel is tightly sealed regardless of the location to prevent the coffee from absorbing any ambient kitchen or fridge odors. Many professionals prefer the countertop method for its efficiency and reliable flavor profile, but the fridge is safer for long-term steeping consistency.
The 12 to 24 hour rule
Timing is the most critical variable when learning how to make better cold brew. Most experts agree that the ideal extraction window falls between 12 and 24 hours, depending on your grind size and temperature.
If you are using a coarse grind at room temperature, aim for the 14 to 16-hour mark to hit the sweet spot of flavor. If you prefer a lighter, more tea-like consistency, you can pull the grounds at 12 hours.
However, if you are brewing in the fridge, you should push the duration toward 18 to 24 hours to ensure the water has enough time to pull out the deep chocolate and nutty notes characteristic of high-quality cold brew.
It is helpful to taste-test your brew starting at the 12-hour mark by taking a small sip. Once the concentrate tastes rich and bold without a lingering harshness, it is time to strain the grounds immediately to stop the brewing process.
How to avoid over-extraction and bitterness
Bitterness in cold brew is almost always a result of over-extraction, which occurs when the coffee sits in the water for too long or the grind is too fine.
To prevent this, always use a consistent coarse grind similar to sea salt; fine particles will extract too quickly and create a muddy, bitter finish.
If you find your coffee is consistently too harsh, try shortening your steep time by two hours or moving the vessel into the refrigerator to slow down the chemical reaction.
Another professional tip is to use filtered water, as the minerals in tap water can sometimes emphasize bitter compounds during the long contact time.
Additionally, ensure you are filtering the concentrate thoroughly using a dual-stage method, such as a metal mesh followed by a paper filter, to remove all fine sediments.
These ‘fines’ continue to extract even after you have removed the main bulk of the grounds, leading to an unpleasant bitterness if left in the final carafe.
Best ways to filter and store your brew
Paper filters vs. metal mesh
Choosing between paper filters and metal mesh significantly impacts the final profile of your cold brew. Paper filters are excellent for those who prefer a crisp, clean finish because they trap fine particles and absorb many of the coffee’s natural oils.
This results in a bright cup that highlights delicate flavor notes. Conversely, stainless steel mesh filters allow those oils to pass through, creating a heavy, velvety body and a more robust mouthfeel.
While metal is more sustainable and cost-effective over time, it often lets micro-sediment through to the bottom of your carafe.
If you want the best of both worlds, try a two-stage approach: use a metal filter for the initial bulk separation and then pass the liquid through a paper filter to polish the brew.
This technique ensures you get the full flavor extraction of the grounds without the muddy texture that can sometimes plague home setups. Experimenting with both will help you find your personal preference.
Tips for a sediment-free cup
To achieve a truly sediment-free cup, the process begins long before you pour. First, ensure you are using a consistent coarse grind; fine dust or ‘fines’ are the primary culprits behind cloudy coffee.
If your grinder is inconsistent, try sifting your dry grounds through a fine-mesh kitchen sieve to remove the smallest particles before brewing. During the filtration stage, the most important rule is to avoid squeezing the filter bag or pressing down on the grounds.
While it is tempting to wring out every last drop, doing so forces bitter tannins and silt into your concentrate. Instead, let gravity do the work.
Another professional secret is to allow your filtered concentrate to rest in the fridge for a few hours before decanting it into a clean vessel. This allows any remaining microscopic particles to settle at the bottom.
By carefully pouring the top layer into a new bottle, you leave the sludge behind, resulting in a crystal-clear, professional-grade beverage every time.
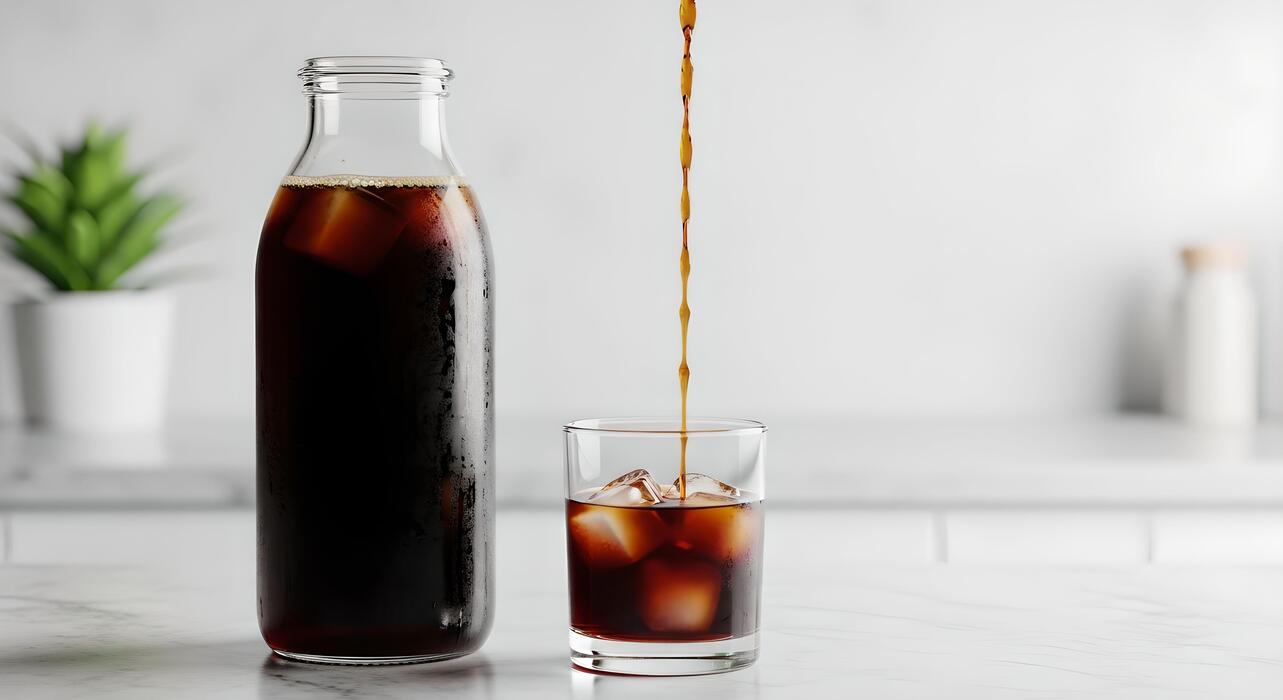
How long cold brew stays fresh in the fridge
Understanding the shelf life of your brew is essential for maintaining a high-quality flavor profile. Generally, undiluted cold brew concentrate stays fresh for about 7 to 10 days when stored in an airtight glass container.
However, once you dilute the concentrate with water or milk, the clock ticks much faster, and you should consume it within 2 to 3 days. To maximize longevity, always store your coffee in the coldest part of the refrigerator rather than the door.
Air and light are the enemies of freshness, so use dark glass bottles or keep your clear carafes tucked away. If you notice a sour smell or a significant loss of aroma, it is time to discard the batch.
To prevent waste, you can freeze excess concentrate into coffee ice cubes. This not only preserves the coffee for weeks but also ensures that your future drinks aren’t watered down as the ice melts.
Proper storage guarantees that every glass tastes as smooth and vibrant as the day you brewed it.
Pro tips for serving and flavoring
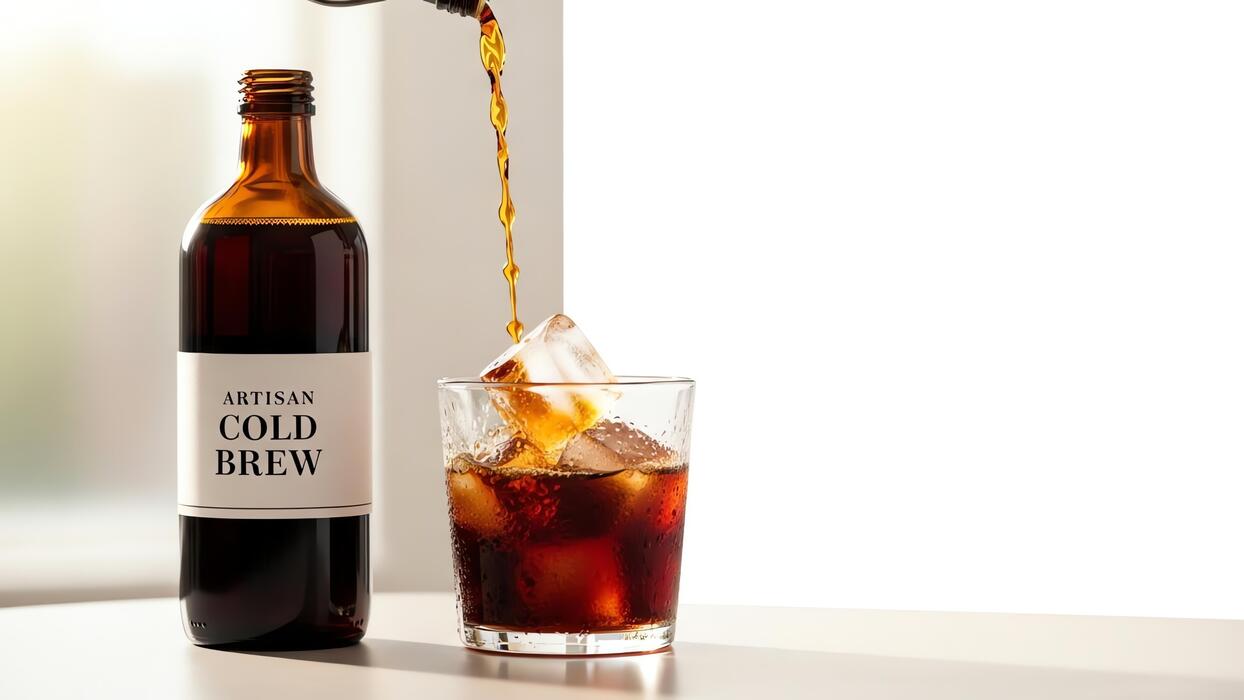
How to dilute concentrate properly
Mastering the dilution of your cold brew concentrate is essential for achieving a balanced flavor profile that is neither overwhelming nor watery. Since cold brew is typically prepared as a potent extract, you should start with a standard ratio of one part concentrate to one part liquid.
For those who prefer a bolder, more caffeinated kick, try using a two-to-one ratio of coffee to water. Conversely, if you enjoy a smoother, lighter experience, adding more water or your favorite milk alternative will help soften the natural acidity and chocolatey notes.
Always remember to add your diluent gradually and taste as you go to find your personal sweet spot. Using filtered water is highly recommended to ensure no off-flavors from minerals or chlorine interfere with the coffee’s delicate nuances.
If you are serving the drink over fresh ice, consider that the melting cubes will further dilute the mixture, so you might want to start with a slightly stronger base than usual to maintain the integrity of the brew.
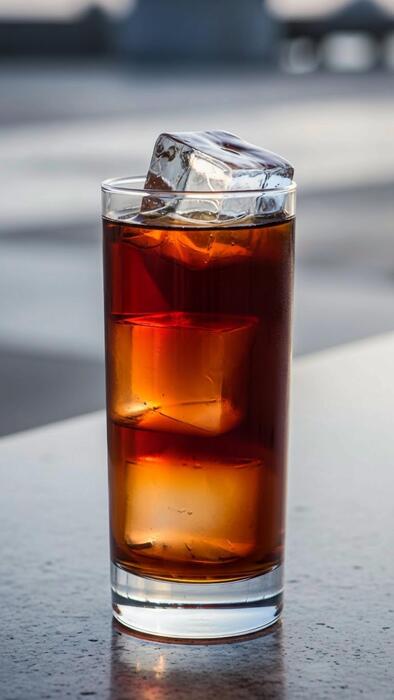
Making cold brew coffee ice cubes
One of the most effective professional secrets to preventing a watered-down beverage is to freeze leftover cold brew into ice cubes. Standard water-based ice cubes melt quickly, especially during hot summer days, which can rapidly turn a premium glass of coffee into a thin and unappealing liquid.
By using coffee cubes, you ensure that as the ice melts, it actually releases more coffee flavor into your glass, keeping the intensity consistent from the first sip to the very last drop.
To elevate this technique, you can infuse the cubes with vanilla bean or a dash of cinnamon before freezing to add a subtle, evolving flavor profile to your drink. Simply pour your brewed concentrate into silicone trays and let them set overnight for the best results.
These frozen gems are also excellent for blending into frappes or protein shakes, providing a concentrated caffeine boost without the need for extra liquid. This simple preparation step transforms your home setup into a high-end cafe experience with minimal additional effort or cost.
Natural ways to sweeten your drink
Moving away from processed white sugars can significantly enhance the complex, earthy undertones of your cold brew. Maple syrup and honey are excellent natural liquid sweeteners because they dissolve instantly in cold liquids, unlike granulated sugar which often sinks to the bottom and creates a gritty texture.
Maple syrup specifically complements the nutty characteristics of many medium-roast beans, while honey adds a floral brightness that pairs beautifully with lighter roasts.
For a zero-calorie alternative that still feels indulgent, try infusing your brew with a splash of pure vanilla extract or a pinch of ground cinnamon, which tricks the palate into perceiving sweetness without the need for actual sugar.
Another pro tip is to use dates or a small amount of coconut water as a base mixer; the natural sugars in coconut water provide a refreshing, tropical twist while replenishing electrolytes.
These natural additions allow you to customize the sweetness level of your beverage while maintaining a cleaner nutritional profile and highlighting the sophisticated flavors inherent in high-quality, slow-steeped coffee beans.
Frequently Asked Questions
What is the best coffee-to-water ratio for cold brew?
For a versatile concentrate, use a 1:4 or 1:5 ratio of coffee to water. If you prefer a ready-to-drink brew that doesn’t require dilution, a 1:8 or 1:10 ratio is more appropriate.
What grind size should I use for cold brew?
You should always use an extra-coarse grind, similar in texture to sea salt or peppercorns. This prevents over-extraction and ensures the water flows easily through the grounds for a clean, sediment-free finish.
How long should I let cold brew steep for the best flavor?
The ideal steeping time is between 12 and 18 hours at room temperature, or up to 24 hours if steeping in the refrigerator. Steeping longer than 24 hours can result in bitter, woody flavors and a dry mouthfeel.
Does the type of water I use affect the quality of my cold brew?
Yes, because cold brew is 98% water, using filtered or bottled spring water will significantly improve the taste. Avoid tap water with high chlorine or mineral content, as it can mask the delicate flavor notes of the coffee beans.
Should I steep my cold brew on the counter or in the fridge?
Steeping on the counter at room temperature extracts flavors faster and often results in a more complex profile. However, steeping in the fridge is safer for long durations and yields a very bright, crisp cup.
How can I make my cold brew taste less bitter?
To reduce bitterness, ensure you are using a coarse grind and stop the brewing process before 20 hours. Additionally, choosing a medium or light roast bean can provide a smoother, fruitier profile compared to dark roasts.
What is the best way to filter cold brew for a clean cup?
Use a dual-filtration method by first straining the concentrate through a metal mesh sieve and then passing it through a paper coffee filter. This removes the fine silty particles that cause cloudiness and a sandy texture.
Conclusion
Mastering the art of cold brew comes down to patience and precision. By using high-quality, coarsely ground beans and maintaining a consistent water-to-coffee ratio, you can eliminate bitterness and unlock complex flavors. Whether you prefer a bold concentrate or a smooth, ready-to-drink brew, these simple adjustments guarantee a professional result. Now that you have the tools to perfect your technique, start experimenting today and enjoy the most refreshing, flavorful cup of coffee right at home.