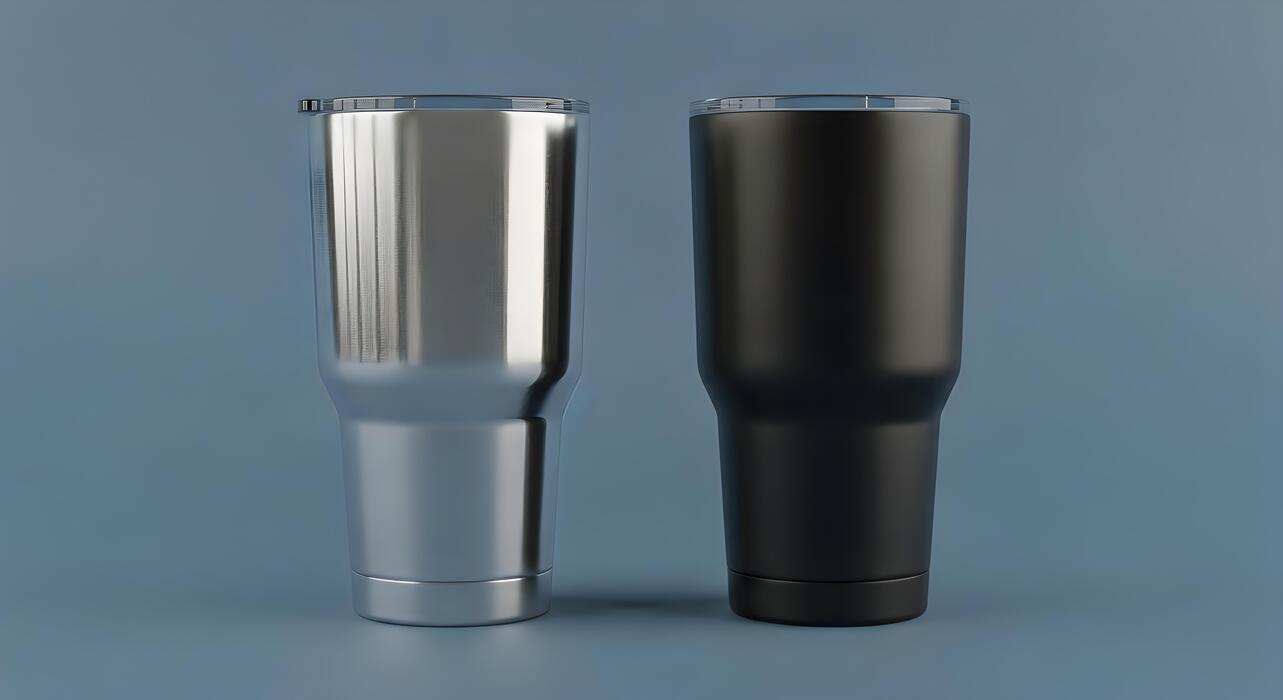
How To Get Mold Out Of Yeti Cup
If you’ve found black spots inside your lid or cup, learning how to get mold out of yeti cup is essential for safe reuse. Mold thrives in the gasket and straw due to trapped moisture.
Why Mold Grows in Yeti Cups
Common causes of mold in insulated cups
Mold thrives in dark, damp environments, making your Yeti cup an ideal breeding ground if not properly dried between uses. The most common cause is leaving liquid or moisture trapped in the cup after drinking, especially if you add ice, coffee, or water with sugar or dairy residue.
Incomplete cleaning is another major factor—rinsing without scrubbing leaves behind organic particles that feed mold spores. Storing the cup with the lid on seals in humidity, creating a stagnant microclimate. Additionally, infrequent deep cleaning allows biofilm to develop on the interior surface, which traps moisture and encourages mold growth.
The insulated vacuum seal doesn’t prevent mold; it only keeps temperatures stable. Even a small amount of leftover moisture, combined with warm room temperatures, can allow mold to colonize within 24-48 hours.
To prevent this, always rinse and dry your cup thoroughly after each use, and never store it sealed when damp. Regular disassembly and drying of all parts is critical to break the mold cycle.
Parts of a Yeti cup that trap moisture
Your Yeti cup has several hidden areas where moisture lingers, making mold prevention tricky. The lid’s sliding mechanism and gasket seal are prime spots—these crevices collect condensation, drink residue, and can’t be fully dried without disassembly.
The straw opening and interior of the straw trap liquid if not rinsed immediately, especially if you use thick liquids like smoothies. The cup’s interior bottom is often overlooked; if you only rinse, water pools there, especially in the MagSlider lid’s recess.
The rim where the lid snaps on can hold droplets, and the cup’s exterior base may collect moisture if you set it on a wet surface. Even the handle (on Ramblers) can trap water in its crevices.
To thoroughly dry, disassemble the lid completely, remove the gasket, and shake out the straw. Use a clean towel to wipe inside the lid’s sliding channel and let all parts air-dry separately for at least 2 hours. Never stack cups wet or store lids attached until bone-dry.
How to spot mold early in your Yeti
Early detection of mold prevents health risks and saves your cup. Look for visible signs such as black, green, or white fuzzy spots inside the cup, especially around the bottom edges or lid gasket.
A musty or earthy smell from the cup, even after rinsing, is a clear indicator of mold growth. Check the lid’s sliding mechanism for discoloration or slimy film—this area is often overlooked.
Inspect the straw’s interior by holding it up to light; mold may appear as dark specks or a cloudy residue. Pay attention to any unusual taste in your drink—a metallic or bitter flavor can mean mold has contaminated the surface.
Use a flashlight to examine the cup’s interior for any staining or residue that doesn’t rinse away. If you notice slipperiness on the lid’s gasket, that’s often biofilm, a precursor to mold. Early action is key: at the first sign, immediately clean with a bleach solution or vinegar soak.
Regular weekly inspections of all parts will catch mold before it becomes a stubborn problem.
What You Need to Clean Mold from a Yeti Cup
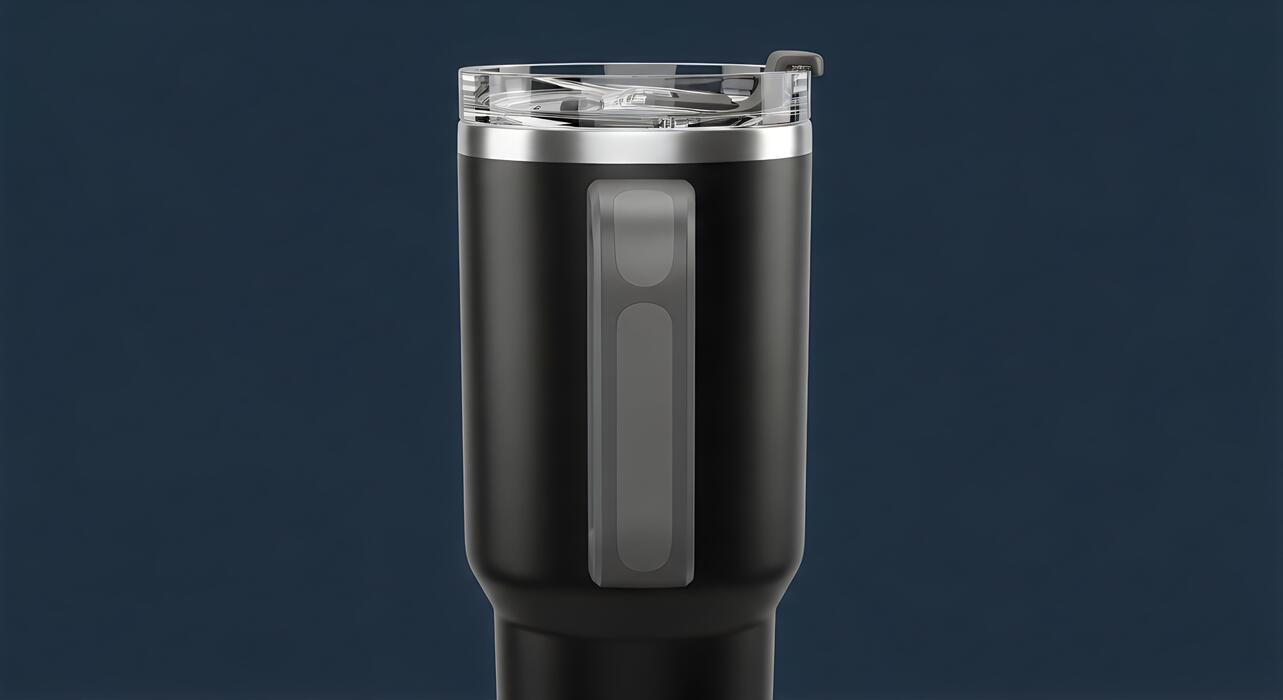
Basic cleaning supplies that work
To effectively remove mold from your Yeti cup, start with basic household supplies that are safe for stainless steel. You’ll need hot water (near boiling but not damaging to the cup), dish soap (preferably a grease-cutting variety like Dawn), and white vinegar or baking soda.
Avoid bleach, as it can damage the cup’s finish and is unnecessary for non-porous surfaces. Fill the cup with hot water and add a few drops of dish soap, then let it soak for 10-15 minutes.
For stubborn mold, create a paste of baking soda and water and scrub with a soft sponge. The key is to use non-abrasive tools to avoid scratching the stainless steel, which can harbor future mold. After cleaning, rinse thoroughly and dry completely to prevent regrowth.
These supplies are gentle yet effective, ensuring your cup stays clean without compromising its insulation or durability.
Natural cleaners vs. chemical options
When tackling mold, you have two effective paths: natural cleaners like white vinegar or hydrogen peroxide, or chemical options such as diluted bleach or commercial stainless steel cleaners.
Natural cleaners are safe for food contact and won’t leave harsh residues—mix equal parts water and vinegar, let it sit for 15 minutes, then scrub. For heavy mold, hydrogen peroxide (3%) is a powerful alternative that kills spores without toxic fumes.
Chemical options, like a bleach solution (1 part bleach to 10 parts water), work faster but require thorough rinsing to avoid taste contamination. Avoid abrasive chemicals like ammonia or chlorine-based tablets, as they can degrade the cup’s seal or finish.
For daily maintenance, natural cleaners are preferred for safety and eco-friendliness, while chemicals are best for one-time deep cleans. Always test on a small area first and rinse with hot water after any treatment.
Tools for reaching tight spots
Mold often hides in hard-to-reach areas like the cup’s lid threads, straw opening, or bottom corners. Use a bottle brush with flexible bristles to scrub the interior and a small cleaning brush (like a straw cleaner or pipe cleaner) for the lid’s crevices.
For the straw, a dedicated straw brush or a thin, flexible tool like a Q-tip dipped in vinegar works well. If the lid has a rubber gasket, remove it carefully and clean with a toothbrush to dislodge mold.
For stubborn spots, try a steam cleaner or soak the parts in a vinegar solution overnight. Avoid metal brushes or scouring pads, as they can scratch the surface and create future mold traps.
After cleaning, use a microfiber cloth to dry every nook, and store the cup with the lid off to allow airflow. These tools ensure thorough cleaning without damaging your Yeti cup.
Step-by-Step Guide to Remove Mold from a Yeti Cup
Step 1: Rinse and disassemble the cup
Begin by rinsing the Yeti cup with hot water to remove any loose debris or mold spores. Completely disassemble the lid, including the slider, gasket, and any removable parts, as mold often hides in these crevices. Separate the cup body, lid, and straw (if applicable).
This step is crucial because mold thrives in damp, hidden areas, and a thorough disassembly ensures every component can be cleaned effectively. Dispose of the rinse water away from your sink to avoid spreading spores. Work over a trash can or outdoor area if possible.
Proper disassembly sets the foundation for a deep clean and prevents mold from returning.
Step 2: Soak with vinegar or bleach solution
Fill the cup and lid components with a cleaning solution to kill mold. For a natural option, use white vinegar mixed with equal parts hot water—let it soak for at least 30 minutes.
For stubborn mold, use a bleach solution of 1 tablespoon bleach per cup of water, soaking for 15 minutes only (never mix bleach with vinegar). Ensure all parts are fully submerged, especially the lid’s nooks. Do not use bleach on colored Yeti cups as it may damage the finish.
Vinegar is safe for all colors and effectively kills most mold strains. This soaking step penetrates porous surfaces and eliminates mold at the root.
Step 3: Scrub the interior and lid
After soaking, scrub each part with a soft-bristled brush or a dedicated bottle brush to avoid scratching the stainless steel. Pay extra attention to the lid’s gasket groove, slider mechanism, and straw interior where mold hides. Use a small toothbrush for tight spots.
For the cup interior, a non-abrasive sponge works well. If residue remains, apply a paste of baking soda and water to scrub gently—this adds mild abrasion without damage. Rinse the brush frequently during scrubbing to prevent redistributing mold.
This mechanical action removes dead mold and biofilm, ensuring a truly clean surface.
Step 4: Rinse thoroughly and dry
Rinse all components with hot water for at least 30 seconds to remove any cleaning solution and loosened mold. Pay special attention to the lid and straw to ensure no vinegar or bleach taste remains. Air-dry completely before reassembling—mold thrives in moisture, so drying is critical.
Place parts upside down on a clean dish rack or paper towel, ensuring airflow. For faster drying, use a lint-free cloth to wipe down the cup interior and lid crevices. Avoid reassembling until every piece is bone-dry, typically 2-4 hours.
Store the cup with the lid off to maintain airflow and prevent future mold growth.
Best Ways to Clean Mold from Yeti Cup Lids and Straws
How to clean the magnetic slider lid
Start by fully disassembling the lid: remove the rubber gasket and slide out the magnetic slider piece. Soak all parts in a mixture of equal parts white vinegar and warm water for 15-30 minutes to loosen mold.
Use an old toothbrush dipped in baking soda paste to scrub crevices, especially around the magnet housing and gasket groove. Rinse thoroughly with hot water, then sanitize by soaking in a diluted bleach solution (1 teaspoon bleach per cup of water) for 5 minutes.
Rinse again and air-dry completely before reassembling. For stubborn mold, apply hydrogen peroxide directly to affected areas and let sit for 10 minutes before scrubbing. Never use abrasive scrubbers that could scratch the plastic and create hiding spots for future mold.
Tips for removing mold from straws
Mold often hides inside straws, so use a flexible straw cleaning brush to scrub the interior with hot, soapy water. For deeper cleaning, soak straws in a solution of 1 part bleach to 9 parts water for 10 minutes, then rinse thoroughly.
Alternatively, fill the straw with white vinegar, plug both ends with your fingers, and shake vigorously for 30 seconds before rinsing. For reusable silicone straws, boil them in water for 5 minutes to kill mold spores.
Always dry straws upside down in a dish rack or by blowing air through them to prevent moisture buildup. Replace straws if mold persists despite cleaning, as porous materials can harbor spores.
Using a bottle brush for hard-to-reach areas
A long-handled bottle brush with stiff bristles is essential for cleaning the lid’s underside and the cup’s threads. Dip the brush in a mixture of hot water and dish soap, then scrub the lid’s interior rim, the straw hole, and the cup’s neck.
For the lid’s rubber gasket, use a small brush or pipe cleaner to reach the groove. Follow up by soaking the lid in baking soda and vinegar to dissolve any residual mold. Rinse all parts with hot water and inspect for missed spots using a flashlight.
Dry everything completely before reassembling to prevent mold regrowth. Consider using a dedicated brush set with different sizes to reach every nook and cranny effectively.
How to Prevent Mold from Coming Back in Your Yeti

Daily rinsing and drying habits
Preventing mold starts with a simple daily routine that takes less than a minute. After you finish your drink, immediately rinse the cup with hot water to remove any residue that mold feeds on. Pay special attention to the lid and straw, where moisture and sugars often get trapped.
Use a small brush or bottle cleaner to scrub the lid’s crevices and the straw’s interior, then rinse thoroughly with hot water. After rinsing, dry all components completely before reassembling. Place the cup upside down on a dish rack, and let the lid and straw air dry separately.
Avoid putting the lid on while the cup is still wet, as this creates a sealed, humid environment perfect for mold growth. For extra prevention, you can wipe the interior with a dry cloth or paper towel.
This daily habit is the most effective way to stop mold from taking hold and keeps your cup fresh between deeper cleanings.
When to deep clean your cup
Even with daily rinsing, a deep clean is essential to eliminate hidden mold spores and buildup. Deep clean your Yeti cup at least once a week, or more often if you use it for sugary drinks, coffee with cream, or smoothies.
A good rule of thumb: if you notice any off smells, stains, or slimy residue, it’s time for a deep clean. Use a mixture of one part white vinegar to three parts hot water, or a tablespoon of baking soda dissolved in warm water.
Fill the cup and let it soak for 15-30 minutes to break down mold and odors. For stubborn spots, scrub with a bottle brush and a drop of dish soap. Don’t forget the lid and straw—soak them in the same solution and scrub all crevices.
Rinse everything thoroughly with hot water and let it air dry completely. This weekly deep clean ensures your cup stays mold-free and safe for daily use.
Storing your Yeti cup properly
How you store your Yeti cup between uses can make or break your mold prevention efforts. Always store the cup with the lid off and upside down to allow air circulation and prevent moisture from pooling inside.
If you keep the lid on, even a small amount of trapped moisture can create a breeding ground for mold within hours. For the lid and straw, store them separately in a dry, well-ventilated area—avoid placing them in a closed drawer or cabinet where humidity can build up.
Never store the cup while it’s still damp; ensure all parts are completely dry before putting them away. If you travel with your cup, let it air out fully before storing it in a bag or car.
Additionally, keep your cup away from direct heat sources or extreme temperature changes, which can cause condensation. Proper storage is the final, critical step that locks in your cleaning efforts and keeps mold from returning.
Common Mistakes When Cleaning Mold from Yeti Cups
Avoiding harsh abrasives that damage the finish
When tackling mold in your Yeti cup, it’s tempting to reach for a scouring pad or steel wool to scrub away stubborn spots, but this is a critical mistake.
Harsh abrasives will scratch the stainless steel or powder-coated finish, creating tiny grooves where mold and bacteria can hide and multiply more easily in the future.
Instead, opt for a soft sponge or microfiber cloth paired with a gentle cleaning solution, such as a mixture of white vinegar and baking soda or a diluted bleach solution. For tough mold, let the solution soak for 15–30 minutes before gently scrubbing.
This approach protects the cup’s integrity and prevents further contamination. Remember, a scratched surface not only looks worn but also compromises the non-porous barrier that makes Yeti cups resistant to mold. Always rinse thoroughly after cleaning to remove any residue, and dry completely to avoid moisture buildup.
By avoiding abrasives, you’ll preserve the cup’s durability and keep it mold-free longer.
Why not to use the dishwasher for mold removal
Many people assume the dishwasher’s high heat and strong jets will eliminate mold from a Yeti cup, but this is often ineffective and can worsen the problem. Dishwashers may not reach every crevice, especially under the lid gasket or in the straw, leaving mold spores intact to regrow.
Moreover, the intense heat can warp plastic lids or degrade rubber seals, creating gaps that trap moisture and foster more mold. For thorough mold removal, hand washing is essential.
Use a bottle brush to scrub the interior, and remove the gasket and straw to clean them separately with hot, soapy water. A vinegar soak (equal parts water and white vinegar) for 30 minutes can kill mold without damaging the cup.
If you must use a dishwasher occasionally, place the cup on the top rack and skip the heated dry cycle to minimize wear. However, for active mold issues, hand washing ensures every surface is addressed, preventing recurrence and maintaining the cup’s performance.
Overlooking the gasket and seal areas
One of the most common mistakes when cleaning mold from a Yeti cup is neglecting the gasket, seal, and straw components, which are prime breeding grounds for mold due to trapped moisture.
These parts are often removable, yet many users skip disassembling them, allowing black spots to persist in hidden folds. Always take apart the lid completely—remove the silicone gasket, the sliding mechanism, and any straw attachments—before cleaning.
Soak these pieces in a mixture of warm water and white vinegar or a mild bleach solution (1 teaspoon per cup of water) for 15–20 minutes to kill mold spores. Use a small brush, like a pipe cleaner or toothbrush, to scrub crevices.
Rinse all parts thoroughly and let them air dry completely before reassembling. Failing to clean these areas means mold will return quickly, undoing your efforts. Regular maintenance of seals ensures your cup stays hygienic and odor-free, extending its lifespan and keeping your drinks fresh.
When to Replace Your Yeti Cup Instead of Cleaning
Signs of permanent mold damage
If you’ve tried vigorous cleaning with bleach or vinegar and the mold persists, it may have penetrated the cup’s surface. Black or green spots that won’t scrub away, especially inside the lid or straw, indicate mold has embedded into microscopic pores or rubber gaskets.
Musty odors that linger after thorough washing suggest mold is growing deep within the insulation layer or under the lid’s silicone seal. Another red flag is visible mold on the cup’s exterior or around the rim, which can mean the seal is compromised.
For Yeti cups with magnetic lids, check the magnet housing for trapped moisture and mold. If you see flaking or discoloration on the stainless steel interior, this could be corrosion from acidic liquids, not just mold.
When cleaning doesn’t eliminate the smell or staining after three attempts, it’s safer to replace the cup to avoid ingesting mycotoxins. Remember, mold can cause allergic reactions or respiratory issues, so don’t risk your health for a $30 cup.
How to check for cracks or warping
Inspect your Yeti cup under bright light for any hairline cracks, especially around the rim, lid threads, or straw opening. Run your finger along the edges—any rough spots or chips can trap moisture and mold.
Fill the cup with hot water and check for leaks by tilting it; if water seeps from the lid or bottom, the seal is broken. For warping, place the cup on a flat surface and see if it rocks or wobbles.
A warped bottom or lid won’t seal properly, letting in air and bacteria. Test the lid’s vacuum seal by pressing it shut; if it doesn’t click firmly, replace it. Also, check the straw and lid gaskets for cracks or hardening, which can harbor mold.
Even a tiny crack in the double-wall insulation can let moisture between layers, causing mold growth that’s impossible to clean. If you find any damage, stop using the cup immediately—mold can thrive in these hidden spaces, and replacement is the only solution.
Yeti warranty and replacement options
Yeti offers a 5-year warranty against manufacturing defects, but it does not cover mold damage caused by improper cleaning or storage. However, if mold is due to a defective lid seal or a crack from poor craftsmanship, you may qualify for a replacement.
Register your cup on Yeti’s website with the serial number (found on the bottom) to start a claim. For cups under warranty, take photos of the mold damage and any cracks, then contact Yeti customer service. They may send a free replacement lid if the issue is with the seal.
If your cup is out of warranty, Yeti sells replacement lids and straws for about $10–$15, which can resolve mold issues from worn parts. For the cup body, consider upgrading to a newer model with improved lid designs. Alternatively, third-party lids with easier-to-clean silicone gaskets are available.
Always clean your cup weekly with baking soda to extend its life and prevent mold return.
Frequently Asked Questions
What is the best way to remove mold from a Yeti cup?
The most effective method is to soak the cup in a mixture of one part white vinegar and two parts warm water for 30-60 minutes, then scrub with a bottle brush and dish soap. For stubborn mold, use a paste of baking soda and water or a diluted bleach solution (1 teaspoon bleach per cup of water).
Can I use bleach to clean mold out of my Yeti cup?
Yes, you can use a diluted bleach solution (1 teaspoon bleach per 1 cup of water) to sanitize and remove mold. Soak for 15 minutes, then rinse thoroughly with warm water and wash with soap. Avoid using undiluted bleach, as it may damage the cup’s finish.
How do I clean mold from the lid and straw of a Yeti cup?
For the lid and straw, disassemble all parts and soak them in a vinegar-water solution (1:2 ratio) for 30 minutes. Use a small brush or pipe cleaner to scrub the straw and crevices, then rinse well. Dishwasher-safe parts can also be run through a cycle on the top rack.
Is it safe to use a dishwasher to remove mold from a Yeti cup?
Yes, Yeti cups are generally dishwasher safe, but to effectively remove mold, run them on a hot cycle with a sanitizing setting if available. For best results, pre-treat with vinegar or baking soda before placing in the dishwasher to ensure mold is fully removed.
Why does mold keep coming back in my Yeti cup?
Mold returns due to trapped moisture in hard-to-reach areas like the lid gasket or straw. To prevent this, always dry the cup and lid completely after washing, store them disassembled, and avoid leaving liquids sitting for long periods. Regular deep cleaning with vinegar helps inhibit mold growth.
Can baking soda remove mold from a Yeti cup?
Yes, baking soda is a gentle abrasive that helps scrub away mold. Make a paste with water, apply it to moldy areas, let it sit for 15 minutes, then scrub with a brush. Rinse thoroughly and follow up with a vinegar soak for deeper cleaning.
How do I get rid of mold smell in my Yeti cup?
To remove mold odor, soak the cup in a solution of equal parts white vinegar and warm water for 30 minutes, then wash with dish soap. Alternatively, fill the cup with lemon juice and water and let it sit overnight. Rinse thoroughly afterward to eliminate any lingering smell.
Conclusion
To safely remove mold from your Yeti cup, use a diluted bleach solution or white vinegar with baking soda, scrubbing thoroughly and rinsing well. Remember to regularly clean the lid and straw, as they are common mold havens. Don’t let mold discourage you—consistent care ensures your Yeti stays clean and ready for every sip.