How to Use a Knife Sharpener Built Into a Knife Block
Many modern knife blocks feature integrated sharpening slots designed for ultimate kitchen convenience. This guide explains how to properly use these built-in sharpeners to maintain your kitchen knives safely and effectively, ensuring your blades remain sharp for both precise gardening tasks and daily meal preparation in your home.
While these integrated systems offer great ease of use, they are generally designed for routine maintenance rather than heavy-duty restoration of severely dull edges. Understanding the limitations of your specific block is essential for preserving the lifespan of your cutlery. Consistent, light honing keeps your blades functional without removing excessive amounts of metal.
In the following sections, we will walk you through the step-by-step process of using your knife block sharpener correctly to achieve professional results at home. You will learn how to maintain consistent pressure, proper insertion angles, and essential safety techniques that prevent accidental damage to your favorite tools while keeping them perfectly sharp.
Understanding Your Integrated Knife Sharpener
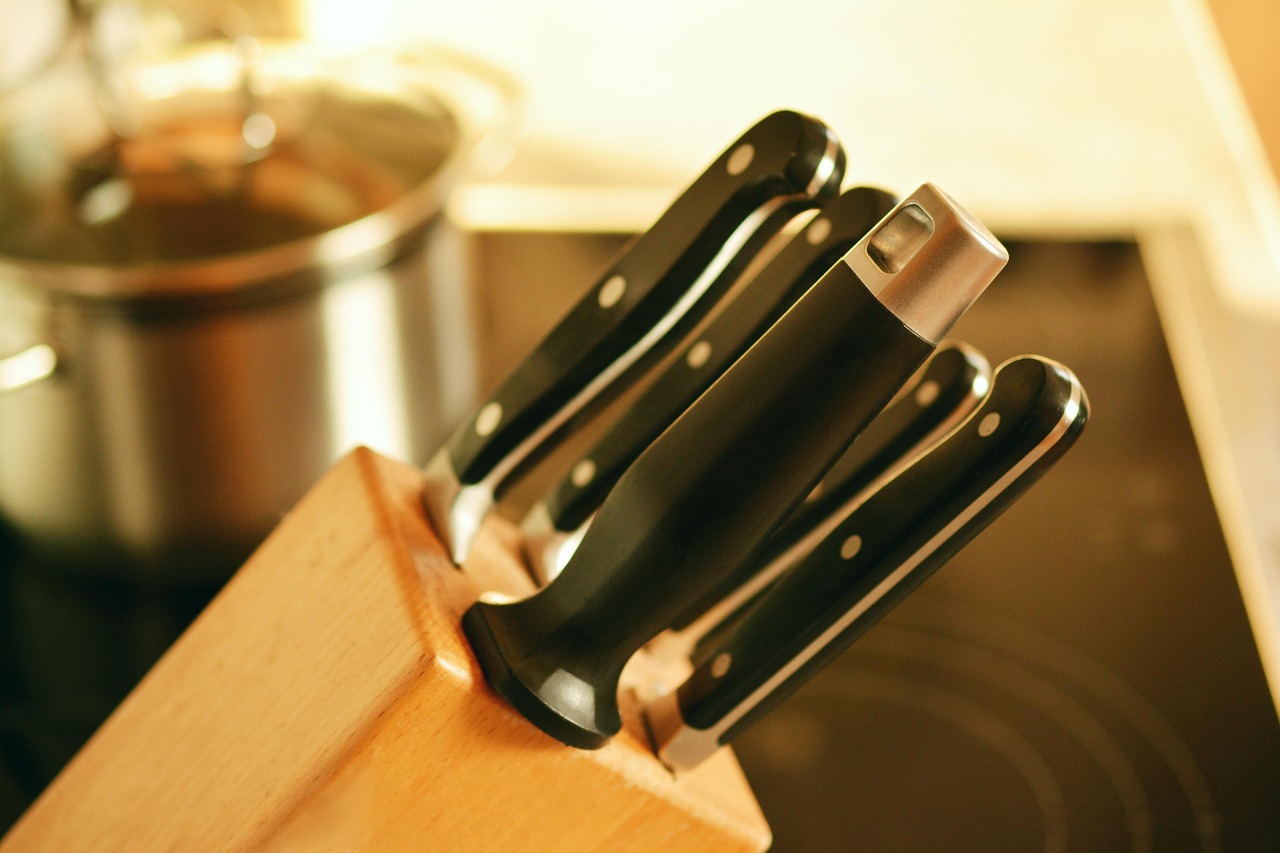
Many modern knife blocks feature integrated sharpening slots, offering a convenient way to maintain your blades. However, it is essential to understand that these systems are designed for routine maintenance rather than heavy-duty restoration. Most built-in sharpeners use small ceramic or carbide rods positioned at a fixed angle. As you slide your knife through the slot, these rods gently hone the edge, realigning the metal to keep it sharp for daily kitchen tasks.
Because these sharpeners are built into the block, they are generally calibrated for specific types of knives. Before inserting your cutlery, keep these practical limitations in mind:
- Straight Edges Only: These slots are designed exclusively for straight-edged blades, such as chef’s knives or paring knives. Never use them for serrated bread knives, as the rods will damage the teeth.
- Surface Maintenance: These mechanisms perform light honing, not a deep grind. If your knife is extremely dull or chipped, a built-in sharpener will not be effective; you will need a whetstone or a professional service to restore the edge.
- Fixed Angles: The sharpening angle is pre-set by the manufacturer. If your knife requires a different edge geometry, the integrated sharpener may degrade the blade’s performance over time.
To use these slots safely, always insert the knife at the heel—the part closest to the handle—and pull it straight through toward the tip in one smooth, controlled motion. Avoid pressing down too hard, as excessive force can cause the blade to skip or damage the internal rods. Keep the knife perfectly vertical to ensure the edge makes even contact with the sharpening mechanism.
Finally, remember that these sharpeners can accumulate metal shavings over time. Periodically check the base of your knife block or the slot openings to ensure they remain clean. If you notice the sharpener is no longer improving your knife’s performance, it is likely time to have the blades professionally sharpened, as the internal rods may have reached the end of their functional lifespan.
Safety Precautions Before You Begin
Before you sharpen your kitchen knives, prioritizing safety is essential to protect both yourself and your equipment. A moment of preparation prevents accidents and ensures your tools remain in peak condition.
The most critical step is establishing a stable workspace. Never attempt to use a knife sharpener while the knife block is resting on an uneven or slippery surface. If your block tends to slide, place it on a damp microfiber cloth or a dedicated silicone non-slip mat. This anchoring prevents the block from shifting unexpectedly during the sharpening process, which is a common cause of accidental slips.
Next, focus on the condition of the blade itself. Before inserting any knife into a sharpener—especially those integrated into or used alongside a knife block—ensure the blade is completely clean and dry. Moisture or food residue left on the steel can transfer into the sharpener’s mechanism or the slots of your knife block. Over time, this debris buildup can harbor bacteria, dull the sharpening components, and create a gritty environment that damages your blades.
Follow these essential safety protocols every time you sharpen:
- Keep fingers clear: Always maintain a firm grip on the knife handle, keeping your fingers well away from the cutting edge and the sharpening mechanism.
- Maintain control: Use steady, consistent pressure. Never force the blade through the sharpener, as this increases the risk of the knife slipping out of the slot.
- Check for stability: Before making the first pass, give the knife block a gentle nudge to ensure it is fully secure.
- Work in a well-lit area: Ensure your countertop has adequate lighting so you can clearly see the alignment of the blade within the sharpener.
By treating the sharpening process with care and attention, you extend the lifespan of your cutlery and maintain a safer kitchen environment. If you feel hesitant or if the knife is heavily damaged, it is always safer to consult a professional sharpening service rather than risking injury.

Step-by-Step Sharpening Process
Using a knife sharpener built into your knife block is an efficient way to maintain your kitchen tools. Before you begin, ensure the block is placed on a stable, flat surface to prevent slipping. Always wipe your knife blade clean with a damp cloth to remove any food residue or grease, as debris can clog the sharpening mechanism.
Follow these steps to sharpen your blade safely and effectively:
- Insert the blade: Place the heel of the knife—the part closest to the handle—fully into the designated sharpening slot. Ensure the blade is seated properly against the internal sharpening elements.
- Apply pressure: Use light, consistent downward pressure. You do not need to press hard; let the sharpening mechanism do the work.
- Pull through: Draw the knife toward you in a smooth, controlled, and fluid motion. Keep the blade straight to ensure even contact along the entire edge.
The most common mistake when using a built-in sharpener is over-processing the blade. You only need to repeat this pulling motion a few times—typically three to five passes are sufficient for a standard touch-up. Repeating the process excessively will remove too much metal, which shortens the lifespan of your knife and can eventually warp the edge geometry.
After you have finished, carefully wipe the blade once more with a clean, dry towel to remove any microscopic metal shavings produced during the sharpening process. Never run your finger along the edge to test sharpness; instead, test the blade by slicing through a piece of paper. If the knife glides through without tearing, it is ready for use. If it still feels dull, perform just one or two additional passes rather than starting the entire process over. Proper maintenance performed regularly ensures your knives stay sharp, safe, and reliable for all your home gardening and culinary preparation needs.
Best Practices for Consistent Results
Achieving a razor-sharp edge with a pull-through sharpener depends entirely on your technique. Consistency is the most critical factor; if your angle fluctuates during the stroke, you will create an uneven edge that dulls quickly. Maintain a steady, firm grip on the handle and keep the knife spine perfectly perpendicular to the base of the sharpener throughout the entire motion.
Speed is secondary to control. Use a slow, deliberate pace to ensure the abrasive wheels have enough time to refine the metal. Rushing the process often leads to uneven pressure, which can result in a jagged or ineffective edge.
To achieve professional results, follow these best practices:
- Maintain consistent pressure: Apply light, even downward force. Pressing too hard can gouge the metal or damage the sharpening mechanism.
- Alternate sides: If your sharpener has separate slots for left and right sides, alternate between them with each pass to ensure the bevel is ground symmetrically.
- Use a single, smooth stroke: Pull the blade through the mechanism in one fluid motion from heel to tip.
Never use a sawing motion. Moving the knife back and forth inside the sharpener is a common mistake that can permanently damage the blade’s edge and strip the abrasive material inside the device. Always lift the knife out of the slot completely before resetting for the next pass.
Finally, keep the blade straight. If the knife tilts to the left or right, you will inadvertently sharpen one side of the edge more than the other, leading to a dull, misaligned blade. By focusing on a steady angle and a smooth, one-way pull, you will extend the lifespan of your kitchen knives and keep them performing at their best for years to come. If you feel resistance or hear grinding, stop immediately and check for debris or improper alignment before continuing.

Maintenance and When to Seek Professional Help
Regular maintenance ensures your knives remain safe and effective. While built-in sharpeners are convenient, they are designed for routine honing rather than heavy-duty restoration. For most home cooks, a light pass through the sharpener every two to four weeks is sufficient to maintain a keen edge.
Over time, metal shavings can accumulate inside the sharpener slots, potentially dulling the blade or contaminating your food. To clean these effectively:
- Unplug or move the knife block away from food prep areas.
- Use a can of compressed air to blow out loose metal dust from the slots.
- If accessible, use a thin, dry microfiber cloth wrapped around a non-metallic skewer to gently wipe the interior surfaces.
- Never use water or liquid cleaners inside the slots, as this can cause rust or damage the sharpening mechanism.
It is important to recognize when a built-in sharpener is no longer sufficient. If you find yourself applying excessive pressure to cut through basic vegetables like onions or tomatoes, the edge has likely rounded over. A built-in sharpener cannot fix a completely dull edge; it only maintains an existing one. If the knife fails the “paper test”—where it tears rather than slices through a sheet of printer paper—it requires a more aggressive sharpening method, such as a whetstone or professional service.
You should seek professional sharpening services if you encounter the following:
- Significant Chips: If the blade edge has visible nicks or deep gouges, a standard sharpener will not remove enough metal to restore the profile.
- Serrated Blades: Built-in sharpeners are almost exclusively designed for straight-edge blades. Attempting to sharpen serrations with them will ruin the tooth pattern.
- High-End Steel: If you own premium Japanese or specialized high-carbon steel knives, professional hand-sharpening preserves the specific edge geometry intended by the manufacturer.
By keeping the slots clean and knowing when to call a professional, you will significantly extend the lifespan of your cutlery and ensure safer performance in the kitchen.