How to Use a KitchenAid Knife Block Sharpener for Precision Cutting
A sharp knife is an essential tool for every home gardener and cook, making harvesting and food preparation safer and more efficient. Many KitchenAid knife blocks feature a built-in sharpener designed to keep your blades in top condition. This guide explains how to properly use the integrated sharpener to maintain your cutlery safely and effectively.
While these built-in sharpeners offer incredible convenience, they are primarily designed for routine maintenance rather than heavy-duty restoration of severely dull edges. Understanding the limitations of your specific block model ensures you achieve the best results without damaging your blade’s integrity. Consistent, light honing is the secret to keeping your kitchen tools razor-sharp.
In the following sections, we will walk you through the precise steps required to operate your KitchenAid sharpener safely. You will learn the correct angle for insertion, the ideal number of passes for optimal performance, and essential safety tips to protect your hands while working. Follow these simple instructions to master your kitchen maintenance routine today.

Understanding Your Integrated Knife Sharpener
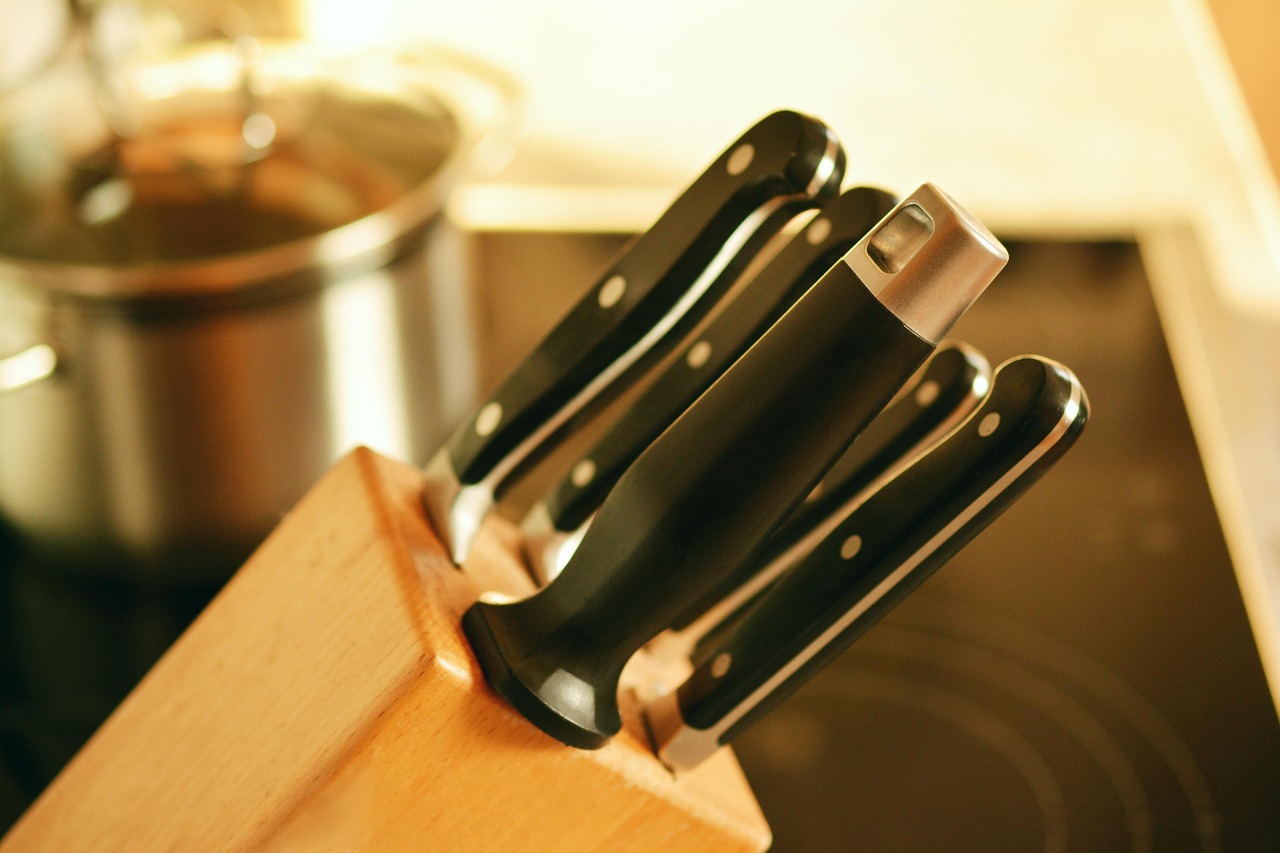
Your KitchenAid knife block features an integrated sharpener designed for convenient, routine maintenance. Before you begin, locate the designated sharpening slot, which is usually marked with a clear icon or positioned at the top of the block. This slot is engineered specifically for fine-edge blades. Never insert serrated knives, such as bread knives, into this sharpener, as the mechanism is not designed to accommodate their teeth and may cause damage to both the blade and the sharpening rods.
The internal mechanism typically utilizes high-quality ceramic or diamond-coated rods. These materials are chosen for their ability to hone the blade edge effectively without removing excessive metal. Unlike aggressive grinding tools, this integrated system is intended to realign and refine the edge, keeping your knives performing at their peak during daily food preparation.
To use the sharpener safely and effectively, follow these guidelines:
- Clean first: Always ensure your knife blade is clean and completely dry before inserting it into the slot. Debris or moisture can interfere with the sharpening process and potentially clog the internal rods.
- Maintain alignment: Insert the knife heel-first into the slot, keeping the blade perfectly vertical. Applying uneven pressure or tilting the knife can result in an inconsistent edge.
- Use consistent pressure: Gently pull the knife through the slot toward you in a smooth, fluid motion. Do not use excessive force; the weight of the knife and the design of the rods are sufficient to achieve the desired result.
- Limit passes: For routine maintenance, two to three passes are usually enough to restore a keen edge. Over-sharpening is unnecessary and can prematurely wear down your blade.
By understanding how this integrated tool functions, you can extend the lifespan of your cutlery significantly. Regular, light honing is far more effective for long-term edge retention than waiting until your knives are dull enough to require professional sharpening. Always handle your knives with care, keeping your fingers away from the blade edge throughout the entire process.
Safety Precautions Before You Begin
Before you sharpen your kitchen knives, you must prepare your workspace. A clean, dry, and stable surface is essential for maintaining control and preventing accidents. Clear away any clutter, food scraps, or moisture from your countertop to ensure the knife block remains steady during the process.
Your knife must be completely clean and dry before you insert it into the sharpener. If a blade is coated in grease, oils, or food residue, this debris can be transferred into the internal sharpening mechanism. Over time, this buildup will clog the abrasive components, reducing their effectiveness and potentially damaging the internal guides. Furthermore, a wet or greasy handle increases the risk of the knife slipping from your grip while in use.
Follow these essential safety rules every time you sharpen:
- Keep fingers clear: Never place your fingers or hands near the sharpening slot while the knife is in motion. Always maintain a firm grip on the handle, keeping your fingers well away from the blade’s edge and the entry point of the block.
- Check for cleanliness: Wipe the blade thoroughly with a dry cloth to remove all moisture and residue. A clean blade ensures a smooth, consistent grind.
- Ensure stability: Verify that the knife block is sitting flush against the counter. If the block wobbles, it can lead to uneven sharpening or cause the knife to tilt, which may damage the blade’s edge.
- Focus on movement: Use steady, controlled motions. Never force the knife into the slot; let the internal mechanism do the work. If you feel resistance, remove the knife, clean the blade again, and inspect the slot for any obstructions.
By prioritizing a clean environment and maintaining proper hand placement, you protect both your equipment and your safety. Taking these few seconds to prepare ensures that your knives remain sharp and functional for years to come without the risk of injury or mechanical damage to your sharpening system.

Step-by-Step Sharpening Process
Proper maintenance of your kitchen knives is essential for both culinary precision and safety. A dull blade requires more force to cut, which increases the likelihood of slipping and causing injury. Using your KitchenAid knife block sharpener correctly ensures your blades remain razor-sharp and extend their functional lifespan.
Follow these steps to safely sharpen your knives:
- Position the knife: Place the heel of the blade—the section closest to the handle—into the designated sharpening slot of the block. Ensure the blade is seated firmly against the sharpening mechanism.
- Apply pressure: Use light, consistent downward pressure as you begin the sharpening stroke. It is vital to avoid using excessive force; pressing too hard can strip metal away unevenly or damage the delicate edge of the blade.
- Execute the pull: Draw the knife toward you in a smooth, continuous motion. Maintain a steady speed and keep the blade centered within the slot throughout the entire pull.
- Repeat: Perform this motion three to five times per side. Consistency is key to achieving a uniform edge.
Always keep your fingers clear of the blade’s edge during the process. If you feel resistance or hear grinding, stop immediately and verify that the knife is positioned correctly within the slot. Over-sharpening is unnecessary and can be counterproductive, so stick to the recommended number of passes to maintain the integrity of the steel.
After sharpening, always wipe the blade clean with a damp cloth to remove any fine metal shavings before using it on food. Regularly cleaning your knives and the sharpener itself prevents debris buildup, which keeps the mechanism working smoothly. By dedicating just a few moments to this maintenance routine, you ensure that your kitchen tools remain reliable and safe for every gardening harvest or meal preparation task. A sharp knife is a gardener’s best friend, making quick work of trimming herbs or preparing fresh produce straight from your backyard plot.
Testing and Cleaning Your Blades
Once you have finished using your KitchenAid knife block sharpener, it is essential to verify the results before putting the tool back into service. A sharp knife should glide through fibers without requiring significant downward pressure or sawing motions.
To safely test your blade, choose one of these two reliable methods:
- The Paper Test: Hold a single sheet of printer paper vertically by one edge. With the other hand, place the heel of the knife near the top of the paper. Gently draw the blade downward in a slicing motion. If the knife is sharp, it will slice through the paper cleanly without tearing or snagging.
- The Vegetable Test: Use a firm vegetable, such as a bell pepper or a ripe tomato. A sharp blade should pierce the skin of a tomato instantly with minimal pressure. If the knife slips or crushes the skin instead of slicing it, the edge needs further sharpening.
After you are satisfied with the sharpness, you must clean the blade thoroughly. The sharpening process inevitably creates fine metal filings, or “swarf,” which can cling to the edge of the steel. These microscopic particles are not something you want in your food.
Follow these steps to finish the job safely:
- Take a soft, damp cloth or a paper towel and carefully wipe the blade from the spine toward the edge. Never run your fingers directly along the sharpened edge to avoid accidental cuts.
- Ensure the entire length of the blade is wiped clean on both sides.
- Use a separate, dry lint-free towel to remove all moisture from the metal.
Moisture is the enemy of high-quality kitchen knives, as it can lead to spotting or corrosion over time. Ensure the blade is completely dry before sliding it back into the storage block. Keeping the knife clean and dry not only maintains its performance but also protects the interior of your knife block from debris and humidity.
Maintenance Tips and When to Seek Professional Help
Consistent maintenance is the secret to a long-lasting kitchen knife set. While your KitchenAid knife block’s built-in sharpener is excellent for routine edge maintenance, it is not a cure-all for damaged blades. Using the sharpener every few uses—or whenever you notice the blade beginning to drag during slicing—will keep your knives performing at their best.
However, you must know when to step away from the built-in sharpener. If your blade has developed deep chips, significant nicks, or a severely rolled edge, a standard sharpening slot will not suffice. These issues require the precision of a professional knife sharpener who can regrind the edge and restore the proper geometry of the blade.
To keep your equipment in top condition, follow these maintenance guidelines:
- Deep Damage: If you can see light reflecting off the edge of the blade, or if the edge feels jagged to the touch, seek professional help immediately.
- Block Hygiene: Knife blocks can trap dust and moisture. Once a month, turn the block upside down and shake it gently to dislodge debris.
- Sanitation: Wipe the exterior of the block with a damp microfiber cloth. Avoid submerging the block in water or using harsh chemicals, as excess moisture can cause wood to warp or harbor bacteria.
- Blade Care: Always hand-wash and thoroughly dry your knives before inserting them into the block. Storing wet knives accelerates corrosion and can damage the internal sharpening mechanism.
Regular honing keeps your edges aligned, but professional sharpening is an investment in your tools’ longevity. If you find yourself needing to sharpen your knives more frequently than usual, it is often a sign that the blade has lost its original bevel. In this case, a professional service can reset the edge, allowing your built-in sharpener to function effectively again for months to come. By balancing routine care with professional intervention, you ensure your knives remain safe, sharp, and reliable for every meal prep session.